


 My Orders




AFFU Frigidaire Freezer - Overview
Models starting with AFFU
Click on the best match to narrow your results.
- AFFU1466DW0 Frigidaire Freezer (Multi U14ff Upright Freezer)
- AFFU1466DW1 Frigidaire Freezer (Multi U14ff Upright Freezer)
- AFFU1466DW2 Frigidaire Freezer (Multi U14ff Upright Freezer)
- AFFU1466DW3 Frigidaire Freezer (Multi U14ff Upright Freezer)
- AFFU1466DW4 Frigidaire Freezer (Multi U14ff Upright Freezer)
- AFFU1766DW0 Frigidaire Freezer (Multi U17ff Upright Freezer)
- AFFU1766DW1 Frigidaire Freezer (Multi U17ff Upright Freezer)
- AFFU1766DW2 Frigidaire Freezer (Multi U17ff Upright Freezer)
- AFFU1766DW3 Frigidaire Freezer (Multi U17ff Upright Freezer)
- AFFU1766DW4 Frigidaire Freezer (Multi U17ff Upright Freezer)
- AFFU1766DW5 Frigidaire Freezer (Multi U17ff Upright Freezer)
- AFFU2066DW0 Frigidaire Freezer (Multi U20ff Upright Freezer)
- AFFU2066DW1 Frigidaire Freezer (Multi U20ff Upright Freezer)
- AFFU2066DW2 Frigidaire Freezer (Multi U20ff Upright Freezer)
- AFFU2066DW3 Frigidaire Freezer (Multi U20ff Upright Freezer)
- AFFU2066DW4 Frigidaire Freezer (Multi U20ff Upright Freezer)
- AFFU2066DW5 Frigidaire Freezer (Multi U20ff Upright Freezer)
- AFFU2066DW6 Frigidaire Freezer (Multi U20ff Upright Freezer)
- AFFU2067EW0 Frigidaire Freezer (Multi U20ff Upright Freezer)
- AFFU2067EW1 Frigidaire Freezer (Multi U20ff Upright Freezer)
- AFFU2067EW2 Frigidaire Freezer (Multi U20ff Upright Freezer)
- AFFU2067EW3 Frigidaire Freezer (Multi U20ff Upright Freezer)
- AFFU2068DW0 Frigidaire Freezer (Multi U20ff Upright Freezer)
- AFFU2068DW1 Frigidaire Freezer (Multi U20ff Upright Freezer)
Enter a part description. DIY Heroes keep it simple, eg. "belt" or "pump".
Search filter:
Clear Filter
Your search term must have 3 or more characters.

$14.18
In Stock
Freezer Door Key
Part #297147700
This freezer door key is designed for use with most upright and chest freezers. It is an authentic OEM replacement part. Your appliance has a lid or door that locks and unlocks, this key controls that function. If your key is lost or damaged this is the replacement you need. Be sure to store this key someplace safe, we also recommend that...Read more you store it away from the freezer. This part is made of plastic, is white in color, and it is sold individually.
Read less

$32.24
In Stock
Defrost Thermostat
Part #297216600
This refrigerator defrost thermostat is a genuine OEM part and is sourced directly from the manufacturer. Located on the back wall of the freezer section in the refrigerator, the defrost thermostat is used to regulate the appliances temperature to keep the refrigerator cold and constant. The part is made of plastic, and has a 4 inch termi...Read morenal on the white lead and a 6 inch terminal on the red lead. A refrigerator defrost thermostat may need to be replaced if the appliance is experiencing temperature related issues such as: too cold, too warm, frost buildup, not running, or running too long.
Read less

$87.51
In Stock
Refrigerator Ice Maker Assembly
Part #241798231
This 8-cube ice maker is used to create ice for your refrigerator. The ice maker receives water from the water inlet valve and will freeze until ice cubes are formed. Once the water has been frozen the cubes will be ejected from the mold in to the ice bucket. The ice maker will continue the process until the ice bucket has reached the l...Read moreimit. If your ice maker is not making ice you may need to replace this part. Please remember to disconnect the power and water supply before starting your repair. This ice maker is a genuine OEM part.
Read less

$126.45
On Order
Freezer Door Gasket
Part #5304507199
This gasket is used to seal the freezer door when closed to keep the cool air inside and the warm temperature surrounding the freezer from getting in. It is white in color. If you notice that your freezer is not shutting with ease, is not maintaining your desired temperature, or there is frost build up, it could be due to the door gasket ...Read morebeing damaged. You might also notice that there is a leak coming from the door and this could also be caused by the gasket being worn, damaged, or no longer aligned properly. You will need to remove the existing screws before installing the gasket.
Read less

$59.35
In Stock
Water Inlet Valve
Part #242252603
If you notice that the ice maker in your refrigerator is leaking or is not making or dispensing ice, you may need to replace the water inlet valve. When energized, the water inlet valve releases water from the supply line into the ice mold. The water inlet valve is in the back of your refrigerator so you will need to pull the fridge out f...Read morerom the wall before completing this repair. To complete this job, you will need a 1/2 inch wrench, a 1/4 inch nut driver and a utility knife. If your old inlet valve has a screw-in fitting, you may need to simply cut the end of the hose to fit in the new part. Be sure to disconnect both the water and power supply from the refrigerator prior to beginning this repair.
Read less

$56.05
In Stock
Run Capacitor
Part #5304464438
The run capacitor helps the compressor kick on and off while maintaining a constant temperature in your fridge and freezer. You may need to replace your run capacitor if your refrigerator or freezer section will not start, if they are too warm, or if your refrigerator has become too noisy. Replacing the run capacitor is a relatively easy ...Read moreproject. For this repair you will only need a 1/4 inch nut driver and needle nose pliers. Remember to disconnect the power and water supply line to the unit before you begin this repair. For full step by step instructions, simply click on the video below.
Read less

$95.86
In Stock
Replacement Ice Maker
Part #5303918277
This replacement icemaker may also be known as the ice maker assembly and is compatible with your refrigerator/freezer. This assembly replaces the heat-release ice maker unit only. The kit comes with four round female connectors at the end of the wire harness. It also comes with the adaptor that converts the harness to three round female,...Read more and one round male connectors. The tools you will need in order to make this installation include a 1/4-inch nut driver, and a Phillips screwdriver. Before starting this repair make sure to unplug your refrigerator and shut off the water supply.
Read less

$48.93
In Stock
DEFROST TIMER
Part #5304518034
This is a 120 volt defrost timer manufactured for refrigerators. The defrost timer manages the automatic defrost systemin the unit. It acts like a clock by switching between activating the cooling cycle and the defrost heater to maintain the set thermostat temperature, preventing the unit from being too warm or cold. The defrost timer may...Read more need to be replaced if the fridge will not maintain its temperature or has frost buildup. Depending on the model, it could be located on the rear panel or ceiling of the fresh food compartment. Be sure to disconnect power to the refrigerator before replacing this part.
Read less

$52.75
In Stock
Run Capacitor - 120V
Part #297286803
This part helps the compressor kick on and off while maintaining a constant temperature to keep things frozen in your freezer. The run capacitor is attached to the compressor. This part is 120 volts and 15 mfd. The run capacitor helps the compressor kick on and off while maintaining a constant temperature to keep things frozen in your fre...Read moreezer. If your refrigerator is too warm, will not start, or your freezer section is too warm, you may need to replace this part. This is a genuine OEM part. Please remember to disconnect power to your refrigerator before starting your repair.
Read less

$130.85
In Stock
Refrigerator Door Gasket
Part #5304507200
This door gasket, also known as a door seal, is sourced from the original equipment manufacturer for use in refrigerators and freezers. It is a flexible rubber strip that runs along the edge of the appliance door. It creates an airtight seal between the door and cabinet to prevent cold air from escaping, and warm air from entering the ref...Read morerigerator, to ensure that the temperature in the appliance remains constant. Over time, the door gasket can lose its elasticity or tear. In this case, you will likely notice frost build-up, increased noise, and inconsistent temperatures. Peel the faulty gasket off the refrigerator frame and remove any debris or residue on the surface. Carefully place the new seal along the edge of the door and press it firmly into place. Secure it with the appropriate fasteners and close the door to verify that there are no gaps between the door and cabinet.
Read less

$129.75
In Stock
Door Gasket
Part #5304507201
This is the door gasket for your freezer. It is white in color and made of rubber. The door gasket covers the circumference of the freezer door and creates a seal. If the gasket is loose or worn out, cold air can leak out of the freezer, and it can force the refrigerator to work harder to remain cool. If you notice that your freezer is ru...Read morenning for longer than normal, of if there is excessive frost buildup, you may need to replace the door gasket. This part is sold individually and it is an OEM part sourced directly from the manufacturer.
Read less

$68.10
In Stock
Temperature Control Thermostat
Part #5304513033
This part helps maintain a constant temperature within the appliance. The temperature control thermostat regulates the temperature inside the refrigerator. It turns on and shuts off the compressor as needed to maintain the set temperature.
Common Symptoms of models starting with AFFU
How this model fails, and the parts that fix it.
Frost buildup
Fixed by
these parts
these parts


Show All
Ice maker not making ice
Fixed by
these parts
these parts


Show All
Too warm
Fixed by
these parts
these parts


Show All
Won’t start
Fixed by
these parts
these parts


Show All
Fridge too warm
Fixed by
these parts
these parts
Show All
Will Not Start
Fixed by
these parts
these parts

Show All
Noisy
Fixed by
these parts
these parts


Show All
Doesn’t stop running
Fixed by
these parts
these parts
Show All
Freezer section too warm
Fixed by
these parts
these parts
Show All
Leaking
Fixed by
these parts
these parts

Show All
Ice maker won’t dispense ice
Fixed by
these parts
these parts
Show All
Fridge and Freezer are too warm
Fixed by
these parts
these parts

Show All
Light not working
Fixed by
these parts
these parts

Show All
Freezer not defrosting
Fixed by
these parts
these parts
Show All
Clicking sound
Fixed by
these parts
these parts
Show All
Fridge runs too long
Fixed by
these parts
these parts
Show All
Door Sweating
Fixed by
these parts
these parts
Show All
Freezer too cold
Fixed by
these parts
these parts
Show All
Not dispensing water
Fixed by
these parts
these parts
Show All
Too cold
Fixed by
these parts
these parts
Show All
Watch our pros, then fix it yourself.
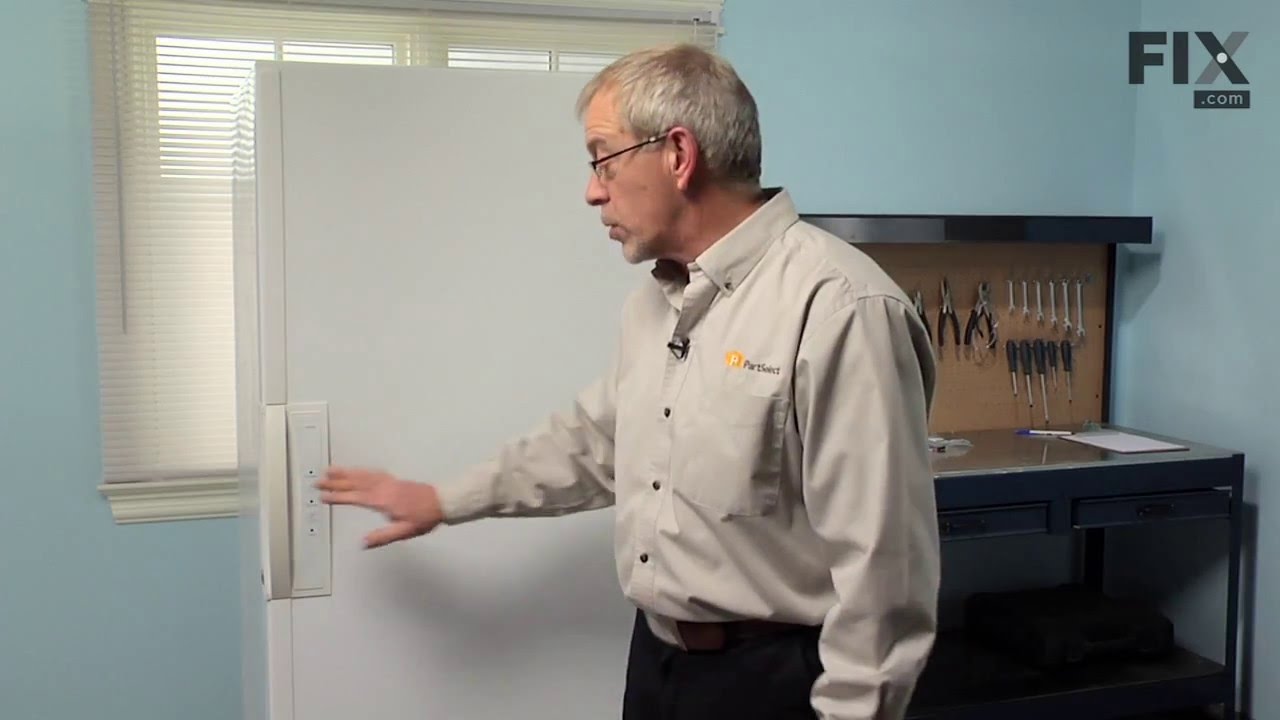
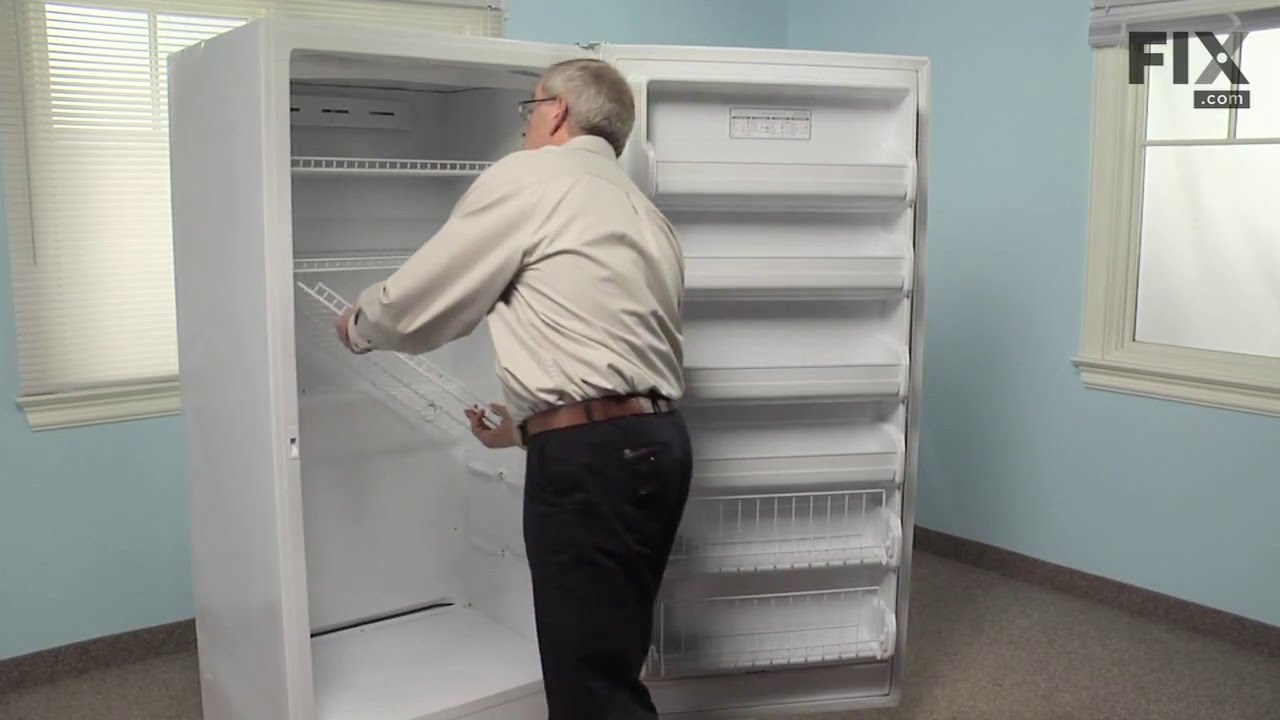
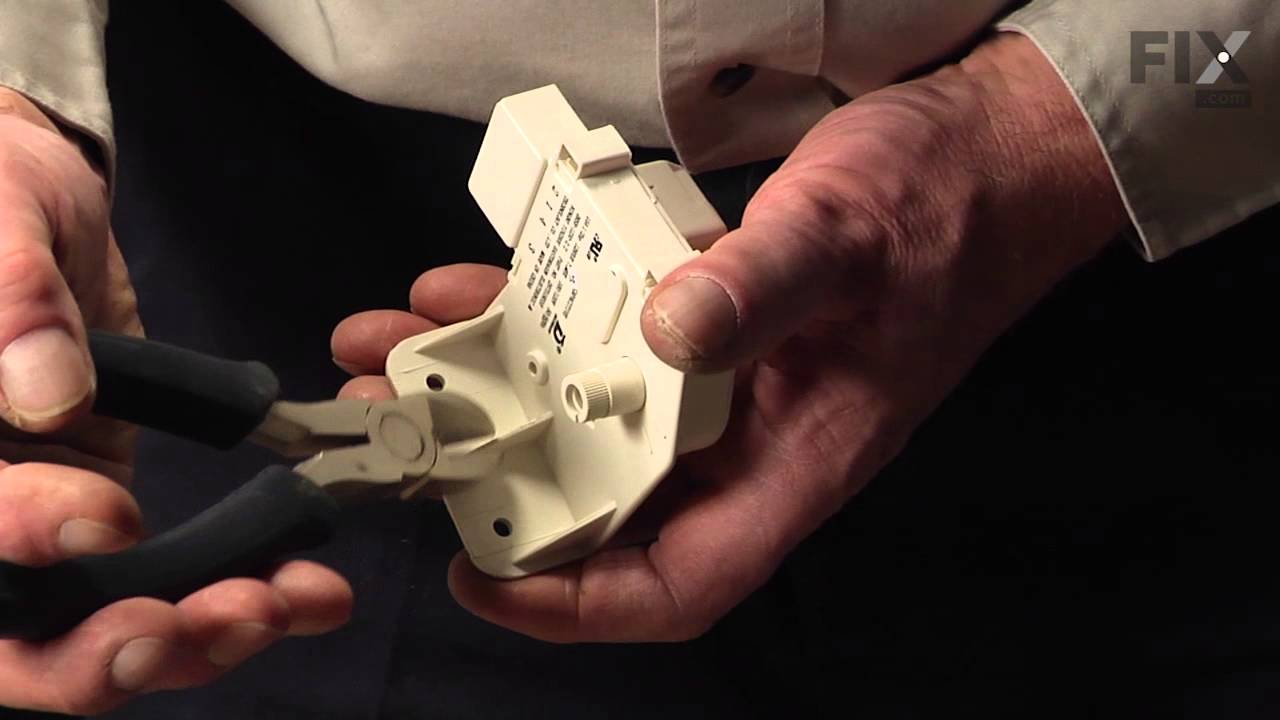
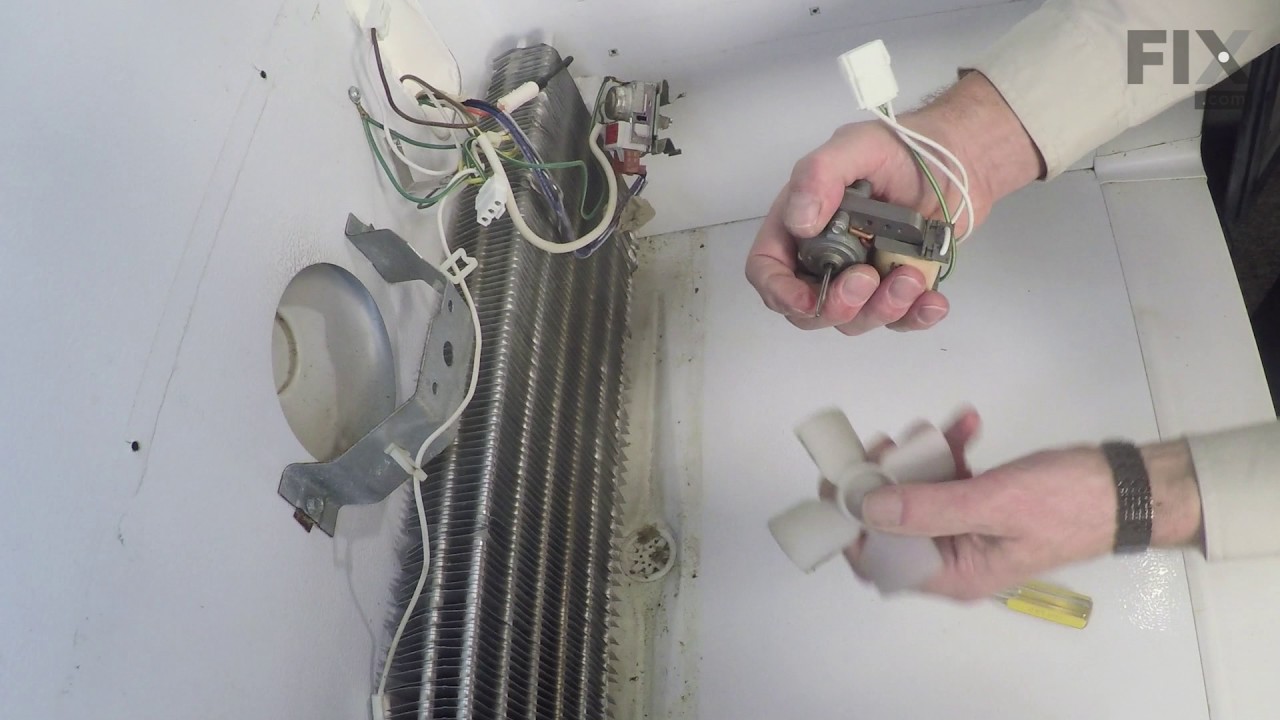
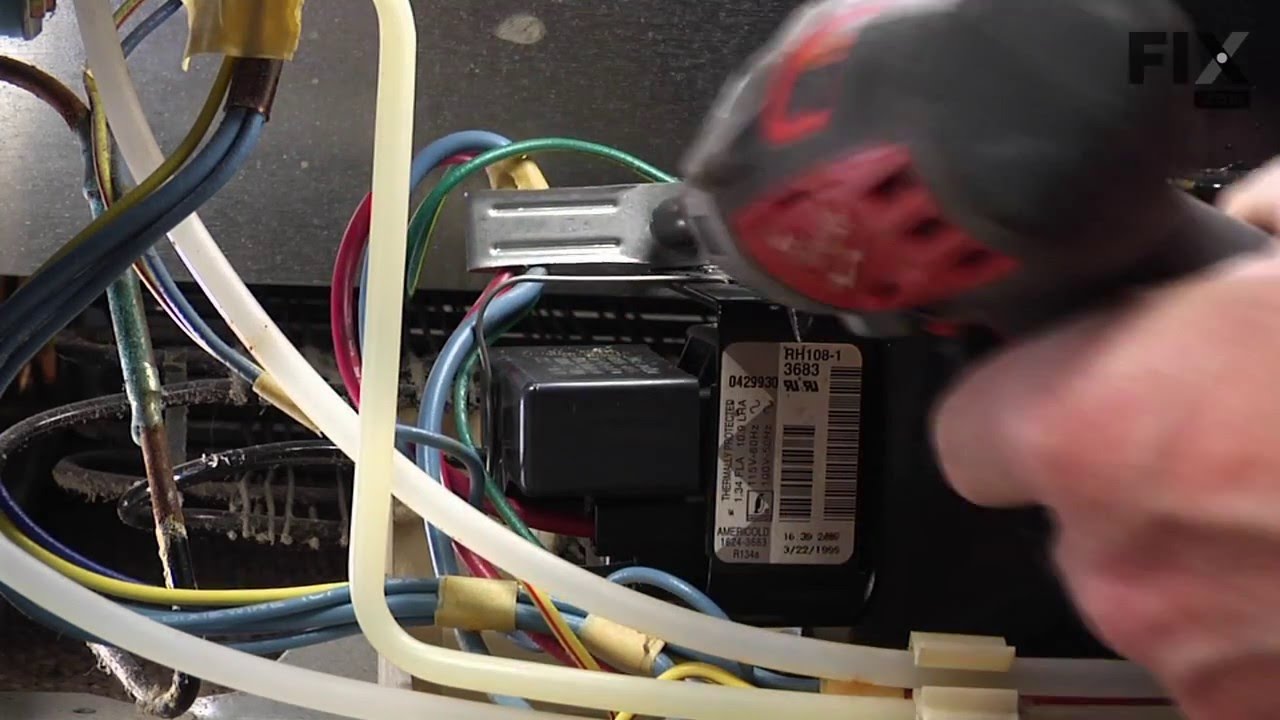

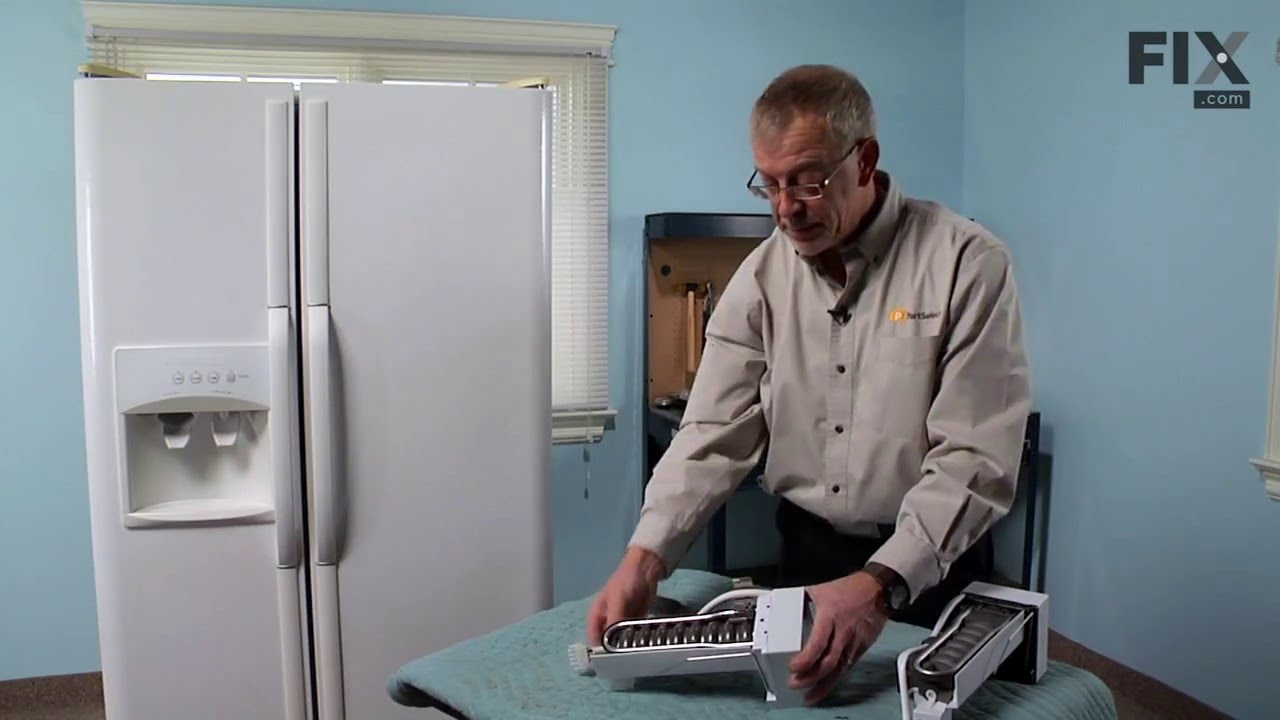
See how others fixed this model. Time, tools, difficulty, and steps that lead to victory!
View More