


 My Orders




AFF2534FEW5 Amana Refrigerator - Overview
Diagrams for AFF2534FEW5
See every part. Know exactly what you need.


Enter a part description. DIY Heroes keep it simple, eg. "belt" or "pump".
Search filter:
Clear Filter
Your search term must have 3 or more characters.

$35.15
In Stock
Pantry End Cap Kit, LH and RH
Part #W10874836
This manufacturer-approved Refrigerator Pantry End Cap Kit, also known as the Refrigerator Drawer Support, is a kit containing all parts of the Pantry End Cap. It snaps into place on the appliance’s pantry drawer to help contain the items inside and to keep your refrigerator door from sliding all the way out. It is rated as "medium" diff...Read moreiculty to install, is constructed of plastic and comes in white. If broken or missing, the pantry drawer will not stay in place and the part should be replaced. Refer to your user manual and model number to ensure this is the correct part for you. This kit includes both the right and left side end caps, as well as the pins that will hold them in place. To replace an end cap, remove the three screws holding it in place. Then, remove the pin and end cap, replacing the old end cap with the new end cap. In the past, the left and right end caps were sold separately, but the part has been updated and now includes both sides. The part is sold as a kit, and unfortunately, as such none of the parts are available individually.
Read less

$95.17
In Stock
Replacement Ice Maker
Part #D7824706Q
This ice maker (Ice Maker Assembly, Refrigerator Ice Maker) produces ice cubes that are ejected into the storage bucket. It is located in the freezer section of your appliance, mounted on the freezer wall. The ice maker can break from normal wear and accidental damage. If this happens, your refrigerator may no longer make ice cubes, or ma...Read morey not make enough cubes, and the part should be replaced. This model measures approximately 11 inches long and 5 inches wide. It’s constructed of plastic and metal, and comes in black/white/silver. This assembly includes the ice mold and the control device.
Read less

$25.75
In Stock
Refrigerator Center Rail
Part #WPW10326469
This OEM Center Rail is a white plastic part which supports the crisper frame, which holds the crisper. Fifteen inches long and white in colour, if broken, the support may no longer hold properly. Refer to your model number and user manual to see if this part will be right for your appliance. This part is a very easy repair which only ta...Read morekes a few minutes and does not require any tools. Just slide the crisper drawers out, lift out the glass shelf, slide the new rale into place and replace the glass shelf and crisper drawers. This part is sold individually and not as part of a set.
Read less

$130.10
In Stock
Refrigerator Pantry Drawer Door Cover
Part #W10827015
This pantry drawer lid is also known as a pantry drawer door or pantry drawer cover. This is a genuine OEM part, and is sold individually. This part helps keep everything inside the drawer. It acts as a cover, and also keeps your drawer at the proper temperature by creating a seal. You may need to replace this part if door does not open o...Read morer close, or if the drawer is too cold. No tools are required for this replacement, simply push the hinge pins aside to remove the old lid. Consider checking the pantry end cap kit for damage before ordering the pantry drawer lid, as they are often purchased together.
Read less

$30.53
In Stock

$45.29
In Stock
Refrigerator Capacitor
Part #WPW10662129
This capacitor (Refrigerator and Freezer Compressor Run Capacitor, Run Capacitor) provides the voltage or energy current required to start the compressor and keep it running. It allows the compressor in your appliance to easily cycle on and off. This capacitor mounts directly onto the compressor starting relay. If the capacitor is faulty ...Read morethe compressor may get unusually hot and draw excessive amperage. It the compressor overheats, it may fail to run until it cools down again. The compressor may also get noisy from overheating. If this part is totally electrically open, it is defective (often due to overheating) and needs to be replaced. The part measures 1 inch by 1-1/2 inches, and is constructed of plastic with two metal wire terminals. This item includes 1 capacitor, sold individually. This part comes in black.
Read less

$30.53
In Stock
Door Switch
Part #W11396033
This light switch may also be known as a refrigerator door switch or a light switch kit, and is compatible with your refrigerator. The function of the refrigerator door switch is to turn on the light when your fridge door is open, and to make sure it is off when your refrigerator door is closed. The reason you would need to replace this p...Read moreart is if your light is not turning on when your door is open. For this repair, you will need a putty knife, and a small flat-blade screwdriver.
Read less

$12.20
In Stock

$55.29
In Stock
Refrigerator Single Water Inlet Valve
Part #WP2315576
The single water inlet valve, also known as a water solenoid valve, is used for refrigerators. This part is a solenoid-operated switch that releases water from the supply line to the water valve and into the icemaker mold when activated. If your icemaker is making small cubes, does not dispense ice or water, or leaks, this replacement cou...Read moreld solve the issue. The tools needed for this repair are a 1/4 inch nut driver and a utility knife. Refer to the diagram provided by the manufacturer for further instructions. As a safety precaution, remember to unplug your dryer from the power source.
Read less

$44.23
In Stock
P-Trap Drain Tube Kit
Part #W10619951
The p-trap drain tube kit may also be known as the duck bill, or the drain pipe, and it is compatible with your refrigerator. The function of the p-trap drain kit is to carry the water that has formed during the defrost cycle to the bottom of the refrigerator, where your drain pan is located. The tools you will need for this repair includ...Read moree a 1/4-inch nut driver and a small flat-blade screwdriver. To do this repair you will need to pull the refrigerator forward in order to reach the lower access panel at the back. This kit includes the tube extension piece and spacer.
Read less

$157.79
In Stock
Refrigerator Electronic Control Board
Part #WPW10503278
The electronic control board is used in refrigerators to monitor and manage the temperature settings, such as cooling or defrosting times. If your fridge or freezer is too warm, too cold, is not defrosting, will not start, and/or runs too long then replacing the control board could solve your appliance problem. The tools needed for this i...Read morenstallation project is a small flat blade screwdriver. *Please note: the board will need to be programmed after installation. Remember to unplug refrigerator from power source as a safety precaution. Refer to the manual provided by the manufacturer for further installation instructions and accurate guidance.
Read less

$24.15
In Stock
Touch-Up Paint - White
Part #72017
This touch-up paint can be used on a wide variety of household appliances. It is most often used on washers, dryer, refrigerators, dishwashers, ranges, freezers, trash compactors, or microwaves. It is an 18 ml, or.6 fluid ounces, bottle of touch-up paint. It also features a brush for easy application. This quick-drying, long-lasting paint...Read more is perfect for fixing any nicks, scratches, or chips on the exterior of your appliance. This paint is white in color, and provides a durable finish.
Read less
Common Symptoms of the AFF2534FEW5
How this model fails, and the parts that fix it.
Ice maker not making ice
Fixed by
these parts
these parts


Show All
Leaking
Fixed by
these parts
these parts

Show All
Light not working
Fixed by
these parts
these parts


Show All
Door won’t open or close
Fixed by
these parts
these parts


Show All
Fridge too warm
Fixed by
these parts
these parts


Show All
Will Not Start
Fixed by
these parts
these parts
Show All
Fridge and Freezer are too warm
Fixed by
these parts
these parts
Show All
Ice maker won’t dispense ice
Fixed by
these parts
these parts
Show All
Freezer section too warm
Fixed by
these parts
these parts
Show All
Noisy
Fixed by
these parts
these parts


Show All
Freezer not defrosting
Fixed by
these parts
these parts

Show All
Frost buildup
Fixed by
these parts
these parts

Show All
Fridge too cold
Fixed by
these parts
these parts

Show All
Clicking sound
Fixed by
these parts
these parts

Show All
Too warm
Fixed by
these parts
these parts
Show All
Door Sweating
Fixed by
these parts
these parts


Show All
Fridge runs too long
Fixed by
these parts
these parts
Show All
Ice maker dispenses too much ice
Fixed by
these parts
these parts
Show All
Ice maker dispenses too little ice
Fixed by
these parts
these parts
Show All
Not dispensing water
Fixed by
these parts
these parts
Show All
Won’t start
Fixed by
these parts
these parts
Show All
Freezer too cold
Fixed by
these parts
these parts
Show All
Watch our pros, then fix it yourself.
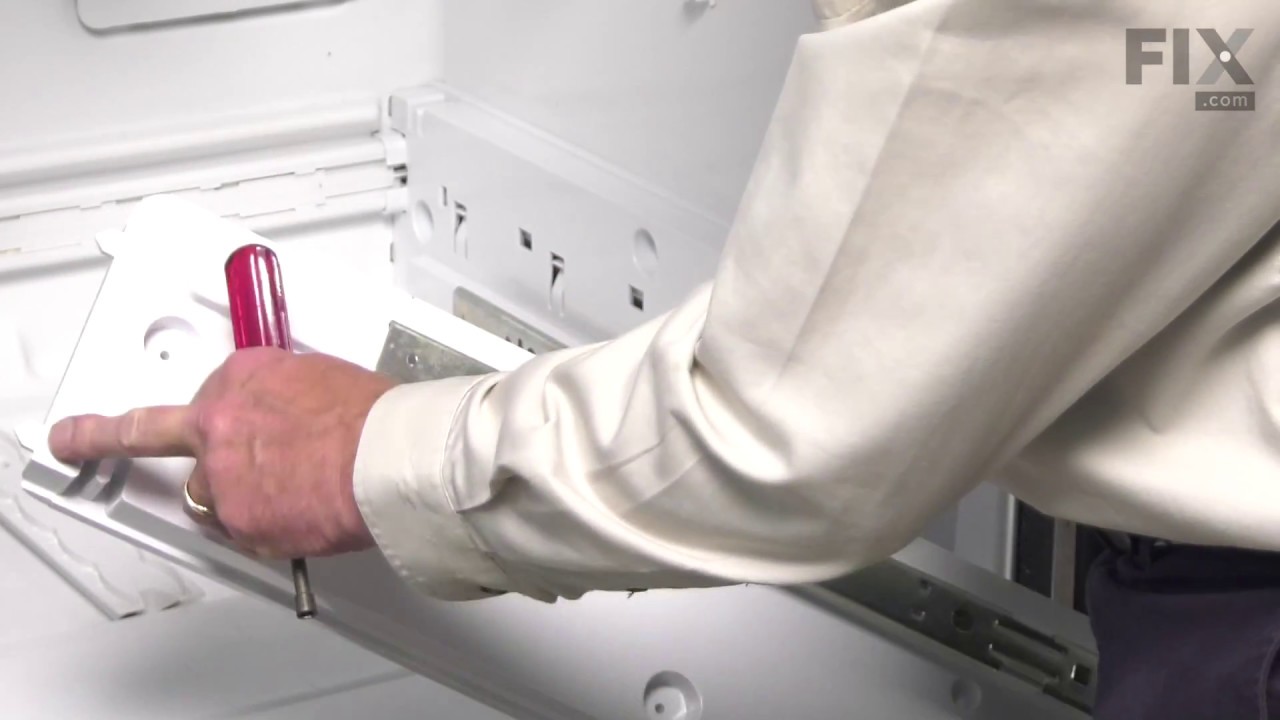
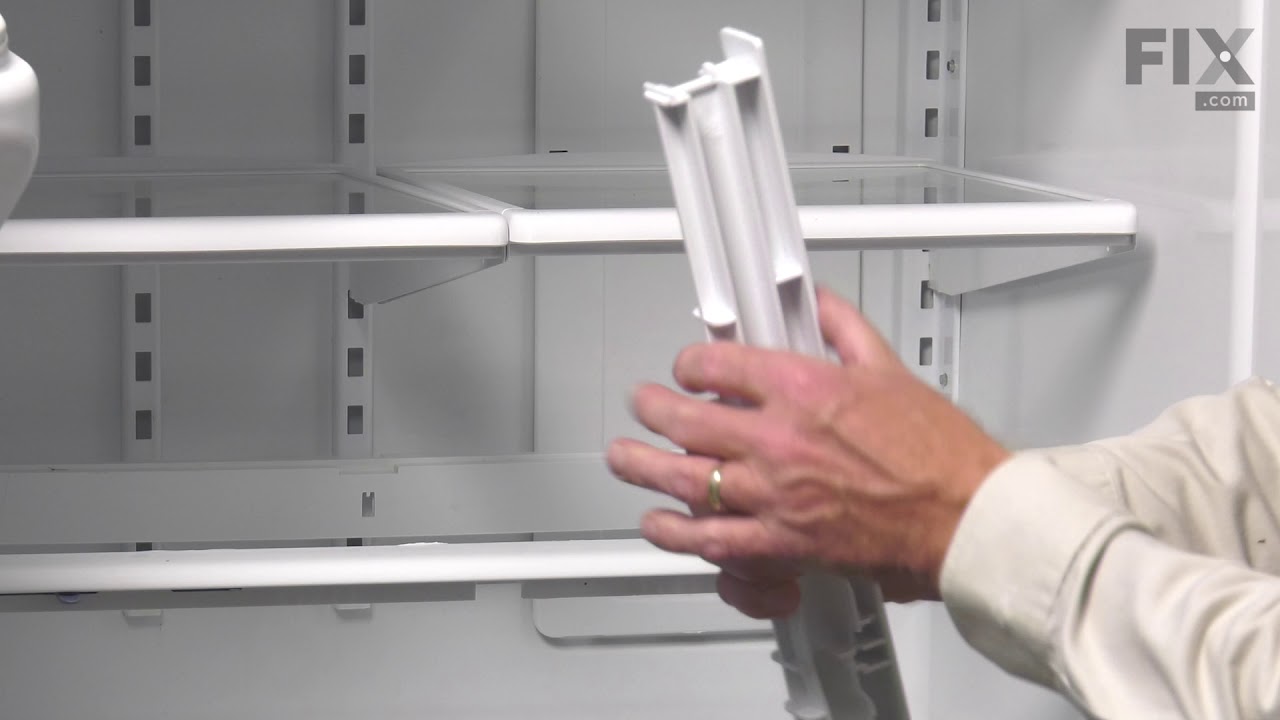




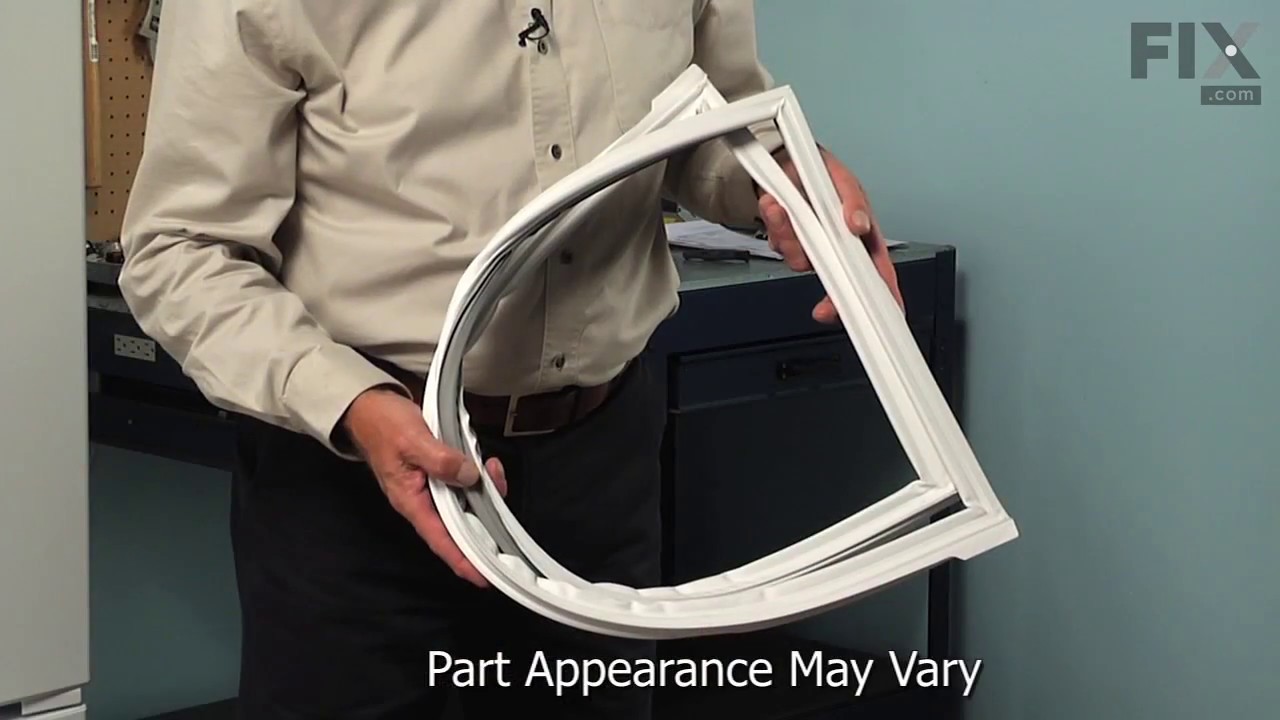
See how others fixed this model. Time, tools, difficulty, and steps that lead to victory!
View More