


 My Orders




AER6603SFB5 Amana Range - Overview

Enter a part description. DIY Heroes keep it simple, eg. "belt" or "pump".
Search filter:
Clear Filter
Your search term must have 3 or more characters.

$75.13
In Stock
Oven Sensor
Part #WPW10181986
This oven temperature sensor, for ranges, works together with the oven control board to measure and regulate the oven temperature. The sensor detects the temperature in the oven cavity. If the following symptoms occur, replacing the temperature sensor could be the solution: Little or no heat when baking, oven not heating evenly, oven will...Read more not start, and/or oven is overheating. Often, if the sensor is defective, the oven temperature will fluctuate and be inaccurate by more than 50 degrees. The tool needed for this replacement is a #2 square head screwdriver or a #2 Philips screwdriver. Remember to unplug the range before installing the part.
Read less

$21.45
In Stock
Screw
Part #W11233072
This is a multi-use and multi-appliance screw. It can be used on a microwave, refrigerator, range/oven, air conditioner, dehumidifier, washer, or dryer. The measurements of this screw are 8 x 1/2 inch. It has 6 threads. Refer to the manual provided by the manufacturer for further information on repair and accurate guidance. Remember to wear work gloves as a safety precaution.

$27.36
In Stock
Range Terminal Block
Part #WPW10245259
This part is for oven ranges, it connects individual wires and protects the device from electrical surges, voltages, and current. With this part, the house power is connected to the range wire harness. Some symptoms replacing the terminal block could be a solution for are little to no heat when baking, element will not heat and/or it will...Read more not start. This part will prevent loosening and will reduce damage caused by corrosion (by two different metals). Refer to the instructional diagram for further replacement guidance and exact placement. You must unplug the appliance before installing this part and wear gloves to protect your hands.
Read less

$57.38
In Stock
Infinite Switch - 8 Inch
Part #WP3148953
This infinite control switch is designed to regulate the heat output of an 8-inch surface burner on electric ranges and cooktops. It allows precise control over temperature levels by adjusting the voltage sent to the heating element, ensuring consistent and responsive cooking performance. Compatible with a wide range of models, this compo...Read morenent is a direct replacement for switches that fail to heat or maintain temperature. The switch operates by responding to user input via the control knob, delivering the appropriate voltage to the burner. Installation requires disconnecting the appliance from power and using standard tools. Safety precautions, including wearing protective gloves and consulting model-specific instructions, are recommended.
Read less

$52.67
In Stock
Infinite Control Switch, 6"
Part #WP3149404
This surface element control switch, also known as an infinite switch, is a genuine OEM replacement designed for 6-inch electric burners on select ranges. It regulates the power supplied to the surface element, allowing precise control over heat levels from low to high. Compatible with models from Whirlpool, KitchenAid, Maytag, Jenn-Air, ...Read moreAmana, and other associated brands, this dual-coil switch is a common solution for issues such as burners that fail to heat, remain stuck on high, or cannot adjust temperature properly. If the burner heats intermittently or not at all, replacing the switch may restore proper function. Always disconnect power or turn off the circuit breaker before installation. Sold individually.
Read less

$134.64
In Stock
Broil Element
Part #W10856603
This broil element supplies heat for cooking purposes and is located in the roof of an oven. If you find there is little to no heat when cooking, a burned-out element, or food is taking too long to cook, these symptoms could be solved by replacing this part. Before starting this replacement, make sure you unplug the range from the power s...Read moreource or shut off from the house circuit breaker. All you need to complete this repair is a Phillips screwdriver. For safety reasons, make sure to wear gloves. Refer to the manual provided by the manufacturer for more instruction.
Read less

$79.17
In Stock
Dual Element Control Switch
Part #WPW10434452
This dual element control switch is designed to regulate heat for dual surface burners on select electric ranges. It provides precise temperature control and helps restore functionality when a burner fails to heat, won’t start, or operates inconsistently. Compatible with various models from Whirlpool, Maytag, KitchenAid, and Amana, this g...Read moreenuine replacement part is not universal. Always verify your appliance’s model number before purchasing to ensure proper fit and performance.
Read less

$34.74
In Stock
Range Safety Thermostat
Part #WP3196548
This part is used as a safety feature. If your range overheats this part will shut the range down.

$131.91
In Stock

$112.57
In Stock
Vent Trim - (Black)
Part #WPW10310922
This black stainless steel oven door vent fits on the top of the oven door, attaches the door handle and the outer glass to the door itself, and vents hot air out of the oven. The vent measures approximately 30.5 inches long x 2 inches wide. This door vent does not come with the attachment screws.

$104.33
In Stock
Range Inner Oven Door Glass
Part #WP8053948
This pane of glass is the innermost piece of glass on your oven door. If you notice that the inner door glass on your oven is damaged, you will need to replace it. This part is made entirely of glass. It is approximately 18.5 inches in length and 12.5 inches in width. To complete this repair, it is easiest to remove the entire door from t...Read morehe oven and set it on a more suitable work surface. You will require a small flat blade screwdriver and either a #3 Phillips screwdriver or a #2 square head screwdriver to complete this repair. This is an OEM part sourced directly from the manufacturer. This part is sold individually.
Read less

$47.40
In Stock
Door Trim - Right Side - Black
Part #W10761014
NOTE: The trim has been re-designed and no longer requires the screws. The dimples on the bottom hold them in place instead.
Common Symptoms of the AER6603SFB5
How this model fails, and the parts that fix it.
Element will not heat
Fixed by
these parts
these parts


Show All
Little to no heat when baking
Fixed by
these parts
these parts


Show All
Oven is too hot
Fixed by
these parts
these parts

Show All
Oven not heating evenly
Fixed by
these parts
these parts

Show All
Little to no heat when broiling
Fixed by
these parts
these parts
Show All
Will Not Start
Fixed by
these parts
these parts
Show All
Door won’t close
Fixed by
these parts
these parts


Show All
Touchpad does not respond
Fixed by
these parts
these parts
Show All
Door won’t open after self cleaning cycle
Fixed by
these parts
these parts

Show All
Watch our pros, then fix it yourself.
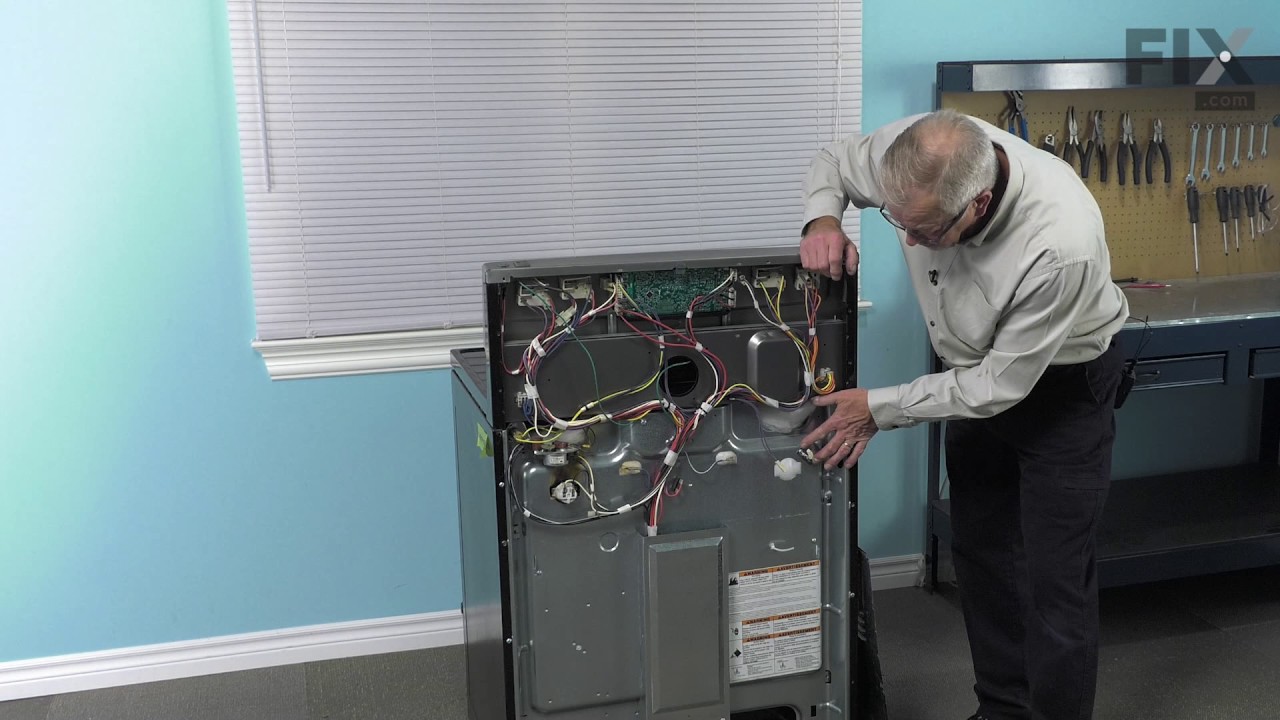
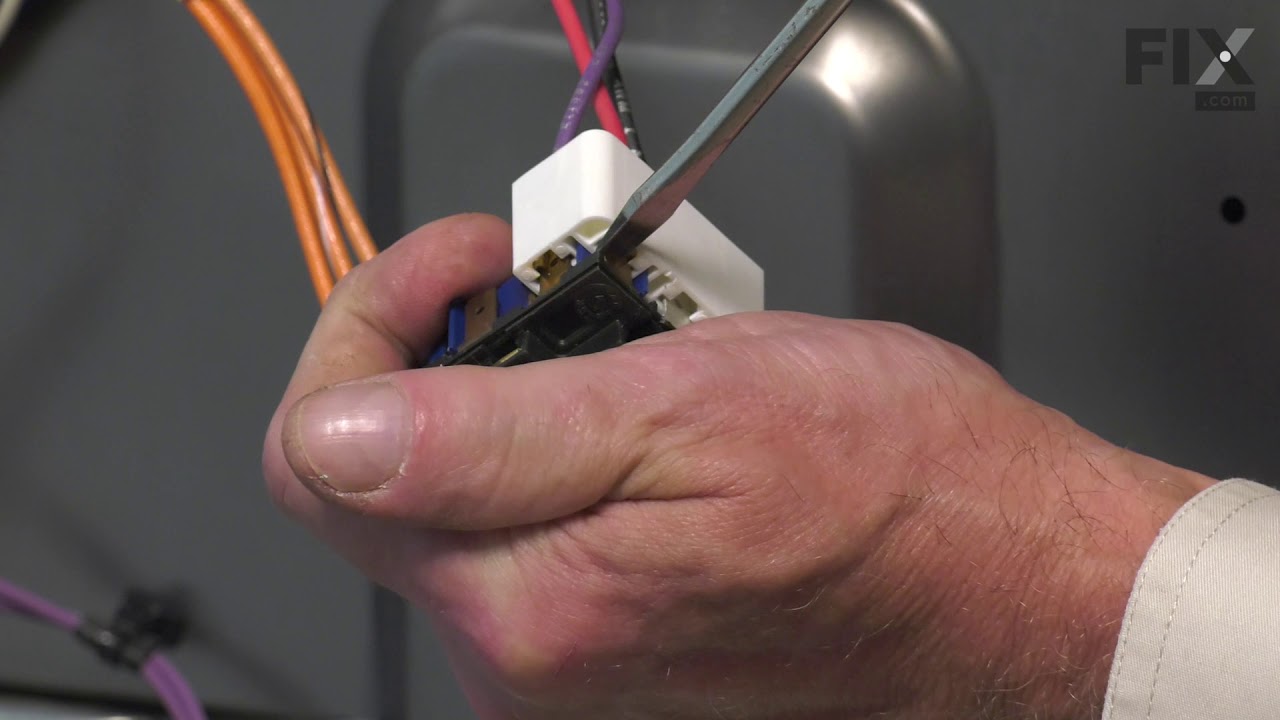
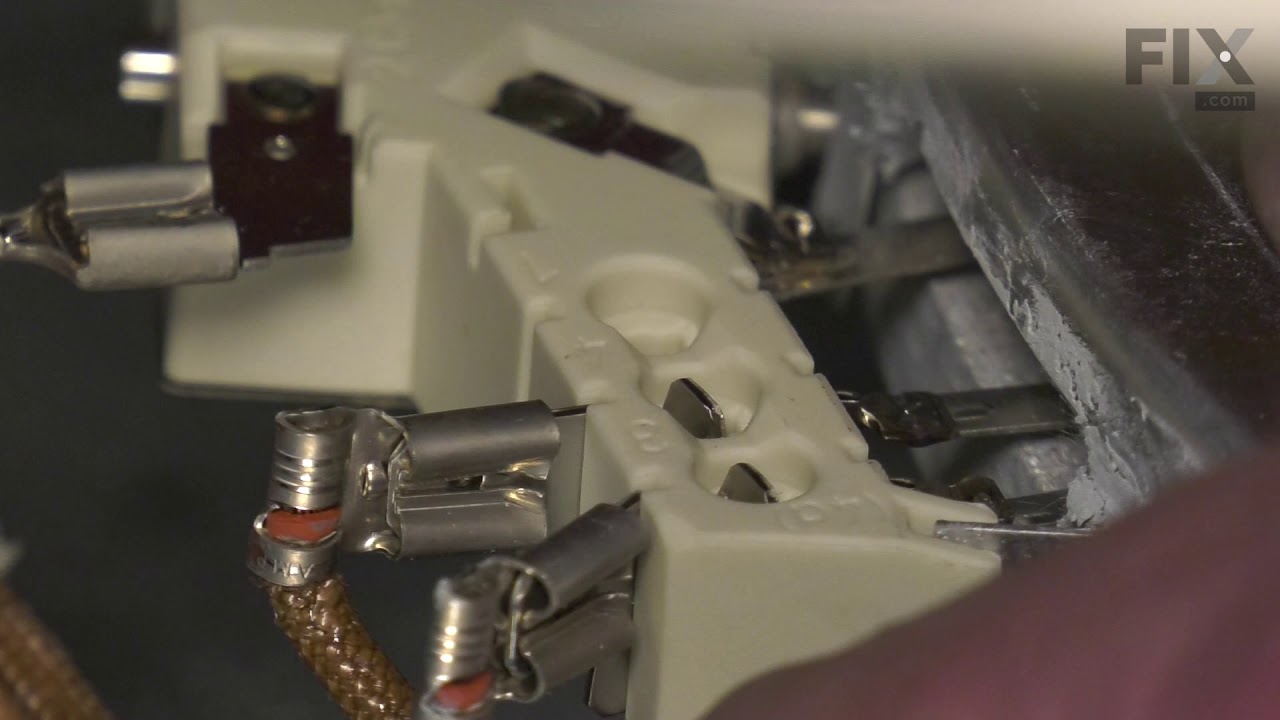

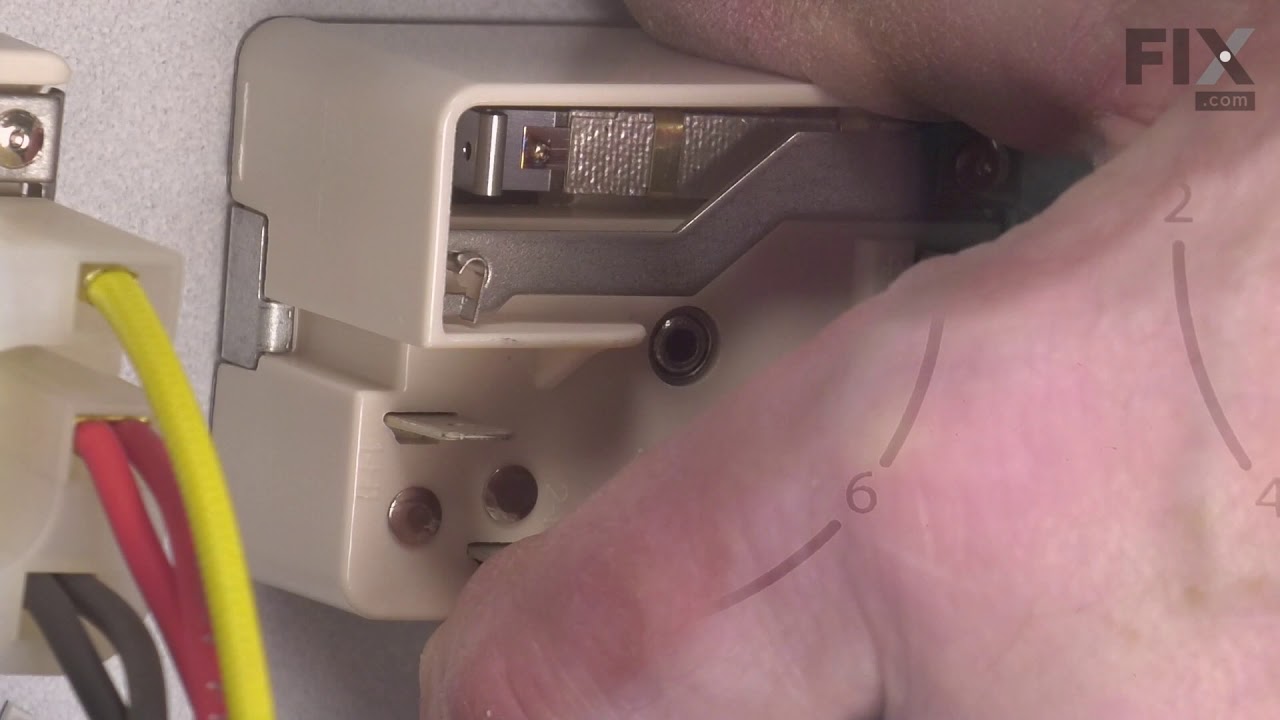
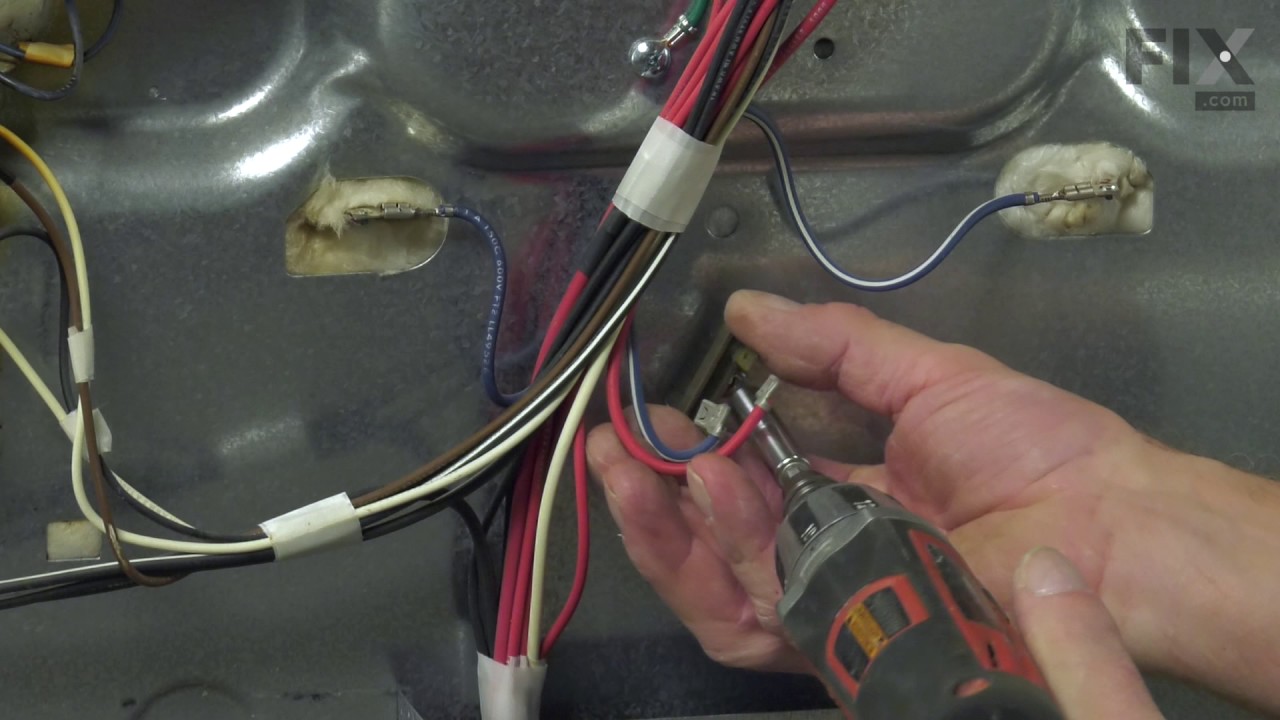
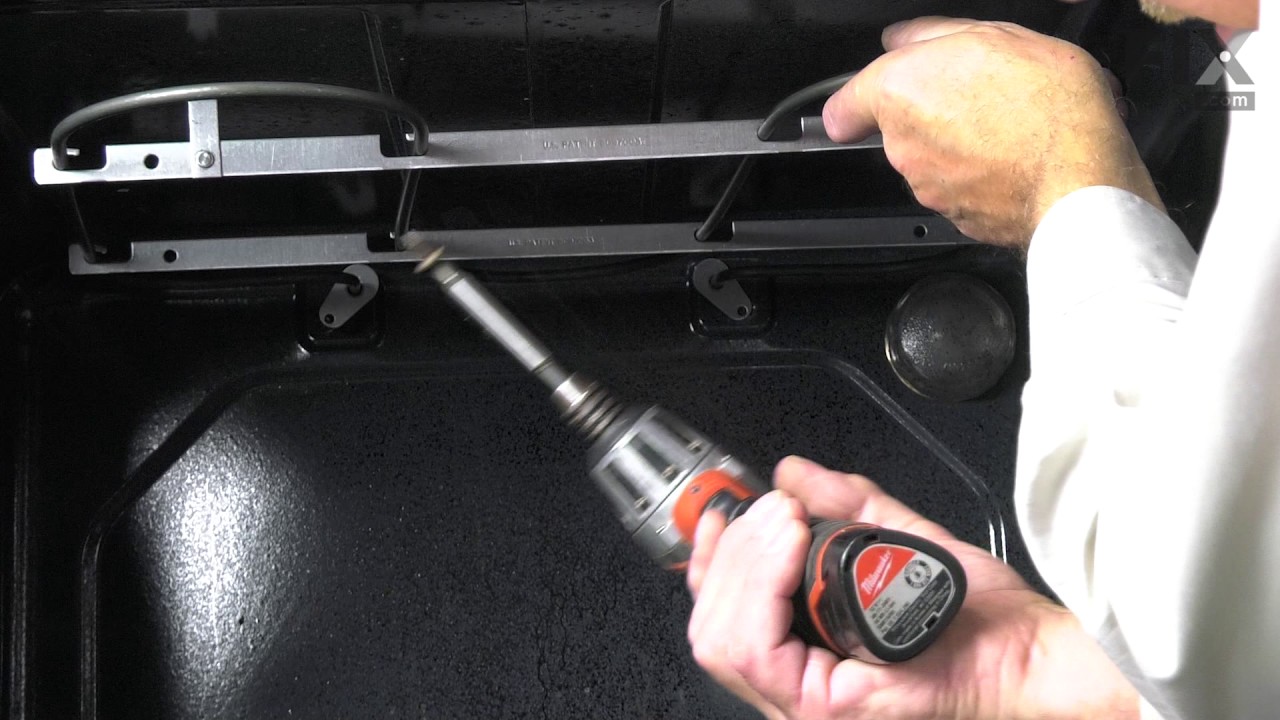

See how others fixed this model. Time, tools, difficulty, and steps that lead to victory!
View More