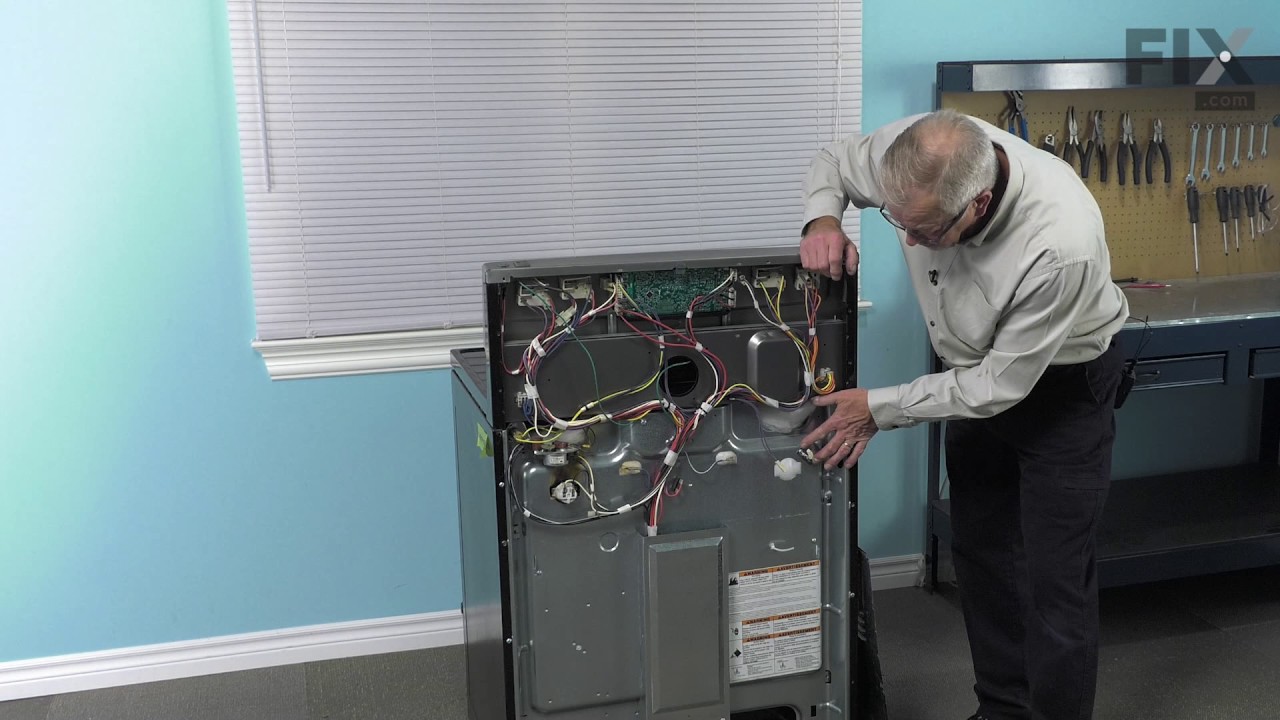
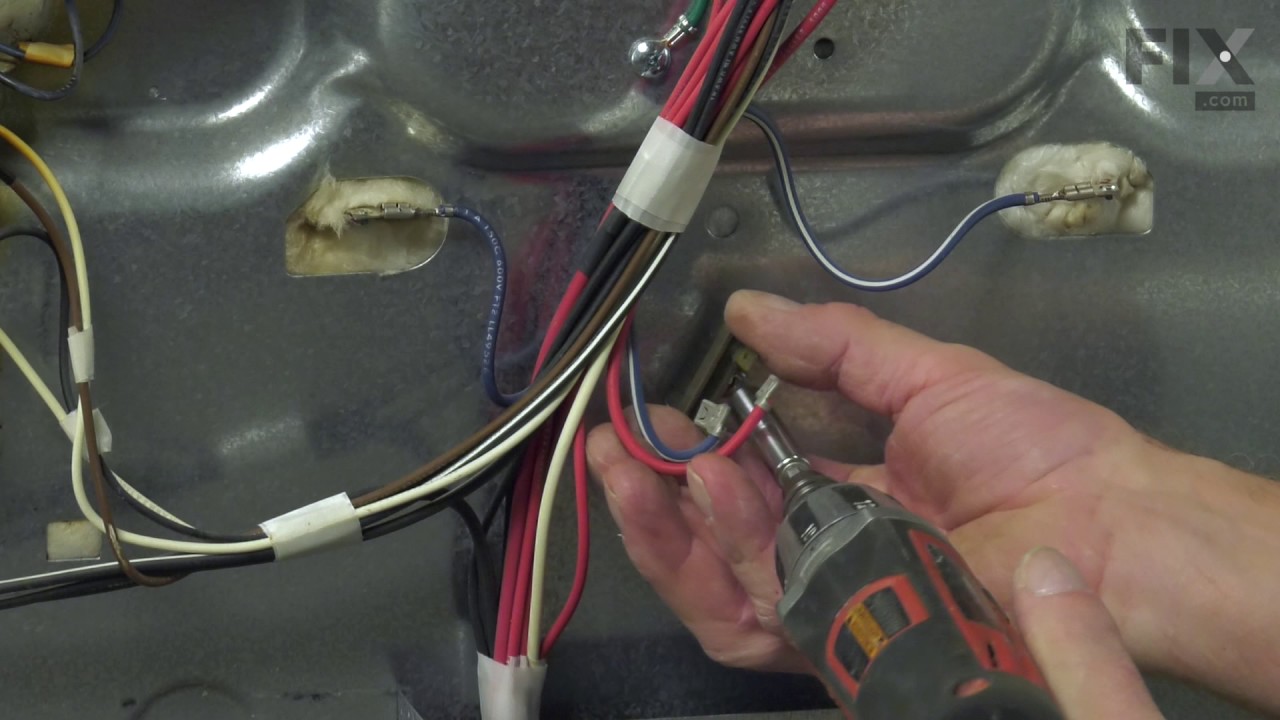
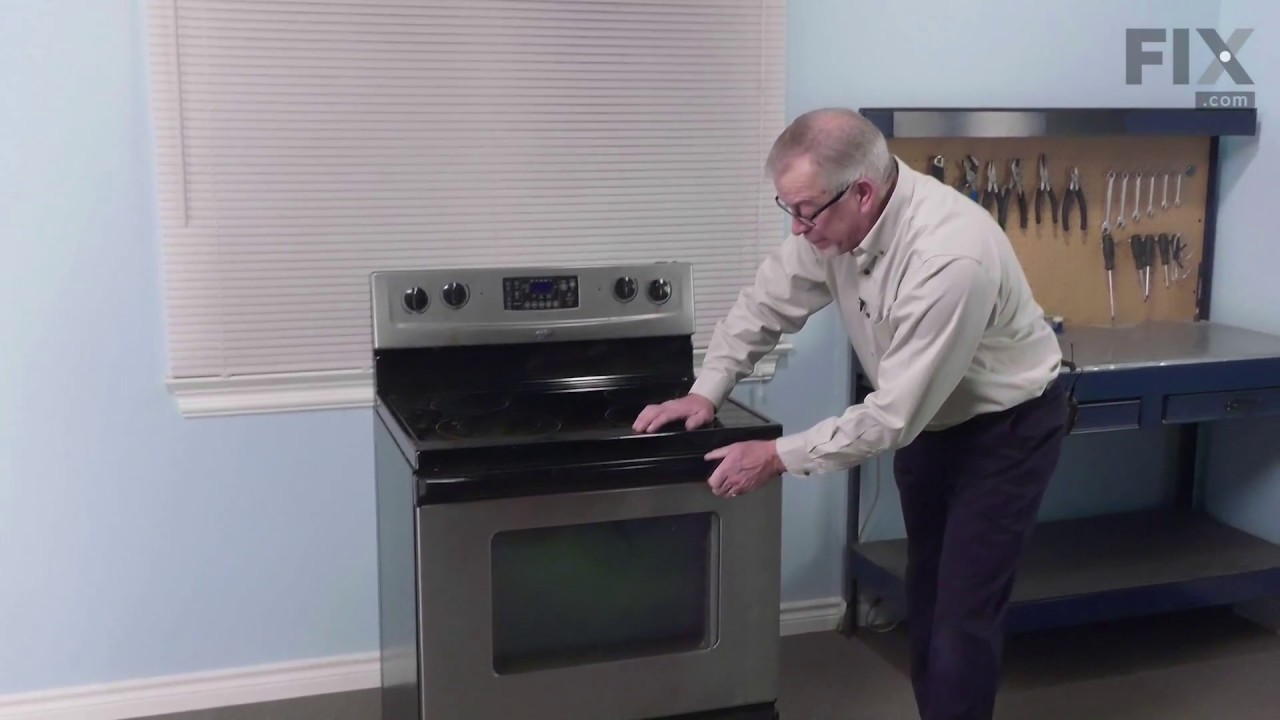
This oven temperature sensor, for ranges, works together with the oven control board to measure and regulate the oven temperature. The sensor detects the temperature in the oven cavity. If the following symptoms occur, replacing the temperature sensor could be the solution: Little or no heat when baking, oven not heating evenly, oven will...Read more not start, and/or oven is overheating. Often, if the sensor is defective, the oven temperature will fluctuate and be inaccurate by more than 50 degrees. The tool needed for this replacement is a #2 square head screwdriver or a #2 Philips screwdriver. Remember to unplug the range before installing the part.
This is a multi-use and multi-appliance screw. It can be used on a microwave, refrigerator, range/oven, air conditioner, dehumidifier, washer, or dryer. The measurements of this screw are 8 x 1/2 inch. It has 6 threads. Refer to the manual provided by the manufacturer for further information on repair and accurate guidance. Remember to wear work gloves as a safety precaution.
This part is for oven ranges, it connects individual wires and protects the device from electrical surges, voltages, and current. With this part, the house power is connected to the range wire harness. Some symptoms replacing the terminal block could be a solution for are little to no heat when baking, element will not heat and/or it will...Read more not start. This part will prevent loosening and will reduce damage caused by corrosion (by two different metals). Refer to the instructional diagram for further replacement guidance and exact placement. You must unplug the appliance before installing this part and wear gloves to protect your hands.
This touch-up paint can be used on a wide variety of household appliances. It is most often used on washers, dryer, refrigerators, dishwashers, ranges, freezers, trash compactors, or microwaves. It is an 18 ml, or.6 fluid ounces, bottle of touch-up paint. It also features a brush for easy application. This quick-drying, long-lasting paint...Read more is perfect for fixing any nicks, scratches, or chips on the exterior of your appliance. This paint is white in color, and provides a durable finish.
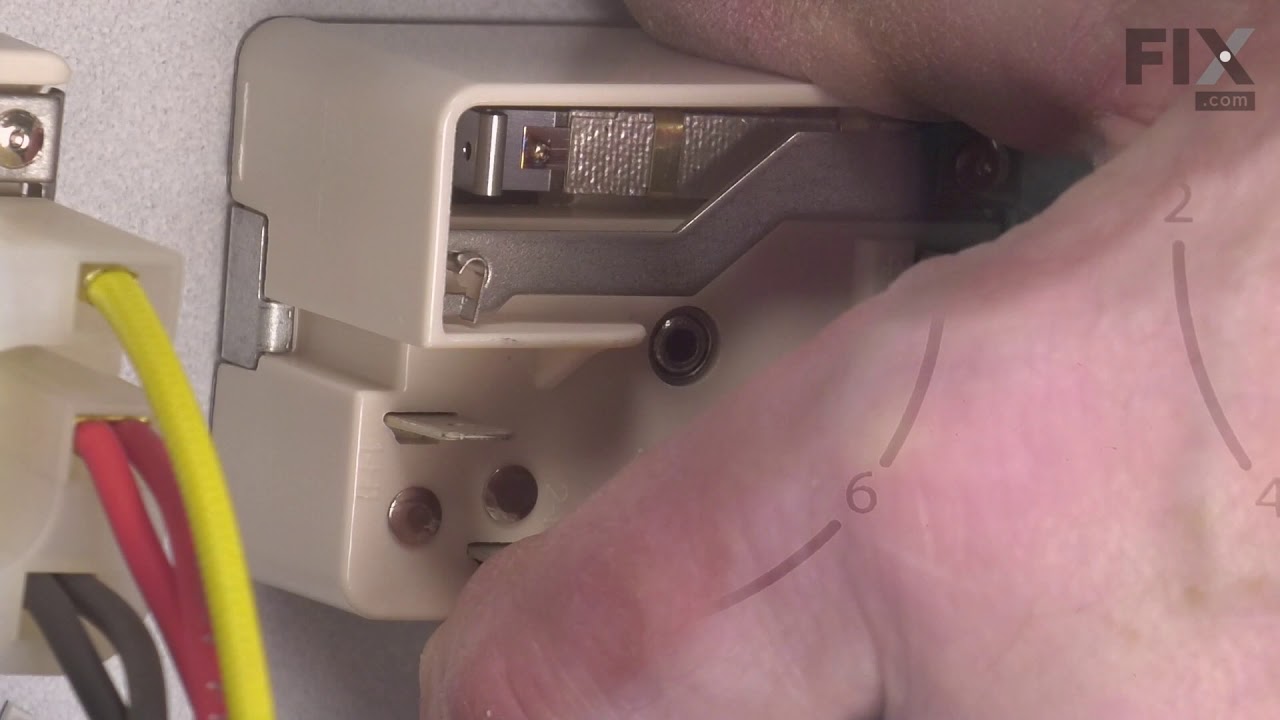
This infinite control switch is designed to regulate the heat output of an 8-inch surface burner on electric ranges and cooktops. It allows precise control over temperature levels by adjusting the voltage sent to the heating element, ensuring consistent and responsive cooking performance. Compatible with a wide range of models, this compo...Read morenent is a direct replacement for switches that fail to heat or maintain temperature. The switch operates by responding to user input via the control knob, delivering the appropriate voltage to the burner. Installation requires disconnecting the appliance from power and using standard tools. Safety precautions, including wearing protective gloves and consulting model-specific instructions, are recommended.
This broiler pan and roasting rack set is designed to help reduce mess while cooking by allowing grease to drain away from food. Its durable porcelain-coated construction stands up to high temperatures and makes cleanup simple. With approximate dimensions of 16 3/4 inches long, 12 3/4 inches wide, and 1 3/4 inches high, it offers a convenient size for everyday broiling and roasting.
This chrome-colored oven rack is designed to provide a stable and heat-resistant surface for cooking, baking, and broiling inside compatible range ovens. Engineered for durability, it fits a variety of models and withstands high temperatures and heavy use. Whether you're replacing a damaged rack or adding an extra one for increased cookin...Read moreg flexibility, this component helps maintain optimal oven performance. Sold individually.
The light socket on your electric range connects the power source to the light bulb. If your oven light is malfunctioning, you may need to replace the light socket. The light socket is located in the back of your range, so in order to access it you will need to remove the back panel. Many of our customers have rated this repair as easy, a...Read morend it should take less than 15 minutes. Before you begin this repair, make sure to disconnect the power source from your range. This is an OEM part sourced directly from the manufacturer.
This white right-hand side oven door trim is a functional and aesthetic component designed to frame the outer edge of the oven door. Positioned along the door’s right side, it enhances insulation, helps retain heat, and protects the glass panel from damage. Its durable construction ensures long-term performance while contributing to a cle...Read morean, finished appearance. Replacing a cracked or damaged trim restores the door’s structural integrity and visual appeal. Installation requires partial disassembly of the oven door and may involve removing screws or panels to access the mounting points.
Ask our experts a question about this model and we'll get back to you as soon as possible!
We may have answered a similar question already! Search questions and answers left by others using simple keywords like "fit", "broken", "easy", or "quality" to find questions that match.
Search filter:
Clear Filter
Your search term must have 3 or more characters.
Sort by:
Prev
1
Next
Sorry, we couldn't find any existing answers that matched.Try using some different or simpler keywords, or submit your new question by using the "Ask a Question" button above!
Robert - For model number AER6303MFB2
January 15, 2024
Snapped off metal stem that go to left turn-on
Knob of an electric range.
Hi Robert, thank you for getting in touch. You will need to replace the infinite switch. The infinite switch for the right front and left rear burner is part number PS11740774, and the infinite switch for the left front and right rear burner is part number PS11740775. We hope this information is useful!
See how others fixed this model. Time, tools, difficulty, and steps that lead to victory!View More
Search repair tips from other customers using simple keywords like "replace", "fit", "remove", "inspect". DIY doesn't mean you have to do it alone!
Search filter:
Clear Filter
Your search term must have 3 or more characters.
mice had made nests in the insulation wrap in the range
129 of 210 peoplefound this instruction helpful.
Wendy from Red Hook, NY
Easy
More than 2 hours
Screw drivers
I numbered every part. ex: 1 L., for first part removed left side. I used a magic marker to circle the holes and wrote the number of screws used on the part, set the srews in a separete place, so that I new where these screws went to. The cleanup was pretty time consuming, but I was able to keep my stove, when every repairman I called to
... Read more fix my stove told me I was better off buying a new stove. ($600.00 stove 2 years old)Please Note: The insulation blanket needed for the entire stove is two pieces, the sides and top are one part # and the bottom and back, are another part #. I did not know this. I just purchased the top and sides. I got lucky, the back and bottom were still in good shape. So I guess I should have read the description of the part more carefully to see what it covers, before I ordered it. It took two people two hours to do the work, it was really nice to have an extra set of eyes, to remember what direction pieces of metal from the stove went. I would do it all over in a heart beat instead of buying a new stove.
Read less
Was this helpful?
Thank you for voting!
temperature not accurate after 3 1/2 years of happy usage
144 of 272 peoplefound this instruction helpful.
Ruth from Oregon, IL
Really Easy
15 - 30 mins
Screw drivers
Opened up the back of the stove. Unpluged the sensor. Replaced the sensor. Replace the back of the stove.
The sensor that has been replaced is not what is expected. After reading all of the instructions for adjusting the temperatures, the only temp that stays steady is when we first turn on the oven to 350 degrees. That stays s
... Read moreteady but when I turn it to 400 it slowly goes up to 425 degrees.
Read less
Was this helpful?
Thank you for voting!
The burner would keep heating after turning off the switch
61 of 68 peoplefound this instruction helpful.
RON from KAUFMAN, TX
Easy
15 - 30 mins
Nutdriver, Pliers, Screw drivers
Start by turning off the power to the range. It was fairly easy to take the "Control Deck" off the top of the range by removing about 8 screws. I leaned the deck forward without removing any wires except a green ground that was held on by one of the screws. There are two small screws under the switch knob holding the Infinite S
... Read morewitch to the panel. I removed these and let the switch hang on the wires. To avoid missplacing or crossing the wires... I moved one wire at a time to the new switch, then attached the switch to the panel and put it all back together. Whole job was done in about 15 minutes




 My Orders