


 My Orders




AER584 Amana Range - Overview
Models starting with AER584
Click on the best match to narrow your results.
- AER5844VAB0 Amana Range (FREE STANDING - ELECTRIC)
- AER5844VAB1 Amana Range (30" ELECTRIC FREESTANDING RANGE)
- AER5844VAD0 Amana Range (FREE STANDING - ELECTRIC)
- AER5844VAS0 Amana Range (FREE STANDING - ELECTRIC)
- AER5844VAS1 Amana Range (30" ELECTRIC FREESTANDING RANGE)
- AER5844VAW0 Amana Range (FREE STANDING - ELECTRIC)
- AER5844VAW1 Amana Range (30" ELECTRIC FREESTANDING RANGE)
- AER5844VCB0 Amana Range (FREE STANDING - ELECTRIC)
- AER5844VCB1 Amana Range (30" ELECTRIC FREESTANDING RANGE)
- AER5844VCB2 Amana Range (30" ELECTRIC CERAN FREESTANDING RANGE)
- AER5844VCS0 Amana Range (FREE STANDING - ELECTRIC)
- AER5844VCS1 Amana Range (30" ELECTRIC FREESTANDING RANGE)
- AER5844VCS2 Amana Range (30" ELECTRIC CERAN FREESTANDING RANGE)
- AER5844VCW0 Amana Range (FREE STANDING - ELECTRIC)
- AER5844VCW1 Amana Range (30" ELECTRIC FREESTANDING RANGE)
- AER5844VCW2 Amana Range (30" ELECTRIC CERAN FREESTANDING RANGE)
- AER5845QAB Amana Range (Freestanding, Electric)
- AER5845QAF Amana Range (Freestanding, Electric)
- AER5845QAF17 Amana Range (30" ELECTRIC FREESTANDING RANGE)
- AER5845QAN Amana Range (Freestanding, Electric)
- AER5845QAS Amana Range (Freestanding, Electric)
- AER5845RAB Amana Range (Freestanding, Electric)
- AER5845RAS Amana Range (Freestanding, Electric)
- AER5845RAW Amana Range (Freestanding, Electric)
Enter a part description. DIY Heroes keep it simple, eg. "belt" or "pump".
Search filter:
Clear Filter
Your search term must have 3 or more characters.

$19.54
In Stock
Light Bulb - 40W
Part #8009
This an authentic OEM 40-Watt replacement light bulb, used in a number of household appliances. It is specially designed to withstand extreme temperatures, which is why these replacement bulbs are most often used to light the inside of refrigerators and ranges. It features a standard socket base, which means you simply unscrew the burnt-o...Read moreut bulb and screw in the replacement. Depending on the appliance you may require a screwdriver or nut driver to access the light bulb. We recommend you wear work gloves while handling this replacement part. It is constructed of glass and metal and is sold individually. Depending on the appliance and location of the bulb within it, you may want to consider disconnecting power and using a flashlight for easier access to unscrewing and re-screwing in your bulb during this repair.
Read less

$43.18
In Stock
Long Oven Sensor
Part #12001656
This long oven sensor is also commonly known as a temperature sensor. It is designed for use with ovens and ranges. It is similar to a thermostat; it measures and regulates the internal temperature of your oven cavity. There is an adapter at one end, a probe at the other, and they are connected by an insulated wire. The probe is approxima...Read moretely 7 inches long. You can test the sensor with a multi-meter for functionality. You need to check the model-specific manual to determine what the proper resistance is for your specific appliance. This oven sensor comes with two wire harness adapters and a set of instructions.
Read less

$52.17
In Stock
Oven Bake Element
Part #WPW10308477
This bake element is located at the bottom of the oven to supply heat and it has push-on terminals. If your baking element is burnt out, the heat is not consistent, or is defective, then replacing the element could be a solution to your appliance problem. The tools needed for this replacement are: a screwdriver and needle-nose pliers. The...Read more first step in is to unplug the range or shut off the house circuit breaker before starting. Unscrew the black of the oven cavity to pull out wires from the defective element. Reconnect wires to the new element and screw it back on. Make sure the element is sitting flat.
Read less

$56.33
In Stock
Surface Burner Element Switch, Large Burner
Part #WP3149400
This surface burner element switch is for an 8-inch surface burner on an oven, stove, or range. The element switch controls the heat of the surface burner. Disconnect power to your range before completing this repair because you will be working closely with electrical circuits. Remove the screws from back panel and the console, and remove...Read more the console to expose the switch. It is recommended to check for overheating or arcing on the wiring harness in case they need to be replaced as well. The harness that connects to the switch features a slip-on terminal for easy installation.
Read less

$23.60
In Stock
Leveler Foot Screw (Nylon)
Part #W11665456
This is a leveling leg for your oven, range, or stove. The leveling legs on your oven allow your appliance to sit perfectly flat. The new one may be longer in length than your original, but will work the same. Install the new leveling leg, and test if you have it adjusted properly by putting the appliance on four legs. Adjust in or out a...Read mores required if your oven is rocking. It is recommended to check the other three leveling legs on your appliance in case they are also damaged or worn. The leveling leg measures 1.859", is all black in color, and is made entirely out of plastic. This leg may be shorter than the original but is the factory replacement. Longer leg is not available.
Read less

$75.13
In Stock
Oven Sensor
Part #WPW10181986
This oven temperature sensor, for ranges, works together with the oven control board to measure and regulate the oven temperature. The sensor detects the temperature in the oven cavity. If the following symptoms occur, replacing the temperature sensor could be the solution: Little or no heat when baking, oven not heating evenly, oven will...Read more not start, and/or oven is overheating. Often, if the sensor is defective, the oven temperature will fluctuate and be inaccurate by more than 50 degrees. The tool needed for this replacement is a #2 square head screwdriver or a #2 Philips screwdriver. Remember to unplug the range before installing the part.
Read less

$21.45
In Stock
Screw
Part #W11233072
This is a multi-use and multi-appliance screw. It can be used on a microwave, refrigerator, range/oven, air conditioner, dehumidifier, washer, or dryer. The measurements of this screw are 8 x 1/2 inch. It has 6 threads. Refer to the manual provided by the manufacturer for further information on repair and accurate guidance. Remember to wear work gloves as a safety precaution.

$9.62
In Stock
Range Rear Drawer Glide
Part #WP8053334
This OEM replacement rear drawer glide supports the storage drawer on your range, and allows the drawer to open and close with ease. If your storage drawer will not open or close, or catches and sticks when you are trying to move it, there could be an issue with the glides. Check the glides and glide channels for any physical damage, and ...Read moremake sure they are properly fastened to the range walls. To complete this quick and easy repair, you will need a Phillips screw driver. Because the drawer has four glides and each are sold separately, make sure to order the correct amount you require.
Read less

$7.47
In Stock
Range Screw w/Washer
Part #WP74006515
This is a replacement screw and washer for your oven/range. It is a Phillips-head screw approximately half an inch long, and the washer is approximately 1 inch in diameter. The screw attaches the oven door handle to the door. This part is sold individually and is an authentic OEM part sourced directly from the manufacturer.

$53.85
Special Order
Range Rack
Part #WPW10256908
This oven rack is a piece for your range. The oven rack is sold individually and is silver in color. The function of this part is to provide a balanced and flat surface for your cookware to sit inside your oven. The measurements of this piece are 24 inches wide and 16 inches deep. When replacing your old oven rack with your new piece, no ...Read moretools are required. Before making this installation, make sure your range is turned off and your oven has cooled down inside.
Read less

$125.62
In Stock
Oven Bake Element
Part #WPW10276482
This lower oven bake element is a genuine replacement component designed to deliver consistent heat from the bottom of the oven cavity. Engineered for select models from Whirlpool, KitchenAid, Maytag, and Amana, it converts electrical energy into radiant heat to ensure uniform baking performance. Constructed from durable materials, it off...Read moreers reliable heat transfer and long-term resilience under high-temperature conditions. Replacement is recommended when the oven fails to heat properly, produces uneven results, or shows visible signs of damage such as burning or breakage. Installation should be performed with the appliance unplugged, and model compatibility must be verified prior to purchase.
Read less

$142.40
In Stock
Element with Limiter 6 Inch - 1200W
Part #W10823711
This is a radiant surface element with limiter, and it works in conjunction with your range. The function of this part is to give heat to the surface directly above it, on cooking area stove top.This model is sold individually and is 1200 watts. The main reason for needing to replace this part is if your element will not heat. Before orde...Read morering, make sure to test your stove top radiant element for continuity to make sure it is the problem. To make this installation you will need a Phillips screwdriver, and a 14-inch nut driver.
Read less
Common Symptoms of models starting with AER584
How this model fails, and the parts that fix it.
Element will not heat
Fixed by
these parts
these parts


Show All
Little to no heat when baking
Fixed by
these parts
these parts


Show All
Oven is too hot
Fixed by
these parts
these parts


Show All
Oven not heating evenly
Fixed by
these parts
these parts
Show All
Door won’t close
Fixed by
these parts
these parts


Show All
Will Not Start
Fixed by
these parts
these parts


Show All
Little to no heat when broiling
Fixed by
these parts
these parts

Show All
Touchpad does not respond
Fixed by
these parts
these parts
Show All
Will not program
Fixed by
these parts
these parts

Show All
Door won’t open after self cleaning cycle
Fixed by
these parts
these parts

Show All
Watch our pros, then fix it yourself.
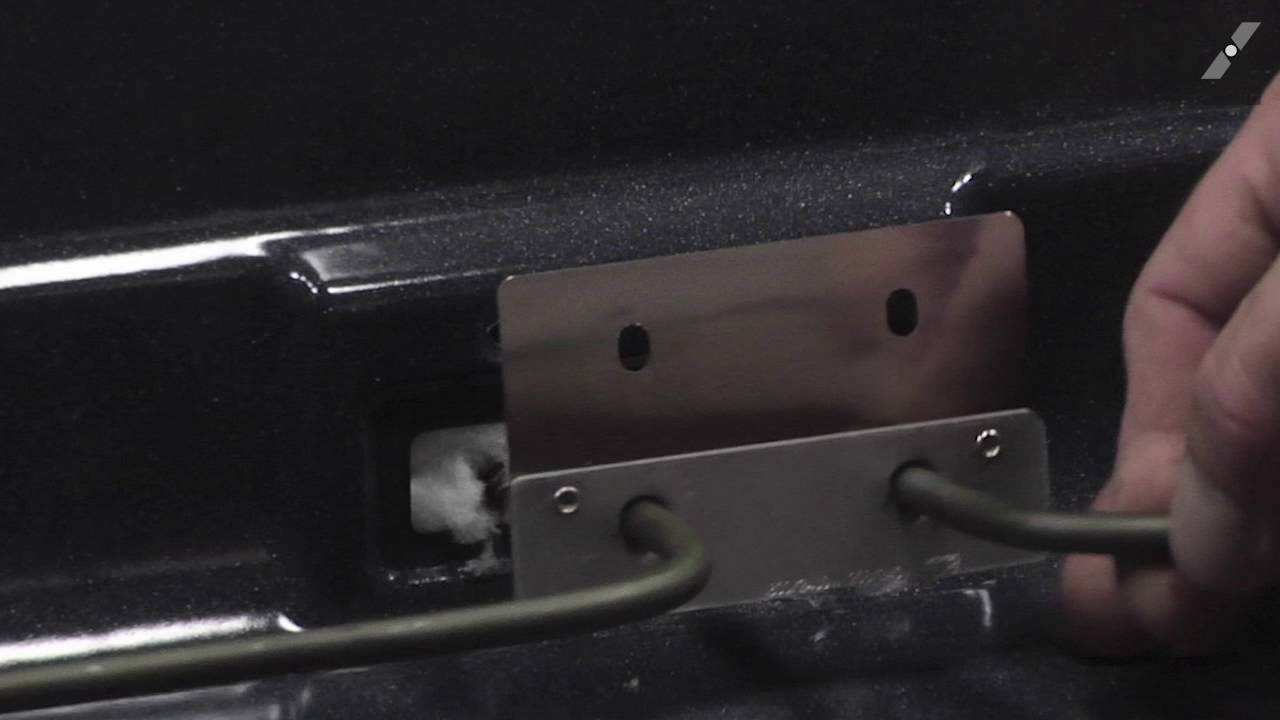

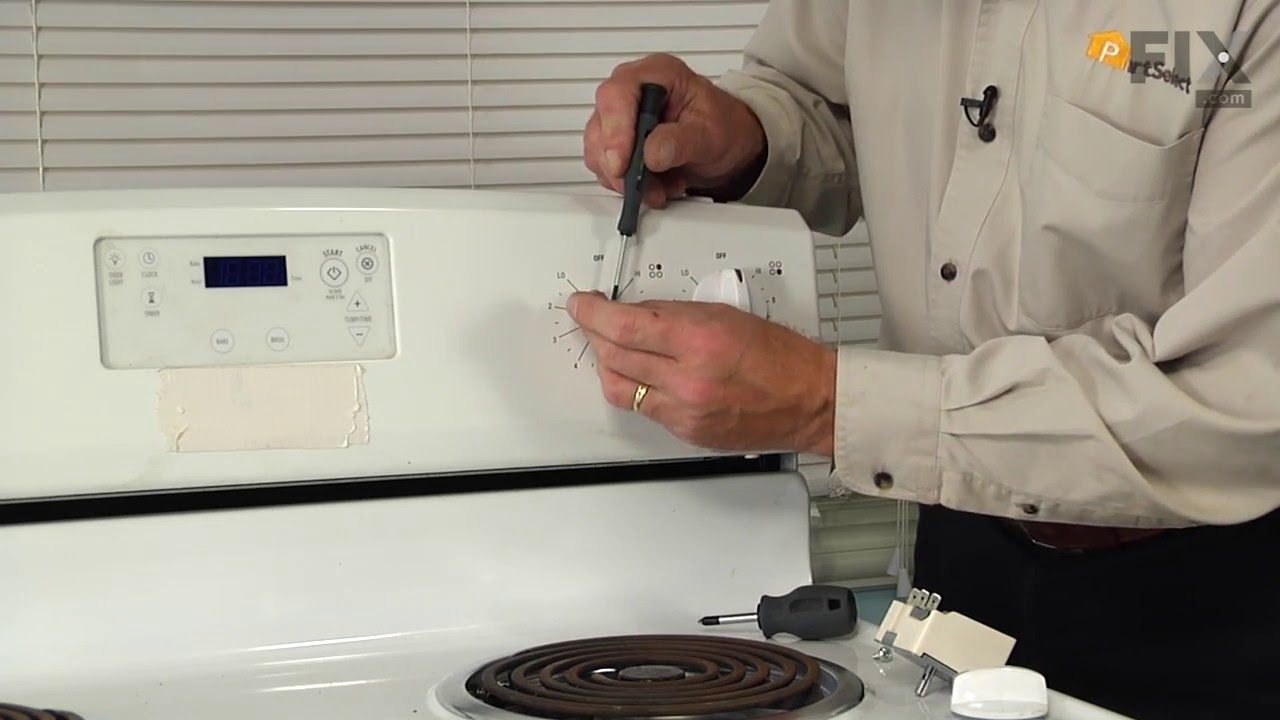
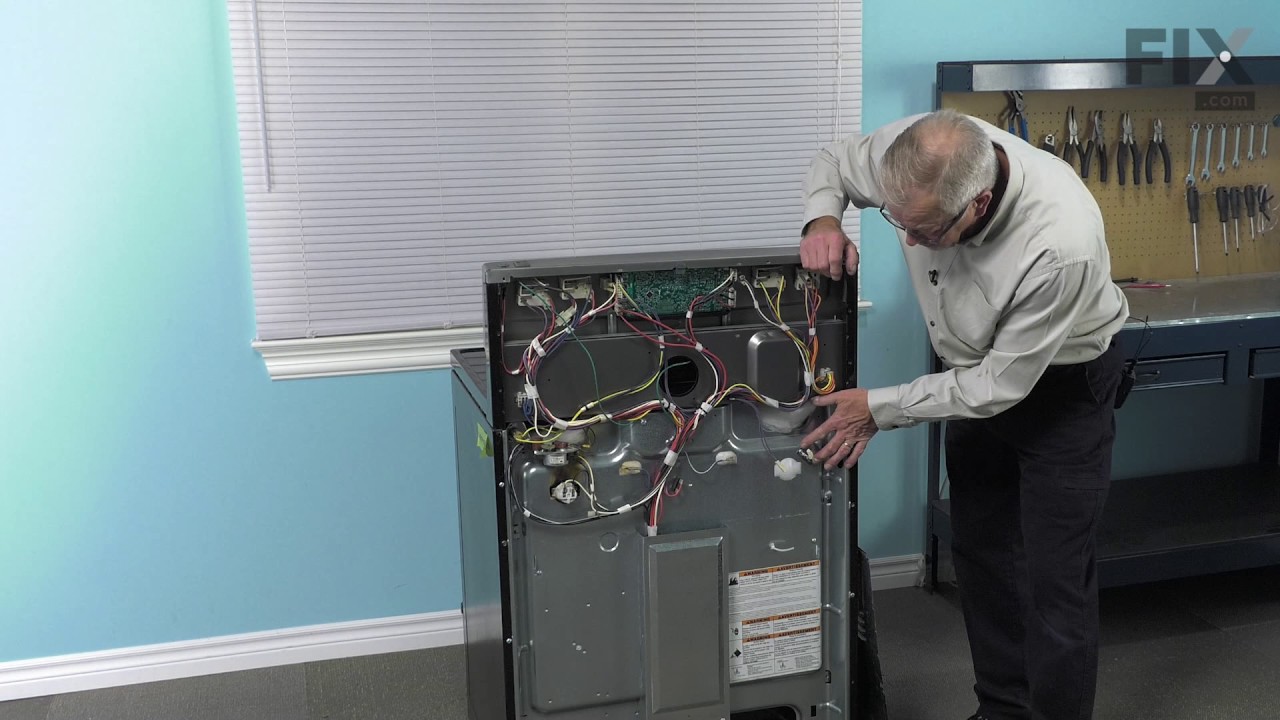
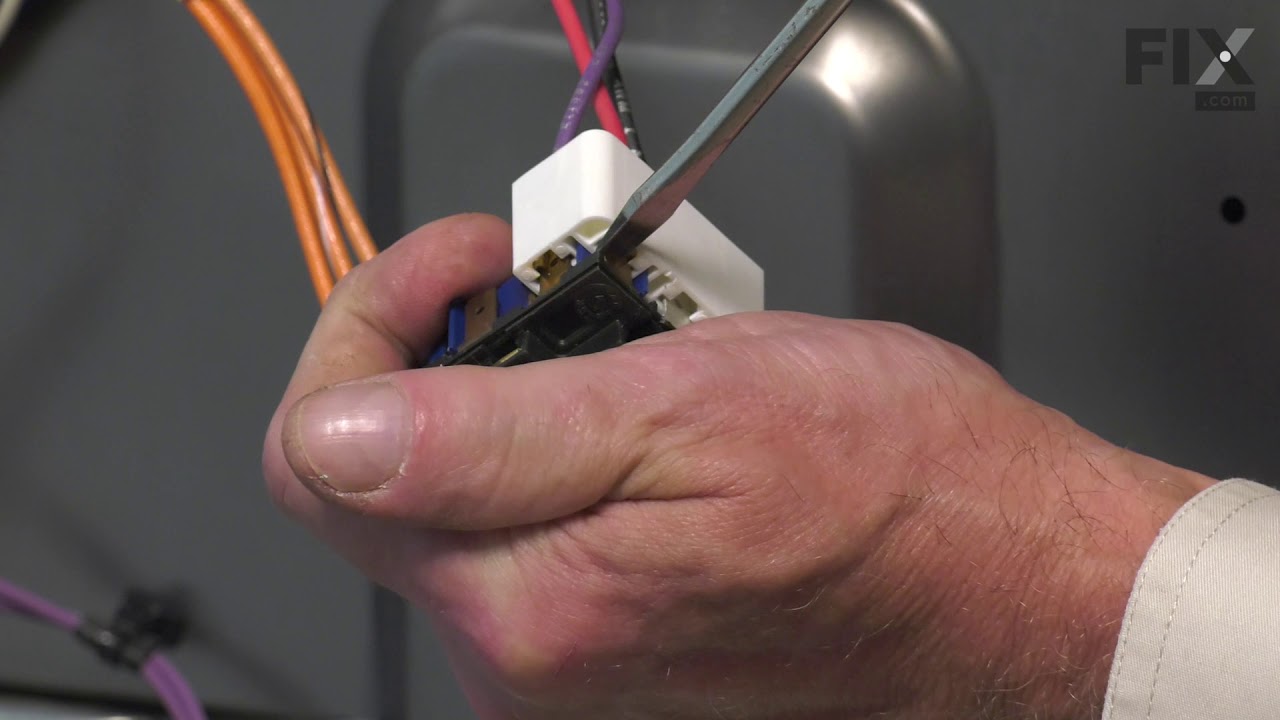
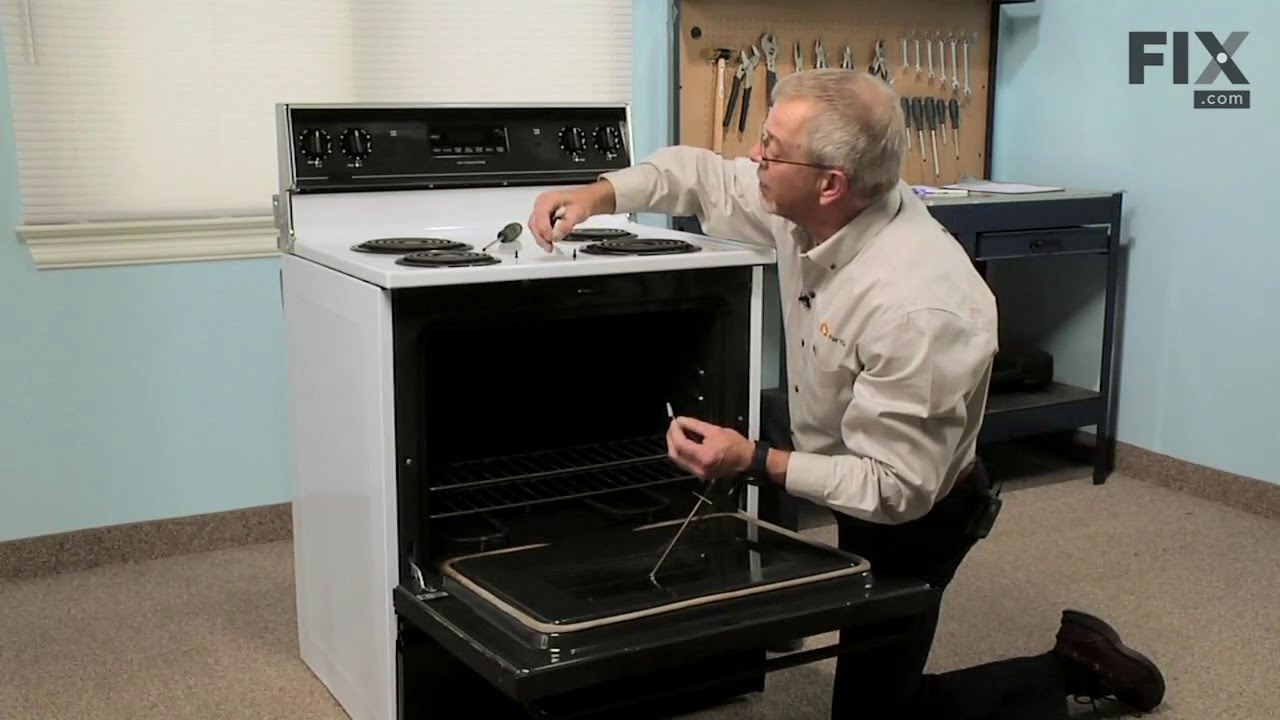

See how others fixed this model. Time, tools, difficulty, and steps that lead to victory!
View More