This an authentic OEM 40-Watt replacement light bulb, used in a number of household appliances. It is specially designed to withstand extreme temperatures, which is why these replacement bulbs are most often used to light the inside of refrigerators and ranges. It features a standard socket base, which means you simply unscrew the burnt-o...Read moreut bulb and screw in the replacement. Depending on the appliance you may require a screwdriver or nut driver to access the light bulb. We recommend you wear work gloves while handling this replacement part. It is constructed of glass and metal and is sold individually. Depending on the appliance and location of the bulb within it, you may want to consider disconnecting power and using a flashlight for easier access to unscrewing and re-screwing in your bulb during this repair.
This long oven sensor is also commonly known as a temperature sensor. It is designed for use with ovens and ranges. It is similar to a thermostat; it measures and regulates the internal temperature of your oven cavity. There is an adapter at one end, a probe at the other, and they are connected by an insulated wire. The probe is approxima...Read moretely 7 inches long. You can test the sensor with a multi-meter for functionality. You need to check the model-specific manual to determine what the proper resistance is for your specific appliance. This oven sensor comes with two wire harness adapters and a set of instructions.
This is a leveling leg for your oven, range, or stove. The leveling legs on your oven allow your appliance to sit perfectly flat. The new one may be longer in length than your original, but will work the same. Install the new leveling leg, and test if you have it adjusted properly by putting the appliance on four legs. Adjust in or out a...Read mores required if your oven is rocking. It is recommended to check the other three leveling legs on your appliance in case they are also damaged or worn. The leveling leg measures 1.859", is all black in color, and is made entirely out of plastic. This leg may be shorter than the original but is the factory replacement. Longer leg is not available.
This is a multi-use and multi-appliance screw. It can be used on a microwave, refrigerator, range/oven, air conditioner, dehumidifier, washer, or dryer. The measurements of this screw are 8 x 1/2 inch. It has 6 threads. Refer to the manual provided by the manufacturer for further information on repair and accurate guidance. Remember to wear work gloves as a safety precaution.
This is a replacement screw and washer for your oven/range. It is a Phillips-head screw approximately half an inch long, and the washer is approximately 1 inch in diameter. The screw attaches the oven door handle to the door. This part is sold individually and is an authentic OEM part sourced directly from the manufacturer.
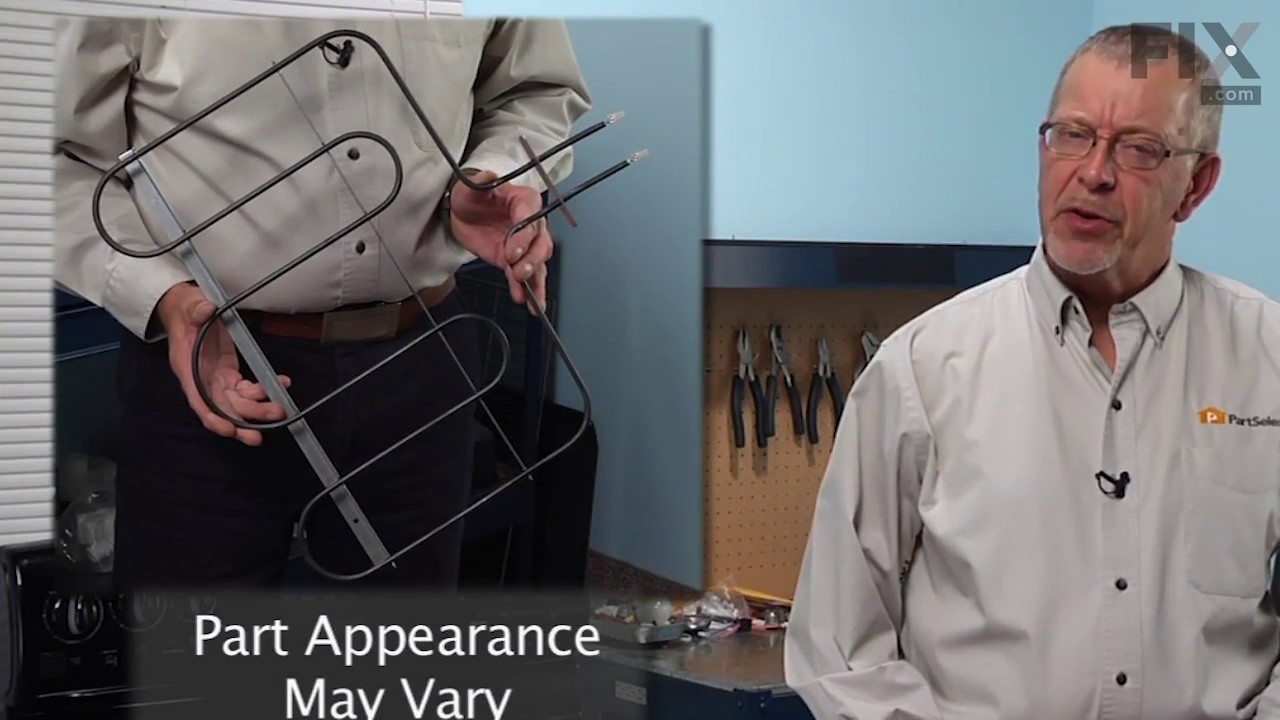
This lower oven bake element is a genuine replacement component designed to deliver consistent heat from the bottom of the oven cavity. Engineered for select models from Whirlpool, KitchenAid, Maytag, and Amana, it converts electrical energy into radiant heat to ensure uniform baking performance. Constructed from durable materials, it off...Read moreers reliable heat transfer and long-term resilience under high-temperature conditions. Replacement is recommended when the oven fails to heat properly, produces uneven results, or shows visible signs of damage such as burning or breakage. Installation should be performed with the appliance unplugged, and model compatibility must be verified prior to purchase.
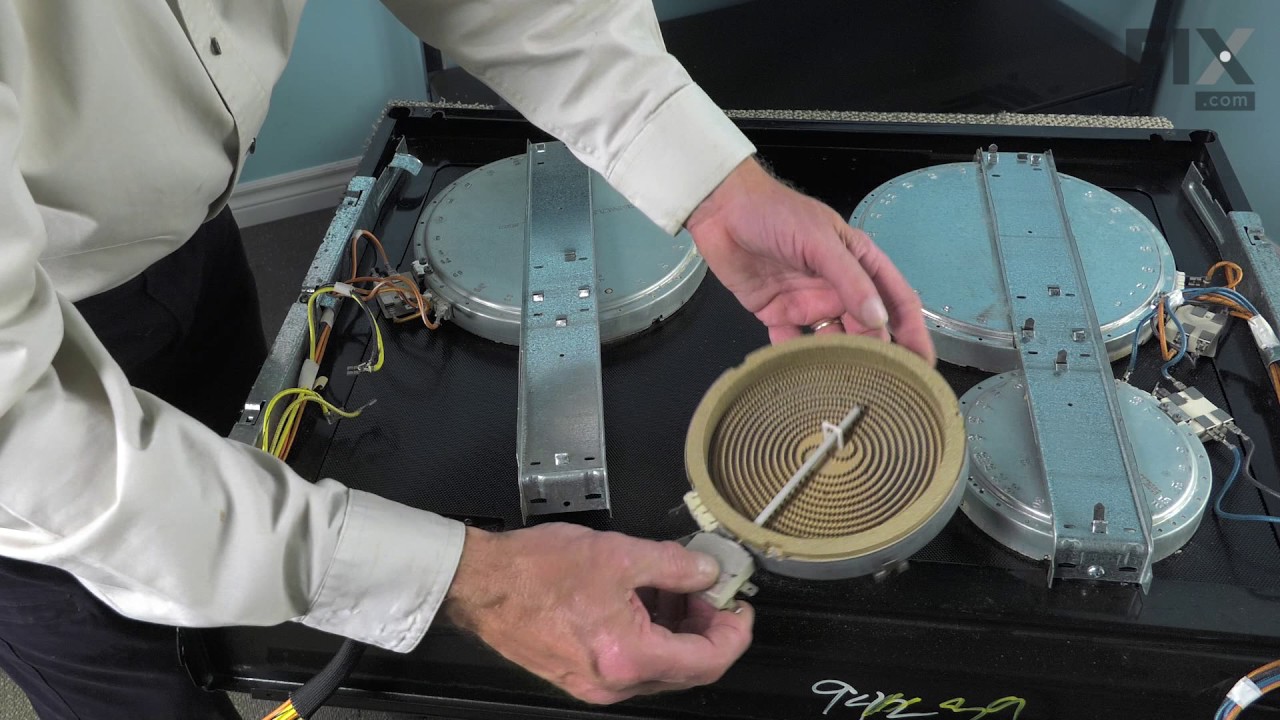
This is a radiant surface element with limiter, and it works in conjunction with your range. The function of this part is to give heat to the surface directly above it, on cooking area stove top.This model is sold individually and is 1200 watts. The main reason for needing to replace this part is if your element will not heat. Before orde...Read morering, make sure to test your stove top radiant element for continuity to make sure it is the problem. To make this installation you will need a Phillips screwdriver, and a 14-inch nut driver.
This part is for oven ranges, it connects individual wires and protects the device from electrical surges, voltages, and current. With this part, the house power is connected to the range wire harness. Some symptoms replacing the terminal block could be a solution for are little to no heat when baking, element will not heat and/or it will...Read more not start. This part will prevent loosening and will reduce damage caused by corrosion (by two different metals). Refer to the instructional diagram for further replacement guidance and exact placement. You must unplug the appliance before installing this part and wear gloves to protect your hands.
This broiler pan and roasting rack set is designed to help reduce mess while cooking by allowing grease to drain away from food. Its durable porcelain-coated construction stands up to high temperatures and makes cleanup simple. With approximate dimensions of 16 3/4 inches long, 12 3/4 inches wide, and 1 3/4 inches high, it offers a convenient size for everyday broiling and roasting.
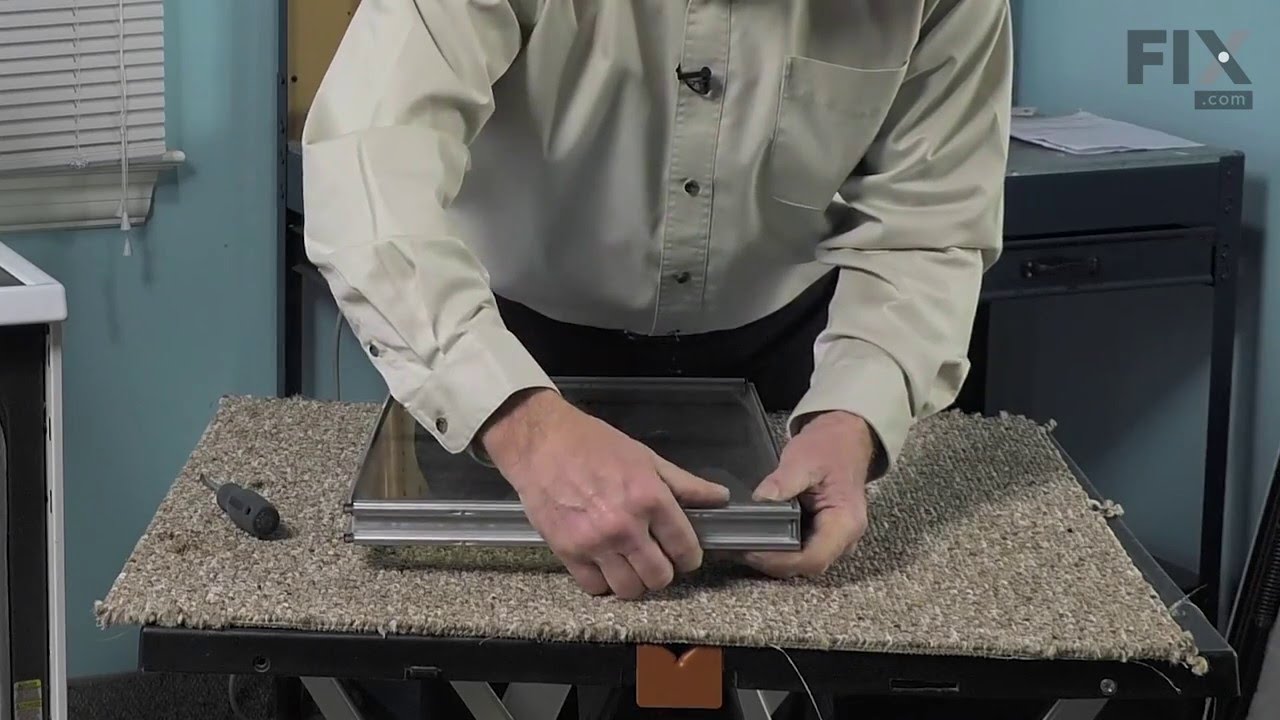
This interior oven door glass is the innermost heat-resistant panel that faces into the oven cavity, helping to contain heat while allowing visibility during cooking. Measuring approximately 20 5/8 inches by 13 1/8 inches, it is designed to fit select oven models. If the glass is cracked or damaged, it should be replaced promptly to maint...Read moreain safety and performance. When installing, ensure the oven is cool and wear protective gloves to prevent injury. This replacement part is sold individually and does not include additional accessories.
This door hinge can be used for the left or right side. As per the manufacturer if the hinges have never been replaced on the appliance, they suggest to replace the door hinge receptacle kit.
The light cover lens in your oven is designed to protect the light bulb. If your light cover lens is damaged, you will need to replace it. This part is made of clear glass and is roughly 3 inches in diameter. Many of our customers have rated this repair as easy, and it should take less than 10 minutes to complete. In order to do this repa...Read moreir, simply unscrew the old light cover lens, and replace it with the new one. If your old light cover lens is damaged, be careful of any broken glass when completing this repair.
Ask our experts a question about this model and we'll get back to you as soon as possible!
We may have answered a similar question already! Search questions and answers left by others using simple keywords like "fit", "broken", "easy", or "quality" to find questions that match.
Search filter:
Clear Filter
Your search term must have 3 or more characters.
Sort by:
Prev
1
Next
Sorry, we couldn't find any existing answers that matched.Try using some different or simpler keywords, or submit your new question by using the "Ask a Question" button above!
Lindsey - For model number AER5715QAS
January 24, 2020
My control panel works but the stove and oven will not heat?
Hello Lindsay, thank you for your question. If the oven is not heating at all the issue could be with the thermostat PartSelect Number: PS1570174 or the oven control board Part #: PS11742901. We hope this helps.
1 personfound this instruction helpful.
Was this helpful?
Thank you for voting!
Beth - For model number AER5715QAS
January 12, 2025
My burners will not turn off after I turn the knob off. Is there one piece to replace for each side(dual burners left)? I have turned the breaker off. I also need feet, This was a floor model and had no feet & leveling Bracket. My father used to pieces of wood to prop it up off the floor.
Hi Beth, thank you for contacting us. It seems that there is an issue with the surface element switch, part number PS11744487. It is responsible for sending power to the surface elements. You may need to replace it to fix the issue. The leveling legs for your model are part number PS16875974. They are sold individually. We hope that helps!
See how others fixed this model. Time, tools, difficulty, and steps that lead to victory!View More
Search repair tips from other customers using simple keywords like "replace", "fit", "remove", "inspect". DIY doesn't mean you have to do it alone!
Search filter:
Clear Filter
Your search term must have 3 or more characters.
Right rear burner went bad
155 of 190 peoplefound this instruction helpful.
Mark from Loxahatchee, FL
Really Easy
15 - 30 mins
Nutdriver, Screw drivers
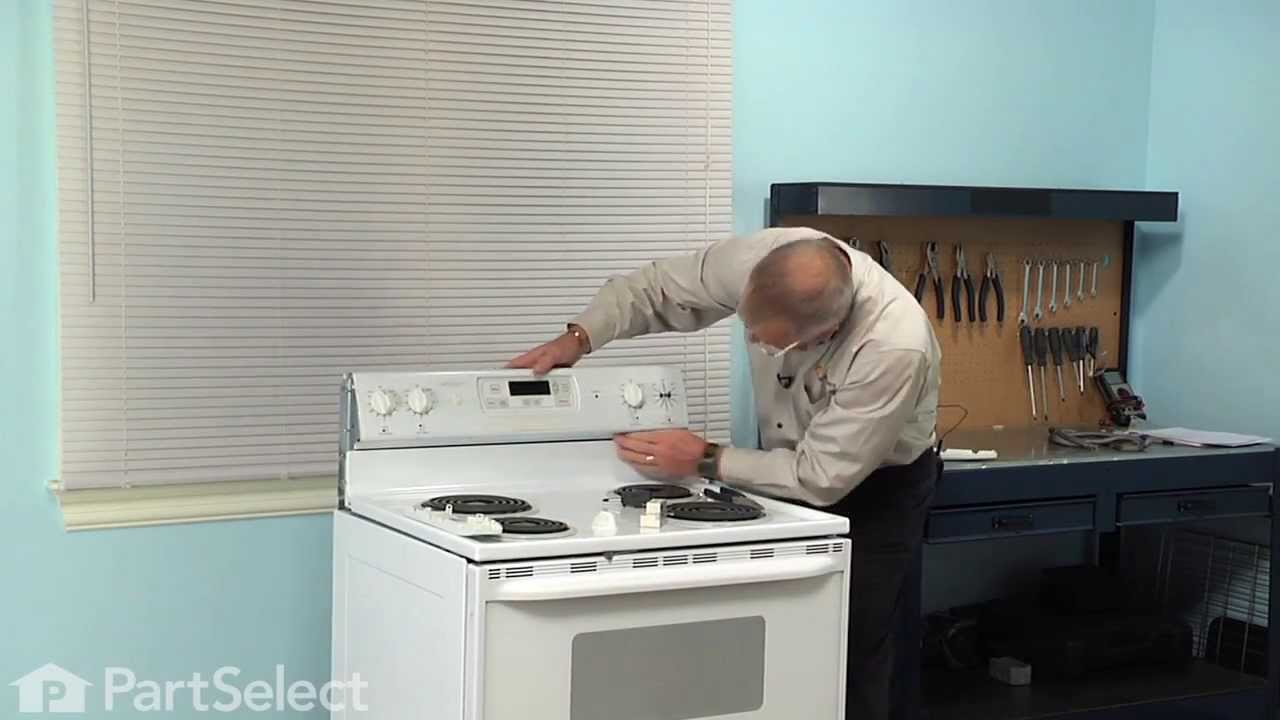
Turned the breaker off, I removed 2 screws securing the range top to the range, opened the top and secured it in the up position, Removed the 2 screws securing the element ,one at a time I swapped the quick connectors from the old element to the new and repeated the process in reverse. I save over $100.00 in labor, plus most companies get
... Read more you for a trip charge. It was easy!!
Read less
Was this helpful?
Thank you for voting!
Oven not holding 350 F, when cooling the coils did not reheat
162 of 213 peoplefound this instruction helpful.
David from Westford, MA
Really Easy
15 - 30 mins
Screw drivers
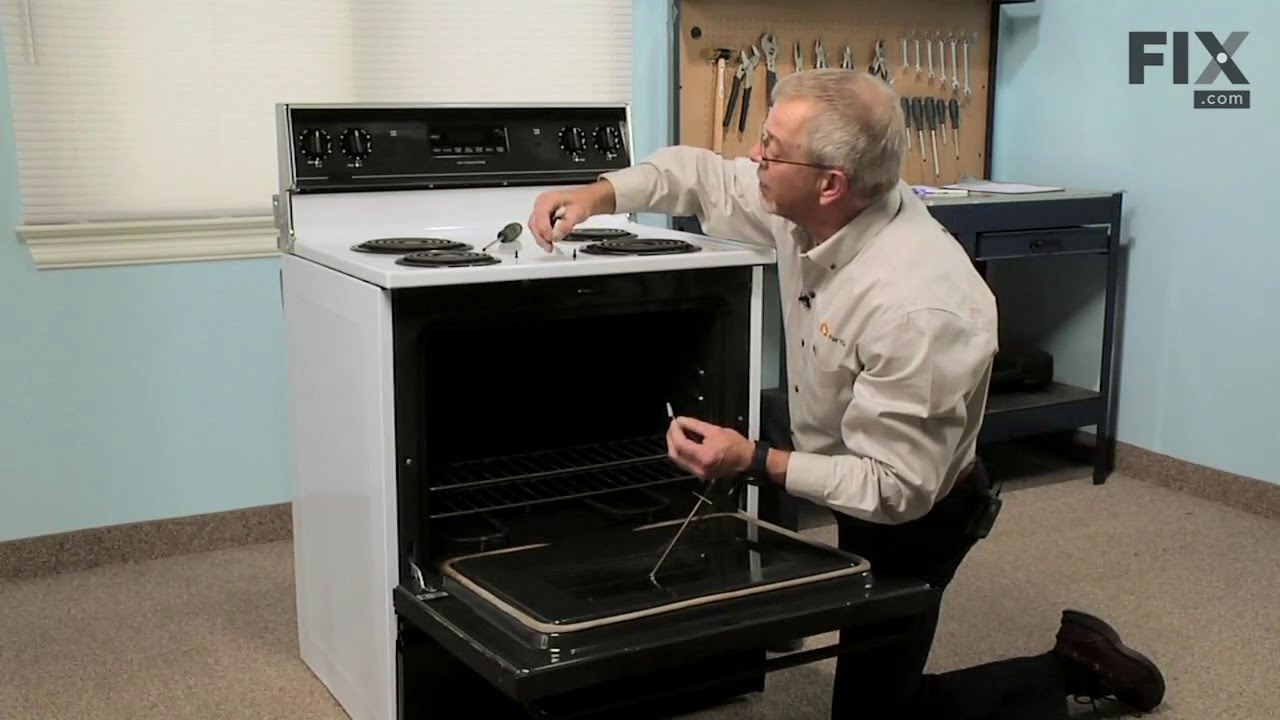
Removed the oven door by opening slightly, then pic door up to remove. Remove 2 screws holding oven sensor in place, gently pull on sensor to remove, had to remove about 8 inches to get at plastic connector. Unplug connector, had to use an adapter cable supplied with the PartSelect kit to install new sensor, push cable back into opening,
... Read morereinstall 2 screws. The oven works fine! Note that due to thermal lag the temperature overshoots to 370 degrees and undershoots to 340 degrees, this appears to be normal oven operation. Putting door back in place was easy.
Read less
Was this helpful?
Thank you for voting!
Oven wouldn't get hot enough
139 of 152 peoplefound this instruction helpful.
Shawn from Atlantic Highlands, NJ
Easy
15 - 30 mins
Screw drivers
First and MOST IMPORTANTLY, I located the breaker switch for my oven and turned it off. I verified this by noticing that the electric clock on the oven display was no longer powered.
After removing all the oven racks, I removed the two screws at the bottom of the back end of the oven holding the metal "floor" in place.
... Read more/> Removing the "floor" cover exposed the old heating element and I was able to quickly identify the corrosion of the old heating element which caused it break.
I unscrewed the two screws attaching the heating element to the bottom of the oven, then there was another screw attaching the back of the heating element to the back wall of the oven.
I had to pull the element towards me with a decent amount of force. This is the "quick and dirty" way of getting the job done, because I didn't want to have to find a way to pull my entire oven out from the wall of my kitchen in order to gain access to the back panel. Eventually with enough pulling, the two wires came through the holes with the gator clips still attached to the element (good! it would not have been fun if one of those came off too soon). Incidentally, a bit of fiberglass insulation also came through the holes. It didn't seem to be a big deal, I just discarded the fluff.
I detached the gator clips from the old heating element and removed it. It had a fair amount of black carbon residue (I assume) so you might want to wear gloves for this part or at least have a paper towel handy to clean your hands up.
Just follow the same directions in reverse the get the new element in. Hook up the gator clips, shove them through the two holes in the back of the oven, remount all the screws, remount the oven "flooring" and screw it back in. Before replacing the flooring, you may want to try turning on your oven to ensure it gives a nice pretty orange glow. Of course don't forget to let it cool down before proceeding, if you do that!
Don't think you have to be an expert to do this one. I was able to diagnose and fix this problem without any prior oven repair situations under my belt.



 My Orders





.gif "SUPPLEMENTAL INFORMATION Diagram and Parts List for Amana Range")