


 My Orders




AE5213 Dryer - Overview
Models starting with AE5213
Click on the best match to narrow your results.
Enter a part description. DIY Heroes keep it simple, eg. "belt" or "pump".
Search filter:
Clear Filter
Your search term must have 3 or more characters.

$13.92
In Stock
Multi Rib Belt
Part #WP40111201
This dryer drum drive belt attaches to the motor pully and works the drum as the motor rotates. The belt has a length of 93- 3/6 inches, and wraps all the way around the dryer drum, around a tension pulley, and then around the drive motor pully. Replacing the rib belt could solve symptoms such as a screeching noise when the dryer tumbles,...Read more a broken belt (dryer will not tumble if its broken), no heat or not enough heat, or the dryer will not start. The tools needed for this repair are a nut driver and a putty knife. Remember to unplug the dryer before installing the part and protect your hands by wearing gloves.
Read less

$21.45
In Stock
Idler Pulley Wheel w/ Bearing
Part #WPY54414
The idler pulley wheel helps the belt to rotate the drum in your dryer. If your dryer will not start, will not tumble, or is noisy during operation, the idler pulley wheel may need to be replaced. This part is located beneath the drum of the dryer, so the drum will need to be removed before you can access the idler pulley wheel. It is als...Read moreo recommended to remove the blower housing and motor from the dryer itself, for easier access to the idler pulley wheel. It is connected by a set of two 5/16 screws. This two-inch-wide idler pulley wheel is beige or black in color and is made of plastic. This pulley wheel comes with its own metallic bearing in its center. Be sure to shut off power to the dryer before beginning this repair.
Read less

$25.75
In Stock
Dryer Door Catch Kit
Part #LA-1003
This door catch kit is designed for use in dryers. This is an authentic OEM replacement part. This catch assembly ensures the door of your appliance will close, and remain closed. It allows your appliance to both start and complete a full drying cycle. There are two pieces included in this kit, one catch, and one strike. You open and clos...Read moree the door on such a regular basis that this mechanism can wear out. It is a fairly common part to replace. You will need to remove the door of your dryer to install the replacement catch assembly.
Read less

$12.85
In Stock
Retaining Ring
Part #WP23748
The metal retaining ring, which is under an inch long, holds the rear wheels on the axels of the dryer. The main reason why it would need to replaced is if the retaining ring has sprung out of place or is damaged. Some the symptoms could be that your dryer does not tumble, it makes a loud buzzing noise, or if it pumps, but will not spin. ...Read moreThe tools needed for this project are a putty knife, 5/16 nut driver, and snap ring pliers. Refer to the installation video and diagram for further instructions and guidance. Customers ranked this replacement project as easy.
Read less

$7.47
In Stock

$24.67
In Stock
Door Switch Kit
Part #W10169313
This part replaces two terminal switches in a dryer and prevents the dryer from running when the door is open. This includes two connectors. If your dryer will not shut off, start, or does not tumble, replacing the door switch can solve this appliance problem. The tools needed for replacement are a screw driver and wire strippers. Make su...Read morere to attach the two wires to the right two poles of the new switch, to do this you can check the resistance of the switch. Unplug the dryer before installing this part, also refer to the diagram provided by the manufacturer.
Read less

$7.47
In Stock

$68.86
In Stock
Blower Wheel
Part #56000
If your dryer is noisy, will not tumble, or is not producing enough heat, you may need to replace the blower wheel. This part is white in color, and is made of plastic. This part is approximately 8 inches in diameter. The blower wheel is located near the bottom of your dryer cabinet. To access it for this repair, you will need to remove b...Read moreoth the front panel and the front bulkhead assembly. Before you begin this repair, be sure to disconnect the power source to the dryer. To complete this repair, you will need a 5/16 inch nut driver, a 1/4 inch nut driver, a pair of locking pliers and a 7/8 socket with a short extension and a ratchet.
Read less

$74.08
Special Order
Idler Pulley Shaft
Part #WP56461
This shaft is made to fit the center of the idler pulley wheel of many clothes dryers. It is less than two inches long, and is made of metal.

$9.62
On Order
Spring Retaining Clip
Part #WP22001650
This spring retaining clip is just under 1 inch long. The clip is made entirely of metal and is attached to the back wall of the washer, under the console. If your washer is vibrating and louder than usual during the wash cycle, your spring retaining clip could be faulty or damaged. Check the clip for visible damage, wear, and rust. If yo...Read moreu notice any signs of damage, the part should be replaced. Remember to disconnect the power from your washing machine before starting this repair.
Read less

No Longer Available
Rubber Leveling Leg Foot Pad
Part #WPY314137
This gray levelling leg foot pad is made of rubber and is just over an inch in diameter. Sold individually.

$7.47
On Order
Common Symptoms of models starting with AE5213
How this model fails, and the parts that fix it.
Noisy
Fixed by
these parts
these parts


Show All
Door won’t close
Fixed by
these parts
these parts

Show All
Drum Not Spinning
Fixed by
these parts
these parts
Show All
Won’t Start
Fixed by
these parts
these parts

Show All
Will not agitate
Fixed by
these parts
these parts

Show All
Burning smell
Fixed by
these parts
these parts
Show All
Door Pops Open
Fixed by
these parts
these parts
Show All
Not Heating
Fixed by
these parts
these parts

Show All
Running With Door Open
Fixed by
these parts
these parts
Show All
Spins slowly
Fixed by
these parts
these parts
Show All
Watch our pros, then fix it yourself.
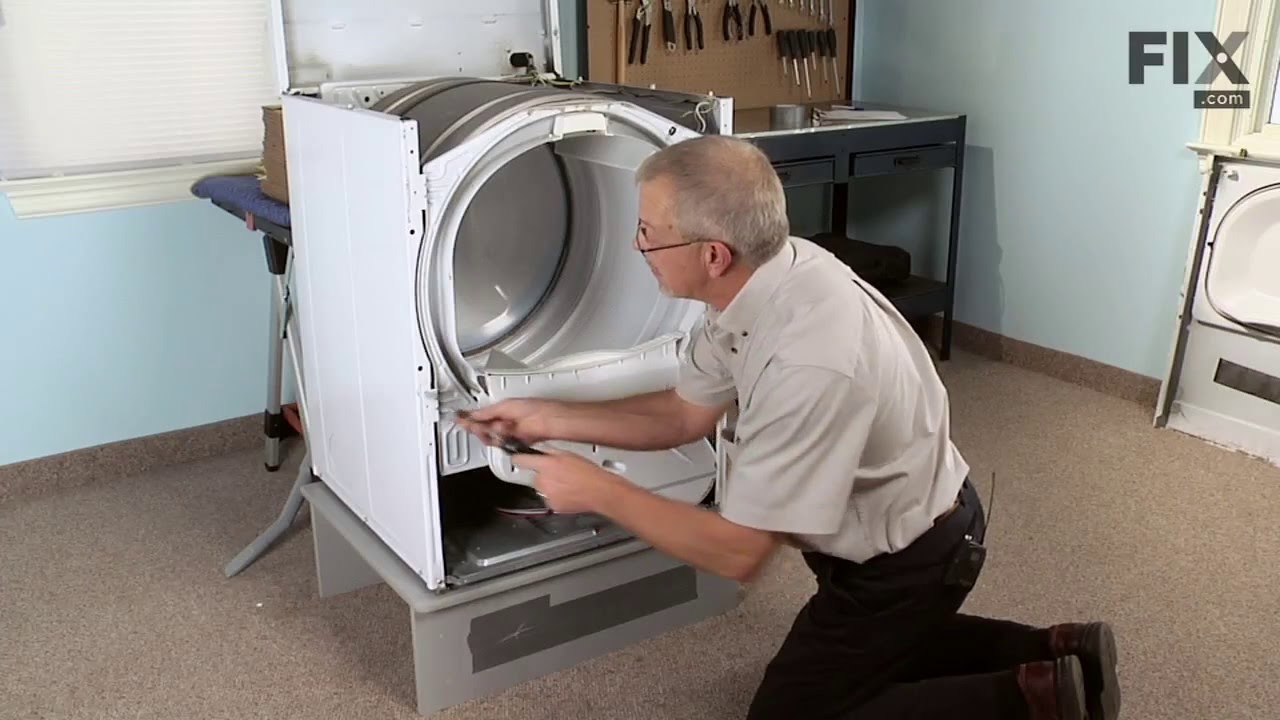
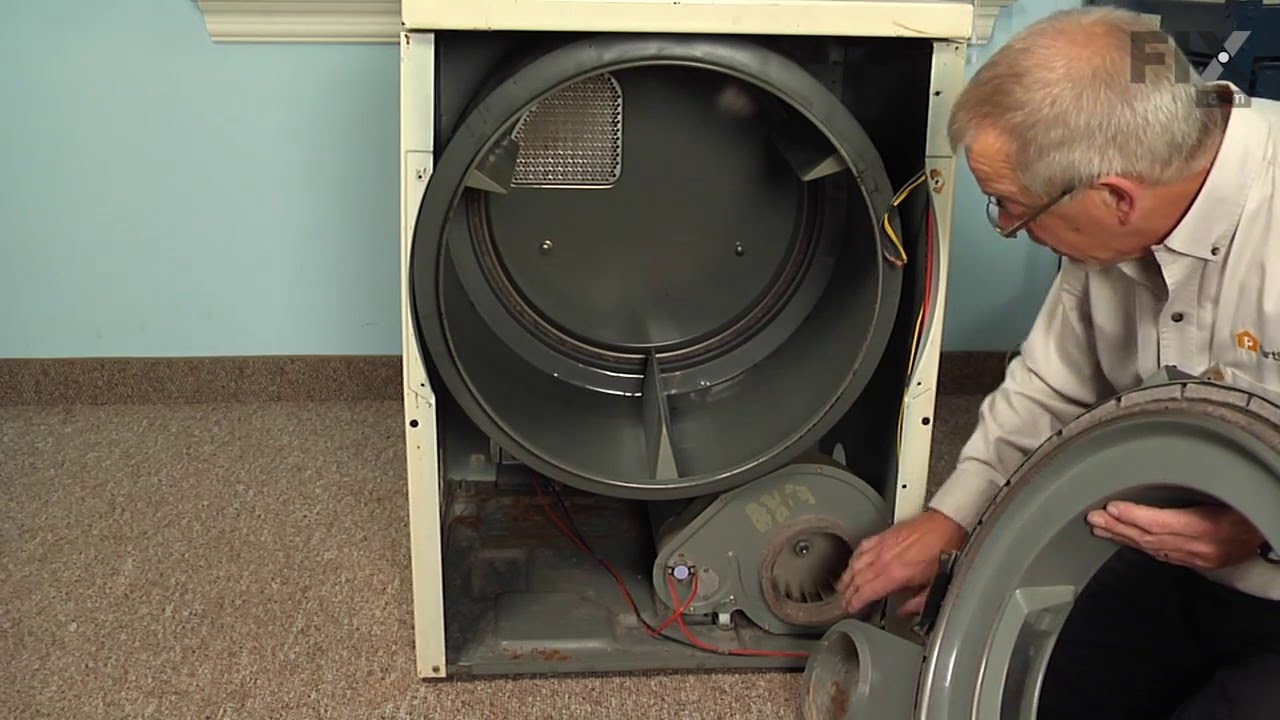
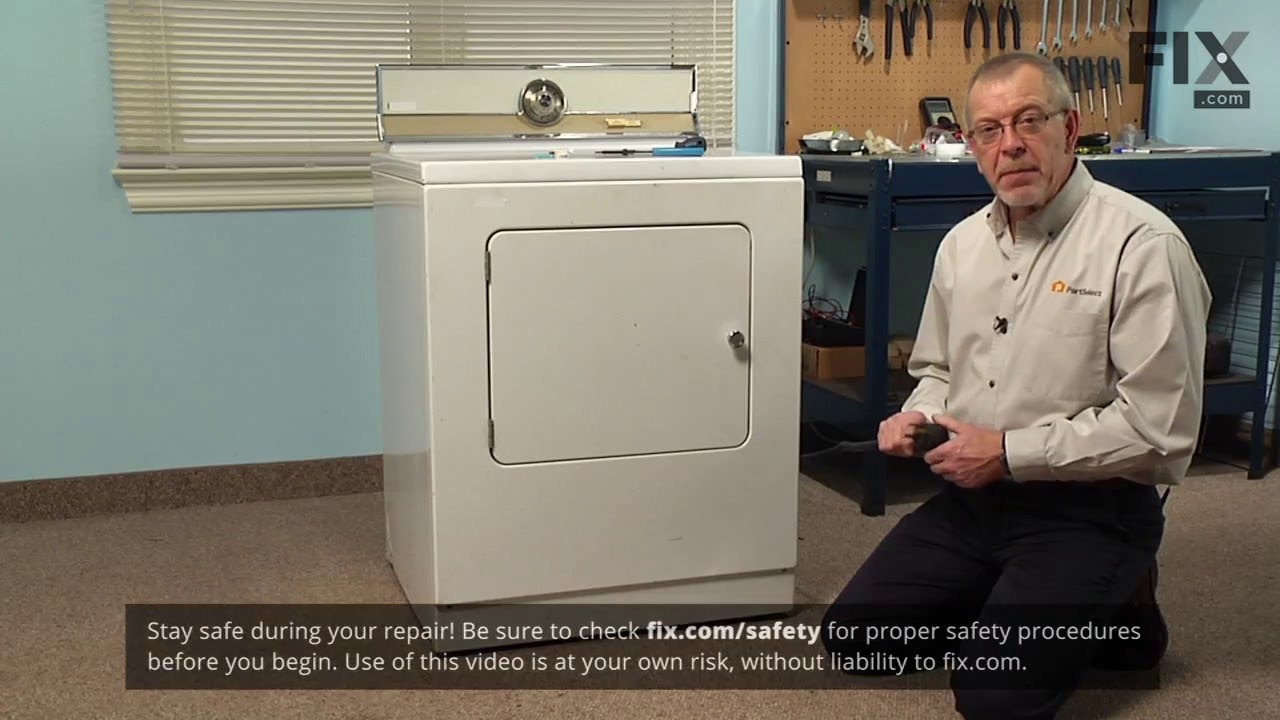
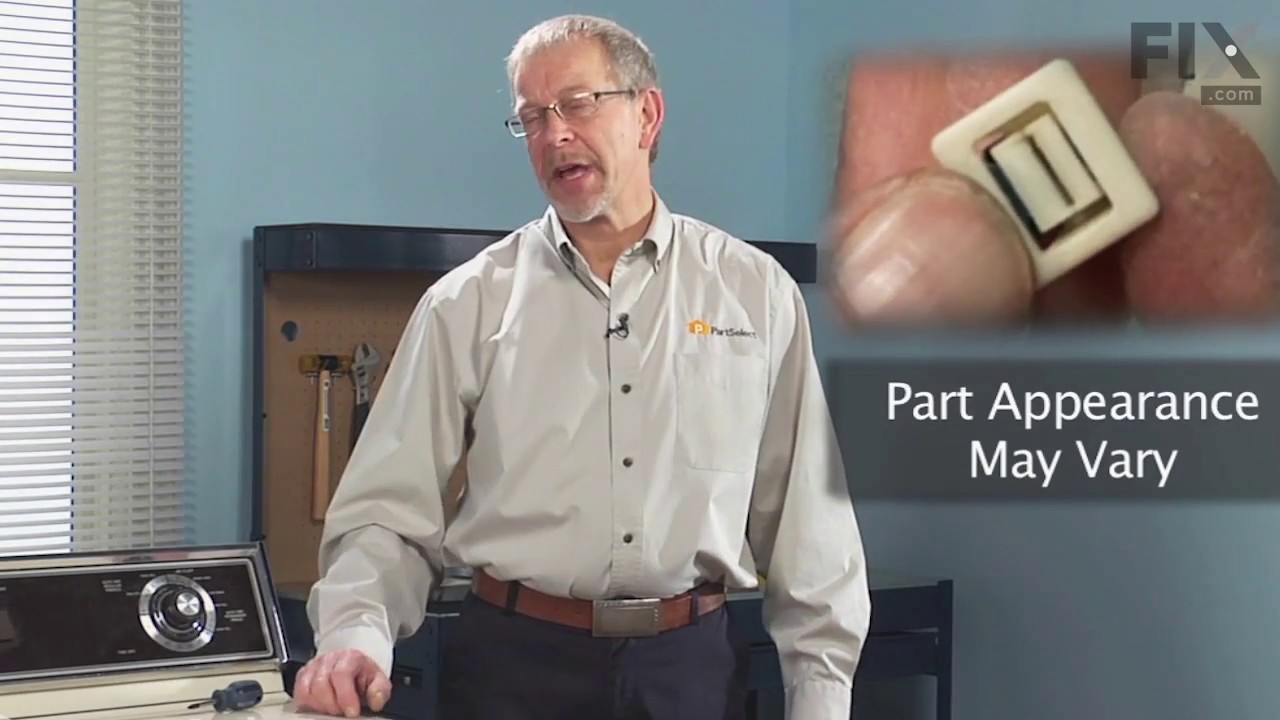
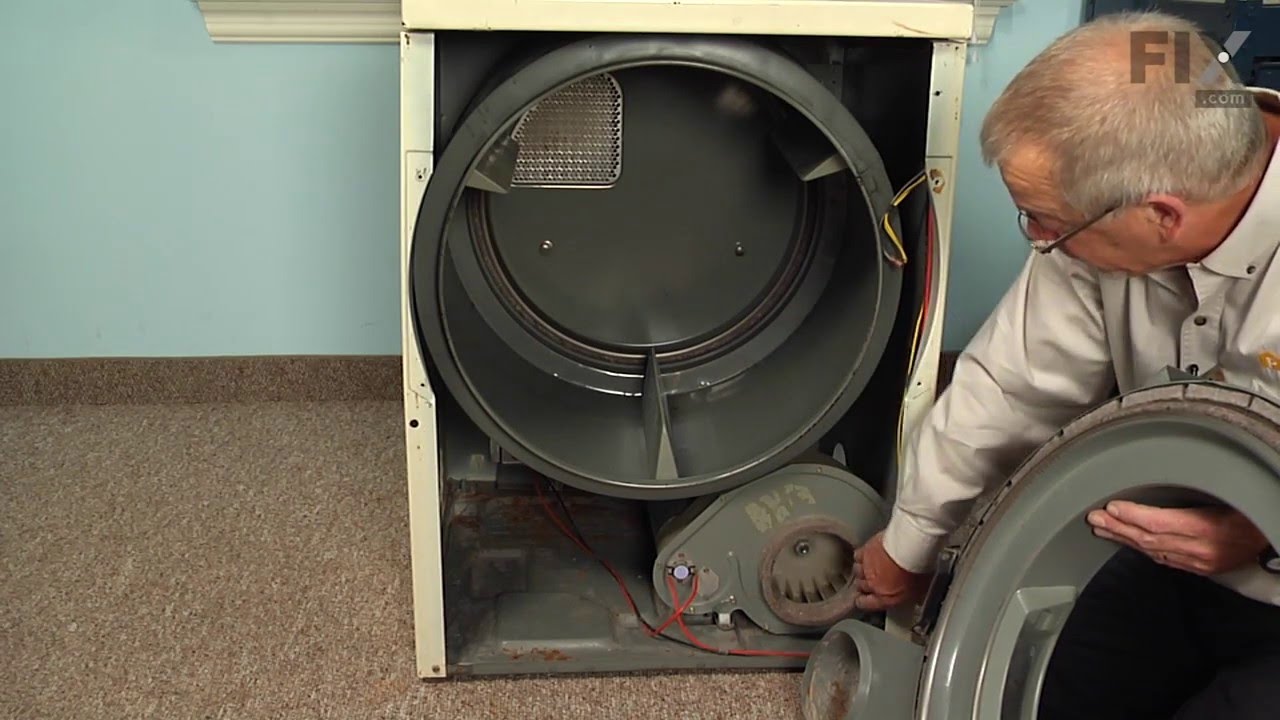
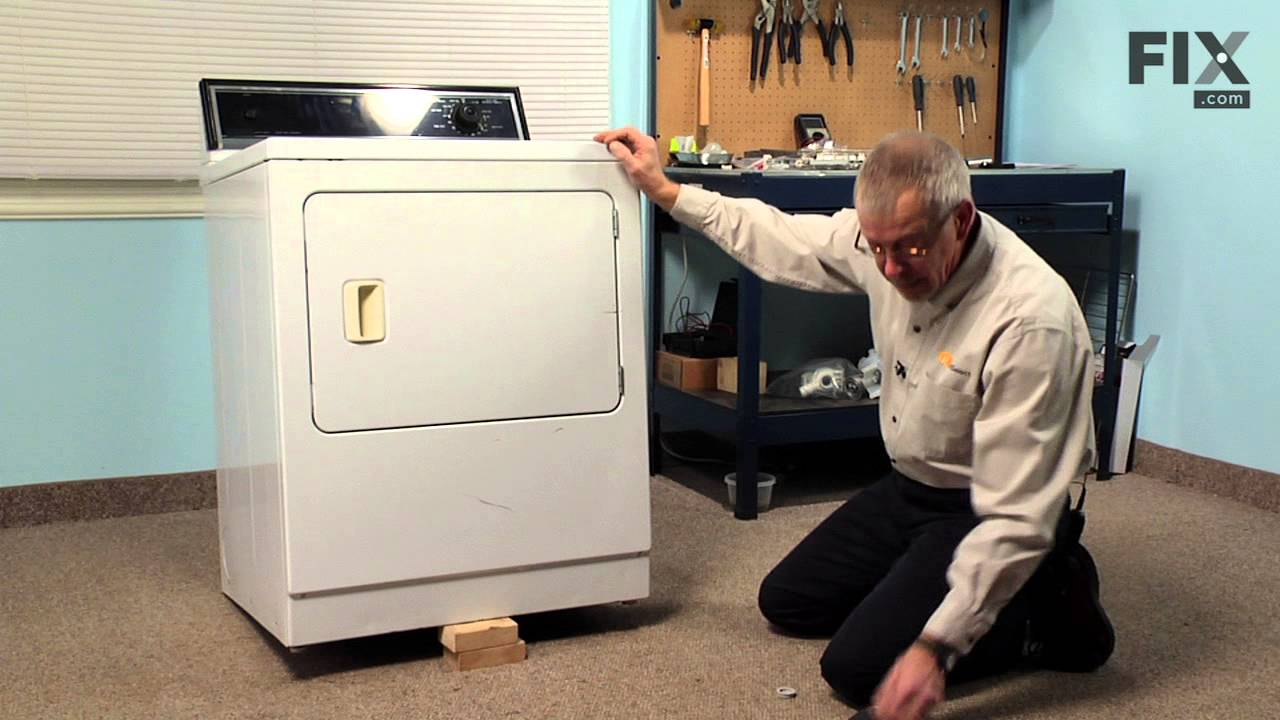
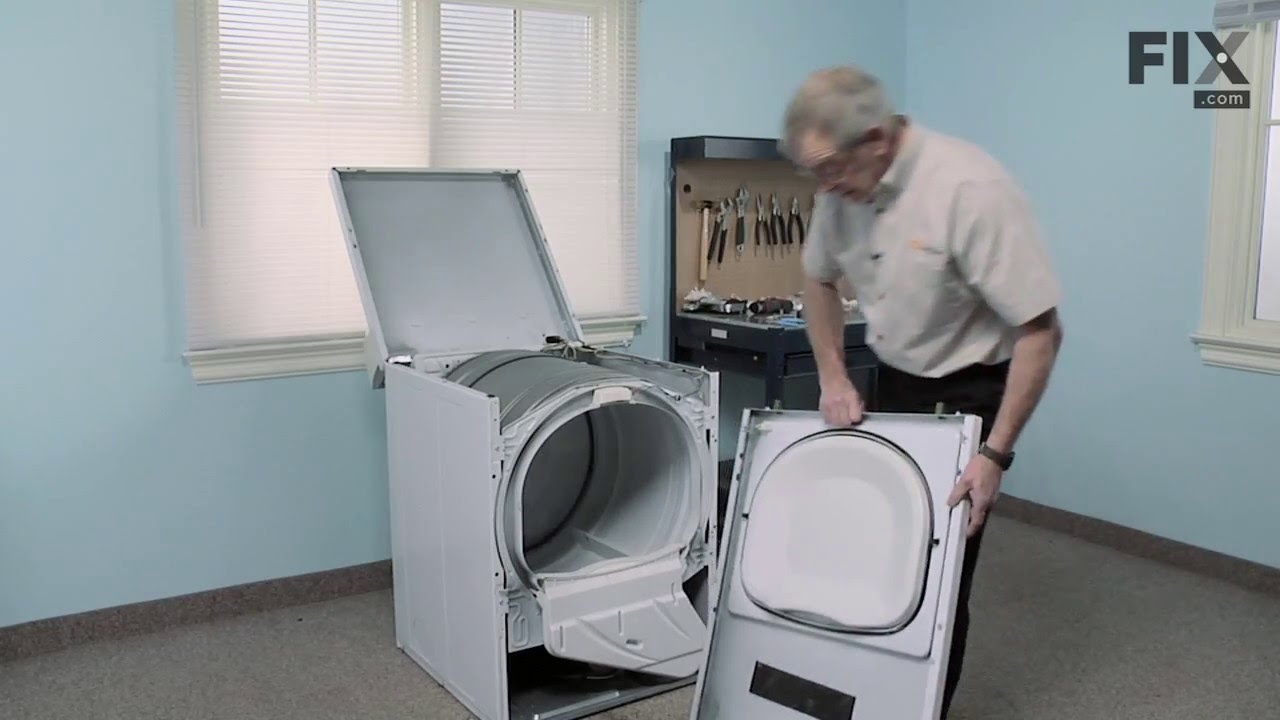
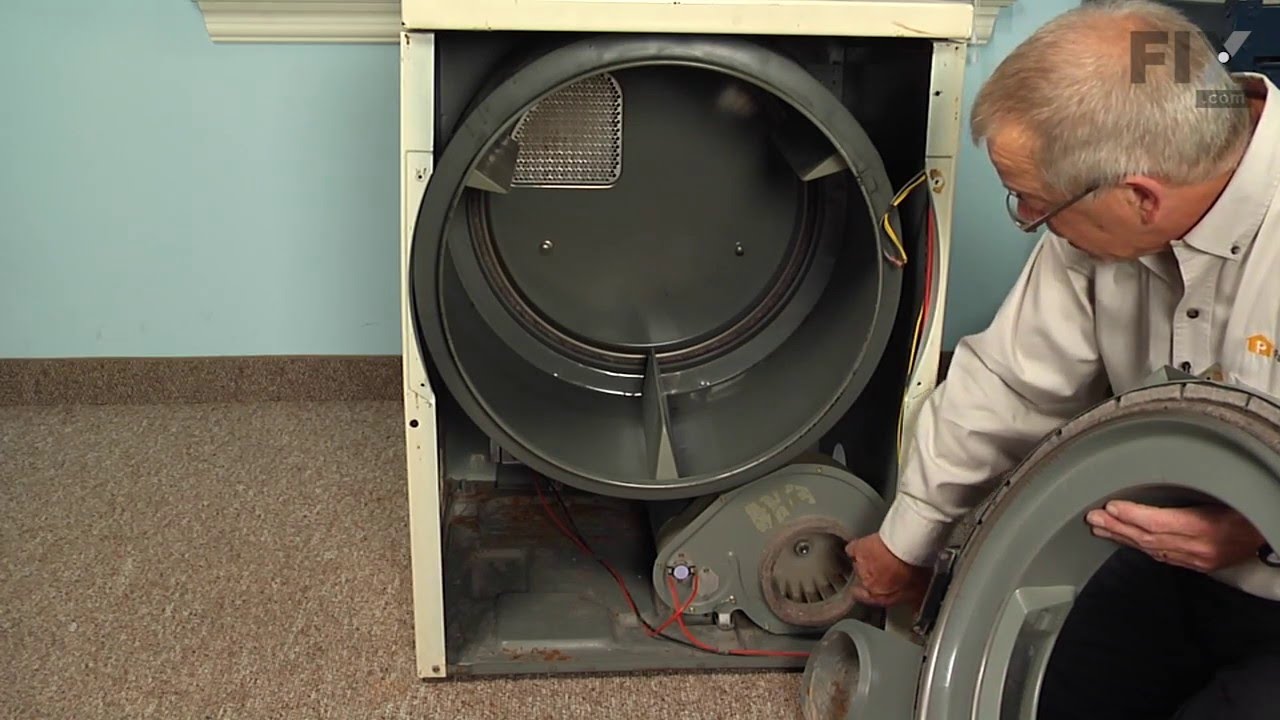
See how others fixed this model. Time, tools, difficulty, and steps that lead to victory!
View More