


 My Orders




ADG6HRYS117TW01 (2001000001) Speed Queen Dryer - Overview
Diagrams for ADG6HRYS117TW01
See every part. Know exactly what you need.
-
Access Panel/Front Panel/Seal

-
Burner Orifice Spuds - For Higher Elevations

-
Cabinet Top/Control Hood Back Panel

-
Cabinet/Exhaust Duct/Base

-
Cylinder

-
Front Bulkhead/Air Duct/Felt Seal

-
Gas Valve/Igniter/Gas Conversion Kits

-
Graphic Panel/Control Support Panel/Rear Controls

-
Heater Duct Assembly

-
Lead-In Cord

-
Loading Door

-
Motor/Exhaust Fan/Belt

-
Rear Bulkhead/Felt Seal/Cylinder Roller/Terminal Block

-
Wire Harnesses/Wires Rear Control

Enter a part description. DIY Heroes keep it simple, eg. "belt" or "pump".
Search filter:
Clear Filter
Your search term must have 3 or more characters.

$28.42
In Stock
M Series New Style Coil Kit
Part #279834
When the igniter reaches a high enough temperature, these coils (Coil Valve, Dryer Gas Valve Coil Kit, Dryer Valve Coil Kit, Gas Valve Solenoid) work together to open the gas valve and allow the gas to enter the burner. This is a safety mechanism to ensure that there are no unsafe buildups of gas inside your appliance. The coils are attac...Read morehed to the dryer gas valve. If the dryer does not heat or heats intermittently, the coil may not be opening the gas valve. Both coils must be operational for the valve to open. No continuity would indicate a defective coil, but they can be intermittent and fail when they get hot. Both coils should be replaced when one of them is broken. This part can break as a result of material fatigue from normal use. This part measures approximately 1 inch in diameter and 1 inch in height, and is constructed of plastic and metal. It comes in black/beige. This part features a 3-terminal boost/hold coil and a 2-terminal secondary coil
Read less

$12.85
In Stock
Retaining Ring
Part #WP23748
The metal retaining ring, which is under an inch long, holds the rear wheels on the axels of the dryer. The main reason why it would need to replaced is if the retaining ring has sprung out of place or is damaged. Some the symptoms could be that your dryer does not tumble, it makes a loud buzzing noise, or if it pumps, but will not spin. ...Read moreThe tools needed for this project are a putty knife, 5/16 nut driver, and snap ring pliers. Refer to the installation video and diagram for further instructions and guidance. Customers ranked this replacement project as easy.
Read less

$7.47
In Stock

$9.62
In Stock
Spring Retaining Clip
Part #WP22001650
This spring retaining clip is just under 1 inch long. The clip is made entirely of metal and is attached to the back wall of the washer, under the console. If your washer is vibrating and louder than usual during the wash cycle, your spring retaining clip could be faulty or damaged. Check the clip for visible damage, wear, and rust. If yo...Read moreu notice any signs of damage, the part should be replaced. Remember to disconnect the power from your washing machine before starting this repair.
Read less

$11.77
In Stock

$7.47
In Stock

$7.47
In Stock
Washer Screw Ground
Part #WP3351614

$7.47
In Stock

$7.47
Special Order
Dryer Nut
Part #WPW10139757
Sold individually. This nut is for dryers.
Follow appropriate safety practices when installing the nut.

No Longer Available
Natural Gas to Liquid Propane Conversion Kit
Part #401P3
This conversion kit will convert a natural gas dryer to a liquid propane (LP) gas dryer. Contained in this kit are ten stickers, a burner orifice spud, a block-open plug,and an instructions sheet.

No Longer Available
LP To Natural Conversion Kit
Part #650P3
This part allows you to convert your dryer from LP to Natural.

$59.47
In Stock
Common Symptoms of the ADG6HRYS117TW01
How this model fails, and the parts that fix it.
Noisy
Fixed by
these parts
these parts


Show All
Not Heating
Fixed by
these parts
these parts
Show All
Will not agitate
Fixed by
these parts
these parts
Show All
Burning smell
Fixed by
these parts
these parts
Show All
Spins slowly
Fixed by
these parts
these parts
Show All
Watch our pros, then fix it yourself.
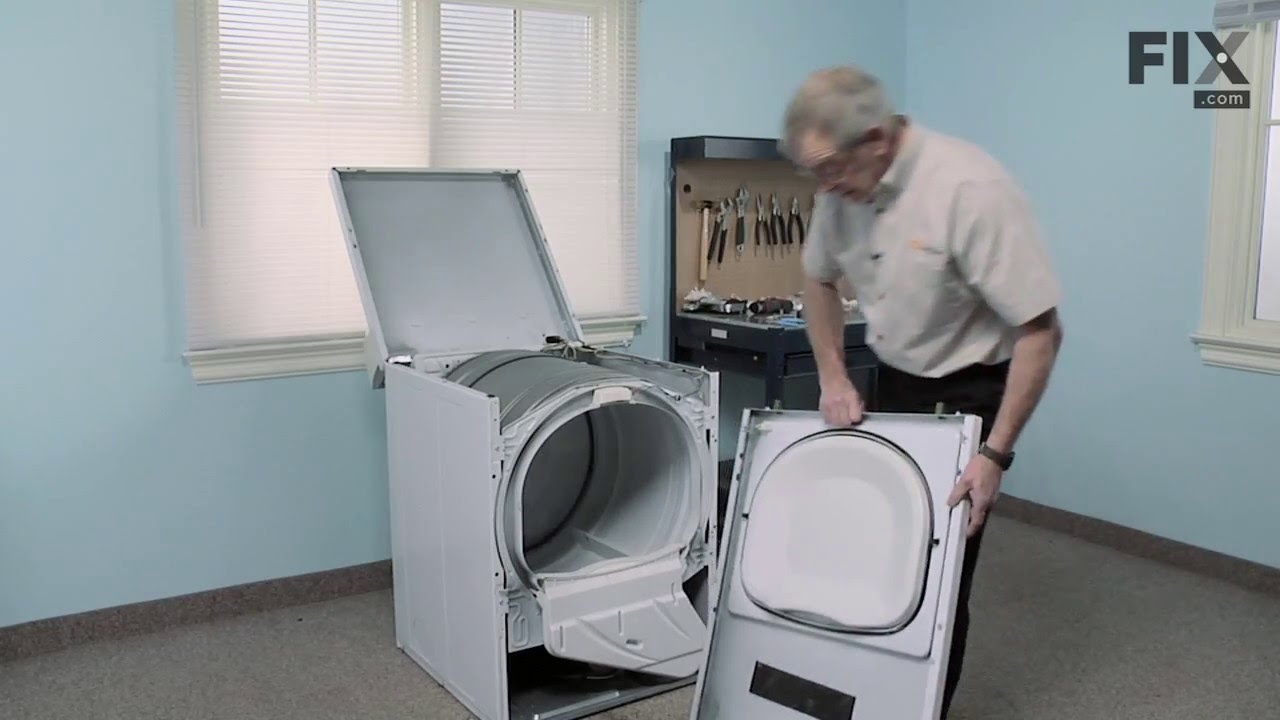
See how others fixed this model. Time, tools, difficulty, and steps that lead to victory!
View More
Search repair tips from other customers using simple keywords like "replace", "fit", "remove", "inspect". DIY doesn't mean you have to do it alone!
Search filter:
Clear Filter
Your search term must have 3 or more characters.
Dryer flame goes out after about 8-minutes from start and won’t work again until a 15-minute rest.
218 of 246 people
found this instruction helpful.
There was no problem with lint build-up within the dryer & the exhaust vent. I removed the gas cycling thermostat & thermal fuse from system & dryer still was not operating correctly. The radiant sensor & hi-limit thermostat both seemed to be operating correctly. That left either of the two coils as the culprits. I replaced both coils
... Read more
& the problem was corrected.
Read less
Other Parts Used:
Was this helpful?
Thank you for voting!
Timer wasn't working (New Timer)
168 of 212 people
found this instruction helpful.
Timer wasn't working on the regular cycle so I replace it with a new one from partselect. It still wasn't working so I ordered and replace the cycling thermostat, the thermal fuse I also cleaned the vent and dryer it still didn't work so I read the diagram for the electrical and found that a coil for the gas valve is line with timer. I or
... Read more
dered the coils for the valves, replaced both valves and tested the dryer and it work just like when I first bought the appliance.
Read less
Other Parts Used:
Was this helpful?
Thank you for voting!