EasyApplianceParts is now PartSelect! We've merged our sites to provide a better shopping experience for you.   Full Details

Find Parts

Parts Departments

Top Model Types

Top Brands

Repair Help

Expert Repair Videos

Keep typing for more specific results...

ADEE8RGS173TW01 Speed Queen Dryer - Overview

Enter a part description. DIY Heroes keep it simple, eg. "belt" or "pump".

Search filter:
Clear Filter
Your search term must have 3 or more characters.
Retaining Ring – Part Number: WP23748
$12.85
In Stock
Retaining Ring
Part #WP23748
The metal retaining ring, which is under an inch long, holds the rear wheels on the axels of the dryer. The main reason why it would need to replaced is if the retaining ring has sprung out of place or is damaged. Some the symptoms could be that your dryer does not tumble, it makes a loud buzzing noise, or if it pumps, but will not spin. The tools needed for this project are a putty knife, 5/16 nut driver, and snap ring pliers. Refer to the installation video and diagram for further instructions and guidance. Customers ranked this replacement project as easy.
Thrust – Part Number: WPW10121334
$7.47
In Stock
Spring Retaining Clip – Part Number: WP22001650
$9.62
In Stock
Spring Retaining Clip
★★★★★
★★★★★
(3)
Part #WP22001650
This spring retaining clip is just under 1 inch long. The clip is made entirely of metal and is attached to the back wall of the washer, under the console. If your washer is vibrating and louder than usual during the wash cycle, your spring retaining clip could be faulty or damaged. Check the clip for visible damage, wear, and rust. If you notice any signs of damage, the part should be replaced. Remember to disconnect the power from your washing machine before starting this repair.
Heating Element Kit - Red Dot – Part Number: 61927
$95.83
In Stock
Heating Element Kit - Red Dot
★★★★★
★★★★★
(2)
Part #61927
This 240 volt heating element is used for electric clothes dryers. Included with this element is a fuse kit consisting of a thermal fuse, a high limit thermostat, two wire leads, and four mounting screws.
Screw – Part Number: WP27001200
$7.47
In Stock
Screw
Part #WP27001200
Sold individually.
Dryer Screw – Part Number: WP3177991
$7.47
In Stock
Dryer Screw
Part #WP3177991
Sold individually.
Dryer Nut – Part Number: WPW10139757
$7.47
Special Order
Dryer Nut
Part #WPW10139757
Sold individually. This nut is for dryers. Follow appropriate safety practices when installing the nut.
HTR **** 208 VOLT ONLY **** – Part Number: 61928
$113.58
In Stock
HTR **** 208 VOLT ONLY ****
Part #61928
This 208 volt heating element is used for some of Amana/Speed Queen's brands of electric clothes dryers.
KIT-EXHST – Part Number: WP528P3
$54.24
On Order
KIT-EXHST
Part #WP528P3
NEVER-SEEZE 1 OZ TUBE – Part Number: 27604P
$18.22
Special Order
NEVER-SEEZE 1 OZ TUBE
Part #27604P
Dryer drum support roller kit – Part Number: RB170002
No Longer Available
Exhaust Duct Assembly – Part Number: 521P3
No Longer Available
Exhaust Duct Assembly
Part #521P3

Common Symptoms of the ADEE8RGS173TW01

How this model fails, and the parts that fix it.

Watch our pros, then fix it yourself.
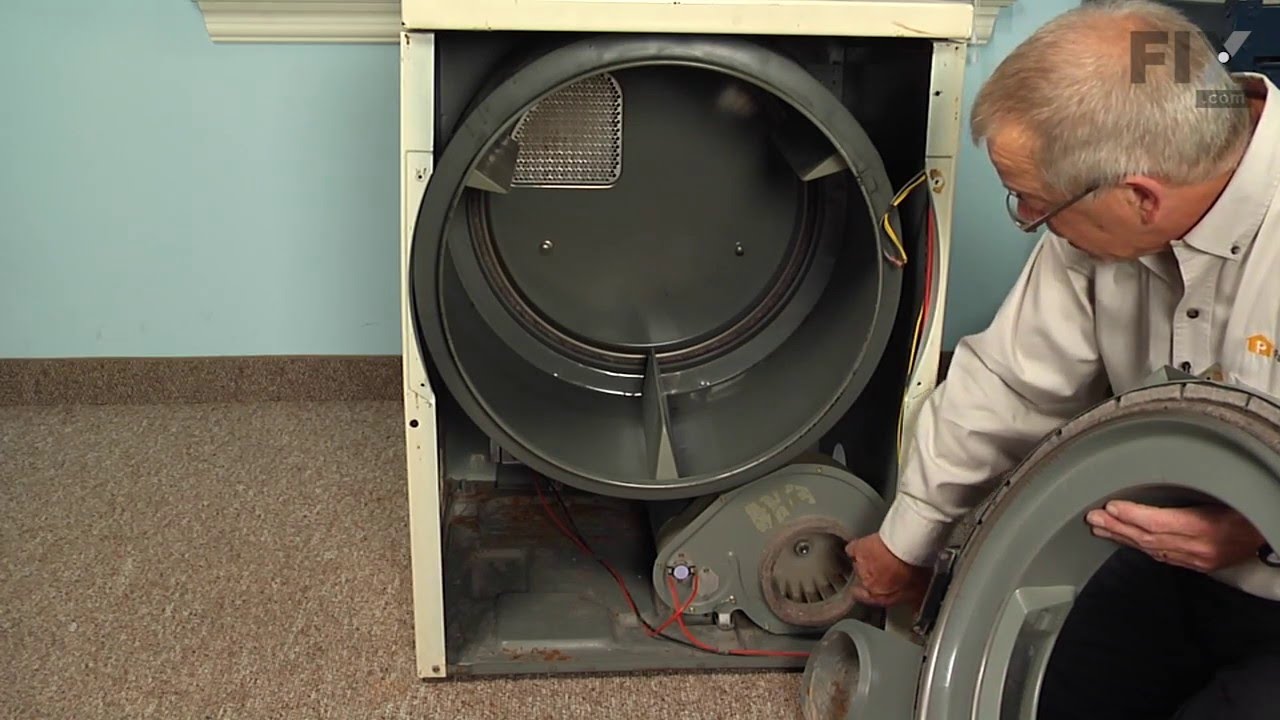
See how others fixed this model. Time, tools, difficulty, and steps that lead to victory! View More

Search repair tips from other customers using simple keywords like "replace", "fit", "remove", "inspect". DIY doesn't mean you have to do it alone!

Search filter:
Clear Filter
Your search term must have 3 or more characters.
Heating element went bad
29 of 32 people found this instruction helpful.
  • Jeff from Conyers, GA
  • A Bit Difficult
  • 30 - 60 mins
  • Nutdriver, Screw drivers
I couldn't find any information on the internet on how to fix my dryer, so I took every screw out of it, which I later found was not needed - just 2 in the front. Then I had to figure out WHERE the element was. Turns out, against the back panel with 2 screws. I had to crawl on my belly to get in there with little room to work. Installing the new one didn't take long at all though. I also vacuumed out the inside and cleaned it well, then put all the screws back in it.

I'm glad I re-did all the screws because now it sounds brand new. It's 3 times quieter than it ever was (it was donated to me), and it feels great that I was able to fix it on my own for about $50.
Was this helpful?
Thank you for voting!
Taking too long for clothes to dry.
24 of 28 people found this instruction helpful.
  • James from Eagle, ID
  • Easy
  • 15 - 30 mins
  • Nutdriver
I first unplugged the dryer (don't want to get nailed with 240 volts). I then removed the two screws on the bottom section of the dryer just below the door. I then removed the two screws on the front door assembly and removed the door (make sure you don't break the wires and/or door switch. The wires need to be removed from the door sw itch prior to removing the door panel completely). I then took a flash light and look inside the dryer towards the back. I could see the heating element in the back. I then removed the two screws holding the heat element and removed the heating element (taking note on the orientation of the element). I then removed the black and orange wires making note which wire fit on which terminal. I then compared the old unit with the new unit to make sure I had the right one. I then assembled the new heating element (heat sensors etc.). I then hooked the black and orange wire to the new element. I then reassembled everything in the reverse order.

Note: I very CAREFULLY used the heating elements support connectors to hold the element in place while I started my screws. Once they were started then I could release the element and fit it properly into the housing as I tightened the screws.

The other thing that you need to check is to make sure that the air-duct is not blocked. If you have a lot of lent on the bottom of the dyer (inside) then you could have a blocked air-duct. This happened to me. I went outside and noticed that we have a door on our vent that flips up to keep mice etc. from coming in. Some of the lint that was blown out got wet from the sprinklers and calcified underneath the vent. This was preventing the vent from opening. This could of been our problem all along but I had already replaced the heating element so I keep it as is.

PartSelect was wonderful. I was able to find my parts quickly and the turn around time was tremendous. I would buy from PartSelect again.
Was this helpful?
Thank you for voting!
Dryer stopped heating
11 of 13 people found this instruction helpful.
  • Doneen from Provo, UT
  • Easy
  • 15 - 30 mins
  • Nutdriver
I removed the screws that hold the element in place. I disconnected the wires. I took the new part, which was easy to identify and order, assembled per instructions, and attached it to the wires in the dryer, then screwed it in. I normally let my husband do these repairs, but he wasn't available. It was easy and the dryer works perfec tly again!
Was this helpful?
Thank you for voting!