


 My Orders




ADE775NZHS1 Frigidaire Dryer - Overview
Diagrams for ADE775NZHS1
See every part. Know exactly what you need.


Enter a part description. DIY Heroes keep it simple, eg. "belt" or "pump".
Search filter:
Clear Filter
Your search term must have 3 or more characters.

$57.15
In Stock
High Limit Thermostat
Part #3204267
This high limit thermostat is used in a dryer and monitors the temperature to make sure it does not exceed 260 degrees Fahrenheit. When your dryer temperature reaches 260 it will cut it out and only comes back when it drops by at least 70 degrees Fahrenheit. If your dryer is overheating, taking too long to dry clothes, or is not producing...Read more enough heat, replacing the thermostat could be the solution to your problem. The tools needed for this part are a Phillips screwdriver, putty knife, and needle nose pliers. Refer to the manual provided by the manufacturer for installation instructions and guidance.
Read less

$25.25
In Stock
Screw
Part #131302800
This is a replacement screw for your washer or dryer. The screw is approximately half an inch in length and is a Phillips-head screw. It screws in from the outside of the drum, into the vane/baffle. The main reason you would replace this screw is if the old screw is missing or damaged. This part is sold individually and is an OEM part sourced directly from the manufacturer.

$57.50
In Stock
Belt
Part #134719300
This dryer belt is one of the most important parts in a dryer and is what allows the dryer drum to spin/rotate. If the dryer belt is damaged or broken, the drum will not spin or will have difficulty in doing so, and your clothes will still be damp after a cycle as a result. This belt is made of durable material and can wear down over time...Read more and extended use of the dryer. Replacing a dryer belt will require some disassembly of your dryer, so a screwdriver and wrench will be needed to access and replace it. This belt is an individual OEM part.
Read less

$26.35
In Stock

$72.63
In Stock
GASKET
Part #137553402
This is a gasket, but you may also know it as a door seal, for your dryer. This part prevents heat loss during a drying cycle by keeping the area around the door sealed. This gasket is all black, and is made of extremely flexible material. The surface of this part is roughly half an inch wide, and a quarter inch thick. One side of the mat...Read moreerial is smooth, while the other side has clips to make your installation easier.
Read less

$37.63
In Stock
Drum Roller - Sold Individually
Part #5304523152
This replacement drum support roller helps keep your dryer drum turning smoothly and quietly during operation. Designed for reliable performance, it supports the drum as it rotates to help reduce excess noise, vibration, and wear. Replacing a worn roller can help restore proper drum movement and improve dryer performance. For installation...Read more, unplug the dryer, access the drum support area, and replace the old roller with the new component. Always wear work gloves for added safety during repairs.
Read less

$75.60
On Order
Lint Filter - White
Part #134701410
This dryer lint filter traps lint and debris from exhaust airflow to help prevent vent clogs and maintain efficient drying performance. It is typically located at the door opening or in a front-mounted slot inside the dryer drum for easy access. The filter measures approximately 13 inches wide by 11.5 inches high and is made from durable ...Read moreplastic with a fine mesh screen, commonly finished in white or light gray. A torn or damaged screen can lead to longer drying times or lint left on clothing, indicating replacement is needed. Installation is tool-free and involves sliding the filter into place in the correct orientation, and regular cleaning before each load is recommended to maintain airflow and reduce fire risk.
Read less

$38.79
In Stock
Thermal Fuse
Part #134711401
This dryer thermal fuse is a critical safety component designed to protect the appliance from overheating. It automatically shuts off power to the motor or heating system if excessive temperatures are detected, helping prevent damage or potential fire hazards. Once the fuse is triggered, it cannot be reset and must be replaced. A faulty t...Read morehermal fuse may cause the dryer not to start, run without heat, shut off prematurely, or operate at unsafe temperatures. Replacing this component helps restore safe and proper dryer operation.
Read less

$79.95
In Stock
Air Duct
Part #5304508449
This dryer rear air duct is designed to channel heated air from the burner or heating element into the drum and guide moisture- and lint-laden air toward the exhaust, ensuring optimal airflow and drying performance. Constructed from durable metal to withstand high temperatures, it measures approximately 34.6 inches in length and 3.8 inche...Read mores in height and includes mounting points for internal components such as thermostats. Installation is straightforward—remove the damaged duct and secure the new one in place. Replacing a worn or damaged duct helps prevent overheating, improve drying efficiency, and eliminate issues like lint bypassing filters or marks on clothing.
Read less

$150.67
In Stock
Outer Door Lens
Part #137577700
This outer door lens protects internal components while allowing visibility into the appliance. Durable material supports heat and everyday use. Replacing a cracked lens restores appearance and function.

$9.85
In Stock

No Longer Available
Pin,program knob
Part #134347700
Common Symptoms of the ADE775NZHS1
How this model fails, and the parts that fix it.
Drum Not Spinning
Fixed by
these parts
these parts

Show All
Noisy
Fixed by
these parts
these parts


Show All
Too hot
Fixed by
these parts
these parts

Show All
Not Heating
Fixed by
these parts
these parts

Show All
Marks left on clothes
Fixed by
these parts
these parts

Show All
Door won’t close
Fixed by
these parts
these parts

Show All
Won’t Start
Fixed by
these parts
these parts
Show All
Watch our pros, then fix it yourself.
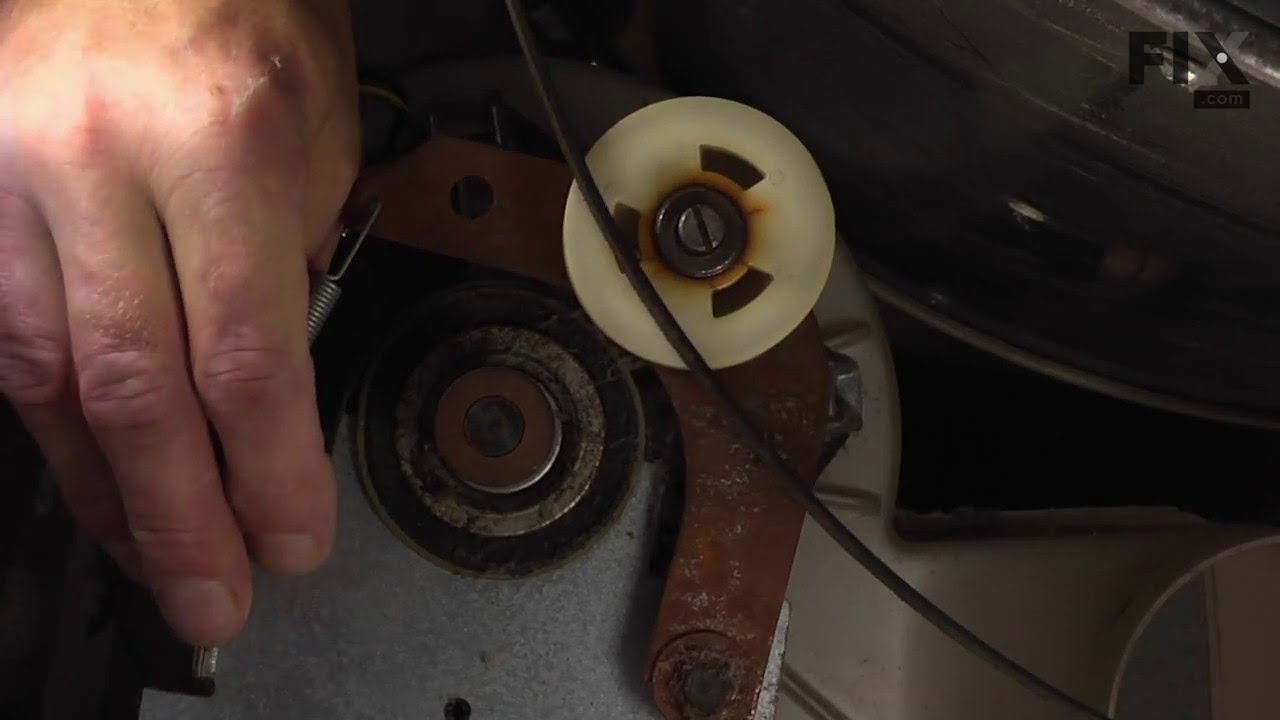
See how others fixed this model. Time, tools, difficulty, and steps that lead to victory!
View More
Search repair tips from other customers using simple keywords like "replace", "fit", "remove", "inspect". DIY doesn't mean you have to do it alone!
Search filter:
Clear Filter
Your search term must have 3 or more characters.
Noisy Dryer
57 of 69 people
found this instruction helpful.
When I described the noise to a YouTube appliance diagnostician, I was directed to check the felt seals front and back of the rotating drum for wear, tears, or foreign objects. As it happens the felt seals looked find and there were foreign objects so, not wanting to disassemble and reassemble the dryer more than I had, I ended up replac
... Read more
ing all the replaceable moving parts that I considered possible culprits: The idler tension spring, the idler tension bracket (which includes a nylon pulley wheel), the drum belt, the five rubber-tipped bearings that support the drum and keep it in place, and the foam seal on the blower housing which seemed a little brittle and old, as well as high-temperature adhesive for the latter. The instructional videos here and on YouTube were extremely helpful (I doubt that I would have attempted this job at all, had I not watched these ahead of time). The most time-consuming aspect was waiting for the arrival of the parts as I didn't order them all at the same time or all from the same place (I ordered from whomever could ship me a given part the fastest. Disassembly took less than an hour. Re-assembly with the new parts in place took about the same but was a little more awkward because this appliance sits in a very narrow closet and it's difficult to ensure that the 4" flexible duct stays in place when sliding the appliance back into the closet. No regrets. Now I know the basics if this dryer needs attention in future and I also know all the parts that I can eliminate as suspects in any future maintenance (the parts that I replaced)
Read less
Other Parts Used:
Was this helpful?
Thank you for voting!