


 My Orders




ADB1500AWQ46 Amana Dishwasher - Overview
Diagrams for ADB1500AWQ46
See every part. Know exactly what you need.


Enter a part description. DIY Heroes keep it simple, eg. "belt" or "pump".
Search filter:
Clear Filter
Your search term must have 3 or more characters.

$59.47
In Stock
Dishwasher Door Latch w/Switches No Handle
Part #WPW10275768
This dishwasher door latch helps keep the dishwasher door securely closed during operation while housing the door switches that signal the appliance it is safe to begin a wash cycle. This part is JUST the latch, it does not include the handle. Please see model information to determine if the latch WITH the handle is available for your uni...Read moret. Replacing a faulty latch can help resolve issues such as a door that will not close properly, a dishwasher that will not start, unexpected door opening during operation, water leaks, or intermittent power problems. This assembly includes the latch and switches but does not include the door handle. Installation typically involves disconnecting power to the appliance, removing the inner door panel to access the latch assembly, disconnecting the wiring harness, installing the new latch, and reassembling the door. For a complete repair, inspect the door strike, handle, and related door components for wear or damage and replace them as needed to ensure proper door operation and sealing.
Read less

$7.47
In Stock
Washer Hose Clamp
Part #WP596669
This hose clamp is used in a wide variety of household appliances. Most often it is found in washers, dishwashers, refrigerators, freezers, dehumidifiers, garbage disposals, or air conditioners. This clamp is used to securely attach a hose to another part of your appliance, which helps prevent leaks from those connections. Depending on th...Read moree appliance, it can attach hoses to drain pumps, water inlet valves, pressure switches, and injector nozzles. We recommend you refer to model-specific diagrams for appropriate uses and exact placement. This hose clamp is made of metal, and is sold individually. To access and replace this part you will need a nut driver, pliers, and screwdrivers. Before you begin any repair work, make sure you have unplugged your appliance, and shut off the water supply if applicable.
Read less

No Longer Available
Dishwasher Inner Door Foam Insulation Strip
Part #WPW10117748
This genuine inner door foam insulation strip, sometimes known as bottom seal foam, is used to create a waterproof seal that helps prevent leaking from the door area of the dishwasher. The existing insulation strip may leave a sticky residue or leftover disintegrated strip that must be scraped off before installing the new strip. Residue ...Read morecan be scraped off with a putty knife. Be sure to remove all residue and clean surrounding areas of the dishwasher build. It is strongly recommended to check other sealant parts on the dishwasher door such as the door gasket and dispenser grommet to ensure the leaking issue is fully solved.
Read less

$142.08
In Stock
Dishwasher Accumulator Filter
Part #WPW10192799
This part is essential in your dishes getting clean during the wash cycle. If there is any debris or a tear in the filter, it can cause extra buildup and, therefore, causing dirty dishes.

$9.62
Special Order
Dishwasher Rail Stop
Part #WPW10261227
This part is at the end of the rails to stop your dishrack from being pulled all the way out. Sold individually.

$24.15
In Stock
Touch-Up Paint - White
Part #72017
This touch-up paint can be used on a wide variety of household appliances. It is most often used on washers, dryer, refrigerators, dishwashers, ranges, freezers, trash compactors, or microwaves. It is an 18 ml, or.6 fluid ounces, bottle of touch-up paint. It also features a brush for easy application. This quick-drying, long-lasting paint...Read more is perfect for fixing any nicks, scratches, or chips on the exterior of your appliance. This paint is white in color, and provides a durable finish.
Read less

$9.62
In Stock
Dishwasher Door Cable Link
Part #WP99003446
This is a part for your dishwasher. The door cable link helps to keep the door steady and give support to the weight of the door when it is being opened or closed. If you notice the door latch has failed or the door is not closing properly, this might indicate a need to have the door cable link replaced. To perform this repair, you will s...Read moretart by turning the power off from the appliance. You will need to pull the unit out of installation. To access the cables, you will need to remove the side panel. You should be able to see the cables underneath the panel once removed.
Read less

$85.00
In Stock
Water Valve
Part #W11082871
This is the replacement water valve for your dishwasher. The water inlet valve connects to the water source and solenoid wires, and ensures the tub has the right amount of water entering it. If your dishwasher continues to fill after it is full, or if it fills slowly, you may need to replace this valve. Before you begin this repair, be su...Read morere to disconnect the water and power sources from your dishwasher. This part is sold individually and is an OEM part sourced directly from the manufacturer.
Read less

No Longer Available

$11.77
In Stock

No Longer Available
Lower Dishrack Kit
Part #W10280784
This kit includes the dishrack, clips, wheels and silverware basket. As per the manufacturer this kit no longer includes the tines.

No Longer Available
Common Symptoms of the ADB1500AWQ46
How this model fails, and the parts that fix it.
Leaking
Fixed by
these parts
these parts


Show All
Not cleaning dishes properly
Fixed by
these parts
these parts


Show All
Door latch failure
Fixed by
these parts
these parts


Show All
Will not fill with water
Fixed by
these parts
these parts


Show All
Not draining
Fixed by
these parts
these parts


Show All
Noisy
Fixed by
these parts
these parts


Show All
Door won’t close
Fixed by
these parts
these parts
Show All
Will Not Start
Fixed by
these parts
these parts

Show All
Not drying dishes properly
Fixed by
these parts
these parts

Show All
Will not dispense detergent
Fixed by
these parts
these parts

Show All
Watch our pros, then fix it yourself.
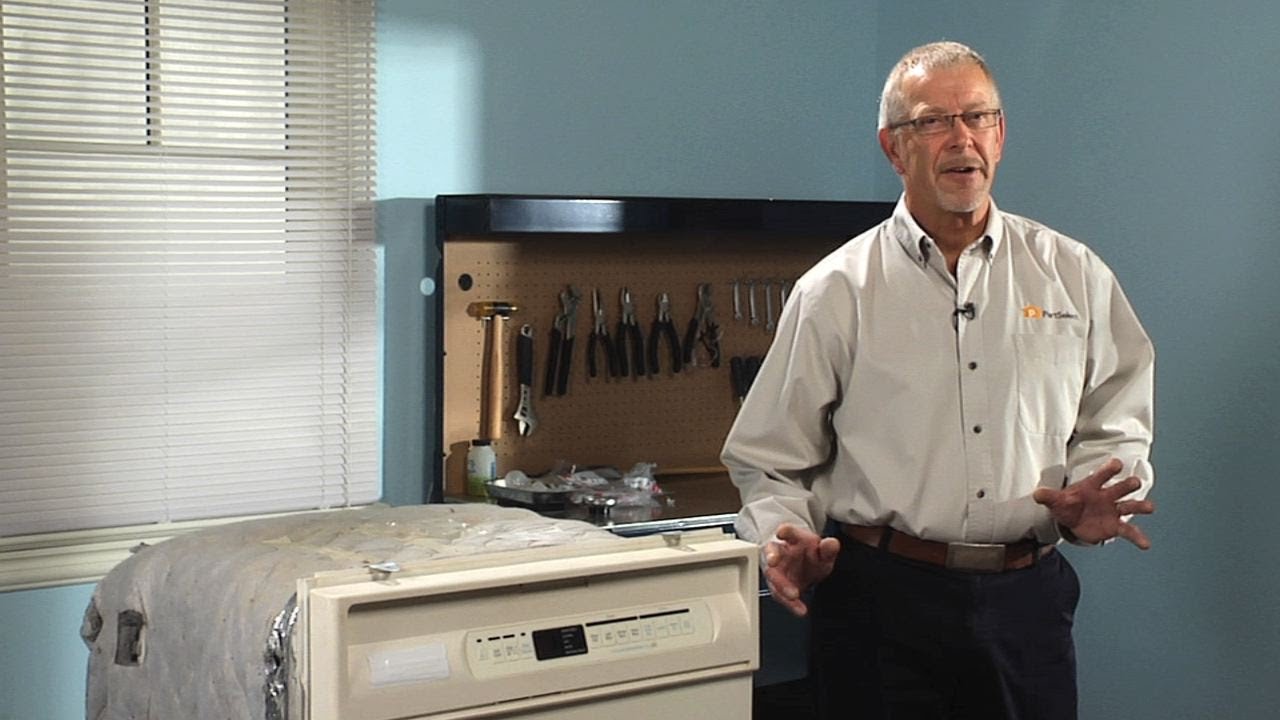


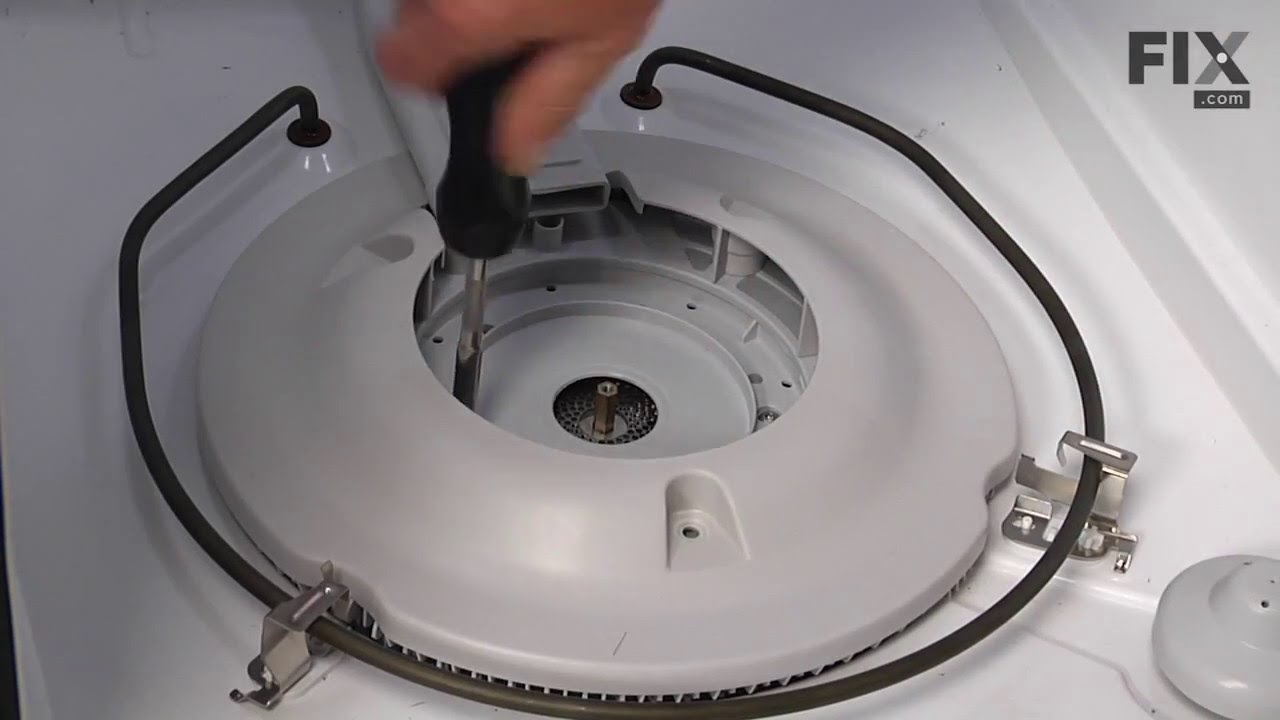
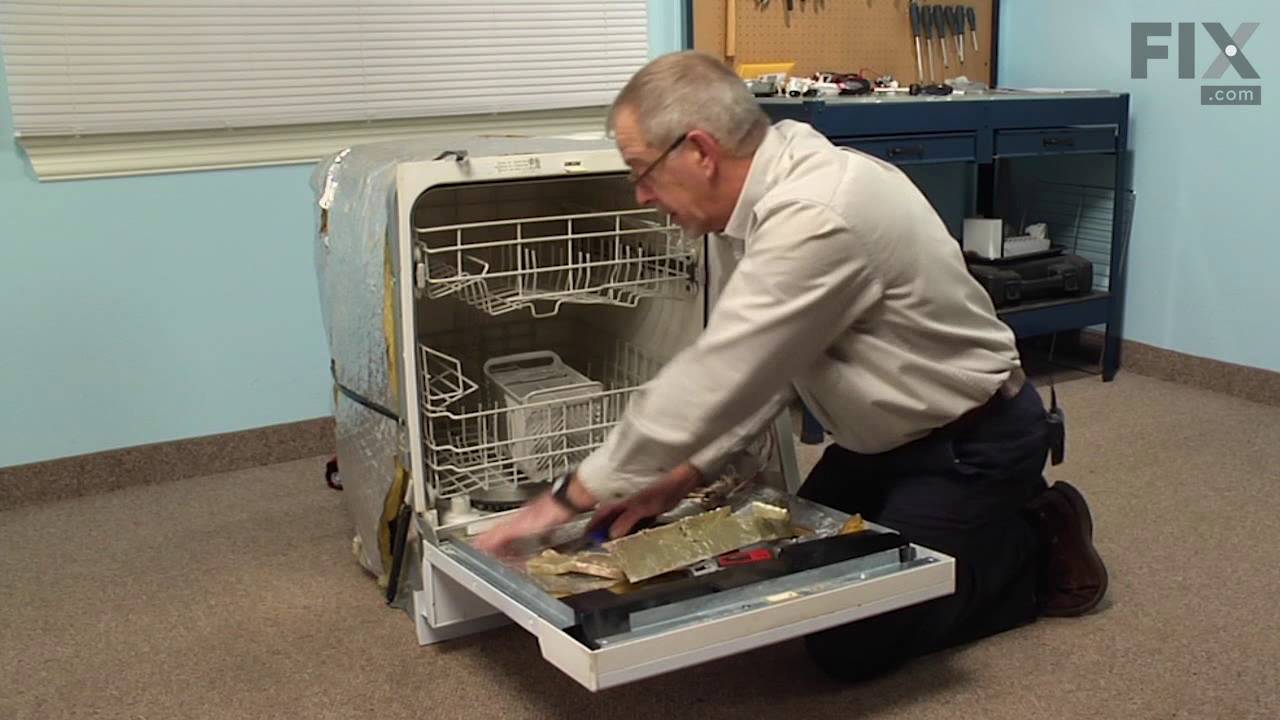
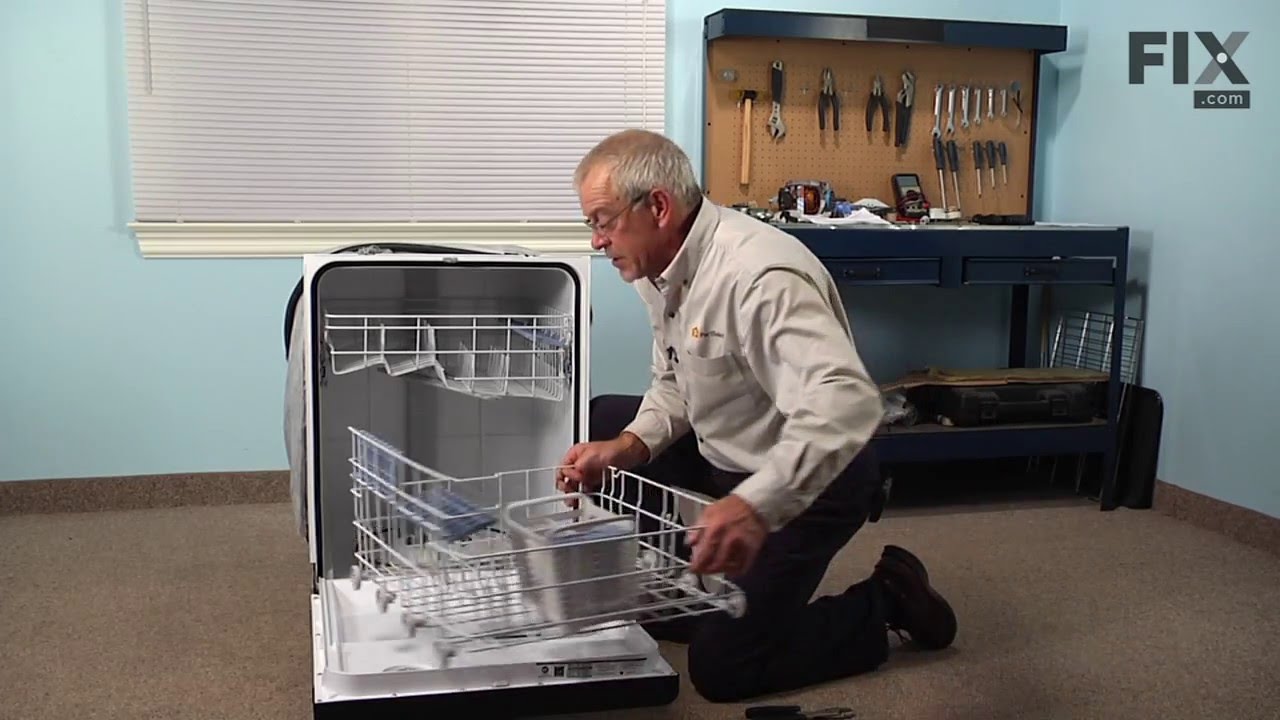

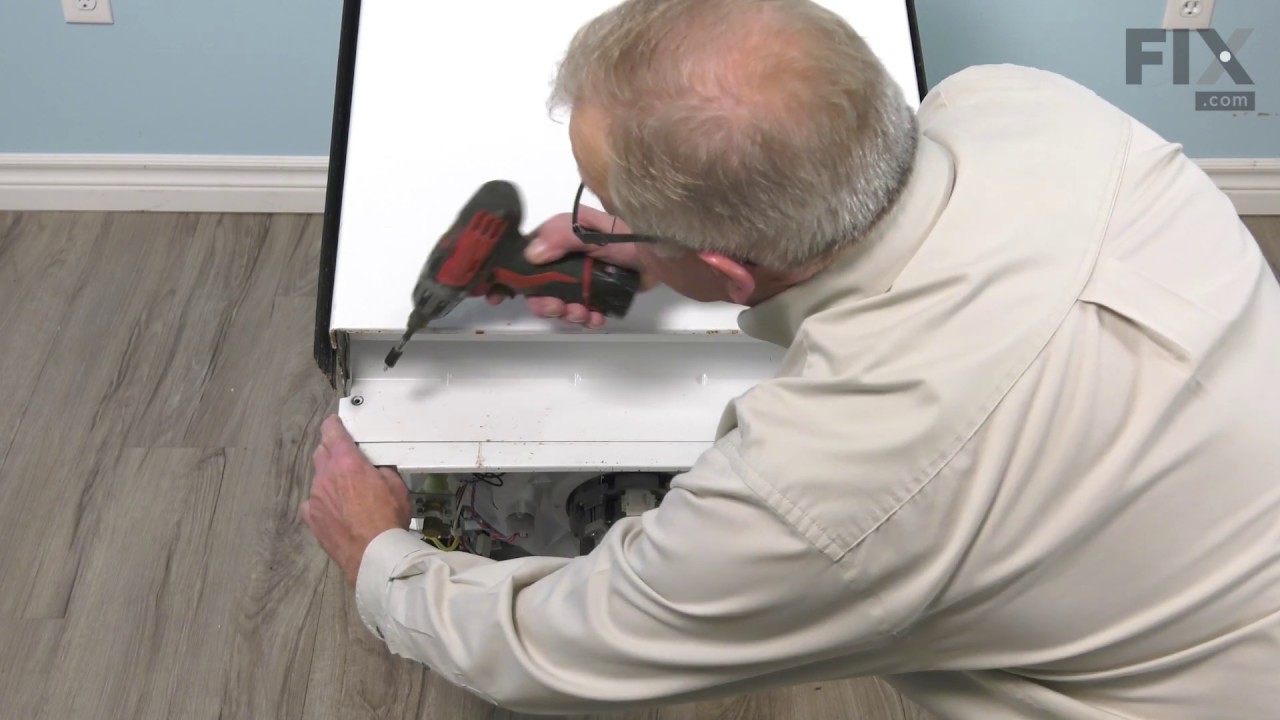
See how others fixed this model. Time, tools, difficulty, and steps that lead to victory!
View More