EasyApplianceParts is now PartSelect! We've merged our sites to provide a better shopping experience for you.   Full Details

Find Parts

Parts Departments

Top Model Types

Top Brands

Repair Help

Expert Repair Videos

Keep typing for more specific results...

Parts That Fix Maytag Dishwasher ADB1400AGS3 Not drying dishes properly

Not drying dishes properly is a commonly reported symptom for the ADB1400AGS3 Maytag Dishwasher, and we have put together a full guide on how to fix this. This advice is based on feedback from people who own this exact appliance. We have listed the most common parts for your ADB1400AGS3 Maytag Dishwasher that will fix Not drying dishes properly. We have included repair instructions, and helpful step-by-step video tutorials. If you are experiencing this issue, not to worry, DIYers just like you have fixed this, and shared their experience to help you!

Fixes Symptom 85% of time

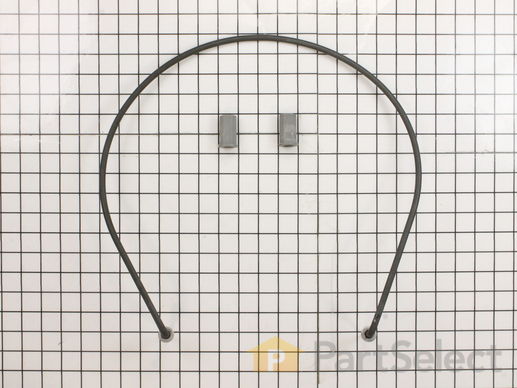
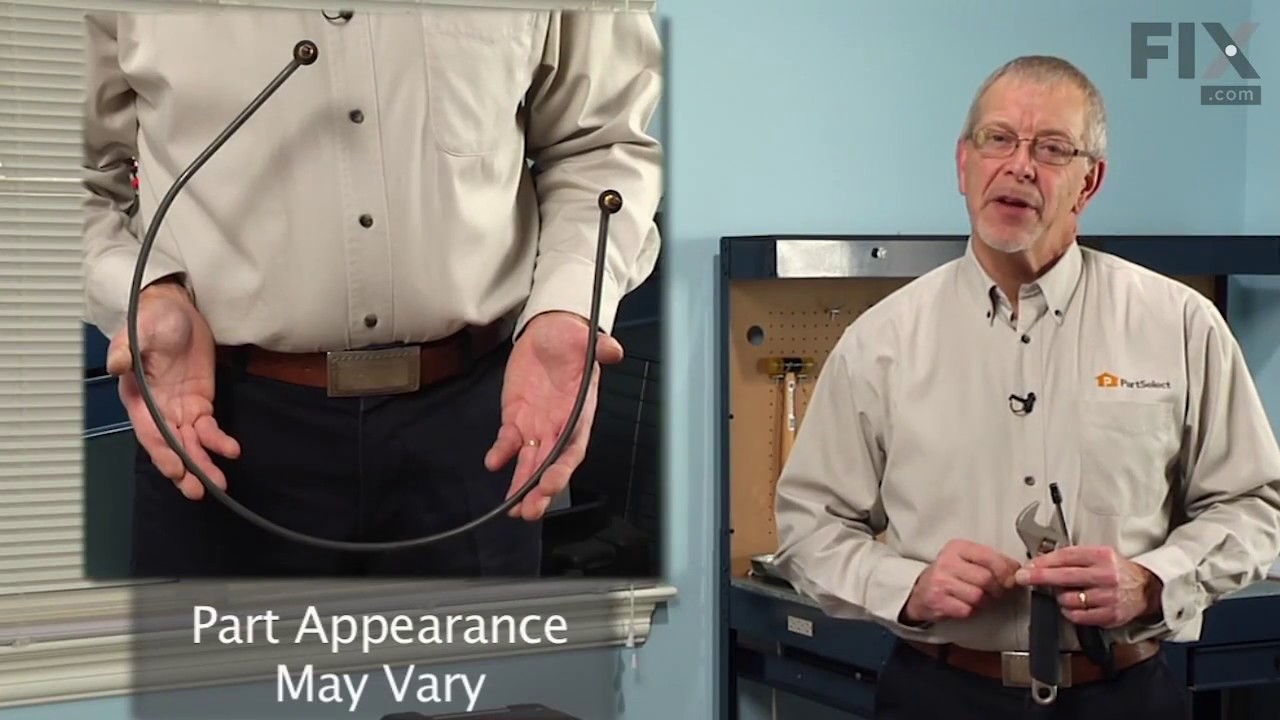
This manufacturer-certified heating element is used to create heat during the dry cycle and increase water temperature during portions of the wash cycle when certain options are selected. If your dishes are not drying or the water in the dishwasher is not getting hot you may need to replace the element. This kit includes the heater, two heater fasteners, and is a genuine OEM part. Please remember to disconnect the power before starting the repair. Use a multi-meter to test your heating element for continuity to determine whether this is the part that is causing your symptom. This part does not include any washers. To make your repair, disconnect the wires from the bottom of the element in the back, remove the plastic nuts holding it in place, remove the element, and repeat these steps in reverse order to install your new part. This is an easy repair that requires only a screwdriver, wrench set, and should take less than 30 minutes.

$ 46.34
In Stock
Part #W10518394

Replacing your Whirlpool Dishwasher Heating Element
Replacing your Dishwasher Heating Element

Customer Repair Stories

clean light flashing 7 times would not run
18 of 23 people found this instruction helpful.
  • Mark from Winchester, VA
  • Really Easy
  • 30 - 60 mins
  • Screw drivers, Wrench (Adjustable), Wrench set
removed screws holding dishwasher to counter top,raised leveling pads,pulled dishwasher out, unplugged wiring,removed hold down nuts from inside dishwasher and installed new heater element, this was all easy the hard part was finding the code to reset the dishwasher there was no paperwork inside the dishwasher although there was an empty plastic holder.The code that worked for my model was with the door open to push the normal wash button then the high temp button three times as fast as you can within four seconds then close the door. It worked and reset the dishwasher which ran a short cycle then shut down as normal and is now working fine.After doing this select the beverage of your choice and relax. Hope this helps someone.
Was this helpful?
Thank you for voting!
Heater element broken.
238 of 282 people found this instruction helpful.
  • Dennis from Sedro Woolley, WA
  • Really Easy
  • Less than 15 mins
  • Screw drivers, Wrench set
Step 1: Remove the screws in the bottom of the countertop.

Step 2: Remove the screws holding the bottom kickplate.

Step 3: Loosen leveling legs.

Step 4: Pull dishwasher out of hole.

Step 5: Unlplug dishwasher.

Step 6: Disconnect wires from bottom of element in back.

Step 7: Remove plastic nuts holding element in place.

Step 8: Remove element.

Step 9: Reverse Steps 1-7.

Step 10: Drink beer.
Was this helpful?
Thank you for voting!

Fixes Symptom 14% of time

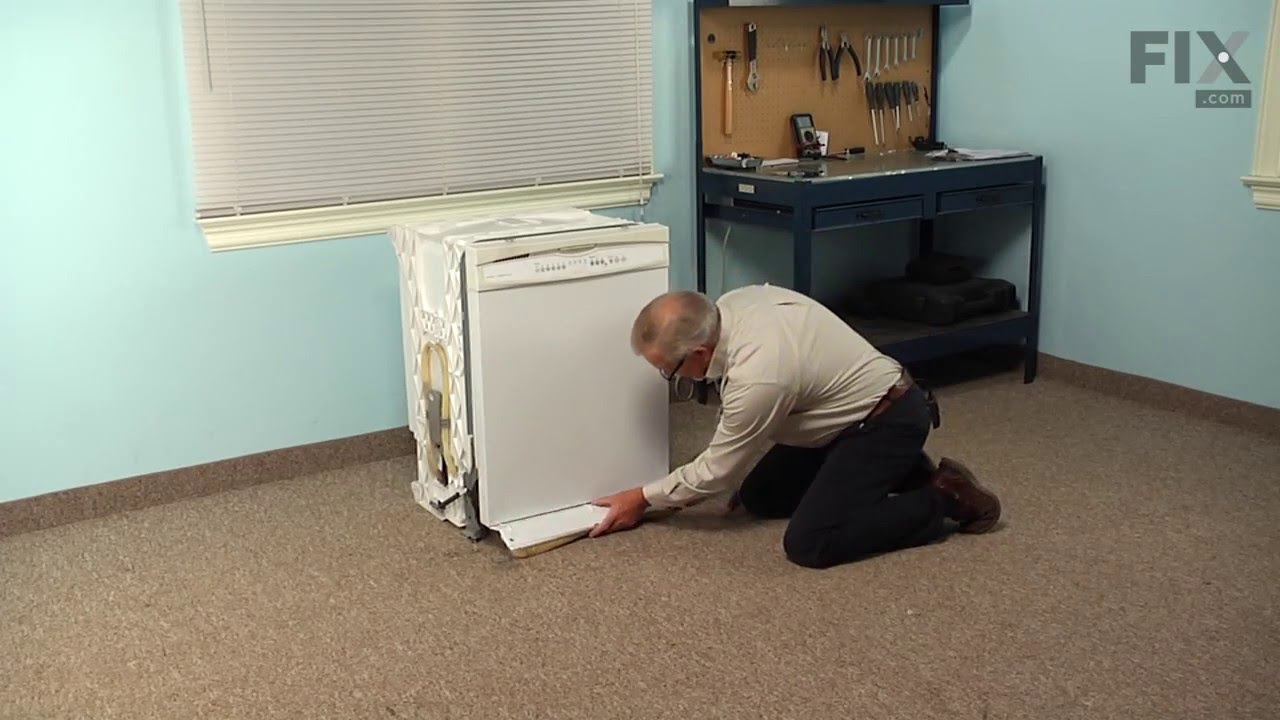
This part acts as as safety mechanism that keeps the dryer from overheating. Once the dryer temperature reaches a certain point, this part will shut down power to the heating element.

$ 29.47
In Stock
Part #WP661566

Replacing your Kenmore Dishwasher High Limit Thermostat
Replacing your Dishwasher High Limit Thermostat

Customer Repair Stories

No heat. Replaced thermostat
13 of 14 people found this instruction helpful.
  • Tim from BURTONSVILLE, MD
  • Really Easy
  • 30 - 60 mins
  • Screw drivers, Socket set
Was able to replace and repair without taking the dishwasher out. Thermostat is behind and to the left of the power junction box. Has 2 wires going to it. It is up against the bottom of tub. I used an angled mirror to see what I was doing. 1 small screw to detach and pull down thermostat. Be sure power is off before you start. Also reprogrammed defaults. Hit any button 1-2-3, 1-2-3, 1-2-3, fast and close door. Let it sit 15 min to run and re-set defaults. Now I have heat and dry dishes.
Was this helpful?
Thank you for voting!
Dishes wouldn't dry
37 of 49 people found this instruction helpful.
  • George from Lisbon, CT
  • Really Easy
  • 15 - 30 mins
  • Screw drivers
I shut off the power to the dishwasher, then I removed the front panel under the door. On the right side just behind the electrical box there are two wires going up to the hi-limit thermostat, (you may need a small mirror to see it), remove one screw that is holding the thermostat bracket, unplug the wires from the old thermostat and inst all new one. Screw bracket and thermostat back to the underside of the dishwasher, reinstall the front panel, turn on the power, done.
Was this helpful?
Thank you for voting!

Fixes Symptom 1% of time

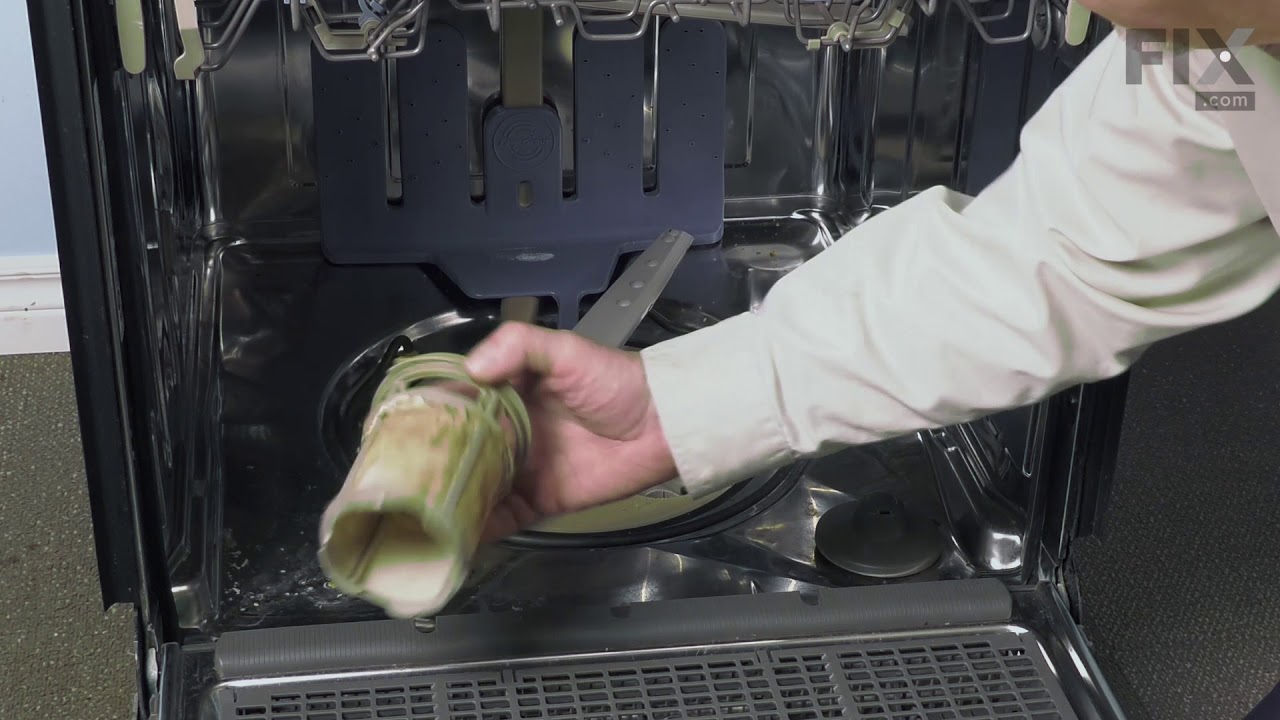
This dishwasher filter is a genuine OEM component designed to work with the water pump, preventing debris from entering and potentially damaging the pump system. Made with a gray plastic top and bottom, each approximately 5 inches in diameter, the filter plays a critical role in maintaining proper drainage and cleaning performance. Over time, the filter may become clogged or damaged, leading to poor cleaning results or drainage issues. Replacement is straightforward: turn the old filter counterclockwise to unlock and remove it, then screw in the new filter, ensuring it is securely seated. Regular inspection and replacement help maintain optimal dishwasher function.

$ 48.45
In Stock
Part #W10872845

Replacing your Whirlpool Dishwasher Filter
Replacing your Dishwasher Filter

Customer Repair Stories

New filter
6 of 8 people found this instruction helpful.
  • John from SAINT CHARLES, MO
  • Very Easy
  • Less than 15 mins
Ordering the part was very easy. It shipped fast and delivered over 3 days. It fit perfectly
Was this helpful?
Thank you for voting!
Dishwasher would not drain
8 of 11 people found this instruction helpful.
  • Edward F from CINCINNATI, OH
  • Really Easy
  • 30 - 60 mins
After bailing out the unit, filled filter hole with a moderate amount of Dawn dish washing detergent. Ran dishwasher twice to remove all Dawn from the unit. Had to bailout the water (and suds) from the washer both times. After the dishwasher finally drained I inserted the new filter..
Was this helpful?
Thank you for voting!

Fixes Symptom less than 1% of time

This is a lower spray arm for a dishwasher. The lower spray arm allows water to be spread evenly throughout the dishwasher tub with the proper force so dishes come out clean. This spray arm is gray in color and is about 20 inches long. You may need to replace this part if the water is not being distributed.

$ 44.23
In Stock
Part #WPW10491331

Replacing your Kenmore Dishwasher Lower Spray Arm
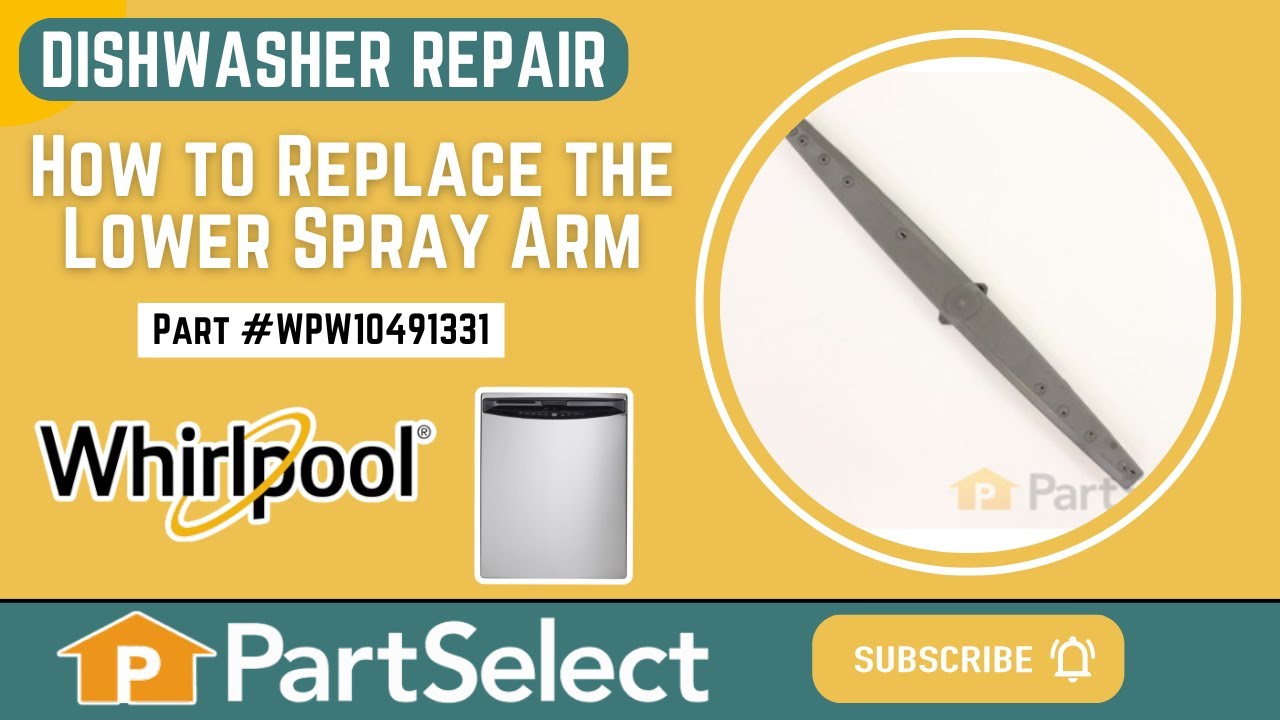
Replacing your Dishwasher Lower Spray Arm

Customer Repair Stories

Water coming out both sides of the bottom of the door.
11 of 13 people found this instruction helpful.
  • Michael from HAMILTON, NJ
  • Really Easy
  • Less than 15 mins
Replaced Arm spray...
Turn it left and it comes off......place new spray in .. turn it right...and it's in...make sure it moves freely.......Arm wasn't turning and water was consistently hitting the front door.....I also replaced the door seal...
Was this helpful?
Thank you for voting!
Lower spray arm worn out
15 of 17 people found this instruction helpful.
  • Shawn from WEIRTON, WV
  • Really Easy
  • Less than 15 mins
Took less than one minute
Was this helpful?
Thank you for voting!