EasyApplianceParts is now PartSelect! We've merged our sites to provide a better shopping experience for you.   Full Details

Find Parts

Parts Departments

Top Model Types

Top Brands

Repair Help

Expert Repair Videos

Keep typing for more specific results...

Parts That Fix Amana Dishwasher ADB1400AGS1 Not cleaning dishes properly

Not cleaning dishes properly is a commonly reported symptom for the ADB1400AGS1 Amana Dishwasher, and we have put together a full guide on how to fix this. This advice is based on feedback from people who own this exact appliance. We have listed the most common parts for your ADB1400AGS1 Amana Dishwasher that will fix Not cleaning dishes properly. We have included repair instructions, and helpful step-by-step video tutorials. If you are experiencing this issue, not to worry, DIYers just like you have fixed this, and shared their experience to help you!

Fixes Symptom 27% of time

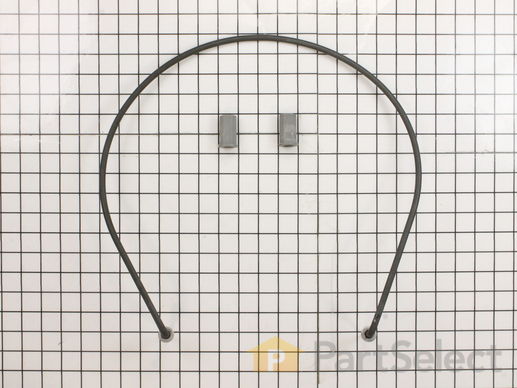
This manufacturer-certified heating element is used to create heat during the dry cycle and increase water temperature during portions of the wash cycle when certain options are selected. If your dishes are not drying or the water in the dishwasher is not getting hot you may need to replace the element. This kit includes the heater, two heater fasteners, and is a genuine OEM part. Please remember to disconnect the power before starting the repair. Use a multi-meter to test your heating element for continuity to determine whether this is the part that is causing your symptom. This part does not include any washers. To make your repair, disconnect the wires from the bottom of the element in the back, remove the plastic nuts holding it in place, remove the element, and repeat these steps in reverse order to install your new part. This is an easy repair that requires only a screwdriver, wrench set, and should take less than 30 minutes.

$ 46.34
In Stock
Part #W10518394

Replacing your Whirlpool Dishwasher Heating Element
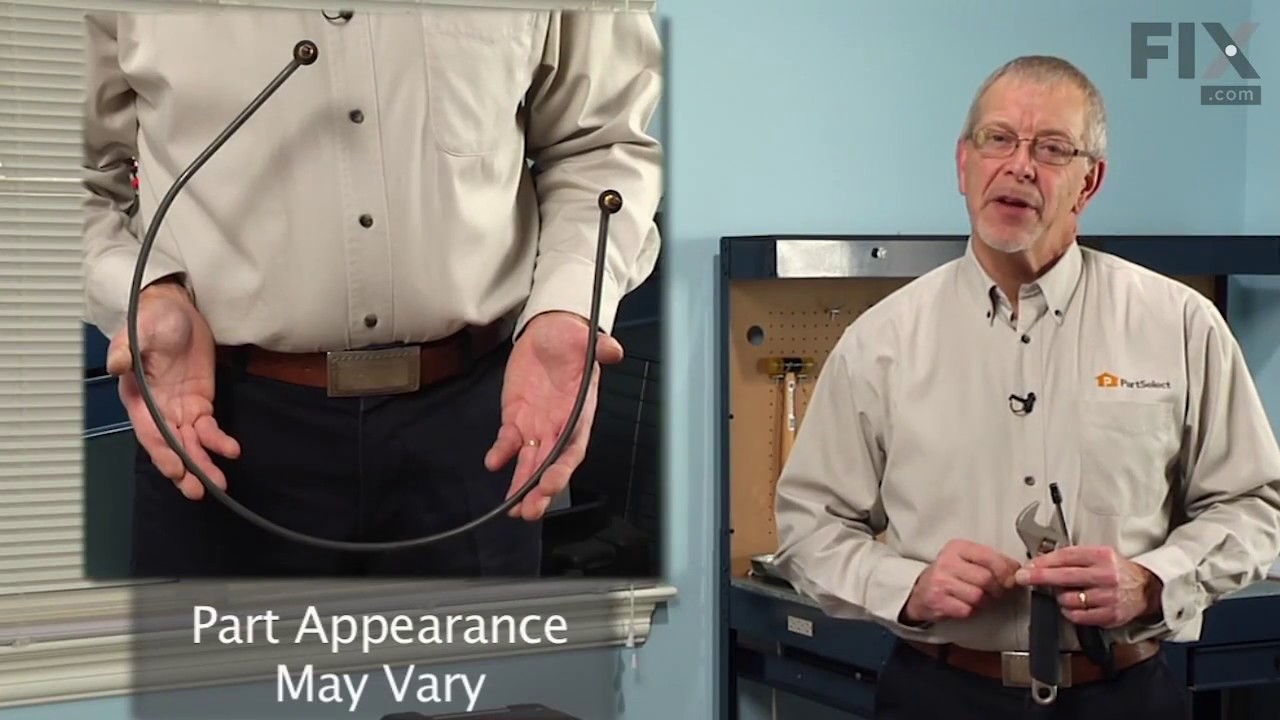
Replacing your Dishwasher Heating Element

Customer Repair Stories

clean light flashing 7 times would not run
18 of 23 people found this instruction helpful.
  • Mark from Winchester, VA
  • Really Easy
  • 30 - 60 mins
  • Screw drivers, Wrench (Adjustable), Wrench set
removed screws holding dishwasher to counter top,raised leveling pads,pulled dishwasher out, unplugged wiring,removed hold down nuts from inside dishwasher and installed new heater element, this was all easy the hard part was finding the code to reset the dishwasher there was no paperwork inside the dishwasher although there was an empty plastic holder.The code that worked for my model was with the door open to push the normal wash button then the high temp button three times as fast as you can within four seconds then close the door. It worked and reset the dishwasher which ran a short cycle then shut down as normal and is now working fine.After doing this select the beverage of your choice and relax. Hope this helps someone.
Was this helpful?
Thank you for voting!
Heater element broken.
238 of 282 people found this instruction helpful.
  • Dennis from Sedro Woolley, WA
  • Really Easy
  • Less than 15 mins
  • Screw drivers, Wrench set
Step 1: Remove the screws in the bottom of the countertop.

Step 2: Remove the screws holding the bottom kickplate.

Step 3: Loosen leveling legs.

Step 4: Pull dishwasher out of hole.

Step 5: Unlplug dishwasher.

Step 6: Disconnect wires from bottom of element in back.

Step 7: Remove plastic nuts holding element in place.

Step 8: Remove element.

Step 9: Reverse Steps 1-7.

Step 10: Drink beer.
Was this helpful?
Thank you for voting!

Fixes Symptom 23% of time

This circulation pump is a genuine OEM replacement part designed for use in dishwashers. It is responsible for circulating water throughout the dishwasher during the wash and rinse cycles. The circulation pump draws water from the dishwasher tub, pressurizes it, and then distributes it to the spray arms, which spray the water onto the dishes to remove food particles and debris. The circulation pump may fail due to several reasons such as an electrical fault, a blockage in the pump impeller, motor failure, or physical damage. A faulty pump will result in water leakages, unusually loud noises during use, reduced water circulation, and poor cleaning performance.

$ 78.26
In Stock
Part #W11612326

Fixes Symptom 16% of time

This dishwasher filter is a genuine OEM component designed to work with the water pump, preventing debris from entering and potentially damaging the pump system. Made with a gray plastic top and bottom, each approximately 5 inches in diameter, the filter plays a critical role in maintaining proper drainage and cleaning performance. Over time, the filter may become clogged or damaged, leading to poor cleaning results or drainage issues. Replacement is straightforward: turn the old filter counterclockwise to unlock and remove it, then screw in the new filter, ensuring it is securely seated. Regular inspection and replacement help maintain optimal dishwasher function.

$ 48.45
In Stock
Part #W10872845

Replacing your Whirlpool Dishwasher Filter
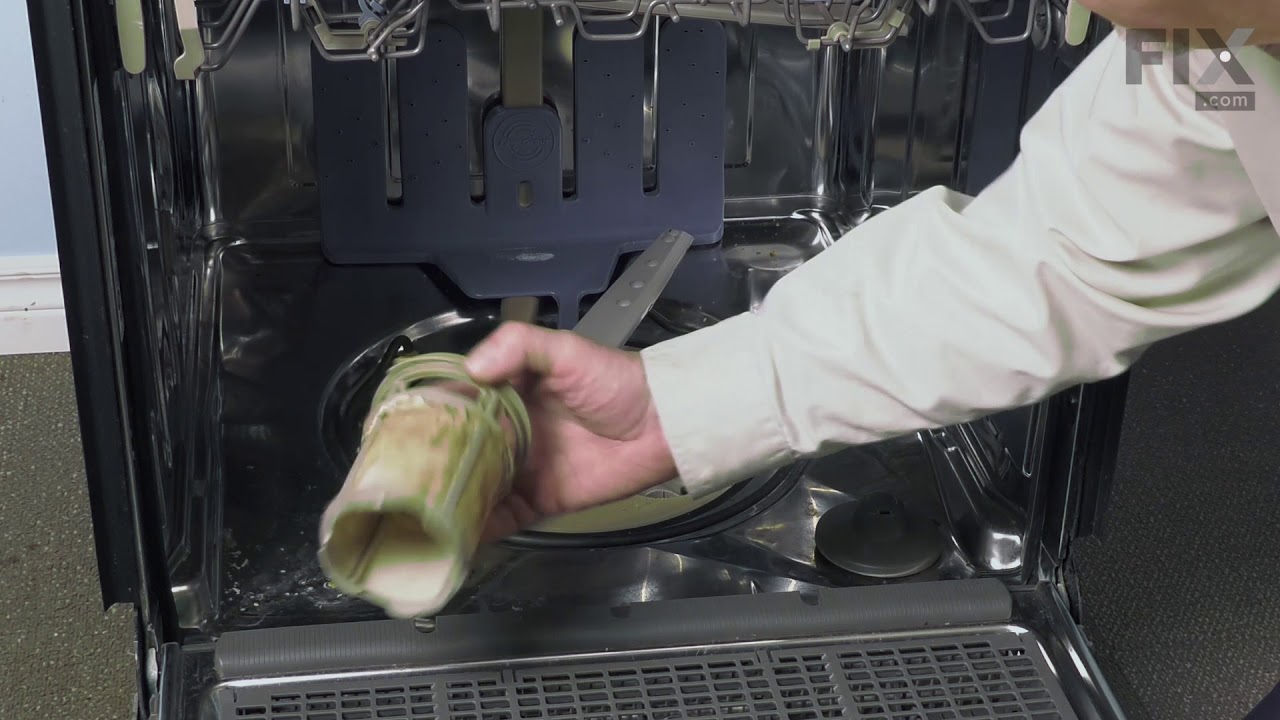
Replacing your Dishwasher Filter

Customer Repair Stories

New filter
6 of 8 people found this instruction helpful.
  • John from SAINT CHARLES, MO
  • Very Easy
  • Less than 15 mins
Ordering the part was very easy. It shipped fast and delivered over 3 days. It fit perfectly
Was this helpful?
Thank you for voting!
Dishwasher would not drain
8 of 11 people found this instruction helpful.
  • Edward F from CINCINNATI, OH
  • Really Easy
  • 30 - 60 mins
After bailing out the unit, filled filter hole with a moderate amount of Dawn dish washing detergent. Ran dishwasher twice to remove all Dawn from the unit. Had to bailout the water (and suds) from the washer both times. After the dishwasher finally drained I inserted the new filter..
Was this helpful?
Thank you for voting!

Fixes Symptom 8% of time

This lower spray arm is a key component in your dishwasher’s cleaning system, rotating during the wash cycle to evenly distribute water across dishes for thorough cleaning. Made from durable materials for long-lasting performance, it helps improve overall efficiency and can resolve issues such as poor cleaning results. Compatible with a range of dishwasher models, this part is a direct replacement for the original and installs easily to restore optimal function.

$ 48.45
In Stock
Part #WPW10319027

Customer Repair Stories

Lower Spray Arm fell off and got on the heating element and melted a large hole in it.
7 of 7 people found this instruction helpful.
  • Gary from BLUE SPRINGS, MO
  • Really Easy
  • Less than 15 mins
Removed the lower dish rack to allow room to reach inside the dishwasher, placed the new Spray Arm in position and rotated the base clockwise and locked it in place. Very easy to do and it works fine.
Was this helpful?
Thank you for voting!
The silverware holder, knife must have knocked off arm loose, it then fell and burnt on heater element.
9 of 9 people found this instruction helpful.
  • Patricia from TAMPA, FL
  • Very Easy
  • Less than 15 mins
1. Removed the burnt residue left on heating element from the spray arm being knocked off when pulling out the silver ware holder/knife . Step 2: Put the spray arm on and Hand tighten in the correct direction- it will lock into place.. Pull up slightly to confirm this step. If it comes off -try again turning in correct direction. arrows on part.3. Ran dishwasher- opened a few times to make sure it stayed on, which it did. I will now be carefully that no silver ware pokes down between the spaces in silverware holder.
Was this helpful?
Thank you for voting!
5 Screen

Fixes Symptom 8% of time

This is a screen filter, designed to keep food particles, gunk, and debris from entering the pump of your dishwasher. If this filter is missing, damaged, or simply unusable, it will need to be replaced so you can effectively clean your dishes. Replacing this filter is simple, as you only need to twist and remove the lower filter, before you can carefully lift this filter out. This filter is an OEM part and is sold individually.

$ 27.36
In Stock
Part #WPW10463906

Replacing your Whirlpool Dishwasher Screen
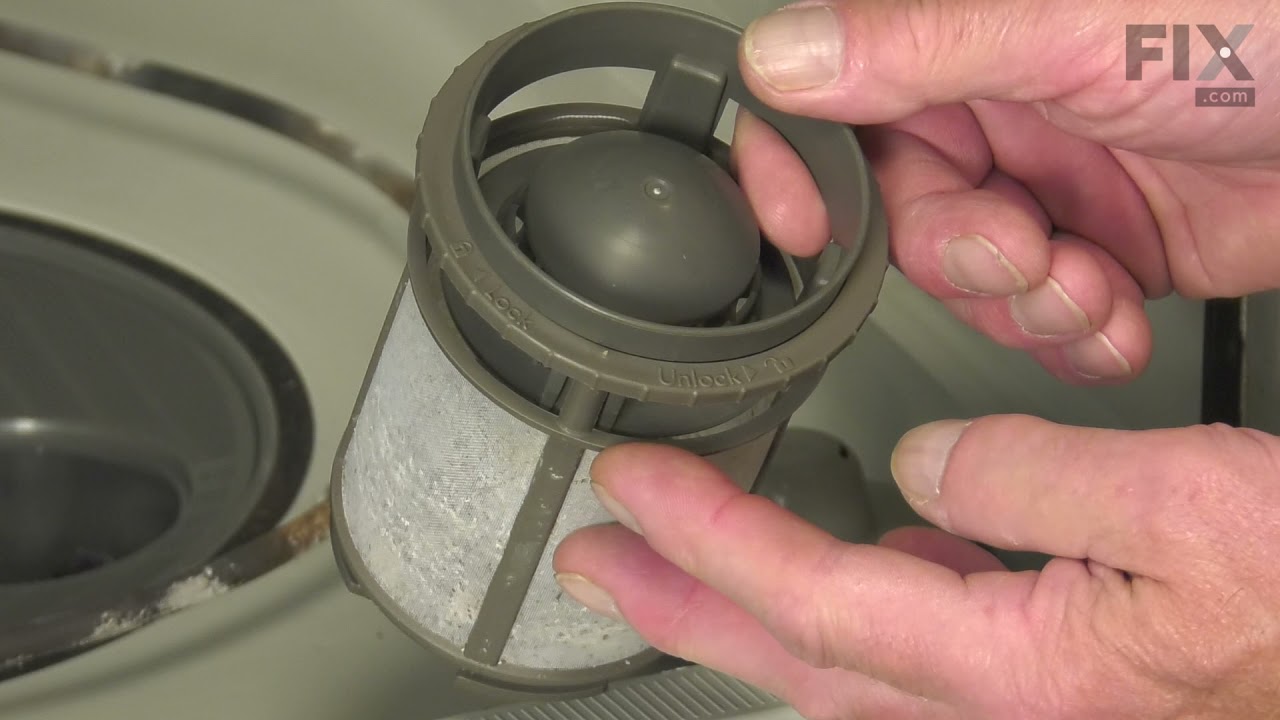
Replacing your Screen

Customer Repair Stories

The old filter was warped, allowing food into the sprayer system
3 of 3 people found this instruction helpful.
  • George from LYMAN, ME
  • Really Easy
  • Less than 15 mins
Replaced the strainer. This keeps the two sprayers clean/clear so they do not clog up. Dishes are cleaner now. Note : if your sprayers are clogged it is a long process to clear out the sprayers. Dishes will not be clean until your sprayers are all cleared.
Was this helpful?
Thank you for voting!

Fixes Symptom 4% of time

This part acts as as safety mechanism that keeps the dryer from overheating. Once the dryer temperature reaches a certain point, this part will shut down power to the heating element.

$ 29.47
In Stock
Part #WP661566

Replacing your Kenmore Dishwasher High Limit Thermostat
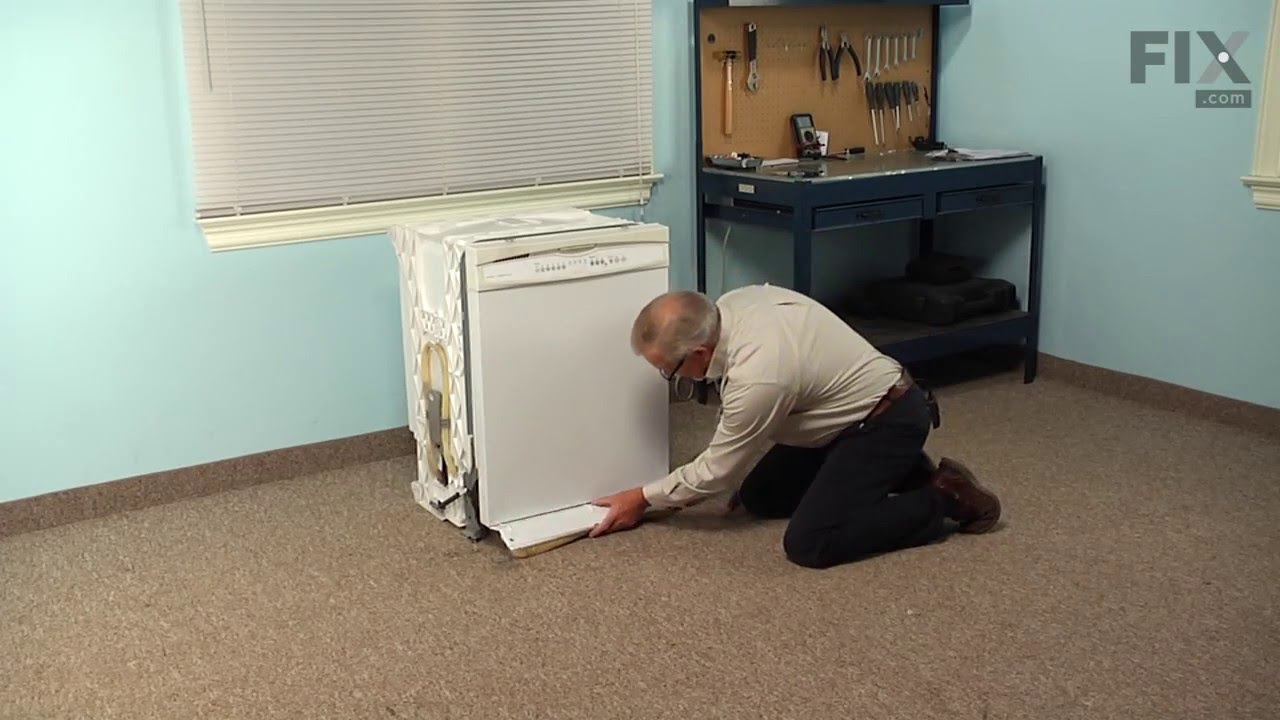
Replacing your Dishwasher High Limit Thermostat

Customer Repair Stories

No heat. Replaced thermostat
13 of 14 people found this instruction helpful.
  • Tim from BURTONSVILLE, MD
  • Really Easy
  • 30 - 60 mins
  • Screw drivers, Socket set
Was able to replace and repair without taking the dishwasher out. Thermostat is behind and to the left of the power junction box. Has 2 wires going to it. It is up against the bottom of tub. I used an angled mirror to see what I was doing. 1 small screw to detach and pull down thermostat. Be sure power is off before you start. Also reprogrammed defaults. Hit any button 1-2-3, 1-2-3, 1-2-3, fast and close door. Let it sit 15 min to run and re-set defaults. Now I have heat and dry dishes.
Was this helpful?
Thank you for voting!
Dishes wouldn't dry
37 of 49 people found this instruction helpful.
  • George from Lisbon, CT
  • Really Easy
  • 15 - 30 mins
  • Screw drivers
I shut off the power to the dishwasher, then I removed the front panel under the door. On the right side just behind the electrical box there are two wires going up to the hi-limit thermostat, (you may need a small mirror to see it), remove one screw that is holding the thermostat bracket, unplug the wires from the old thermostat and inst all new one. Screw bracket and thermostat back to the underside of the dishwasher, reinstall the front panel, turn on the power, done.
Was this helpful?
Thank you for voting!

Fixes Symptom 3% of time

This water inlet valve should be located behind the lower kick plate panel in either the right or left corner. The attaching solenoids on the valve open and close according to the desired amount of water needed.

$ 54.24
In Stock
Part #W11175771

Replacing your Whirlpool Dishwasher INLET VALVE

Replacing your Dishwasher INLET VALVE

Customer Repair Stories

Water leaking in from under unit
4 of 4 people found this instruction helpful.
  • Bruce from PHENIX CITY, AL
  • Really Easy
  • 15 - 30 mins
  • Pliers, Screw drivers, Wrench (Adjustable)
Turn the supply water off to the unit usually under the sink. If under cabinet model, usually there are 2 crews just under the counter top holding the unit in place remove these. Slide the unit out if possible for easy access to underside. Remove lower front panel (just under the door) by turning 2 plastic screws 1/4 turn. Use something s table to slightly prop up the unit such as a gallon paint can. The valve will usually be located in front left hand side. Mine was blue in color. Using a adjustable wrench remove the water supply line to the valve. Be sure to have a towel handy as there will be some water left in the line. Using pliers, compress the spring type clamp on the line that feeds from the valve to the unit and slide it back/away from the valve, then pull the hose from the valve. The valve itself will be mounted to the unit just behind a metal bracket and will have one "Phillips type"/ cross point screw in it, remove that screw and slide/wiggle the valve out. Replace it with new valve and reverse the procedures. Just don't over-tighten the inlet water line or you may damage it's sealing ability and cause a leak. Usually 1/4 turn past hand tight will do it. Turn on the water and check for leaks, a flashlight comes in handy. Then simply slide the unit back into place and replace the 2 cabinet screws. You are done!
Was this helpful?
Thank you for voting!
Inlet valve wasn't working
26 of 30 people found this instruction helpful.
  • Melissa from AIKEN, SC
  • Really Easy
  • 15 - 30 mins
  • Pliers, Screw drivers
Put thread tape on threads. Screwed water hose to part. Pushed hose onto part. Pushed electric clip to part. Screwed part onto washer. Done
Was this helpful?
Thank you for voting!

Fixes Symptom 3% of time

★★★★★
★★★★★
(1)

Easy 

Less than 15 mins 

The rack track stop on your dishwasher is designed to stop the dish rack at the appropriate place when opening and closing the rack. If your dishwasher is not cleaning your dishes properly, the rack stop may need to be replaced. The replacement part may differ slightly from the broken part, depending on the model. However, the different styles are interchangeable. This product is sold individually and comes in both a white and grey plastic version. Many of our customers found this repair to be very easy and takes less than 30 minutes to complete. Simply snap the old part out and snap the new part into place. You will not require any tools to complete the job. This is an authentic part approved by the manufacturer.

$ 9.62
In Stock
Part #WP8565925

Replacing your Whirlpool Dishwasher Rack Track Stop
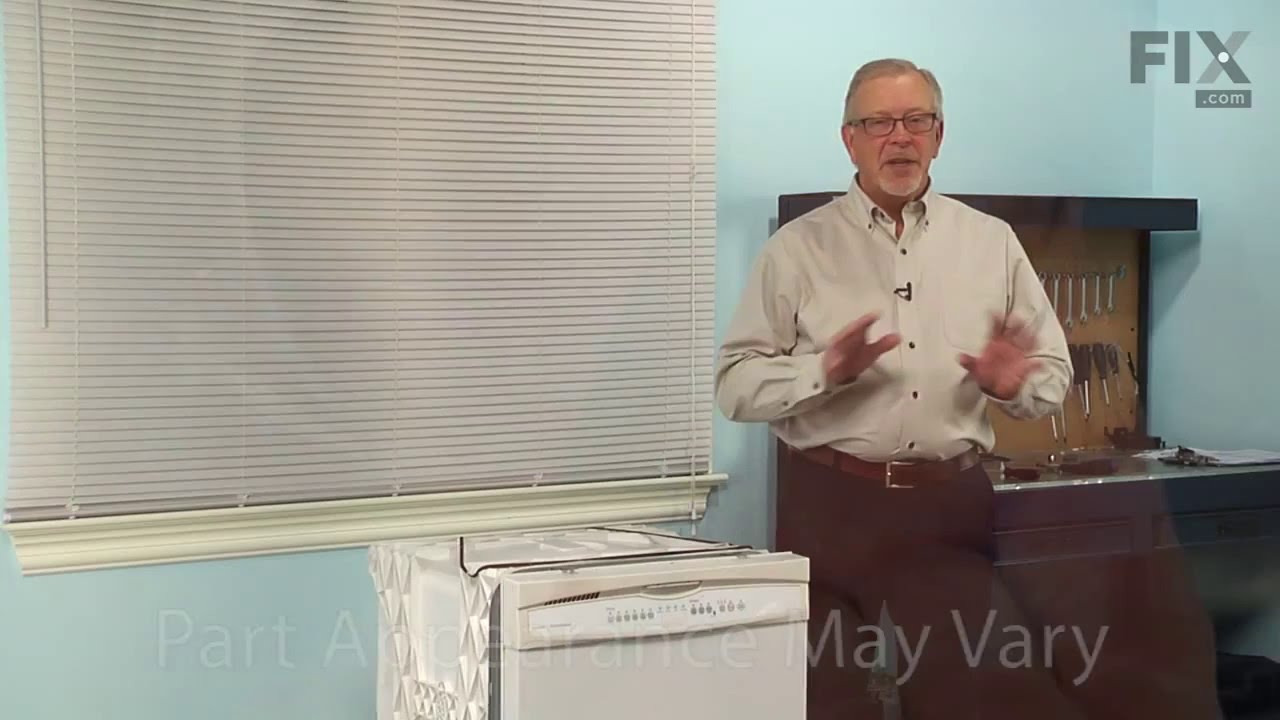
Replacing your Dishwasher Rack Track Stop

Customer Repair Stories

One of the old stops broke
6 of 8 people found this instruction helpful.
  • Dwight from KENT, WA
  • Very Easy
  • Less than 15 mins
Snapped the new stops on. It took about 2 minutes.
Was this helpful?
Thank you for voting!
Lost stop from one side of top rack. Rack could be pulled off track.
8 of 11 people found this instruction helpful.
  • Sheila from FAYETTEVILLE, NY
  • Very Easy
  • Less than 15 mins
Looked at other side of top rack which still had the stop. Just had to orient the direction of the stop and push it firmly onto the rack arm. Took a couple tries, but it went in and locked. Works perfectly. Inexpensive and easy fix to to very annoying problem.
Was this helpful?
Thank you for voting!

Fixes Symptom 2% of time

The spray arm manifold holds the spray arm and connects the spray arm to the water feed tube.

$ 56.33
In Stock
Part #WPW10340683

Customer Repair Stories

Water trickling out of sprayer on top rack not strong enough to clean dishes. The back of the water manifold was broken off.
3 of 3 people found this instruction helpful.
  • Joe from KENNESAW, GA
  • Very Easy
  • Less than 15 mins
Removed top rack from dishwasher by removing retaining clips on roller track and slide top rack out of tracks. Placed top rack on table upside down and popped water manifold out and snapped new one in place. Install rack in reverse order of removal.
Note: Make sure there is no food debris clogging spray arm, that will give same sym ptom as well as a weak or clogged pump.
Was this helpful?
Thank you for voting!

Fixes Symptom 1% of time

This drain hose is 6 and 1/2 feet.

$ 25.75
In Stock
Part #8269144A

Replacing your Kenmore Dishwasher Drain Hose
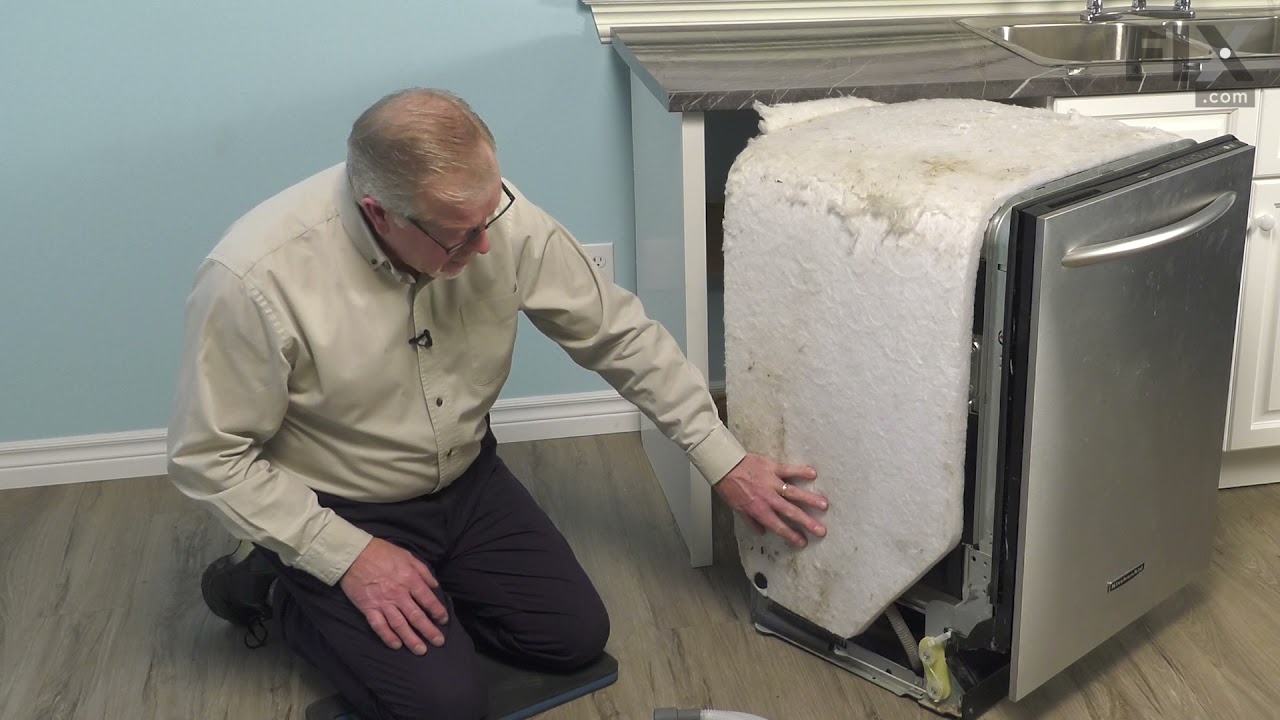
Replacing your Drain Hose

Customer Repair Stories

Drain hose leaking
8 of 12 people found this instruction helpful.
  • Robert from Beaufort, SC
  • Easy
  • 15 - 30 mins
  • Pliers
I did not relize that the drain hose was in two parts. Naturally I ordered the wrong half. So after I relized my mistake, I re-ordered the correct part. Once the correct part was received the repair was easy and went well.
Was this helpful?
Thank you for voting!
Unwanted water.
10 of 11 people found this instruction helpful.
  • David from PITTSBURGH, PA
  • Easy
  • 30 - 60 mins
  • Pliers, Screw drivers, Wrench (Adjustable)
A Mouse friend had seen fit to chew through the original drain line. I used my Model Number, and was able to order the correct part . It arrived the next day. The job itself is fairly straight forward. You will need to access the rear of the machine. This may include shutting off, and disconnecting the water supply line. (Adjustable wren ch). Mine is under the sink, on the "Hot" side. You may also need to un-plug the unit. (recommended) . A pair of (Pliers) will be needed for the spring clamp.
Was this helpful?
Thank you for voting!
11 Cover

Fixes Symptom 1% of time

This genuine Whirlpool cover is a key component of your dishwasher, compatible with several models under the Whirlpool, KitchenAid, Maytag, Jenn-Air, Amana, Inglis, and Magic Chef lineups. It serves as a sump cover, attached to the tub bottom, channeling and collecting water directly into the pump to ensure optimal functioning. For your safety, we recommend unplugging the dishwasher or switching off the house circuit breaker before installing this piece. A pair of work gloves is also advised to guard your hands during installation. Be certain of the part number's compatibility with your particular model before purchasing. Its design may vary in size and shape so a precise fit is essential for appropriate functioning.

$ 26.82
In Stock
Part #WPW10455271

Fixes Symptom 1% of time

Don't let a faulty oven throw your kitchen game off track! Our GE Oven Control and Overlay Assembly is your crucial sidekick to bring back your oven?s top-notch performance. It regulates the oven's temperature and settings, keeping your roasts and bakes precise and delicious. The set includes the oven control and a matching overlay, covering all bases for a robust and cohesive control system for your oven. This part hails straight from GE, a brand known for its top-quality and trustworthy home appliances. So, not only are you investing in restoring your oven's functionality, but also relying on a tried and tested brand. It's crafted to fit right in and stand up to the heat ? quite literally ? offering a durable solution to make your oven feel brand new. Get your kitchen back on track and enjoy cooking and baking like a pro with the help of the GE Oven Control and Overlay Assembly.

$ 19.30
In Stock
Part #W11550106

Fixes Symptom 1% of time

This part is also known as a float switch. This float switch, when activated, stops the flow of water into the dishwasher.

$ 47.40
In Stock
Part #WPW10195039

Replacing your Whirlpool Dishwasher Overfill Control Switch

Replacing your Dishwasher Overfill Control Switch

Customer Repair Stories

DISHWASHER WOULD NOT FILL WITH WATER
2 of 5 people found this instruction helpful.
  • TRACEY ANN from BRICK, NJ
  • Really Easy
  • Less than 15 mins
  • Pliers
Unscrewed bottom panel of the dishwasher and simply replaced the bad control switch with the new one.
Was this helpful?
Thank you for voting!
water fill overflows at times
7 of 12 people found this instruction helpful.
  • Dennis from AUBURNDALE, WI
  • Really Easy
  • 15 - 30 mins
thought it could be due to the overfill control switch,so ordered one and replaced one in the washer. However, it did not solve the problem. Having a repair company coming to look at the dishwasher. Tipped the washer on its back and switch was readily accessable. Only had to open plastic covering over the switch, disconnect the wires and install new switch and reconnect the wires.
Was this helpful?
Thank you for voting!

Fixes Symptom 1% of time

This pump inlet grommet is a genuine OEM replacement part that is compatible with various models of dishwashers. It is made of rubber and has a diameter of approximately 2.5 inches. The grommet is used to create a watertight seal in the area between the inlet hose and the circulation pump. This prevents the dishwasher from leaking, and it also helps to absorb minor shocks and vibrations that occur while the dishwasher is running. It is normal for the grommet to wear down over time or become damaged from exposure to water, heat, and chemicals.

$ 28.42
In Stock
Part #WPW10538166

Customer Repair Stories

I damaged the grommet when removing the recirc pump
6 of 6 people found this instruction helpful.
  • john from SANFORD, NC
  • Easy
  • 30 - 60 mins
  • Pliers, Screw drivers
repair went smooth for the grommet. suggest a small of vasoline to ease installation of grommet
Was this helpful?
Thank you for voting!
WARNING!!! This is NOT the grommet that goes on the "pump stem" in the center
26 of 29 people found this instruction helpful.
  • Monica from PITTSFORD, NY
  • Very Difficult
  • More than 2 hours
I purchased this misguided by the official response to "Doug" on April 17, 2018, which at the time was labeled as "most helpful". This is NOT the little grommet in the center. This is a big grommet that goes no the supply pump. This is #14 in the diagram. (#15 is actually the clamp that holds it). If you are looking for the little grommet that goes on that stem on the central recirculation pump, that part is not available, it only comes fused on the sump, and for replacing the sump you have to disassemble the whole bottom part of the dishwasher, pumps, sensors, valves, hose...even this big grommet. A lot of work, and since you are at it, you might want to replace both grommets. If you need THIS big grommet (#14) only, then it is not so much work, just take out one clamp, one connected cable, and the grommet to replace. But check if your machine has reusable clamps, because if not, you might want to order a new clamp. Good luck!
Was this helpful?
Thank you for voting!

Fixes Symptom 1% of time

This part is used to drain water from your dishwasher.

$ 51.91
In Stock
Part #WPW10545278

Replacing your Whirlpool Dishwasher Drain Hose
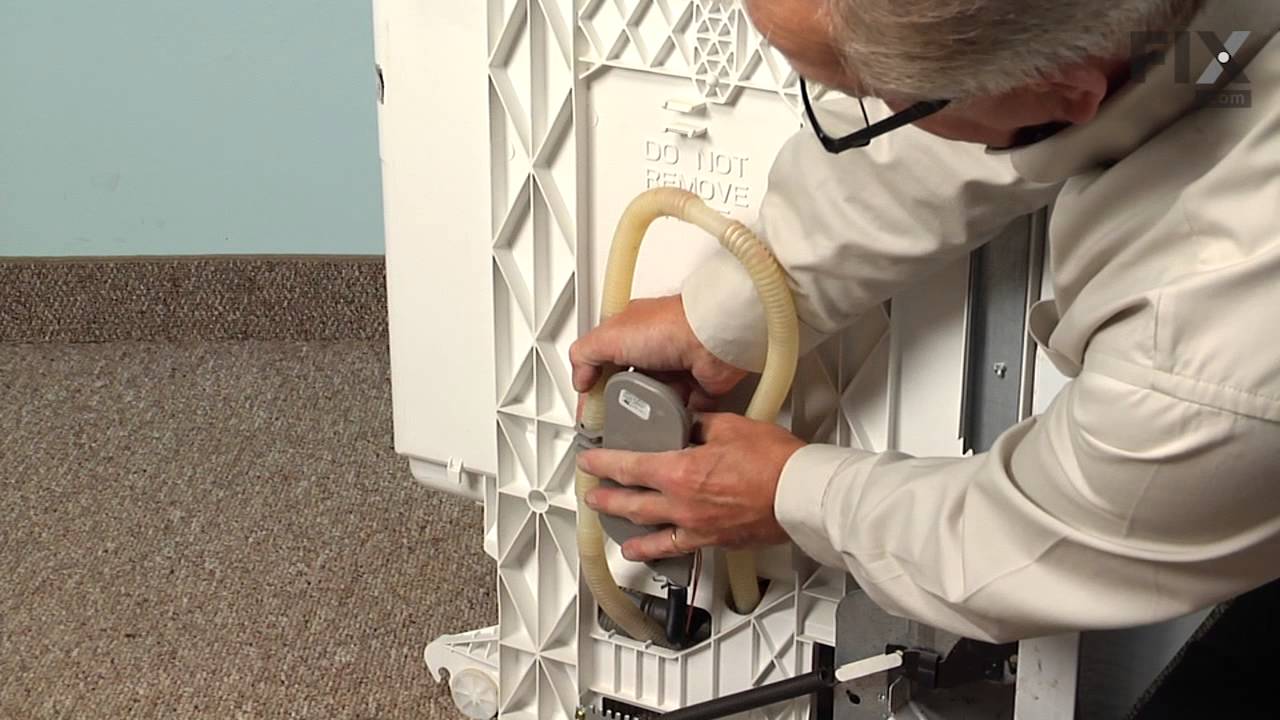
Replacing your Dishwasher Drain Hose
16 CLAMP

Fixes Symptom less than 1% of time

Introducing the Whirlpool Hose Clamp, designed with both quality and efficiency in mind. This genuine OEM part plays an essential role in your dishwasher's functionality. Applied to hold the end of the water hose securely, it effectively prevents any potential leaks. It's essential to disconnect the water supply and electricity and use appropriate hand protection before installation. This versatile clamp works seamlessly with Whirlpool, KitchenAid, Maytag, Jenn-Air, Amana, Inglis, and Magic Chef models. Ensure the part number corresponds with your appliance model prior to purchase, as small variances in shape and size may occur.

$ 15.00
In Stock
Part #W10789434