


 My Orders




ACF4255AC-PACF4255AC1 Amana Range - Overview

Enter a part description. DIY Heroes keep it simple, eg. "belt" or "pump".
Search filter:
Clear Filter
Your search term must have 3 or more characters.

$19.54
In Stock
Light Bulb - 40W
Part #8009
This an authentic OEM 40-Watt replacement light bulb, used in a number of household appliances. It is specially designed to withstand extreme temperatures, which is why these replacement bulbs are most often used to light the inside of refrigerators and ranges. It features a standard socket base, which means you simply unscrew the burnt-o...Read moreut bulb and screw in the replacement. Depending on the appliance you may require a screwdriver or nut driver to access the light bulb. We recommend you wear work gloves while handling this replacement part. It is constructed of glass and metal and is sold individually. Depending on the appliance and location of the bulb within it, you may want to consider disconnecting power and using a flashlight for easier access to unscrewing and re-screwing in your bulb during this repair.
Read less

$11.77
In Stock
Appliance Scraper
Part #WA906B
Use this scraper for your ceramic/glass cooktop. It has a retractable blade and is an all-purpose tool for cooktops, mirrors, windows and tile. Use it to also remove paint, paper, dirt, stickers and more.

$105.35
In Stock
Radiant Surface Burner Element 1500W
Part #W10823699
This surface element is made for under glass set-ups and supplies the heat to a cooking area on top of the range. It has an outside diameter of approximately 7 inches (1500 watts), and is a genuine OEM part sourced directly from the manufacturer. Before you replace your faulty element, make sure the element is cool, and the power is disconnected from your range.

$7.47
In Stock
Refrigerator Single Hex Head Screw
Part #WP489069
Sold individually. The size of this screw is 1/4" hex head and 10-12 x 1/2".

No Longer Available

$24.67
In Stock

$11.77
Special Order
CLEANER
Part #W10336909

$9.62
Special Order
Lock Indicator Light
Part #WP903115

No Longer Available
Shoulder Bolt - 10-32
Part #31750717

No Longer Available
Indicator Lens - Orange
Part #Y0316265

No Longer Available
Temperature Sensor
Part #W10850495
This temperature sensor detects the temperature within the oven cavity.

No Longer Available
Common Symptoms of the ACF4255AC-PACF4255AC1
How this model fails, and the parts that fix it.


Watch our pros, then fix it yourself.


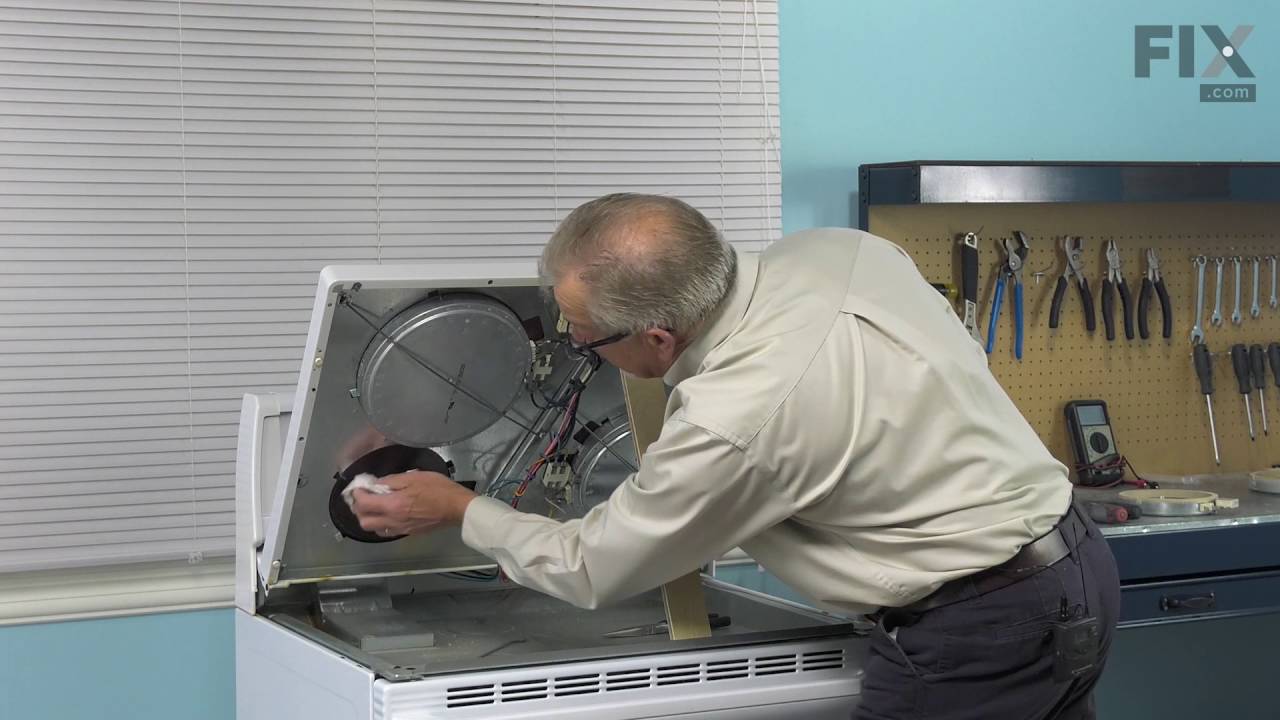
See how others fixed this model. Time, tools, difficulty, and steps that lead to victory!
View More