EasyApplianceParts is now PartSelect! We've merged our sites to provide a better shopping experience for you.   Full Details

Find Parts

Parts Departments

Top Model Types

Top Brands

Repair Help

Expert Repair Videos

Keep typing for more specific results...

AA8231 Speed Queen Washer - Overview

Diagrams for AA8231

See every part. Know exactly what you need.

Enter a part description. DIY Heroes keep it simple, eg. "belt" or "pump".

Search filter:
Clear Filter
Your search term must have 3 or more characters.
Retaining Ring – Part Number: WP23748
$12.85
In Stock
Retaining Ring
Part #WP23748
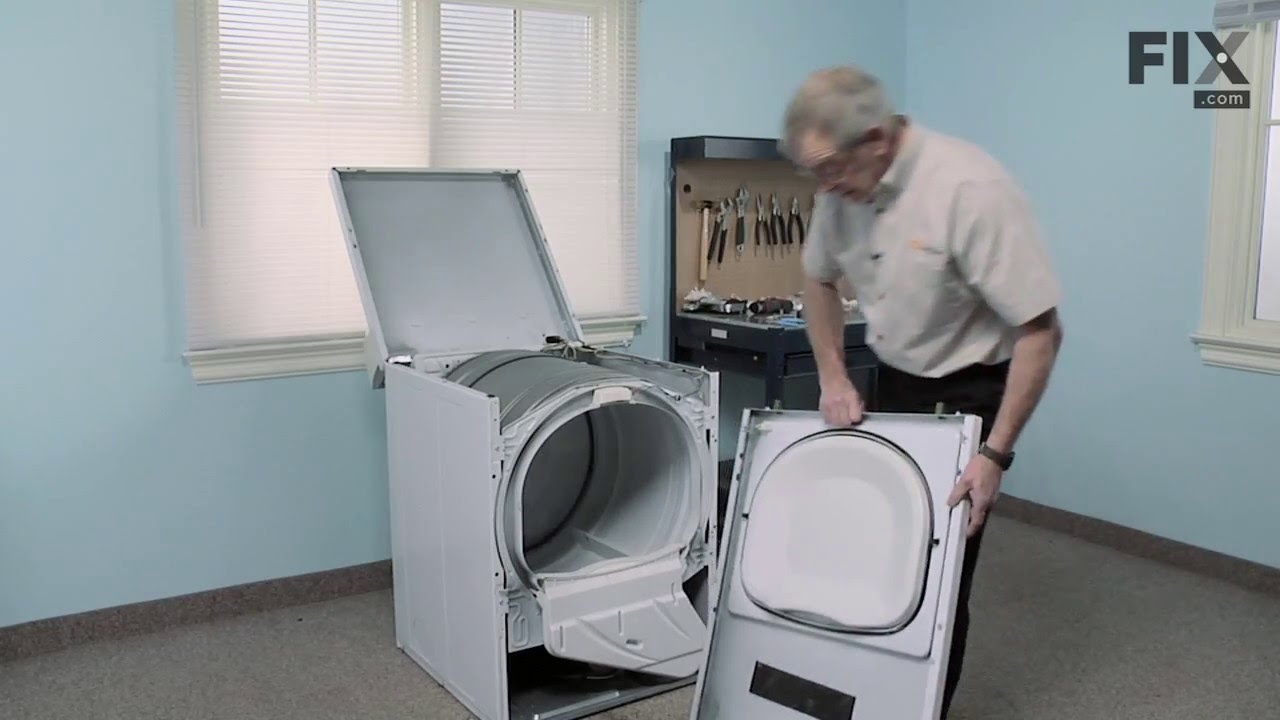
The metal retaining ring, which is under an inch long, holds the rear wheels on the axels of the dryer. The main reason why it would need to replaced is if the retaining ring has sprung out of place or is damaged. Some the symptoms could be that your dryer does not tumble, it makes a loud buzzing noise, or if it pumps, but will not spin. The tools needed for this project are a putty knife, 5/16 nut driver, and snap ring pliers. Refer to the installation video and diagram for further instructions and guidance. Customers ranked this replacement project as easy.
Thrust – Part Number: WPW10121334
$7.47
In Stock
Washer Inlet Hose Washer – Part Number: WPY013783
No Longer Available
Washer Inlet Hose Washer
★★★★★
★★★★★
(1)
Part #WPY013783
This inlet hose washer, also known as a high pressure inlet hose washer, is used in washing machines, refrigerators, freezers, and dishwashers. The function of this part is to create a watertight seal in the appliance. If your gasket gets dry and brittle over time it will start to crack and will lose its function. In this case, it is important to replace it. Refer to the manual provided by the manufacturer for further installation instructions and accurate guidance. As a safety precaution, remember to unplug your washer from the power source before beginning.
Drive Bell and Seal Kit – Part Number: R9900189
No Longer Available
Drive Bell and Seal Kit
Part #R9900189
This washing machine drive bell and seal kit comes with a seal, a plug, a shoulder screw, a drive bell, and some grease.
Screw – Part Number: WP27001200
$7.47
In Stock
Screw
Part #WP27001200
Sold individually.
Dryer Nut – Part Number: WPW10139757
$7.47
Special Order
Dryer Nut
Part #WPW10139757
Sold individually. This nut is for dryers. Follow appropriate safety practices when installing the nut.
Brake Rotor Assembly – Part Number: R9900474
No Longer Available
Brake Rotor Assembly
Part #R9900474
Screw – Part Number: 40038901
No Longer Available
Screw
Part #40038901
Sold individually. 1/4-20
Siphon Break Kit – Part Number: 76660
$88.88
Special Order
Siphon Break Kit
Part #76660
Included in this kit are the clamps for the drain hose.
Lock Nut Spline Insert – Part Number: WP40008301
$9.62
Special Order
Lock Nut Spline Insert
Part #WP40008301
Door Reversal Kit - Pewter – Part Number: 8530072
$30.53
In Stock
SCREW – Part Number: W10856106
No Longer Available
SCREW
Part #W10856106
Sold individually.

Common Symptoms of the AA8231

How this model fails, and the parts that fix it.

Watch our pros, then fix it yourself.

See how others fixed this model. Time, tools, difficulty, and steps that lead to victory! View More

Search repair tips from other customers using simple keywords like "replace", "fit", "remove", "inspect". DIY doesn't mean you have to do it alone!

Search filter:
Clear Filter
Your search term must have 3 or more characters.
needed the door to swing left instead of swinging right
4 of 4 people found this instruction helpful.
  • Steven from BONNER, MT
  • Really Easy
  • 15 - 30 mins
  • Screw drivers
Remove five screws holding the door hinge to the dryer frame. Remove the plastic cover over the screw holes on the opposite side. Remove the hinge from the door by removing two phillips head screws from the door edge and two phillips head screws from inside the door. Mount the hinge on the opposite side of the door. Attach to door to the opposite side with the five screws you removed previously. Remove and replace the the hinge cover and handle cover by popping out the plastic trim piece on the bottom and loosening the top trim pieces. Hook the replacement covers to the top trim pieces and pop the bottom piece back in. Replace the handle by removing two screws and put the new piece in. Tighten two screws and you're done
Was this helpful?
Thank you for voting!
grease in washer
6 of 11 people found this instruction helpful.
  • Jan from Denver, CO
  • A Bit Difficult
  • 1- 2 hours
  • Socket set
remove agitator then remove center bolt from hub, match bolt with longer bolt so that gear puller will work. install bolt and gear puller and twist top of gear puller until hub is removed. remove old seal ,use sand cloth or emery cloth to remove all deposits from shoulder. make it shinny, use some dawn dishwashing soap to line the inside of the new seal at the bottom and slide into place.take a piece of 2" PVC about 4" long and slide over the top of the seal and tap with a rubber hammer until seal is seated firmly on shoulder. look to see that there are no gaps with a inspection mirror or a make-up mirror.If their are no gaps ,install the hub and tap on the new hub with the rubber hammer. the hub will not seat all the way down so use the old bolt to pull it down, now take out the old bolt and install the new one, this is because the new one has lock tite on it ,your done!
Was this helpful?
Thank you for voting!
belt was cracking and dryer was somewhat noisy
4 of 7 people found this instruction helpful.
  • Melody from Silverton, CO
  • Easy
  • More than 2 hours
  • Nutdriver, Screw drivers
I used your great video for pointers as to what to do. I took off the front, raised the top, vacuumed the whole thing up, that took quite a while. Took out the drum. Did more cleaning. Then took off the old retaining rings with retaining ring pliers, took off the old drum rollers and support. Replaced with new roller supports, washer, rol ler, washer and retaining rings. Then I replaced the belt. Tested it and turned the wrong way and it came off. Replaced and tested it again and I don't know why but it came off. Replaced the belt again, tested fine. Then I replaced the felt pads and glides, they were worn. I ended up asking my husband to help hold the drum so I could get the front back on. Replaced front and door. Tried the dryer. Works great AND very, very little noise. Note: when taking the wiring off the light and the door switch, I took photo's of those places with my cell phone and had them to look at to make sure the wiring was correct.
Was this helpful?
Thank you for voting!