


 My Orders




AA108 Maytag Washer - Overview

Enter a part description. DIY Heroes keep it simple, eg. "belt" or "pump".
Search filter:
Clear Filter
Your search term must have 3 or more characters.

$32.63
In Stock
Belt Kit
Part #12112425
This kit includes both the drive belt and the pump belt which are both V-shaped. If your washer does not toss, spin, or drain water properly, this might be because one of these belts has worn or stretched out. This results in the belt losing its grip and no longer driving the pump. The pump belt is black and made of rubber. The pump belt ...Read moreis located between the motor and pump underneath the washer. Simply remove the belt and hook the new one around the pulley. You may need to loosen or tighten the belt to ensure it is set in place properly.
Read less

$79.98
In Stock
Water Inlet Valve
Part #205613
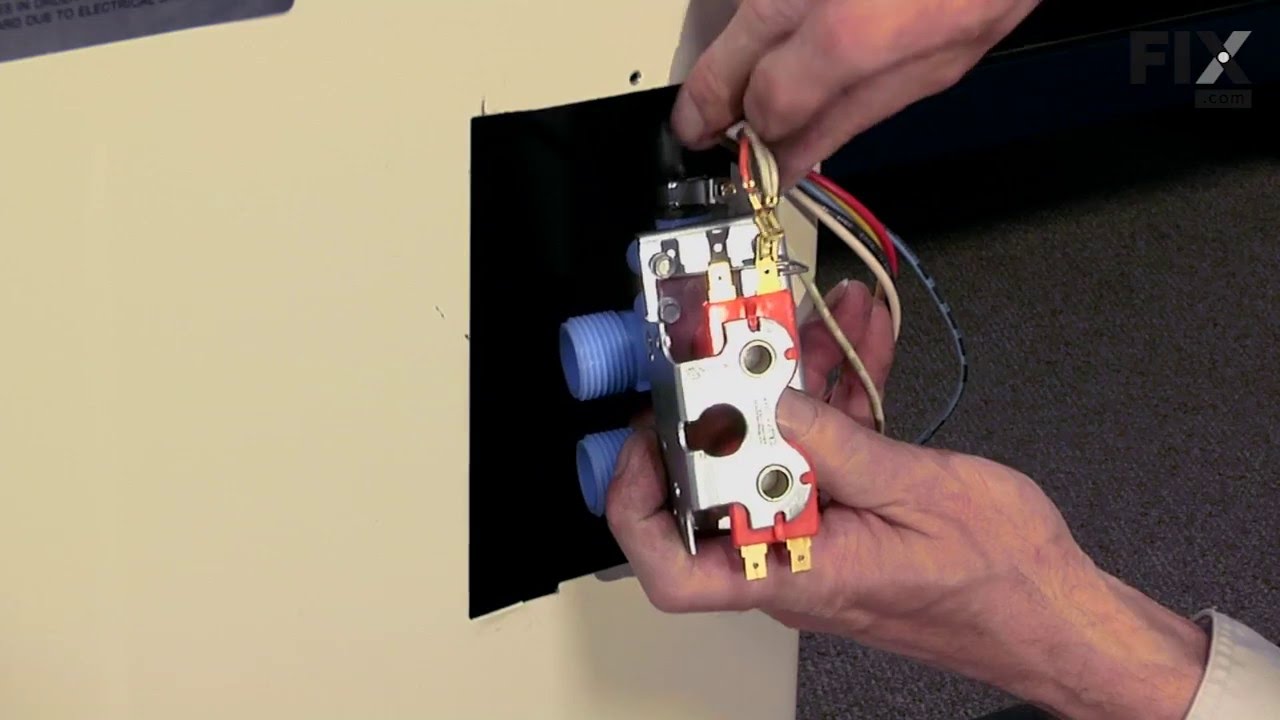
This is a water inlet valve which is used in washing machines. The valve controls and monitors the flow of water into the washer. It has a multi-mount bracket and outlet adaptor. The tools needed for this repair are: a 5/16 nut driver, 1/4 nut driver, and a small flat blade screwdriver. If cold water does not flow into washer, or the wash...Read moreing machine will not fill with hot water, replacing the valve can be the solution. To gain access to the water valve, locate the back of the washer and remove the hot and cold hoses, as well as the whole assembly. Next, remove the four wires and loosen up the clamp. After removing the old valve, replace it with the new one and reconnect the wires and hose. Remember to disconnect the washer from the power source before starting this project.
Read less

$22.52
In Stock
Lid Switch
Part #W10820036
This washer/dryer lid or door switch kit serves as a critical safety component, designed to prevent the appliance from operating when the lid or door is open. It ensures that the washer does not fill or spin and the dryer does not start unless the door is securely closed, helping to avoid water spills and potential safety hazards. The kit...Read more includes all necessary components for installation and is compatible with a wide range of top-loading washers and front-loading dryers. Installation typically involves disconnecting power, accessing the control panel or door area, and replacing the switch using standard tools. The switch is compact and designed to fit seamlessly within the appliance’s housing, with dimensions approximately 2.5 inches in length, 1 inch in width, and 1 inch in height. It features a neutral color finish that blends with most appliance interiors.
Read less

No Longer Available
Drain Pump
Part #WP6-2022030
This washing machine drain pump is intended for use with automatic washers that have been manufactured since 1958. The pump itself is made of plastic, though it does come with a metallic belt pulley.

$128.66
In Stock
Drive Motor - One Speed - 120V
Part #12002351
Are you looking to give your Samsung dishwasher a new lease of life? We've just the thing you need ? the authentic OEM Samsung Upper Basket Assembly. As a genuine Samsung part, it's designed exactly for your dishwasher model. That means fitting it is as straightforward as can be; just use your appliance's manual for step-by-step instructi...Read moreons. Made from sturdy white plastic, this upper basket is built to last. But it's not just about toughness; it's also about doing an amazing job. It securely holds your dishes in place throughout the dishwashing cycle, so you can trust it to deliver spotless dishes every time. This upper dishrack is meant to work smoothly with your Samsung dishwasher models, promising perfect performance in each and every wash. So why wait? Bring back your dishwasher?s optimal efficiency with this reliable part.
Read less

No Longer Available
Lid Plunger & Bracket Kit
Part #204968
This kit is part of the lid switch mechanism and will stop the spin cycle if the load is unbalanced. When you lift the lid, it resets the plunger and your cycle will resume.

No Longer Available
Washer Timer
Part #WP205001
The timer controls most of the operations of the washer: water level, tub filling and emptying, length of cycles, and cycle setting sequences.

No Longer Available
DISCONTINUED
Part #203320

No Longer Available
DISCONTINUED
Part #201379

No Longer Available
DRAIN HOSE
Part #211704
No Longer Available
Lid Switch Plunger
Part #WP213718
No Longer Available
TIMER KNOB-CLEAR ACRYLIC
Part #214196
Common Symptoms of the AA108
How this model fails, and the parts that fix it.
Burning smell
Fixed by
these parts
these parts


Show All
Will not drain
Fixed by
these parts
these parts

Show All
Leaking
Fixed by
these parts
these parts

Show All
Will not agitate
Fixed by
these parts
these parts
Show All
No hot or cold water
Fixed by
these parts
these parts
Show All
Spins slowly
Fixed by
these parts
these parts
Show All
Will Not Start
Fixed by
these parts
these parts

Show All
Spinning Issues
Fixed by
these parts
these parts
Show All
Water Filling Issues
Fixed by
these parts
these parts
Show All
Won’t Start
Fixed by
these parts
these parts
Show All
Noisy
Fixed by
these parts
these parts
Show All
Shaking and Moving
Fixed by
these parts
these parts
Show All
Noisy and Marks Left on Clothes
Fixed by
these parts
these parts
Show All
Watch our pros, then fix it yourself.
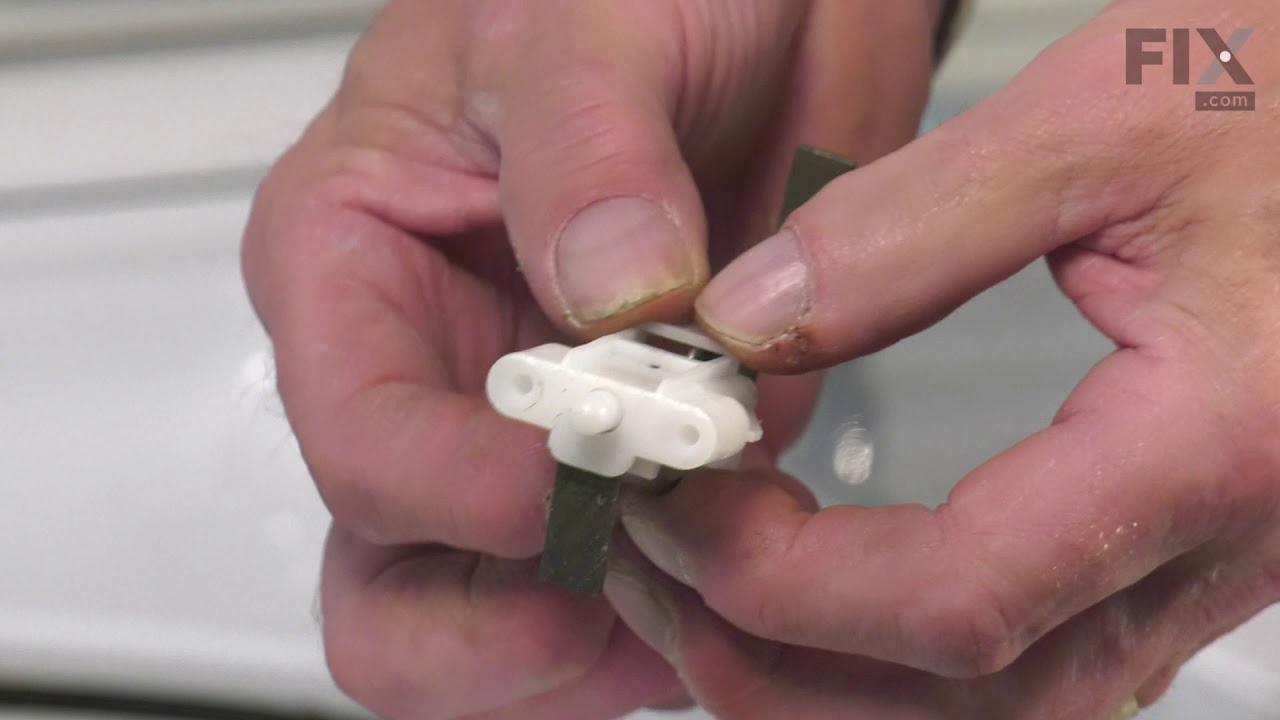
See how others fixed this model. Time, tools, difficulty, and steps that lead to victory!
View More
Search repair tips from other customers using simple keywords like "replace", "fit", "remove", "inspect". DIY doesn't mean you have to do it alone!
Search filter:
Clear Filter
Your search term must have 3 or more characters.
Drum would not drain and there was a banging noise when the drum spun
600 of 658 people
found this instruction helpful.
I removed the 2 phillips screws on the bottom of the front panel. Then checked around to find the belts were actually below the floor panel.
I pulled the washing machine away from the wall and tilted it bacwards and found the pump belt was off the pully and the drive belt was badly damaged. I replaced the 2 belts which took no tools ... Read more and about 3 minutes to accomplish then resecured the front panel, pushed back in place and leveled. Complete repair from diagnosis to back in operation took less than 15 minutes.
I pulled the washing machine away from the wall and tilted it bacwards and found the pump belt was off the pully and the drive belt was badly damaged. I replaced the 2 belts which took no tools ... Read more and about 3 minutes to accomplish then resecured the front panel, pushed back in place and leveled. Complete repair from diagnosis to back in operation took less than 15 minutes.
Read less
Was this helpful?
Thank you for voting!
washer would not start
148 of 192 people
found this instruction helpful.
To see if the lid switch was the problem I first jumped it out and tried to start the washer. That was the problem. I removed the main controll so I could get to the lid switch. I made the mistake of removing the screws all the way out and the metal clip fell into the body of the washer, no problem since I was changing the drive beld anyw
... Read more
ay. I realized that you do not remove the screws all the way out, you just have to loosen them and then slide out the lid switch & then replace it.
Read less
Other Parts Used:
Was this helpful?
Thank you for voting!