


 My Orders




A86 - Overview
Models starting with A86
Click on the best match to narrow your results.
- A8600 Maytag Washer (Top Loading)
- A8610PA Admiral Cooktop (Electric)
- A8610PS Admiral Cooktop (Electric)
- A8610PV Admiral Cooktop (Electric)
- A8640 Maytag Washer (Top Loading)
- A8650 Maytag Washer (Top Loading)
- A8670PB Admiral Cooktop (Electric)
- A8670PV Admiral Cooktop (Electric)
- A86LW-1-R Admiral Cooktop (Electric)
Enter a part description. DIY Heroes keep it simple, eg. "belt" or "pump".
Search filter:
Clear Filter
Your search term must have 3 or more characters.

$10.95
In Stock
Chrome Drip Bowl - 8 inch
Part #WPW10196405
This manufacturer-certified drip bowl is also known as a drip pan, and it is designed for use with cooktops and ranges. It sits below 8-inch burner elements and catches drips and spills from the cookware on the burner. The diameter of the drip bowl is approximately 10 inches. This replacement might appear slightly different, but it will f...Read moreit your appliance.
You will need no tools to complete this repair. Simply remove the burner element, remove the old bowl, line up the hole on the new bowl with the terminal block and drop it into place. Make sure the bowl is flat before reinstalling the element. While you have the element out you should inspect the terminals for corrosion, damage, or discolouration. If you notice any of those things you should also replace the element and terminal block. You will need to replace your drip bowl if it is lost, damaged, or can no longer be cleaned. This replacement part is sold individually. To extend the life of your new drip bowl we recommend you clean it regularly with soap and water. We recommend only using the recommended drip bowl for your appliance; generic versions will not fit properly which could affect the performance of your elements and cause long-term damage.
Read less

$15.00
In Stock
Drip Bowl - 6 Inch
Part #W10196406RW
If your element will not heat, there could be an issue with your drip bowl. This chrome drip bowl is 8 inches in diameter, and fits most electric ranges. Before you replace the drip bowl, make sure the element is turned off and cool to the touch. Installation is easy, just remove the element, replace the current drip bowl, and replace the...Read more element. Make sure the small hole on the bowl lines up with the element socket. The manufacturer has substituted this part, it now has a hole in the center, and no longer has a solid bottom. For a step by step guide, click the video below.
Read less

$32.63
In Stock
Belt Kit
Part #12112425
This kit includes both the drive belt and the pump belt which are both V-shaped. If your washer does not toss, spin, or drain water properly, this might be because one of these belts has worn or stretched out. This results in the belt losing its grip and no longer driving the pump. The pump belt is black and made of rubber. The pump belt ...Read moreis located between the motor and pump underneath the washer. Simply remove the belt and hook the new one around the pulley. You may need to loosen or tighten the belt to ensure it is set in place properly.
Read less

$19.30
In Stock
Surface Burner Receptacle Kit
Part #12001676
The tools you will need to replace the surface burner receptacle kit on your range include a Phillips screw driver, and a pair of wire strippers. Before doing this repair, make sure to disconnect your appliance from the power supply and wear work gloves to protect your hands. The surface burner receptacle kit comes with a plastic block, h...Read moreigh temperature wire nuts, a metal bracket, and wires. This part functions as the connection between the wire harness and the surface element in your range.
Read less

$79.98
In Stock
Water Inlet Valve
Part #205613
This is a water inlet valve which is used in washing machines. The valve controls and monitors the flow of water into the washer. It has a multi-mount bracket and outlet adaptor. The tools needed for this repair are: a 5/16 nut driver, 1/4 nut driver, and a small flat blade screwdriver. If cold water does not flow into washer, or the wash...Read moreing machine will not fill with hot water, replacing the valve can be the solution. To gain access to the water valve, locate the back of the washer and remove the hot and cold hoses, as well as the whole assembly. Next, remove the four wires and loosen up the clamp. After removing the old valve, replace it with the new one and reconnect the wires and hose. Remember to disconnect the washer from the power source before starting this project.
Read less

$20.37
In Stock
Rubber Injector Valve
Part #WP216201
This part is commonly known to cause a leak at the top left corner of the outer tub. It fits over the injector nozzle. It is black in color and measures approximately 2 inches in length. To access this part, you will need to remove the front panel of your washer. There will be 2 screws holding it in place. Once these have been removed, th...Read moree top will pivot to open, which will give you access to the injector assembly. This is an OEM part that comes right from the manufacturer and is sold individually.
Read less

$28.42
In Stock
Standard Y-Frame Range Surface Burner
Part #WP660532
The standard y-frame surface burner provides heat to your range. If you notice that your element will not heat, you may need to replace your surface burner. This product is 6 inches in diameter, and 1500W. The manufacturer suggests replacing the receptacle at the same time that you replace the surface burner. Many of our customers have ra...Read moreted this repair as very easy, and you will not need any tools. To complete the repair, simply lift out the old burner and replace it with the new one. Check that the burners are turned off before you begin this repair.
Read less

No Longer Available
Mounting Stem/Tub Seal Kit
Part #6-2095720
This kit comes with a hub assembly, agitator seal, and spanner nut. If your washer leaks once it is full (with or without clothes in it) or leaks during agitation, then you should replace the seal. This part will also fix symptoms such as loud noises or the washer not agitating. The seal may become damaged or deteriorate over time and wil...Read morel need to be replaced. The mounting stem goes between the two tubs and seals the water into the tubs. When the water leaks, it goes into the bearing, which will cause it to also go bad, which is why you will likely change these at the same time.
Read less

$9.62
In Stock
Plastic Injector Nozzle
Part #WP213015
The plastic injector nozzle is used in washers and dryers. It is 3 inches long and is white in color. If your washer is leaking water, replacing the nozzle could solve your problem. For this repair project, you will need a 1/4 nut driver, 3/8 socket with extension, and a stubby Phillips screwdriver. To begin the repair, first remove the f...Read moreront panel by removing screws from the bottom end of both sides. Next, locate the two bolts in the interior of front panel and remove both. Pull bleach dispenser hose off before removing the top cover of washer. Remove clamp that holds the hose to the valve assembly to access the nozzle inside rubber valve and replace with new nozzle. Refer to the instructions provided by the manufacturer for further guidance.
Read less

$21.45
In Stock
Screw
Part #W11233072
This is a multi-use and multi-appliance screw. It can be used on a microwave, refrigerator, range/oven, air conditioner, dehumidifier, washer, or dryer. The measurements of this screw are 8 x 1/2 inch. It has 6 threads. Refer to the manual provided by the manufacturer for further information on repair and accurate guidance. Remember to wear work gloves as a safety precaution.

$7.47
In Stock

$22.52
In Stock
Lid Switch
Part #W10820036
This washer/dryer lid or door switch kit serves as a critical safety component, designed to prevent the appliance from operating when the lid or door is open. It ensures that the washer does not fill or spin and the dryer does not start unless the door is securely closed, helping to avoid water spills and potential safety hazards. The kit...Read more includes all necessary components for installation and is compatible with a wide range of top-loading washers and front-loading dryers. Installation typically involves disconnecting power, accessing the control panel or door area, and replacing the switch using standard tools. The switch is compact and designed to fit seamlessly within the appliance’s housing, with dimensions approximately 2.5 inches in length, 1 inch in width, and 1 inch in height. It features a neutral color finish that blends with most appliance interiors.
Read less
Common Symptoms of models starting with A86
How this model fails, and the parts that fix it.
Leaking
Fixed by
these parts
these parts


Show All
Element will not heat
Fixed by
these parts
these parts


Show All
Burning smell
Fixed by
these parts
these parts


Show All
Will not drain
Fixed by
these parts
these parts


Show All
Will not agitate
Fixed by
these parts
these parts


Show All
Will Not Start
Fixed by
these parts
these parts
Show All
No hot or cold water
Fixed by
these parts
these parts

Show All
Spins slowly
Fixed by
these parts
these parts

Show All
Spinning Issues
Fixed by
these parts
these parts

Show All
Noisy
Fixed by
these parts
these parts

Show All
Water Filling Issues
Fixed by
these parts
these parts

Show All
Shaking and Moving
Fixed by
these parts
these parts
Show All
Won’t Start
Fixed by
these parts
these parts
Show All
Lid or door won’t close
Fixed by
these parts
these parts

Show All
Noisy and Marks Left on Clothes
Fixed by
these parts
these parts
Show All
Watch our pros, then fix it yourself.
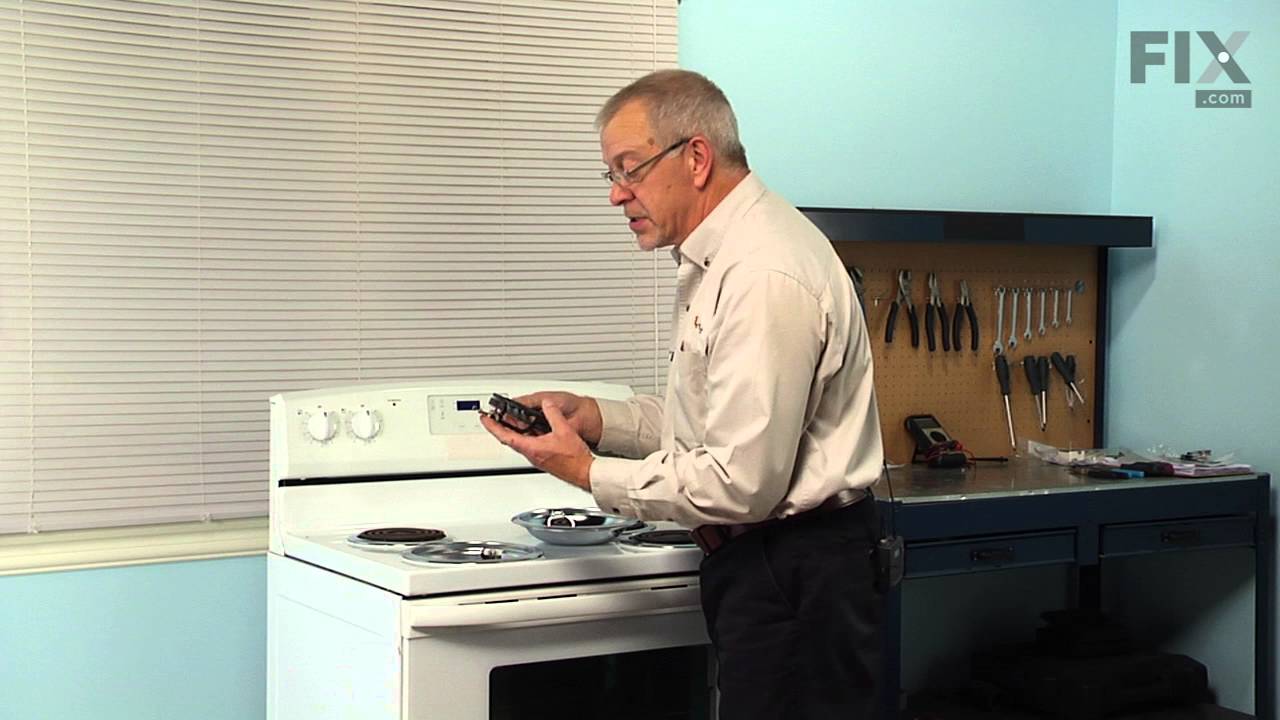
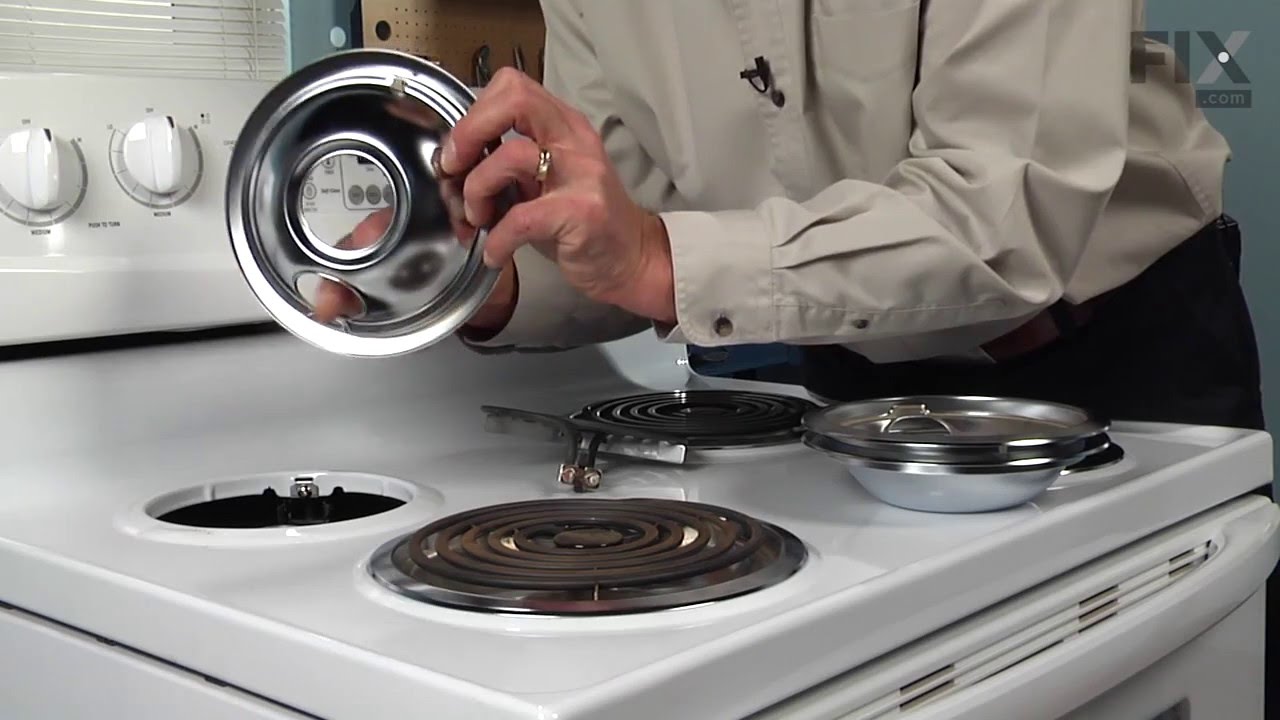
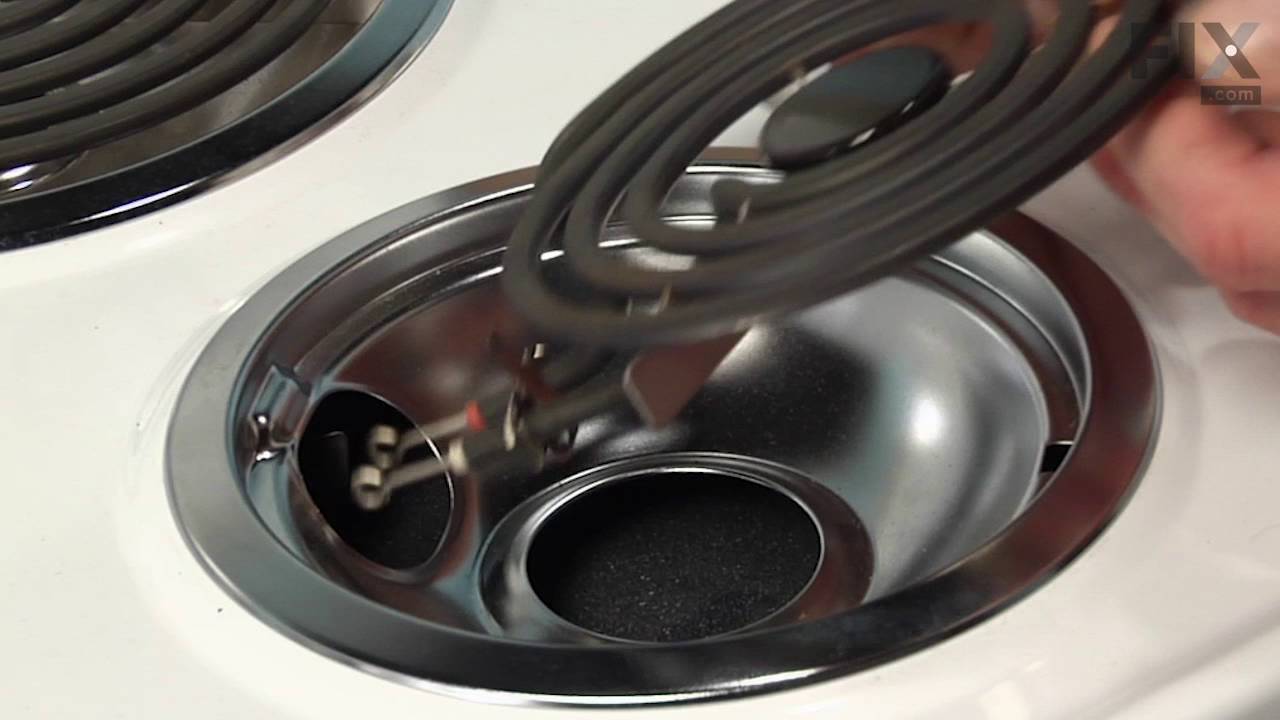
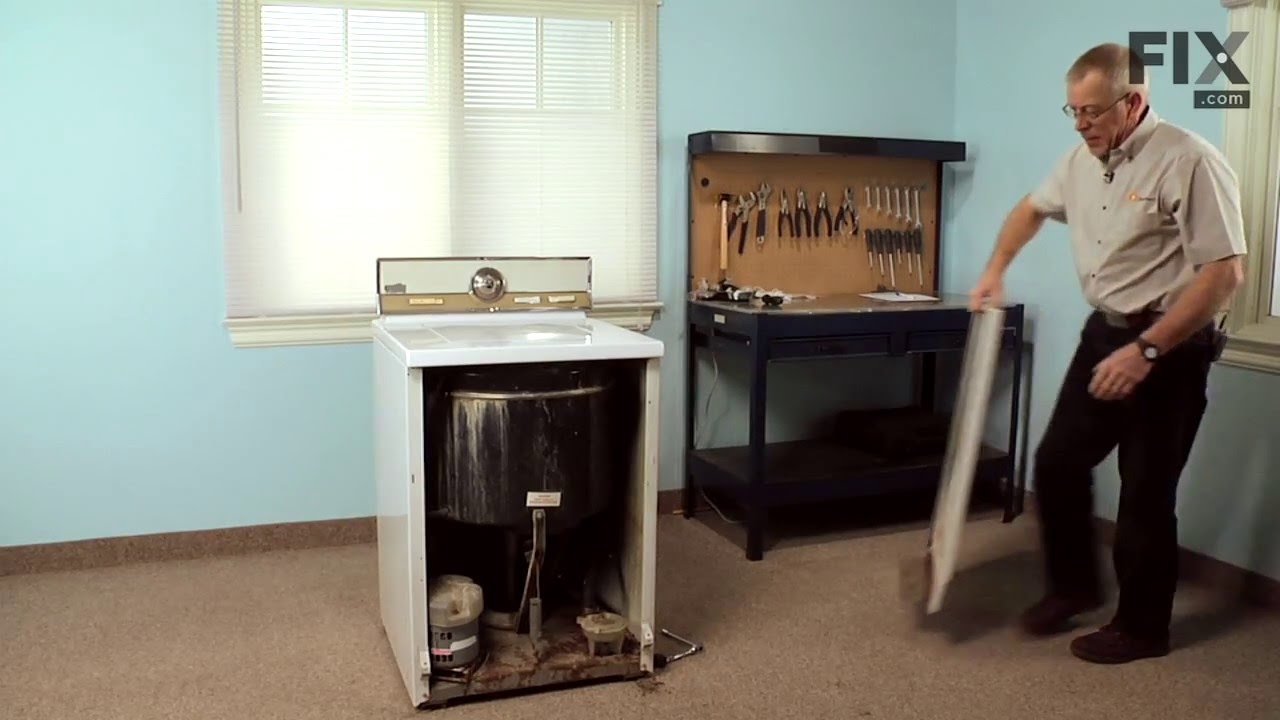
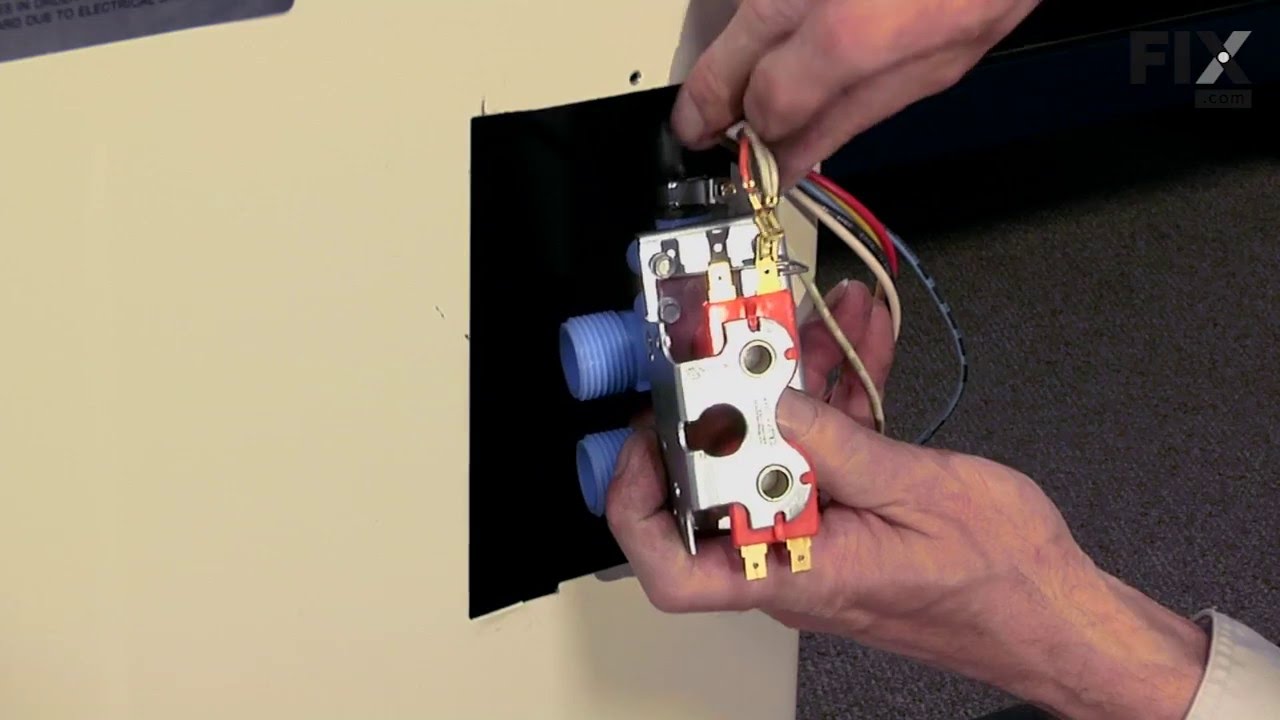
See how others fixed this model. Time, tools, difficulty, and steps that lead to victory!
View More
Search repair tips from other customers using simple keywords like "replace", "fit", "remove", "inspect". DIY doesn't mean you have to do it alone!
Search filter:
Clear Filter
Your search term must have 3 or more characters.
Drum would not drain and there was a banging noise when the drum spun
600 of 658 people
found this instruction helpful.
I removed the 2 phillips screws on the bottom of the front panel. Then checked around to find the belts were actually below the floor panel.
I pulled the washing machine away from the wall and tilted it bacwards and found the pump belt was off the pully and the drive belt was badly damaged. I replaced the 2 belts which took no tools ... Read more and about 3 minutes to accomplish then resecured the front panel, pushed back in place and leveled. Complete repair from diagnosis to back in operation took less than 15 minutes.
I pulled the washing machine away from the wall and tilted it bacwards and found the pump belt was off the pully and the drive belt was badly damaged. I replaced the 2 belts which took no tools ... Read more and about 3 minutes to accomplish then resecured the front panel, pushed back in place and leveled. Complete repair from diagnosis to back in operation took less than 15 minutes.
Read less
Was this helpful?
Thank you for voting!