


 My Orders




A31000PATT Admiral Range - Overview
Diagrams for A31000PATT
See every part. Know exactly what you need.


Enter a part description. DIY Heroes keep it simple, eg. "belt" or "pump".
Search filter:
Clear Filter
Your search term must have 3 or more characters.

$23.60
In Stock
Leveler Foot Screw (Nylon)
Part #W11665456
This is a leveling leg for your oven, range, or stove. The leveling legs on your oven allow your appliance to sit perfectly flat. The new one may be longer in length than your original, but will work the same. Install the new leveling leg, and test if you have it adjusted properly by putting the appliance on four legs. Adjust in or out a...Read mores required if your oven is rocking. It is recommended to check the other three leveling legs on your appliance in case they are also damaged or worn. The leveling leg measures 1.859", is all black in color, and is made entirely out of plastic. This leg may be shorter than the original but is the factory replacement. Longer leg is not available.
Read less

$21.45
In Stock
Screw
Part #W11233072
This is a multi-use and multi-appliance screw. It can be used on a microwave, refrigerator, range/oven, air conditioner, dehumidifier, washer, or dryer. The measurements of this screw are 8 x 1/2 inch. It has 6 threads. Refer to the manual provided by the manufacturer for further information on repair and accurate guidance. Remember to wear work gloves as a safety precaution.

$23.60
In Stock
Surface Burner Knob
Part #WP74002353
This is a surface burner knob for the stovetop on your range. it is 2 inches in diameter and only accepts a D-shaped shaft. The part snaps into place on the shaft of your unit and rotates to the different selections available, allowing you to choose the temperature levels. The most common reason for needing to replace this part is if your current one has worn over time and needs an update.

$75.13
On Order
Drip Pans - Kit of 4
Part #1430283
This set of four square chrome drip pans is designed to catch spills and protect the surface of select gas ranges and cooktops. Each pan measures just over 8 inches per side with a 3.5-inch center hole, providing a precise fit for the burner area. Constructed from chrome-plated metal, these OEM components offer durability and a polished a...Read moreppearance that complements most kitchen styles. By preventing food debris and liquids from reaching internal components, the drip pans help maintain appliance cleanliness and performance. Ideal for replacing worn or discolored pans, this kit is compatible with a variety of models and restores both function and aesthetics to your cooktop.
Read less

$8.55
In Stock

$8.55
In Stock

$7.47
In Stock

No Longer Available
GRATE BURNER
Part #W11400301
This square burner grate has sides measuring approximately nine inches. It is all black in color.

No Longer Available

No Longer Available
Sealed Dual Top Burner Assembly
Part #WP74003332
When your trusty washing machine stops behaving like it should, don't worry?our GE Washer Control Board is here to get things back in order. This component is at the heart of your washer, helping it to carry out key actions like filling with water, washing your clothes, draining, and spinning for that perfect clean. Think of it as your ...Read morewasher's brain?it's vital to ensure the smooth running of your appliance. However, it's crucial to match this part to your specific washer model number, so make sure to double-check before ordering. After replacing the control board, you may notice 3 dashes on your washer's control panel, but this is totally normal! All you need to do is set the model code as outlined in the instructions. Remember, safety first. Always ensure to disconnect your washer prior to attempting any installation. It's also wise to wear protective gloves to keep your hands safe. With the quality of GE behind this replacement part, you can rest assured your washer will soon be back to its best, ready to tackle your laundry needs like a champion.
Read less

$12.85
In Stock
Range Thermostat Clip
Part #WP7112P004-60
This thermostat clip, used in ranges and ovens, secures the thermostat bulb. Without this clip, the bulb is left without support and this keeps the thermostat from functioning properly. *Please note: this part is sold individually. If your clip is broken or damaged, replacing it could solve your problem. Please refer to the manual provide...Read mored by the manufacturer for further installation instructions and accurate guidance. As a safety precaution, make sure to unplug your range from the power source.
Read less

No Longer Available
Watch our pros, then fix it yourself.
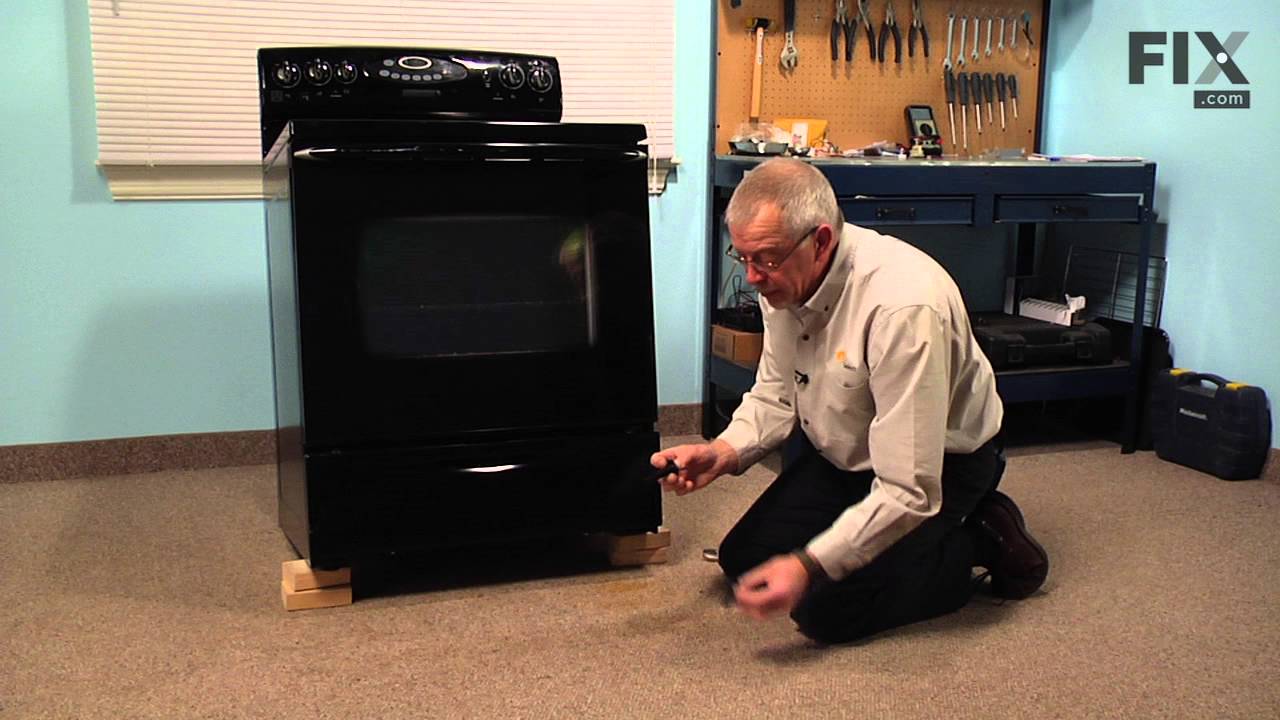
See how others fixed this model. Time, tools, difficulty, and steps that lead to victory!
View More