


EasyApplianceParts is now PartSelect! We've merged our sites to provide a better shopping experience for you.   Full Details
✖

Find Parts

Parts Departments

Top Model Types

Top Brands

Repair Help

Expert Repair Videos

Keep typing for more specific results...

99937CE Kenmore Dryer - Overview

Diagrams for 99937CE

See every part. Know exactly what you need.

Enter a part description. DIY Heroes keep it simple, eg. "belt" or "pump".

Search filter:
Clear Filter
Your search term must have 3 or more characters.
Dryer Radiant Flame Sensor – Part Number: WP338906
$35.80
In Stock
Dryer Radiant Flame Sensor
★★★★★
★★★★★
(12)
Part #WP338906
If your gas dryer is not heating up or igniting, then replacing the flame sensor, located in the burner assembly, could solve it. This part senses heat from the igniter to monitor if it is hot enough to ignite gas to light the burner. Once the igniter is hot enough it will open the valve and allow gas to flow. This is a safety mechanism to prevent dangerous levels of gas from building up. To repair, the main top of the dryer should be lifted, as well as the front panel to access the component. This flame sensor assembly is made of both plastic and metal.
Washer Screw 818 X 1/2 – Part Number: WP3390631
$7.47
In Stock
Washer Screw 818 X 1/2
Part #WP3390631
This screw is sold individually.
Ignitor – Part Number: WP4392003
No Longer Available
Ignitor
Part #WP4392003
This igniter can only be used in place of round style igniters. This part ignites the gas within the dryer.
Dryer Nut – Part Number: WPW10139757
$7.47
Special Order
Dryer Nut
Part #WPW10139757
Sold individually. This nut is for dryers. Follow appropriate safety practices when installing the nut.
Nut – Part Number: M0282005
$10.70
Special Order
Nut
Part #M0282005
Switch – Part Number: M400944
No Longer Available
Switch
Part #M400944
SCREW, 1/4-28 X 1/4 – Part Number: 91093
No Longer Available
SCREW, 1/4-28 X 1/4
Part #91093
LOCKWASHER – Part Number: M400014
No Longer Available
LOCKWASHER
Part #M400014
SCREW,6-32 X 1 ROUND H – Part Number: Q6516
No Longer Available
DISCONTINUED – Part Number: M401930
No Longer Available
DISCONTINUED
Part #M401930
Screw – Part Number: M409385
No Longer Available
Screw
Part #M409385
Motor – Part Number: M411191P
No Longer Available
Motor
Part #M411191P

Common Symptoms of the 99937CE

How this model fails, and the parts that fix it.

Watch our pros, then fix it yourself.
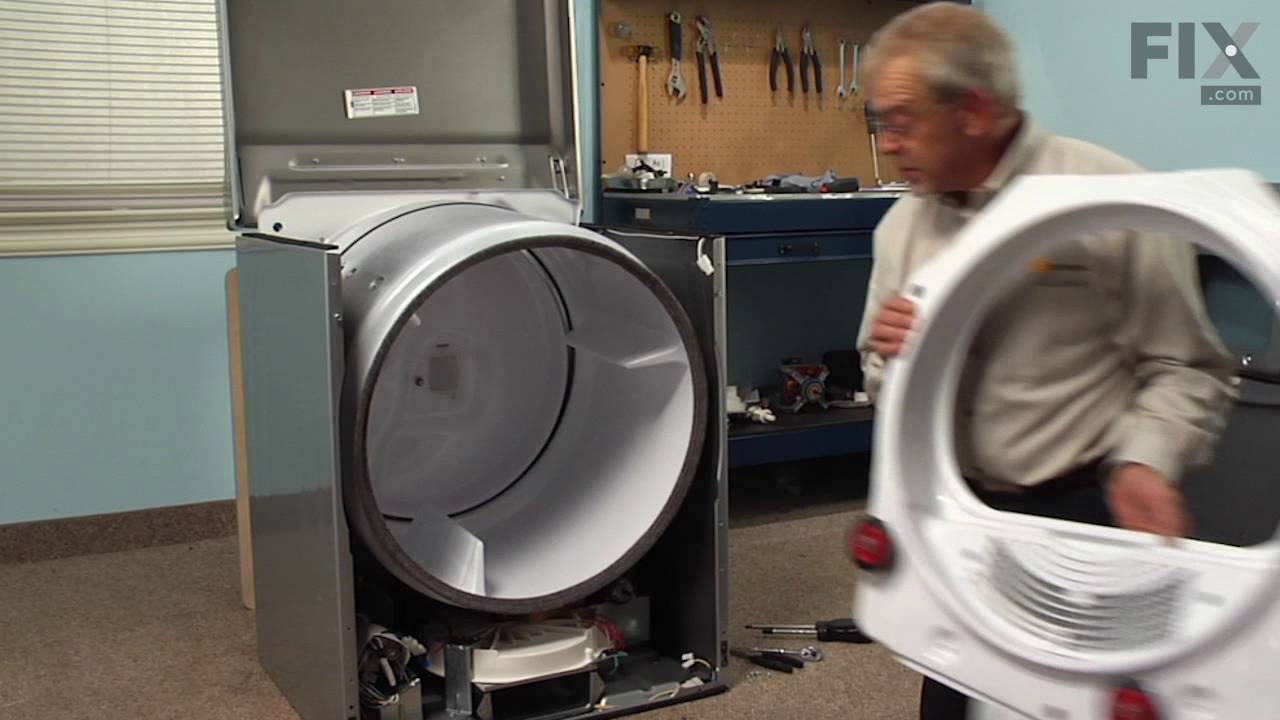
See how others fixed this model. Time, tools, difficulty, and steps that lead to victory! View More

Search repair tips from other customers using simple keywords like "replace", "fit", "remove", "inspect". DIY doesn't mean you have to do it alone!

Search filter:
Clear Filter
Your search term must have 3 or more characters.
Gas Flame Would Drop Out
49 of 66 people found this instruction helpful.
  • FRED from BRIELLE, NJ
  • A Bit Difficult
  • 15 - 30 mins
  • Nutdriver, Screw drivers
First it was a process of alimination to find out why it was dropping out. After the problem was found it was just a matter of replacing the holding coil on the gas valve. Thank you fred kenney sr
Was this helpful?
Thank you for voting!
Dryer would not heat up.
26 of 30 people found this instruction helpful.
  • Roger from Bonners Ferry, ID
  • Really Easy
  • Less than 15 mins
  • Nutdriver, Screw drivers
I unplugged the dryer,removed the two small screws on the front of the dryer and pulled the bottom forward. The two wires connected to the door do not have to be removed. With an electrical tester using the Ohm setting I tested the Radiant sensor and the Gas Valve coils. The two terminal coil was DOA. The dryer can be operated with the f ront open as long as the door wires are connected. Symptons: The igniter would heat up and not release gas. My repair was successfull due to this awesome website and the super fast shipping service. AAAA++++
Was this helpful?
Thank you for voting!
Dyer would not heat, flame would shut off within 10 seconds
24 of 29 people found this instruction helpful.
  • Christy from Riley, MI
  • Easy
  • Less than 15 mins
  • Screw drivers, Socket set
I opened the panel, undid the plugs, detached the radiant sensor by undoing one screw and removed and replaced the part. Fairly simply.
Was this helpful?
Thank you for voting!