


 My Orders




95-1967-23-01 Tappan Refrigerator - Overview
Diagrams for 95-1967-23-01
See every part. Know exactly what you need.


Enter a part description. DIY Heroes keep it simple, eg. "belt" or "pump".
Search filter:
Clear Filter
Your search term must have 3 or more characters.

$40.84
In Stock
Defrost Timer - 60Hz 120V
Part #215846602
This Defrost Timer works like a clock by switching on the defrost heater circuit after a predetermined amount of compressor run time. This allows the defrost circuit to clear the evaporator of ice or frost to maintain proper airflow. The defrost timer is located in the control housing which is in the refrigerator section of your appliance...Read more. If this part is not working, it can lead to temperature increases in your refrigerator. If the compressor circuit fails, no cooling will take place; if the defrost circuit isn't activated, ice will quickly build up on the evaporator coils and reduce airflow and efficiency. If the timer doesn't advance or if the contacts have no continuity, the timer will need to be replaced. This timer measures approximately 3 inches long and 2.5 inches wide, and is constructed of plastic and metal. It comes in black/white/silver and is sold individually. This replacement part features 1 defrost timer.
Read less

$27.45
In Stock
Light Bulb
Part #316538904
This OEM 40 watt appliance light bulb is used for some ranges, refrigerators, freezers, and microwaves. Simply locate the existing bulb, unscrew it from its socket, and replace with new light bulb. If the existing bulb is broken in the socket, disconnect the power to the refrigerator and use a pair of needle nose pliers to grip the intern...Read moreal fragments of the bulb to unscrew. Replace with the new bulb and reconnect the power to the refrigerator. These bulbs are sold individually and are a commonly replaced part; consider ordering a spare.
Read less

$106.91
In Stock
Evaporator Fan Motor Kit
Part #5300158289
The evaporator fan motor kit is specifically made for your refrigerator to run the evaporator fan in your refrigerator. It is mounted on the center hub and has three lead wire terminals; its shaft has a diameter of 1/8 inches and is 1-1/4 inches long. The function of the evaporator fan motor is that it supplies air to the evaporator coils...Read more which then circulate cool air throughout your refrigerator, efficiently keeping your fresh food compartment cold. The tools you will need for this installation include a 1/4 inch nut driver, and a pair of wire strippers. Keep your hands protected during this repair by wearing work gloves.
Read less

$53.85
In Stock
Evaporator Fan Blade
Part #5308000010
This evaporator fan blade is a genuine OEM part that is sourced directly from the manufacturer. The evaporator fan blade circulates air through the refrigerator to control the amount of cold air goes that goes to internal compartments of the unit. It may need to be replaced if the fridge is noisy or not cold enough. This part is made of p...Read morelastic and is sold individually. It will be necessary to disconnect power to the refrigerator and empty the freezer compartment of the refrigerator. The tools needed to complete this repair are a 1/4 inch nut driver and a pair of needle nose pliers.
Read less

$31.47
In Stock
Light Socket
Part #218906802
The light socket on your refrigerator houses the light bulb and connects it to the power source. If you notice that your refrigerator light does not come on when you open the door, you may need to replace the light socket. This light socket is made of white plastic with two metal prongs. The light socket is located inside the refrigerator...Read more. Many of our customers have rated this repair as easy. To complete this repair, simply pop the old socket out with a small flat blade screwdriver and disconnect the wires. Then simply reconnect the wires to the new socket, and snap it in place with the locking tab.
Read less

$13.73
In Stock
Ice Cube Tray
Part #215667501
The ice cube tray is made of plastic, is white in color, and is sold individually. This is a part for your freezer. The ice cube tray is sturdy but flexible to allow you to easily release the ice once it is frozen. The ice cube tray is what holds the water that eventually freezes into ice before being used. This tray measures approximatel...Read morey 11 inches long and 4 1/2 inches wide and holds 12 cubes at one time. The frigid temperature of the freezer can cause these trays to crack over time. This part is genuine and comes right from the manufacturer.
Read less

No Longer Available
Door Hinge Pin Bearing
Part #218519300
This white hinge pin bearing pivots the freezer and refrigerator door.

No Longer Available

$39.82
In Stock
Filter - Drier
Part #5303305677
A filter-drier in a refrigerator has two essential functions. The first is to absorb system contaminants, such as water, which can create acids. The second is to provide physical filtration. This means trapping moisture, small metal chips, and dirt found in the refrigerant gas. If your refrigerator motor is constantly running, but the ref...Read morerigerator is not getting cold, the issue could be due to a damaged or faulty filter-drier. Faulty filter-driers are sometimes the cause for abnormal freezer compartment temperatures and partially frosted evaporators. This filter-drier is approximately 11 inches long. Remember to disconnect the power from your refrigerator before beginning this repair.
Read less

$38.96
Special Order

No Longer Available
Fan Motor Mounting Bushing
Part #G187559

No Longer Available
Common Symptoms of the 95-1967-23-01
How this model fails, and the parts that fix it.
Fridge too warm
Fixed by
these parts
these parts


Show All
Noisy
Fixed by
these parts
these parts
Show All
Freezer not defrosting
Fixed by
these parts
these parts
Show All
Freezer section too warm
Fixed by
these parts
these parts
Show All
Light not working
Fixed by
these parts
these parts


Show All
Leaking
Fixed by
these parts
these parts


Show All
Will Not Start
Fixed by
these parts
these parts
Show All
Fridge and Freezer are too warm
Fixed by
these parts
these parts
Show All
Fridge runs too long
Fixed by
these parts
these parts
Show All
Fridge too cold
Fixed by
these parts
these parts
Show All
Freezer too cold
Fixed by
these parts
these parts
Show All
Frost buildup
Fixed by
these parts
these parts
Show All
Too warm
Fixed by
these parts
these parts
Show All
Watch our pros, then fix it yourself.

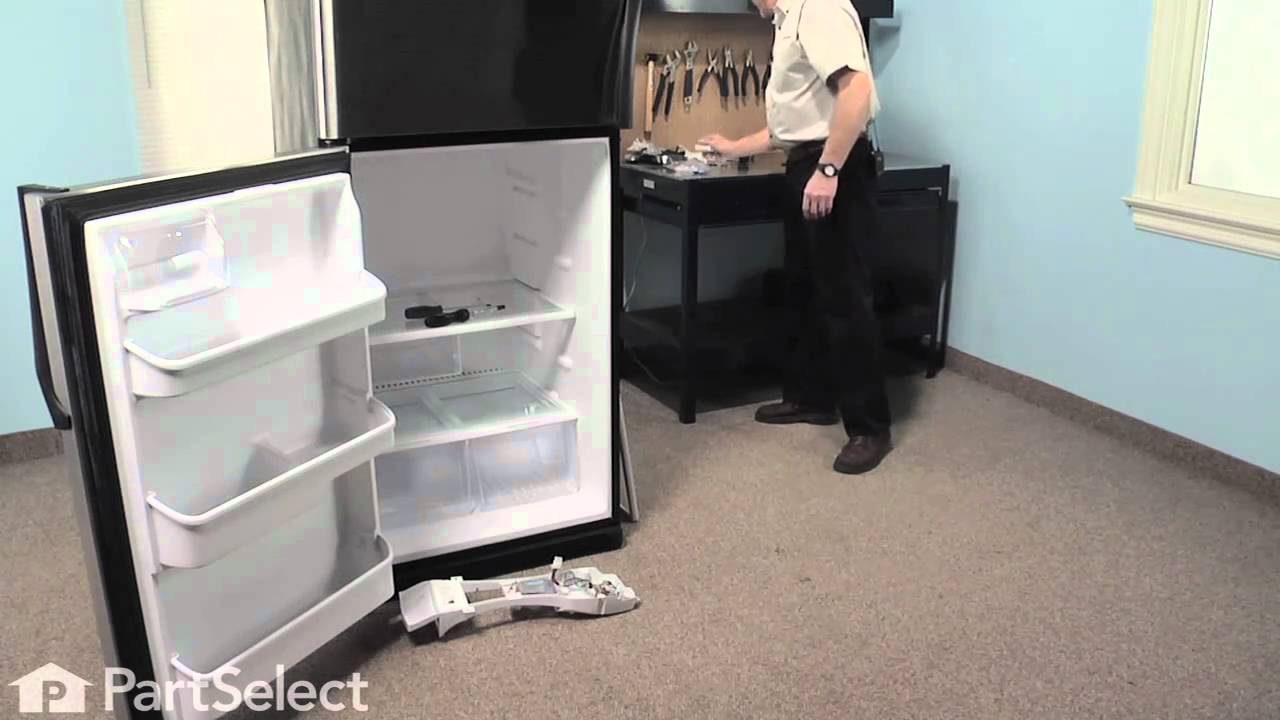

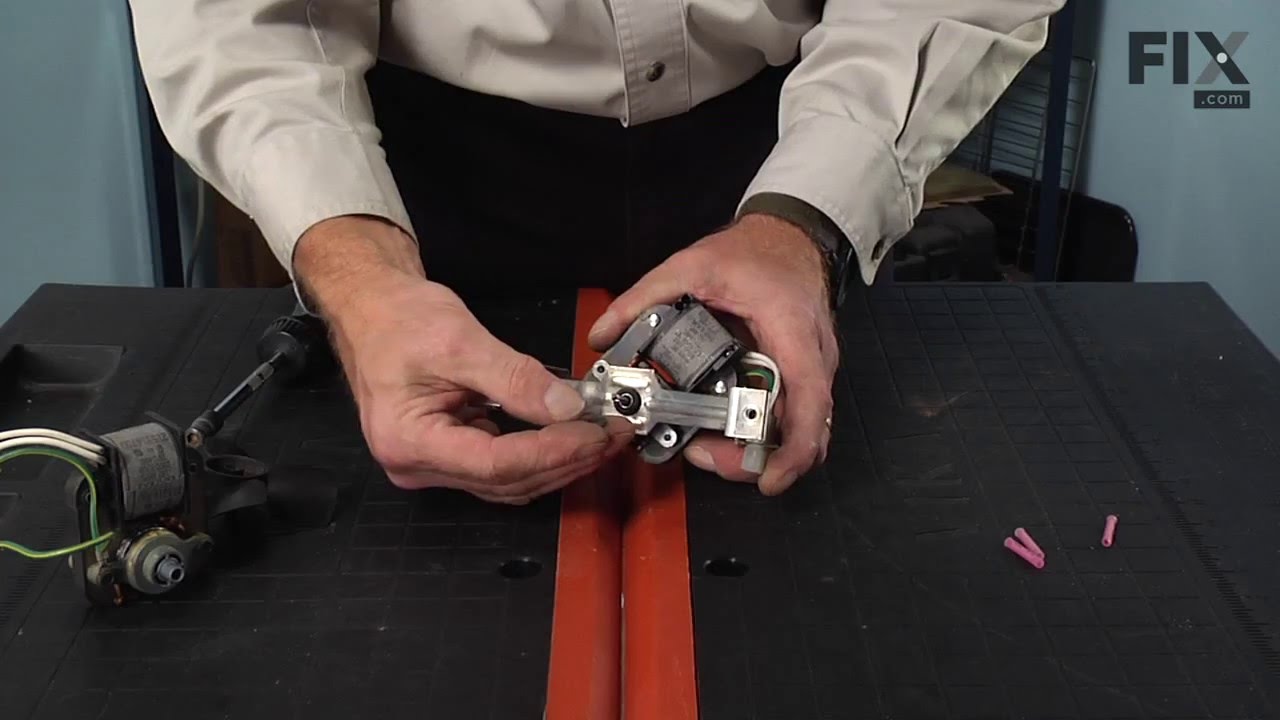
See how others fixed this model. Time, tools, difficulty, and steps that lead to victory!
View More
Search repair tips from other customers using simple keywords like "replace", "fit", "remove", "inspect". DIY doesn't mean you have to do it alone!
Search filter:
Clear Filter
Your search term must have 3 or more characters.
Noisy fan
153 of 180 people
found this instruction helpful.
1. Removed the 7 nuts using the nut driver from the freezer back panel inside the freezer.
2. Remove the back panel. The evaporator motor and fan are located above the coils.
3. Unplug the wiring harness.
4. Remove the two gold mounting screws holding the motor and fan in place.
5. Remove the motor and fan including th ... Read more e brackets.
6. Install the new motor and fan onto the mounting bracket.
6a. Attach the green ground to the mounting bracket.
7. Screw the two gold screws back into the freezer.
8. Attach the new wiring harness. Note, the old harness had a mounting hole/space for it to connect to the wiring harness of the freezer. The new motor's harness was not long enough for this, so it is connected freely to the freezer harness.
9. Use the hair dryer to melt any ice that may have formed on the coils and hole where the fan goes.
10. Turn the freezer on to see if the fan turns on.
11. Reinstall the back panel.
All done!
2. Remove the back panel. The evaporator motor and fan are located above the coils.
3. Unplug the wiring harness.
4. Remove the two gold mounting screws holding the motor and fan in place.
5. Remove the motor and fan including th ... Read more e brackets.
6. Install the new motor and fan onto the mounting bracket.
6a. Attach the green ground to the mounting bracket.
7. Screw the two gold screws back into the freezer.
8. Attach the new wiring harness. Note, the old harness had a mounting hole/space for it to connect to the wiring harness of the freezer. The new motor's harness was not long enough for this, so it is connected freely to the freezer harness.
9. Use the hair dryer to melt any ice that may have formed on the coils and hole where the fan goes.
10. Turn the freezer on to see if the fan turns on.
11. Reinstall the back panel.
All done!
Read less
Other Parts Used:


Was this helpful?
Thank you for voting!