


 My Orders




95-1787-23-01 Tappan Refrigerator - Overview
Diagrams for 95-1787-23-01
See every part. Know exactly what you need.


Enter a part description. DIY Heroes keep it simple, eg. "belt" or "pump".
Search filter:
Clear Filter
Your search term must have 3 or more characters.

$27.45
In Stock
Light Bulb
Part #316538904
This OEM 40 watt appliance light bulb is used for some ranges, refrigerators, freezers, and microwaves. Simply locate the existing bulb, unscrew it from its socket, and replace with new light bulb. If the existing bulb is broken in the socket, disconnect the power to the refrigerator and use a pair of needle nose pliers to grip the intern...Read moreal fragments of the bulb to unscrew. Replace with the new bulb and reconnect the power to the refrigerator. These bulbs are sold individually and are a commonly replaced part; consider ordering a spare.
Read less

$41.75
In Stock
Defrost Thermostat
Part #5303917954
This limiter thermostat cuts out when the temperature inside your refrigerator reaches 55 degrees Fahrenheit and kicks back in when the internal temperature drops to 20 degrees Fahrenheit. If you discover temperature issues with your refrigerator or freezer, the defrost thermostat may need to be replaced. You will need tools for this repa...Read moreir, including a 1/4-inch nut driver, a pair of wire strippers, and a heat gun. Be sure to disconnect power to the refrigerator before completing this repair. The defrost thermostat is located behind the back panel of your side-by-side refrigerator/freezer. You will first need to remove the panel and take the defrost thermostat out to complete the repair.
Read less

$106.91
In Stock
Evaporator Fan Motor Kit
Part #5300158289
The evaporator fan motor kit is specifically made for your refrigerator to run the evaporator fan in your refrigerator. It is mounted on the center hub and has three lead wire terminals; its shaft has a diameter of 1/8 inches and is 1-1/4 inches long. The function of the evaporator fan motor is that it supplies air to the evaporator coils...Read more which then circulate cool air throughout your refrigerator, efficiently keeping your fresh food compartment cold. The tools you will need for this installation include a 1/4 inch nut driver, and a pair of wire strippers. Keep your hands protected during this repair by wearing work gloves.
Read less

$53.85
In Stock
Evaporator Fan Blade
Part #5308000010
This evaporator fan blade is a genuine OEM part that is sourced directly from the manufacturer. The evaporator fan blade circulates air through the refrigerator to control the amount of cold air goes that goes to internal compartments of the unit. It may need to be replaced if the fridge is noisy or not cold enough. This part is made of p...Read morelastic and is sold individually. It will be necessary to disconnect power to the refrigerator and empty the freezer compartment of the refrigerator. The tools needed to complete this repair are a 1/4 inch nut driver and a pair of needle nose pliers.
Read less

$36.56
In Stock
Defrost Timer - 120V 60Hz
Part #215846604
This defrost timer is designed for use in your refrigerator. The defrost timer acts as a clock, that switches the refrigerator from the freezing cycle to the defrost cycle and back. If your refrigerator is running non-stop, or is not running at all, you may need to check and replace the defrost timer. This is a 6 hour and 21 minute defros...Read moret timer. This part is made of white plastic, with 4 metal prongs protruding from one end. To complete this repair, you will need to access the old defrost timer which is located inside the console on the roof of your refrigerator. To complete this repair, you will need a 1/4-inch nut driver, a flat blade screwdriver, and a Phillips screwdriver. Be sure to disconnect power from your refrigerator before you begin this repair.
Read less

$56.56
In Stock
Fresh Food Door Gasket
Part #218730603
This white gasket is used to seal the refrigerator door when closed to keep the cool air inside and the room air out.

$25.25
In Stock

$13.73
In Stock
Ice Cube Tray
Part #215667501
The ice cube tray is made of plastic, is white in color, and is sold individually. This is a part for your freezer. The ice cube tray is sturdy but flexible to allow you to easily release the ice once it is frozen. The ice cube tray is what holds the water that eventually freezes into ice before being used. This tray measures approximatel...Read morey 11 inches long and 4 1/2 inches wide and holds 12 cubes at one time. The frigid temperature of the freezer can cause these trays to crack over time. This part is genuine and comes right from the manufacturer.
Read less

No Longer Available
Freezer Door Gasket
Part #5308007123
This white door gasket is used to make an air-tight seal for the cabinet when the door is closed.

No Longer Available
Door Hinge Pin Bearing
Part #218519300
This white hinge pin bearing pivots the freezer and refrigerator door.

No Longer Available

No Longer Available
Crisper Drawer Cover Support Bar
Part #5303205987
Common Symptoms of the 95-1787-23-01
How this model fails, and the parts that fix it.
Fridge too warm
Fixed by
these parts
these parts


Show All
Noisy
Fixed by
these parts
these parts


Show All
Freezer not defrosting
Fixed by
these parts
these parts
Show All
Freezer section too warm
Fixed by
these parts
these parts
Show All
Light not working
Fixed by
these parts
these parts

Show All
Door Sweating
Fixed by
these parts
these parts


Show All
Fridge and Freezer are too warm
Fixed by
these parts
these parts
Show All
Frost buildup
Fixed by
these parts
these parts
Show All
Fridge runs too long
Fixed by
these parts
these parts
Show All
Leaking
Fixed by
these parts
these parts

Show All
Will Not Start
Fixed by
these parts
these parts
Show All
Freezer too cold
Fixed by
these parts
these parts
Show All
Too warm
Fixed by
these parts
these parts
Show All
Fridge too cold
Fixed by
these parts
these parts
Show All
Watch our pros, then fix it yourself.


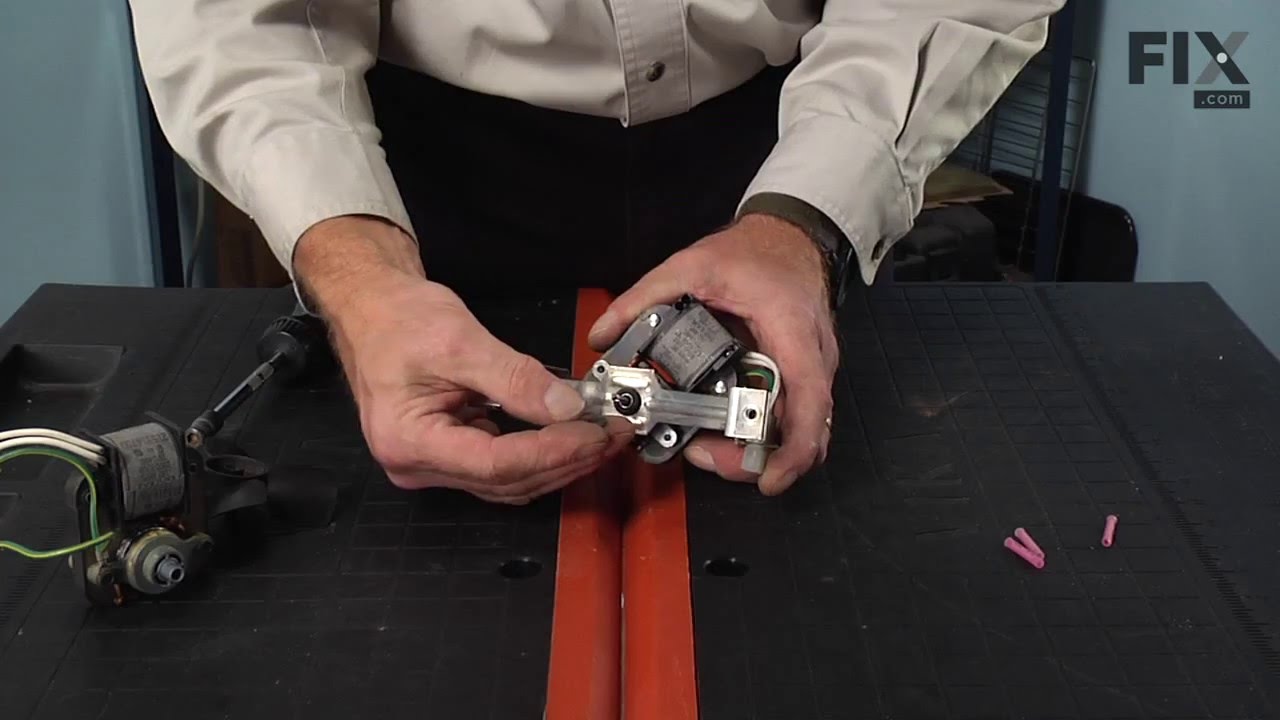
See how others fixed this model. Time, tools, difficulty, and steps that lead to victory!
View More
Search repair tips from other customers using simple keywords like "replace", "fit", "remove", "inspect". DIY doesn't mean you have to do it alone!
Search filter:
Clear Filter
Your search term must have 3 or more characters.
Noisy fan
153 of 180 people
found this instruction helpful.
1. Removed the 7 nuts using the nut driver from the freezer back panel inside the freezer.
2. Remove the back panel. The evaporator motor and fan are located above the coils.
3. Unplug the wiring harness.
4. Remove the two gold mounting screws holding the motor and fan in place.
5. Remove the motor and fan including th ... Read more e brackets.
6. Install the new motor and fan onto the mounting bracket.
6a. Attach the green ground to the mounting bracket.
7. Screw the two gold screws back into the freezer.
8. Attach the new wiring harness. Note, the old harness had a mounting hole/space for it to connect to the wiring harness of the freezer. The new motor's harness was not long enough for this, so it is connected freely to the freezer harness.
9. Use the hair dryer to melt any ice that may have formed on the coils and hole where the fan goes.
10. Turn the freezer on to see if the fan turns on.
11. Reinstall the back panel.
All done!
2. Remove the back panel. The evaporator motor and fan are located above the coils.
3. Unplug the wiring harness.
4. Remove the two gold mounting screws holding the motor and fan in place.
5. Remove the motor and fan including th ... Read more e brackets.
6. Install the new motor and fan onto the mounting bracket.
6a. Attach the green ground to the mounting bracket.
7. Screw the two gold screws back into the freezer.
8. Attach the new wiring harness. Note, the old harness had a mounting hole/space for it to connect to the wiring harness of the freezer. The new motor's harness was not long enough for this, so it is connected freely to the freezer harness.
9. Use the hair dryer to melt any ice that may have formed on the coils and hole where the fan goes.
10. Turn the freezer on to see if the fan turns on.
11. Reinstall the back panel.
All done!
Read less
Other Parts Used:
Was this helpful?
Thank you for voting!
Gasket was old and not sealing correctly
47 of 51 people
found this instruction helpful.
There are quite a few bolts that needed to be loosened to remove the old gasket and put on the new one. We tried to do it by just loosening and leaving the door on the fridge...take my advice. Just remove the door, remove all the bolts, put the new gasket on and replace the bolts then the door. MUCH EASIER than trying to fit it on inch
... Read more
by inch and having it pull back out etc.
Read less
Other Parts Used:
Was this helpful?
Thank you for voting!
The Evaporator Fan Burnt Up
29 of 39 people
found this instruction helpful.
The fan motor all but caught the inside of the freezer on fire . Had to remove then clean, and I mean clean the walls of the freezer . Then had to pry out the old fan without breaking anything . Replacement of new fan was quick and easy because all the parts that I needed were in the bag
Other Parts Used:
Was this helpful?
Thank you for voting!