


 My Orders




9222 - Overview
Models starting with 9222
Click on the best match to narrow your results.
- 9222-0 Generac Generator (9222-0 Trns Sw 100a)
- 9222-1 Generac Generator (9222-1 Trns Sw 100a)
- 9222-3 Generac Generator (9222-3 Dayton Transfer Switch)
- 92224171 Craftsman Lawn Mower (Craftsman Lawn Mower Model 922.24171 (92224171, 922 24171) Parts)
- 92224173 Craftsman Lawn Mower (Craftsman Lawn Mower Model 922.24173 (92224173, 922 24173) Parts)
- 922261550 Craftsman Lawn Mower (Craftsman Lawn Mower Model 922.261550 (922261550, 922 261550) Parts)
- 922261560 Craftsman Lawn Mower (Craftsman Lawn Mower Model 922.261560 (922261560, 922 261560) Parts)
- 922261570 Craftsman Lawn Mower (Craftsman Lawn Mower Model 922.261570 (922261570, 922 261570) Parts)
- 922261580 Craftsman Lawn Mower (Craftsman Lawn Mower Model 922.261580 (922261580, 922 261580) Parts)
- 922261660 Craftsman Lawn Mower (Craftsman Lawn Mower Model 922.261660 (922261660, 922 261660) Parts)
- 922261670 Craftsman Lawn Tractor (Hardtop Vinyl Cab For Sears Garden Tractors)
- 9222VPV Magic Chef Wall Oven (Gas)
- 9222VUV Magic Chef Wall Oven (Gas)
- 9222XPB Magic Chef Wall Oven (Gas)
- 9222XUB Magic Chef Wall Oven (Gas)
Enter a part description. DIY Heroes keep it simple, eg. "belt" or "pump".
Search filter:
Clear Filter
Your search term must have 3 or more characters.

$19.54
In Stock
Light Bulb - 40W
Part #8009
This an authentic OEM 40-Watt replacement light bulb, used in a number of household appliances. It is specially designed to withstand extreme temperatures, which is why these replacement bulbs are most often used to light the inside of refrigerators and ranges. It features a standard socket base, which means you simply unscrew the burnt-o...Read moreut bulb and screw in the replacement. Depending on the appliance you may require a screwdriver or nut driver to access the light bulb. We recommend you wear work gloves while handling this replacement part. It is constructed of glass and metal and is sold individually. Depending on the appliance and location of the bulb within it, you may want to consider disconnecting power and using a flashlight for easier access to unscrewing and re-screwing in your bulb during this repair.
Read less

$50.56
In Stock
Flat Style Oven Igniter Kit
Part #12400035
The flat style oven igniter kit is used in gas ovens and ranges. It is what provides the heat needed to open the gas valve, and it ignites fuel for the burner assembly. This part can be used for both bake and broil elements, and it can replace both short and long igniters. However, it cannot replace round style oven igniters. If your igni...Read moreter glows for 90 seconds or more without igniting the burner, this means it is too weak to open the valve. The element in your igniter may have shorted it and it might not glow at all, or it might only glow orange or red. It needs to glow white hot; if it cannot get hot enough the gas will not be released from the safety valve and it will be impossible to light the burner in your oven. This kit includes the igniter, ceramic wire nuts, an insulation pad, a metal bracket, a variety of plug ends, and an instruction sheet. The body length is 3 3/4 inches, and the element inside is approximately 1 1/2 inches. This replacement part has an amperage range of 3.3 to 3.6. The element inside this igniter is extremely fragile, do not touch it. Before you start repairing your oven or range, make sure you have unplugged it and shut off the gas supply.
Read less

$21.45
In Stock
Screw
Part #W11233072
This is a multi-use and multi-appliance screw. It can be used on a microwave, refrigerator, range/oven, air conditioner, dehumidifier, washer, or dryer. The measurements of this screw are 8 x 1/2 inch. It has 6 threads. Refer to the manual provided by the manufacturer for further information on repair and accurate guidance. Remember to wear work gloves as a safety precaution.

No Longer Available
Oven Rack
Part #71003346
This oven rack is sold individually. The functionality of the oven rack is to provide a reliable cooking surface for cookware inside your oven. This specific oven rack is roughly eighteen inches wide and seventeen inches deep. You will find from the image provided that this oven rack is silver in color. Users have ranked this installation...Read more process as easy, and that it will take you less than fifteen minutes to complete. In order to install your oven rack make sure that your range has been turned off and cooled down. No tools are required to install this oven rack.
Read less

No Longer Available
Thermostat Knob - chrome
Part #WP74001254
This thermostat knob is an inch in diameter and an inch tall. It accepts a 'D' shaped shaft and is chrome colored.

$90.63
In Stock
Door Hinge
Part #74001984
This door hinge is a genuine OEM replacement part for your wall oven. Replacing this part will require partially removing your oven from the wall, to access the hinge. This part contains one hinge, although it is recommended to replace both at the same time. You will need a Phillips screwdriver to unscrew the hing assembly and install the new one.

$7.47
Special Order

$8.55
In Stock

$7.47
In Stock

$62.60
In Stock
Door Seal - Top
Part #WP7212P006-60
This oven door seal creates a protective seal around an oven door to prevent heat from running out of a closed oven and keeps room air from entering the oven. This part is 17.5 inches long and made of rubber. The metal hook on both ends of the seal is there to keep it in place. Remove screws to take off old seal using pliers and replace...Read more it with the new seal. For detailed installation instructions and accurate guidance, refer to the diagram provided by the manufacturer. As a safety precaution make sure to unplug oven from power source and wait for oven to cool before starting this replacement project.
Read less

No Longer Available

No Longer Available
KNOB
Part #W11238392
Exact Part matches for your search term

No Longer Available
No Longer Available
No Longer Available
Common Symptoms of models starting with 9222
How this model fails, and the parts that fix it.
Gas igniter glows, but will not light
Fixed by
these parts
these parts


Show All
Little to no heat when baking
Fixed by
these parts
these parts
Show All
Will Not Start
Fixed by
these parts
these parts
Show All
Element will not heat
Fixed by
these parts
these parts
Show All
Oven not heating evenly
Fixed by
these parts
these parts
Show All
Gas smell
Fixed by
these parts
these parts
Show All
Little to no heat when broiling
Fixed by
these parts
these parts
Show All
Door won’t close
Fixed by
these parts
these parts

Show All
Watch our pros, then fix it yourself.

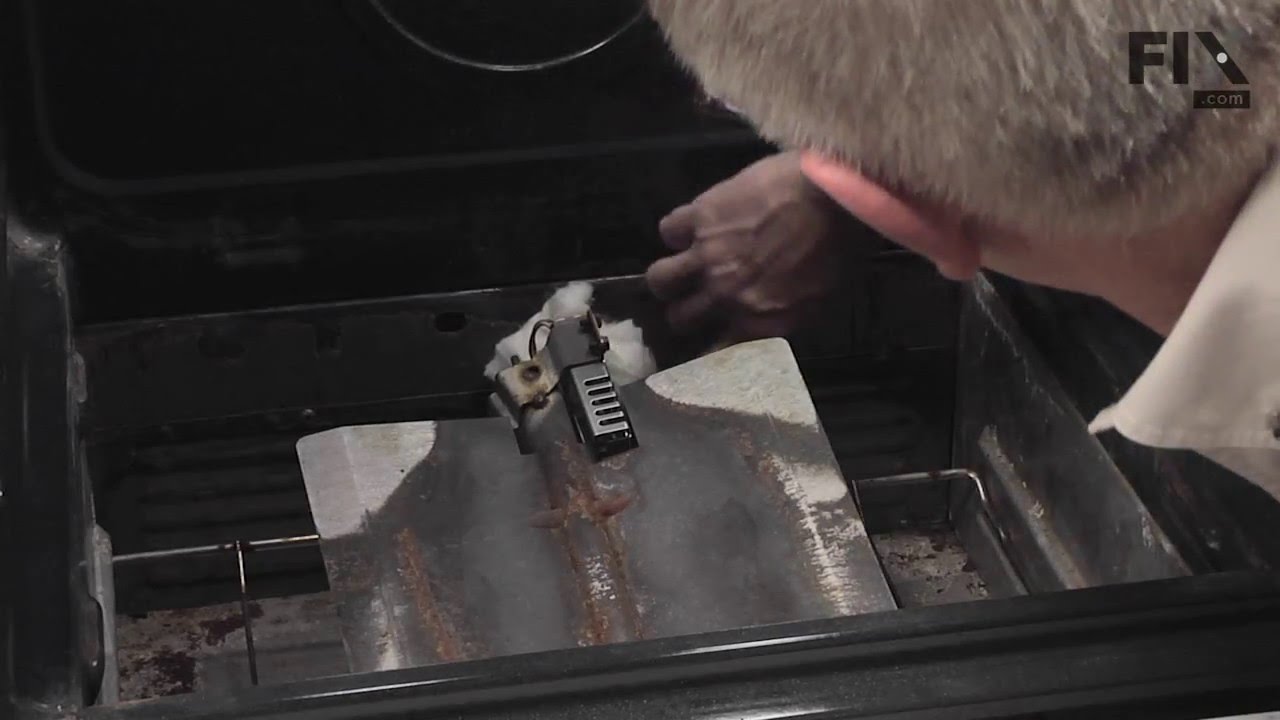
See how others fixed this model. Time, tools, difficulty, and steps that lead to victory!
View More