


 My Orders




91193558991 Kenmore Range - Overview
Diagrams for 91193558991
See every part. Know exactly what you need.

Enter a part description. DIY Heroes keep it simple, eg. "belt" or "pump".
Search filter:
Clear Filter
Your search term must have 3 or more characters.

No Longer Available
Door Handle End Cap
Part #WB7X7183
This oven door handle end cap is used on both the left and right hand sides. Sold individually.

$20.63
In Stock
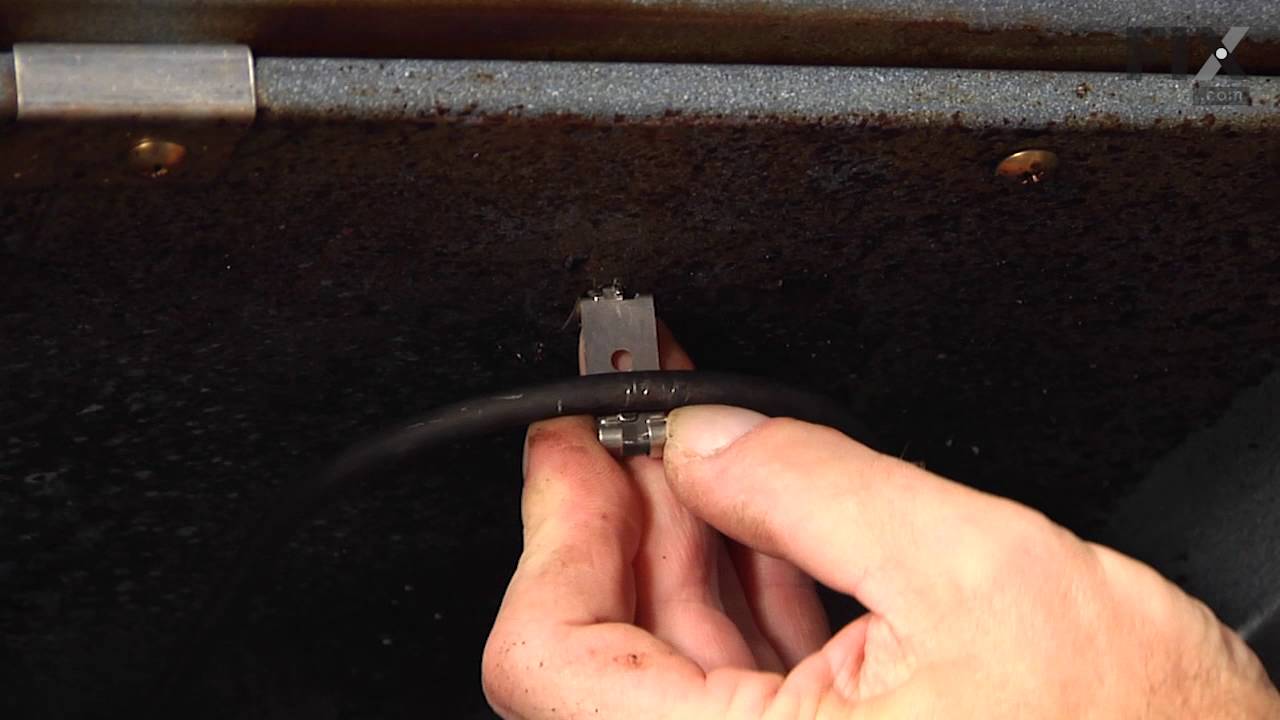
Single Heating Element Support Clip
Part #WB2X9719
The metallic clip, or also known as a broil element support, is for a oven element on a range. This part holds the broil element in place on top of the oven. If your support clip is broken then this replacement should be the solution. The tools needed for this project are slip joint pliers. For safety precautions, make sure to unplug your...Read more range from the power source, or shut off the house circuit breaker before starting this project. Refer to the installation instructions for best results and accuracy.
Read less

$147.53
In Stock
Oven Sensor
Part #WB21X5301
It is possible that your oven is cold because of a fault in the temperature sensor. The temperature sensor regulates oven temperature in modern ranges, like a thermostat. It is on the back wall near the broiler on the top wall. On a newer oven, there may be a fault code displayed. Faulty temperature sensors are often responsible for F3 an...Read mored F4 error messages on an electric range. Check your manual or the manufacturer website to find out the proper resistance of the temperature sensor. To check your sensor, unplug the oven and use a multi-meter to see if your sensor is at the correct resistance.
Read less

$74.79
In Stock
Surface Burner Terminal Block Kit
Part #WB17X210
This is a surface burner terminal block kit, also known as range surface element receptacle, for an oven, range, or stove. The kit comes with the terminal block, mounting clip, and wires. This surface burner terminal block kit connects the wiring harness to the surface elements. It is important to shut off the power to the appliance befor...Read moree starting this repair. You will need to remove all four elements, trim rings, and drip bowls to access the terminal block on your stovetop. This is an OEM replacement part that is sourced from the genuine manufacturer.
Read less

$39.95
In Stock
Oven Light Housing
Part #WB08T10002
The light housing is also known as a lamp holder and is a part for the oven in your range. The function of this piece is to hold the bulb that will light up the inside of your oven. As per the manufacturer instructions, if your bulb has burnt out you must buy the bulb for this part locally. This light housing is roughly five inches high, ...Read morewith an outside diameter of roughly four inches by four inches. To install this part, you will need a Phillips screwdriver, a nut driver, and a pair of pliers.
Read less

$59.18
In Stock
Door Handle
Part #WB15K5076
This replacement door handle is designed to fit select range models and provides a secure grip for opening and closing the oven door. Measuring approximately 22 inches by 1 inch, it is constructed from durable black plastic for long-lasting performance. If your current handle is broken or missing, this genuine OEM part offers a reliable s...Read moreolution. Depending on your model, installation may require removing the inner panel of the oven door. Always refer to your owner's manual and wear work gloves for safety during installation.
Read less

$43.18
In Stock
Broiler Pan - Large
Part #WB48X10056
This large broiler pan is found in the bottom of your oven and is used to catch drippings from broiling foods. This part includes the grate and bottom pan and is made of porcelain. The grate measures 15-1/2 inches wide by 13 inches deep and the pan is about 17 inches wide by 13 inches deep. No tools are required to replace this item, simp...Read morely pull out the lower drawer of your range, pull down the front of the drawer, slide the pan out and slide the new one into place. This is a genuine part sourced right from the manufacturer.
Read less

$109.43
On Order
Large Surface Burner Switch - 2350W 240V
Part #WB23K5027
This infinite heat control switch is a genuine OEM component designed for electric ranges with 8-inch surface burners. Engineered to regulate power flow to the heating element, it enables precise temperature control for a wide range of cooking tasks. The switch features a push-to-turn mechanism for safe on/off operation and is rated for 2...Read more40 volts and 2,350 watts, with a current range of 8.9 to 11 amps. Its glass-encased heating element ensures durability and consistent performance. Compatible with various models from GE and affiliated brands, this part is essential for maintaining efficient burner functionality and energy use.
Read less

No Longer Available
Outer Oven Door Glass - Black
Part #WB57T10110

$15.00
In Stock
SCREW
Part #WB1K5156

No Longer Available
Porcelain Burner Drip Bowl - 8"
Part #PM32X5041

$36.85
Special Order
6 PORC BOWL
Part #PM32X5040
Manuals & Care Guides for 91193558991
Click to downloadCommon Symptoms of the 91193558991
How this model fails, and the parts that fix it.
Element will not heat
Fixed by
these parts
these parts


Show All
Little to no heat when baking
Fixed by
these parts
these parts

Show All
Oven not heating evenly
Fixed by
these parts
these parts
Show All
Oven is too hot
Fixed by
these parts
these parts
Show All
Will Not Start
Fixed by
these parts
these parts
Show All
Door won’t close
Fixed by
these parts
these parts

Show All
Watch our pros, then fix it yourself.
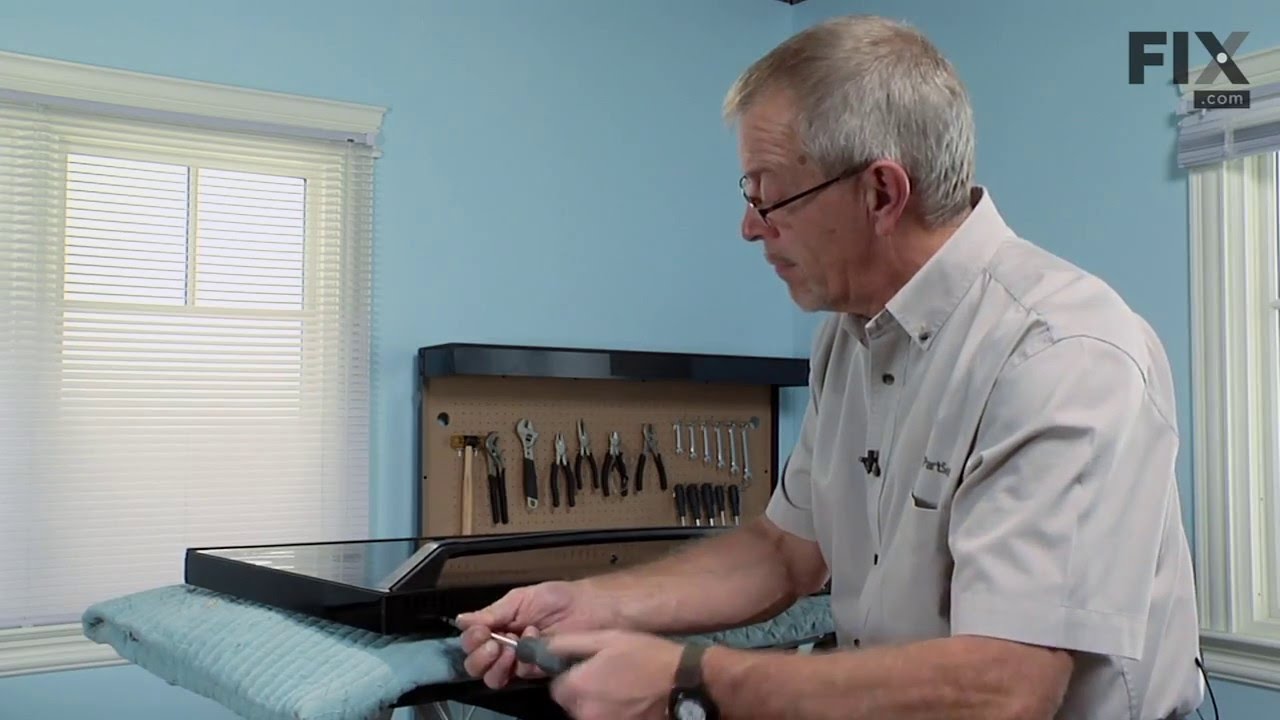
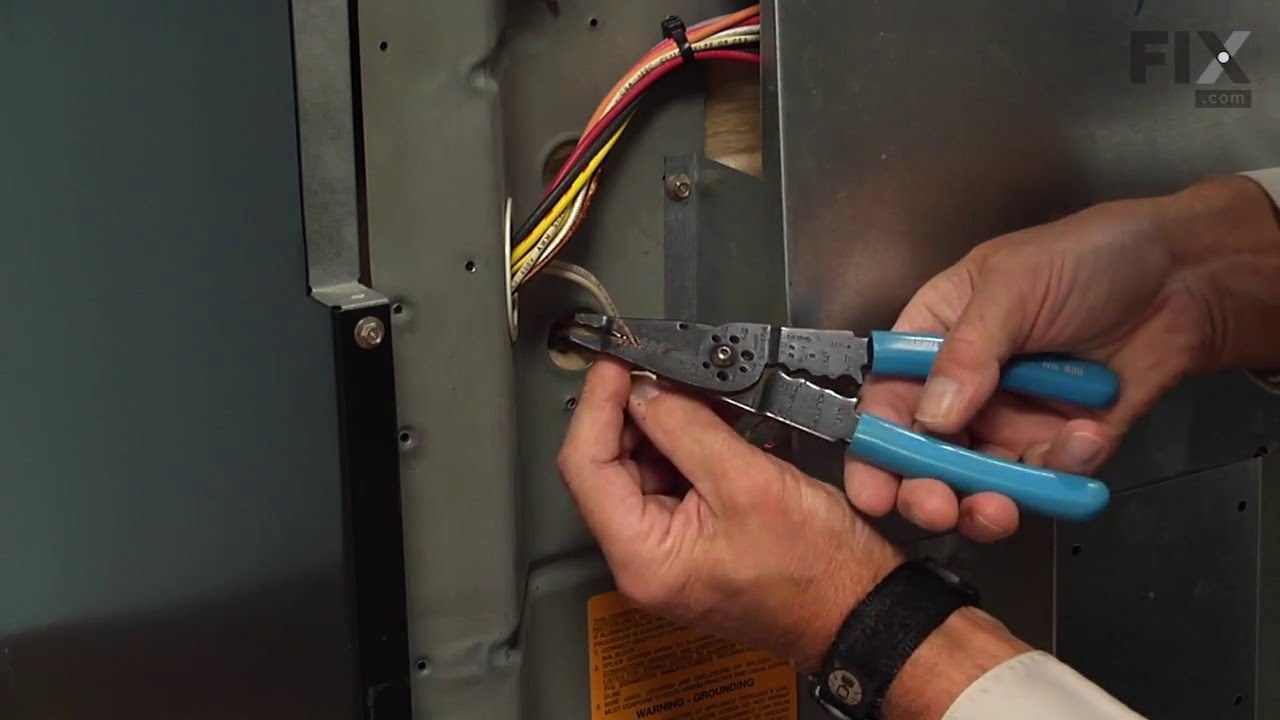

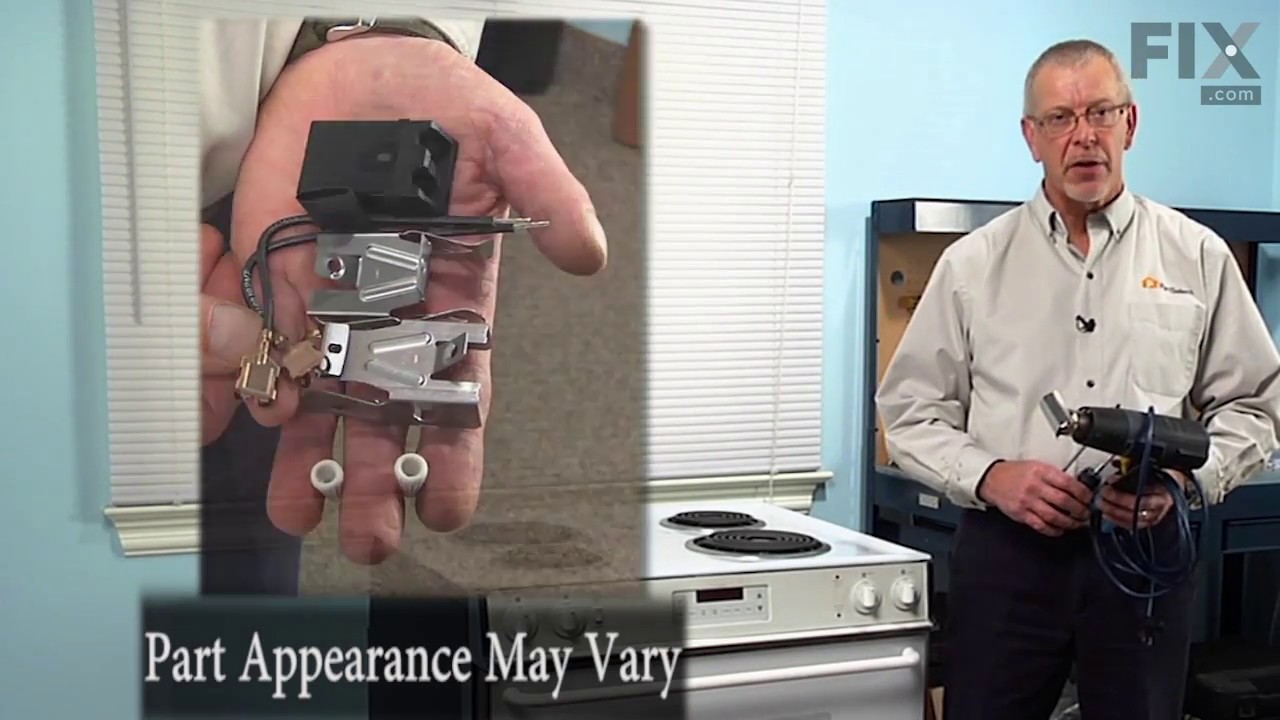
See how others fixed this model. Time, tools, difficulty, and steps that lead to victory!
View More