


 My Orders




9116008914 Kenmore Range - Overview
Diagrams for 9116008914
See every part. Know exactly what you need.

Enter a part description. DIY Heroes keep it simple, eg. "belt" or "pump".
Search filter:
Clear Filter
Your search term must have 3 or more characters.

$23.60
In Stock
Drip Bowl - 6"
Part #WB31K5024
This is a drip bowl for your range or cooktop. The drip bowl sits beneath the burner of an electric range and collects any spills that occur while cooking. The bowl is 6 inches in diameter and represents the smaller burner for your range. This product is sold individually and is an authentic OEM part sourced directly from the manufacturer.

$22.52
In Stock
Drip Bowl - 8 Inch
Part #WB31K5025
The surface element or the coil surface element transfers heat to the area on top of the range. The element is 8 inches in diameter. If your surface element does not heat, overheats, or is inconsistent, replacing this part can be the solution. If you would like to determine whether the element is defective, use a multimeter. Before instal...Read moreling your new element, make sure that the drip bowl is properly aligned with the notch of the pan. Insert new element into the reciprocal at a 40 degree angle. Refer to the instructions provided by the manufacturer for more guidance.
Read less

$74.79
In Stock
Surface Burner Terminal Block Kit
Part #WB17X210
This is a surface burner terminal block kit, also known as range surface element receptacle, for an oven, range, or stove. The kit comes with the terminal block, mounting clip, and wires. This surface burner terminal block kit connects the wiring harness to the surface elements. It is important to shut off the power to the appliance befor...Read moree starting this repair. You will need to remove all four elements, trim rings, and drip bowls to access the terminal block on your stovetop. This is an OEM replacement part that is sourced from the genuine manufacturer.
Read less

$109.43
In Stock
Large Surface Burner Switch - 2350W 240V
Part #WB23K5027
This infinite heat control switch is a genuine OEM component designed for electric ranges with 8-inch surface burners. Engineered to regulate power flow to the heating element, it enables precise temperature control for a wide range of cooking tasks. The switch features a push-to-turn mechanism for safe on/off operation and is rated for 2...Read more40 volts and 2,350 watts, with a current range of 8.9 to 11 amps. Its glass-encased heating element ensures durability and consistent performance. Compatible with various models from GE and affiliated brands, this part is essential for maintaining efficient burner functionality and energy use.
Read less

No Longer Available
INSULATION-OV BODY
Part #WB35K5074
$59.47
Special Order
INSULATION-OV BACK
Part #WB35K5073
$83.89
Special Order
FRONT FRAME
Part #WB63K5162

$64.69
Special Order
BACKGUARD BODY
Part #WB37K5035
No Longer Available
USE GEH WB63X351
Part #WB63X0351
No Longer Available
BURNER BOX BOTTOM
Part #WB64K5065
$103.90
Special Order
MAIN BACK
Part #WB63K5187
$79.80
Special Order
BODY SIDE-TEXTURED
Part #WB63K5188
Common Symptoms of the 9116008914
How this model fails, and the parts that fix it.


Watch our pros, then fix it yourself.
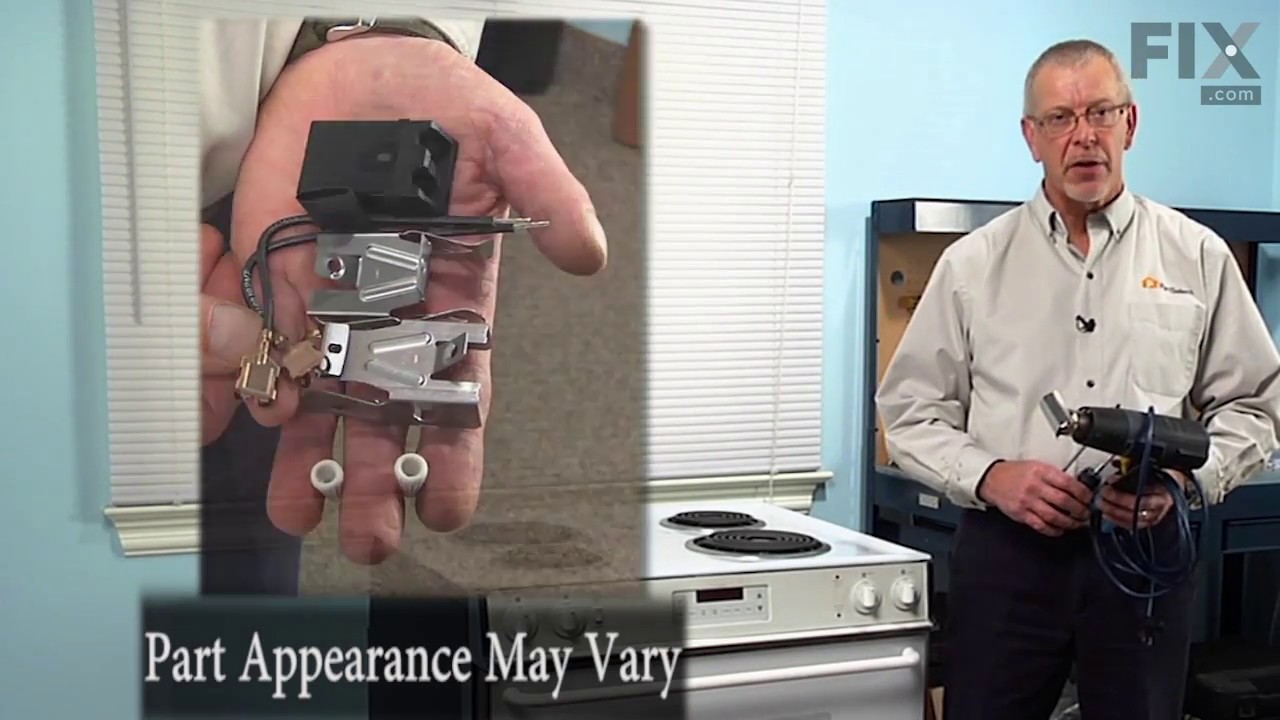
See how others fixed this model. Time, tools, difficulty, and steps that lead to victory!
View More