


 My Orders




91148781C1 Kenmore Range - Overview
Diagrams for 91148781C1
See every part. Know exactly what you need.
-
BLOWER SECTION

-
DOOR LOCK SECTION
-
MAIN TOP SECTION
-
OP ELEC GRILL MODULE KIT 4998640
-
OPT ELEC COIL MODULE KIT 49381C0 / 49388C0 / 49380C0
-
OPT ELEC HOB ELEMENT MOD KIT 49481C0 / 49488C0 / 49480C0
-
OPT ELEC RADIANT MOD KIT 49680C0
-
OPT GRID / GRILL COV MODULE KIT 49180C0
-
OPT GRIDDLE KIT 49280C0
-
OPT VERT TRIM EXTENSION 8078690
-
OPTIONAL BACKSPLASH 8059090
-
OVEN BODY SECTION
-
OVEN DOOR SECTION
-
WIRE HARNESSES AND COMPONENTS
Enter a part description. DIY Heroes keep it simple, eg. "belt" or "pump".
Search filter:
Clear Filter
Your search term must have 3 or more characters.

$47.40
In Stock
Bake Element
Part #WB44K5012
At the floor of your electric oven is the bake element. This partially open-style element comes with push-on terminals. The bake element will likely provide most of the heat for baking. Therefore, if the oven is not heating properly, or if food is burnt on top and undercooked below, your bake element may be at fault. If you can see that t...Read morehe element has been separated or blistered, you should replace the part immediately. If there is no visible damage, turn the oven on and check to see if the element heats evenly. If the element is not heating evenly, or if it is not heating at all, use a multi-meter to test for electrical continuity to see if the element needs replacing.
Read less

$21.95
In Stock
Light Bulb - 40W
Part #40A15
This 40-Watt light bulb is sold individually.
It is specially designed to withstand extreme temperatures, so this bulb is compatible with a variety of appliance types including refrigerators, ranges, microwaves, and dryers. It features a frosted glass bulb with a standard metal socket base, which allows you to easily unscrew the burnt-out light and twist the new bulb into place.

$20.63
In Stock
Single Heating Element Support Clip
Part #WB2X9719
The metallic clip, or also known as a broil element support, is for a oven element on a range. This part holds the broil element in place on top of the oven. If your support clip is broken then this replacement should be the solution. The tools needed for this project are slip joint pliers. For safety precautions, make sure to unplug your...Read more range from the power source, or shut off the house circuit breaker before starting this project. Refer to the installation instructions for best results and accuracy.
Read less

$147.53
In Stock
Oven Sensor
Part #WB21X5301
It is possible that your oven is cold because of a fault in the temperature sensor. The temperature sensor regulates oven temperature in modern ranges, like a thermostat. It is on the back wall near the broiler on the top wall. On a newer oven, there may be a fault code displayed. Faulty temperature sensors are often responsible for F3 an...Read mored F4 error messages on an electric range. Check your manual or the manufacturer website to find out the proper resistance of the temperature sensor. To check your sensor, unplug the oven and use a multi-meter to see if your sensor is at the correct resistance.
Read less

$47.40
In Stock
Surface Element Switch
Part #W10900107
A surface element switch, also known as a burner/infinite switch, is a device used to control and regulate the heat output of the burners on a stovetop or cooktop. This switch is controlled with a knob on the user interface of the cooktop or stovetop and is adjustable by the user. This burner switch is compatible with various ranges and c...Read moreooktops and is a genuine OEM part that is sold with all of the necessary hardware to secure it, such as the Philips-head and flat-head screws, brackets, bolts, washers, palnuts (also known as a push-on nut) and terminals. Over time, this switch can wear out or become faulty, leading to heating issues for your stovetop and cooktop, such as not heating, overheating, or staying at the same heat level. Depending on the orientation of your cooktop, you will need to install this switch with or without the bracket and palnut, so reference your user manual for that information when replacing this switch. You will need a screwdriver and set of pliers during the replacement and installation process, and simply need to follow the instruction manual included with this switch to correctly replace and rewire it.
Read less

$62.51
In Stock
Hinge with Roller - Right Side
Part #WB14X104
This is a hinge with roller for the oven door on your range. The roller allows you to open and close the door with ease and control. If your door is not opening easily, you may need to replace this part. To make this repair you will need a Phillips screwdriver and a pair of pliers. Take note that this model is only for the right-hand side...Read more of your unit, to replace the left-hand side, see the related parts section. We recommend replacing both hinges at the same time.
Read less

$65.86
In Stock
Hinge with Roller - Left Side
Part #WB14X103
This is known as a hinge with roller and it is for the oven door of your range. The hinge with roller allows you to easily open and close your oven door without much effort. Take note that your appliance requires two hinges, one located on each side of the door. We recommend changing both at the same time. This model is made for the left ...Read moreside of your unit, if you are looking to purchase one for the right side see the related parts section below.
Read less

$43.18
In Stock
Broiler Pan - Large
Part #WB48X10056
This large broiler pan is found in the bottom of your oven and is used to catch drippings from broiling foods. This part includes the grate and bottom pan and is made of porcelain. The grate measures 15-1/2 inches wide by 13 inches deep and the pan is about 17 inches wide by 13 inches deep. No tools are required to replace this item, simp...Read morely pull out the lower drawer of your range, pull down the front of the drawer, slide the pan out and slide the new one into place. This is a genuine part sourced right from the manufacturer.
Read less

$13.92
In Stock

$16.05
In Stock

No Longer Available

$15.00
In Stock
SCREW-10AB
Part #WB1X1137
Common Symptoms of the 91148781C1
How this model fails, and the parts that fix it.
Little to no heat when baking
Fixed by
these parts
these parts


Show All
Element will not heat
Fixed by
these parts
these parts


Show All
Oven not heating evenly
Fixed by
these parts
these parts
Show All
Door won’t close
Fixed by
these parts
these parts


Show All
Oven is too hot
Fixed by
these parts
these parts
Show All
Will Not Start
Fixed by
these parts
these parts
Show All
Little to no heat when broiling
Fixed by
these parts
these parts
Show All
Door won’t open after self cleaning cycle
Fixed by
these parts
these parts
Show All
Watch our pros, then fix it yourself.
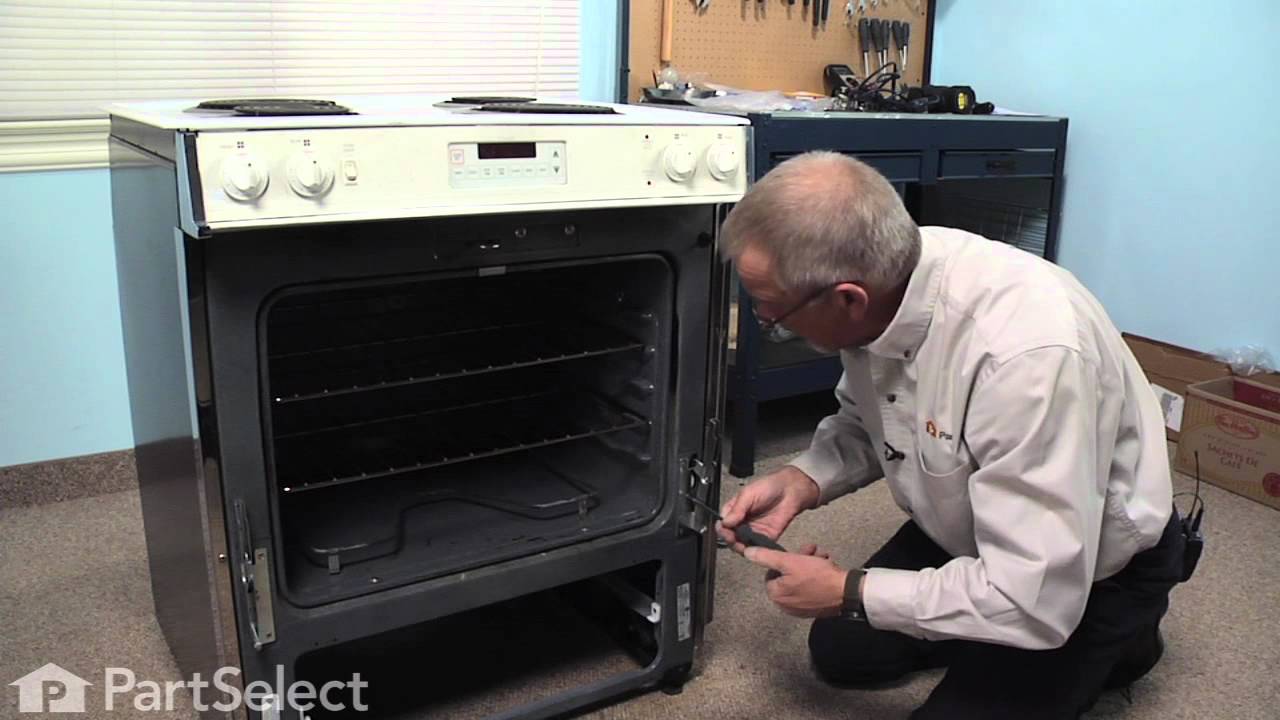
See how others fixed this model. Time, tools, difficulty, and steps that lead to victory!
View More