



 My Orders




9114779 Kenmore - Overview
Models starting with 9114779
Click on the best match to narrow your results.
- 91147792200 Kenmore Microwave Oven Combo
- 91147792201 Kenmore Microwave Oven Combo
- 91147792202 Kenmore Microwave Oven Combo
- 91147793200 Kenmore Microwave Oven Combo
- 91147793201 Kenmore Microwave Oven Combo
- 91147793202 Kenmore Microwave Oven Combo
- 91147794200 Kenmore Microwave Oven Combo
- 91147794201 Kenmore Microwave Oven Combo
- 91147794202 Kenmore Microwave Oven Combo
- 9114779790 Kenmore Microwave (MICROWAVE/OVEN COMBO)
- 91147799200 Kenmore Microwave Oven Combo
- 91147799201 Kenmore Microwave Oven Combo
- 91147799202 Kenmore Microwave Oven Combo
Enter a part description. DIY Heroes keep it simple, eg. "belt" or "pump".
Search filter:
Clear Filter
Your search term must have 3 or more characters.

$21.81
In Stock
Microwave Fuse
Part #WB27X10928
This ceramic microwave fuse is just over an inch in length. It is white in the center, and metal on both ends. This is a 20-amp fuse, and is used to power your microwave. If the touch pad on the microwave becomes unresponsive, the microwave produces little to no heat, or the appliance simply does not turn on, it could mean that your fuse ...Read moreis at fault and needs to be replaced. Because this part contains an electrical charge, remember to disconnect power to the microwave unit before you begin this repair.
NOTE: Before you start this repair, ensure that the microwave is unplugged, and the capacitor is discharged. A capacitor stores large amounts of electricity even after your microwave is unplugged.
Read less

$30.53
In Stock
Temperature Sensor
Part #WB21X22134
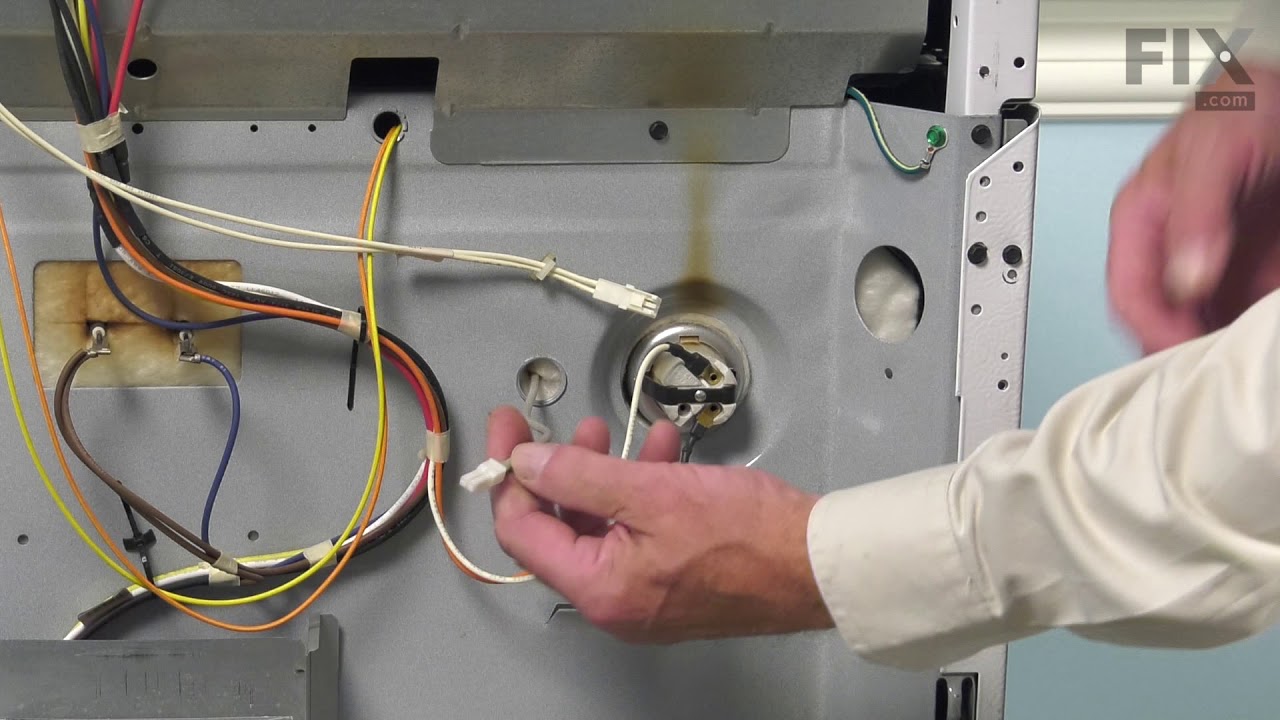
The temperature sensor, also known as the oven temperature sensor assembly is usually found in the back of the oven. The function of the oven temperature sensor assembly is to measure the temperature inside your oven while it is on and send the temperature back up to the electronic control, which adjusts as necessary. If your oven is havi...Read moreng difficulty achieving warmer temperatures and/or keeping warmer temperatures up, you may want to test your temperature sensor. Before you make this repair remember to unplug your range from the power source, and turn off the gas shut off valve.
Read less

$20.63
In Stock
Single Heating Element Support Clip
Part #WB2X9719
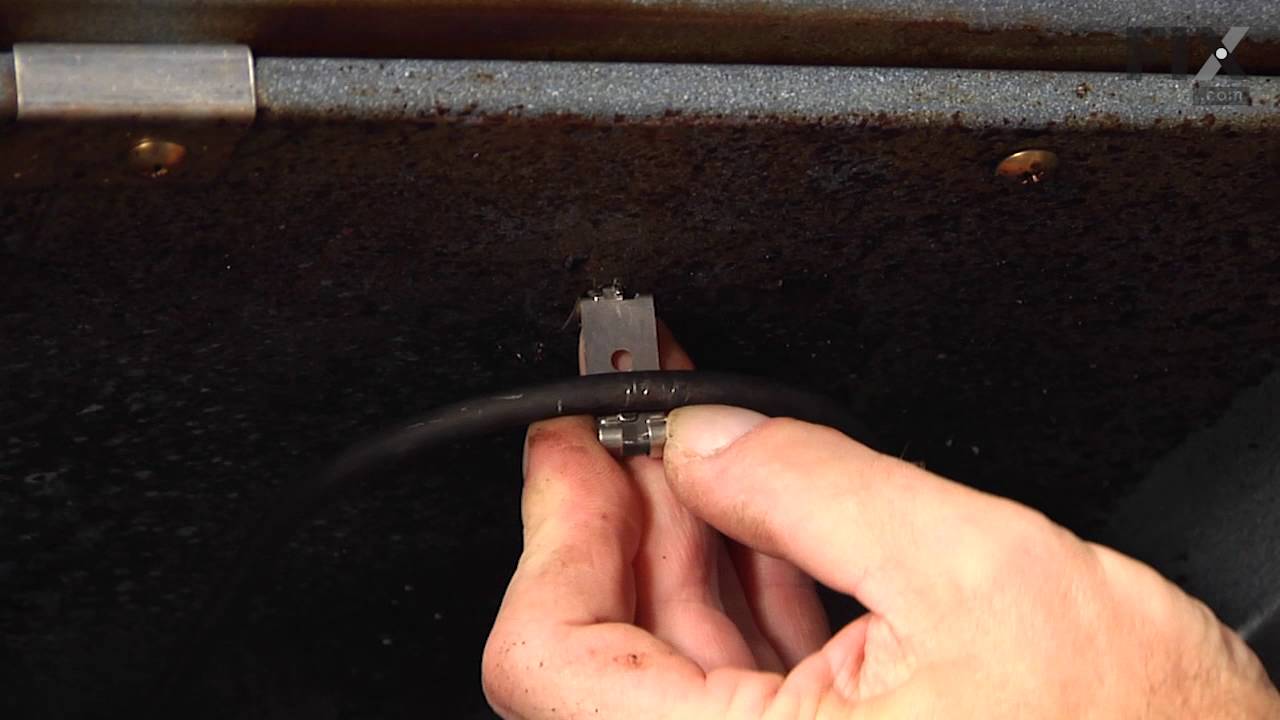
The metallic clip, or also known as a broil element support, is for a oven element on a range. This part holds the broil element in place on top of the oven. If your support clip is broken then this replacement should be the solution. The tools needed for this project are slip joint pliers. For safety precautions, make sure to unplug your...Read more range from the power source, or shut off the house circuit breaker before starting this project. Refer to the installation instructions for best results and accuracy.
Read less

$63.43
In Stock
Turntable Roller Guide
Part #WB06T10012
This roller is located underneath the glass turntable. With the help of the motor, this roller helps to rotate the glass tray. This part takes the place of the coupling.

$16.05
In Stock

$16.05
Special Order
Range Screw
Part #WB1K5062

$16.05
In Stock

$59.47
In Stock

$43.18
In Stock
Broiler Pan - Large
Part #WB48X10056
This large broiler pan is found in the bottom of your oven and is used to catch drippings from broiling foods. This part includes the grate and bottom pan and is made of porcelain. The grate measures 15-1/2 inches wide by 13 inches deep and the pan is about 17 inches wide by 13 inches deep. No tools are required to replace this item, simp...Read morely pull out the lower drawer of your range, pull down the front of the drawer, slide the pan out and slide the new one into place. This is a genuine part sourced right from the manufacturer.
Read less

$13.92
In Stock

$16.05
In Stock

$118.45
In Stock
Common Symptoms of models starting with 9114779
How this model fails, and the parts that fix it.
Little to no heat when baking
Fixed by
these parts
these parts


Show All
No heat
Fixed by
these parts
these parts


Show All
Won’t turn on
Fixed by
these parts
these parts
Show All
Oven not heating evenly
Fixed by
these parts
these parts
Show All
Tray won’t turn
Fixed by
these parts
these parts

Show All
Element will not heat
Fixed by
these parts
these parts

Show All
Oven is too hot
Fixed by
these parts
these parts
Show All
Touchpad does not respond
Fixed by
these parts
these parts
Show All
Will Not Start
Fixed by
these parts
these parts
Show All
Door won’t close
Fixed by
these parts
these parts


Show All
Little to no heat when broiling
Fixed by
these parts
these parts

Show All
Watch our pros, then fix it yourself.


See how others fixed this model. Time, tools, difficulty, and steps that lead to victory!
View More