



 My Orders




911476 Kenmore - Overview
Models starting with 911476
Click on the best match to narrow your results.
- 91147602100 Kenmore Wall Oven (BUILT-IN WALL OVEN)
- 91147603100 Kenmore Wall Oven
- 91147604100 Kenmore Wall Oven (BUILT-IN WALL OVEN)
- 91147609100 Kenmore Wall Oven
- 91147619200 Kenmore Range
- 91147619201 Kenmore Wall Oven
- 91147622100 Kenmore Wall Oven
- 91147624100 Kenmore Wall Oven
- 91147629100 Kenmore Wall Oven
- 91147642100 Kenmore Wall Oven
- 91147643100 Kenmore Wall Oven
- 91147644100 Kenmore Wall Oven
- 91147649100 Kenmore Wall Oven
- 91147692100 Kenmore Microwave Oven Combo
- 91147699100 Kenmore Microwave (27" ELECTRIC BUILT-IN OVEN)
Enter a part description. DIY Heroes keep it simple, eg. "belt" or "pump".
Search filter:
Clear Filter
Your search term must have 3 or more characters.

$21.81
In Stock
Microwave Fuse
Part #WB27X10928
This ceramic microwave fuse is just over an inch in length. It is white in the center, and metal on both ends. This is a 20-amp fuse, and is used to power your microwave. If the touch pad on the microwave becomes unresponsive, the microwave produces little to no heat, or the appliance simply does not turn on, it could mean that your fuse ...Read moreis at fault and needs to be replaced. Because this part contains an electrical charge, remember to disconnect power to the microwave unit before you begin this repair.
NOTE: Before you start this repair, ensure that the microwave is unplugged, and the capacitor is discharged. A capacitor stores large amounts of electricity even after your microwave is unplugged.
Read less

$30.53
In Stock
Temperature Sensor
Part #WB21X22134
The temperature sensor, also known as the oven temperature sensor assembly is usually found in the back of the oven. The function of the oven temperature sensor assembly is to measure the temperature inside your oven while it is on and send the temperature back up to the electronic control, which adjusts as necessary. If your oven is havi...Read moreng difficulty achieving warmer temperatures and/or keeping warmer temperatures up, you may want to test your temperature sensor. Before you make this repair remember to unplug your range from the power source, and turn off the gas shut off valve.
Read less

$21.95
In Stock
Light Bulb - 40W
Part #40A15
This 40-Watt light bulb is sold individually.
It is specially designed to withstand extreme temperatures, so this bulb is compatible with a variety of appliance types including refrigerators, ranges, microwaves, and dryers. It features a frosted glass bulb with a standard metal socket base, which allows you to easily unscrew the burnt-out light and twist the new bulb into place.

$47.40
In Stock
Secondary Door Switch
Part #WB24X829
The secondary door switch is a simple on/off mechanism that stops the microwave from operating when the door is open (normally opened). The switch monitors the door latch position, and communicates whether the door is open or closed to the electrical control board. This door switch is approximately 1 inch long, and has 2 metal prongs cal...Read moreled terminals that extend out of its body. Common symptoms related to a faulty secondary door switch include: microwave will not turn/shut off, or the microwave will not heat properly.
NOTE: Before you begin this repair, first make sure your microwave is unplugged, and that your capacitor is discharged. A capacitor stores large amounts of electricity even when your microwave is unplugged.
Read less

$48.45
In Stock
Monitor Door Switch
Part #WB24X830
Unplug your microwave before attempting this repair. You will need to remove the grill, which is held into place by two screws at the top of the grill (open your microwave door before doing this). Remove the grill. Remove the screw on the left holding the control panel in place. Loosen the screw behind the panel. You should now be able to...Read more lift the panel up and pull forward to detach. You will find the door switch by removing the screws to detach the switch assembly. Press on the release tab to remove the middle switch. Disconnect the wire connector to release the old switch. The door switch is normally closed.
Read less

$16.07
In Stock
Oven Bulb Lens Cover - Glass
Part #WB25T10002
This part is the replacement oven bulb lens cover. It is made of glass and is approximately 3 inches in diameter. The lens cover is rigid and protects the oven light bulb from being damaged. The main reason to replace the oven bulb lens cover is if it is cracked, damaged, or missing. Be sure that the lens cover is cool to the touch before...Read more you begin this repair. To remove the lens cover simply turn it counterclockwise until you can remove it. Replace it with a new cover and turn it clockwise to lock it into place. This is an OEM part sourced from the manufacturer, and it is sold individually.
Read less

$39.95
In Stock
Oven Light Housing
Part #WB08T10002
The light housing is also known as a lamp holder and is a part for the oven in your range. The function of this piece is to hold the bulb that will light up the inside of your oven. As per the manufacturer instructions, if your bulb has burnt out you must buy the bulb for this part locally. This light housing is roughly five inches high, ...Read morewith an outside diameter of roughly four inches by four inches. To install this part, you will need a Phillips screwdriver, a nut driver, and a pair of pliers.
Read less

$16.05
In Stock

$43.18
In Stock
Broiler Pan - Large
Part #WB48X10056
This large broiler pan is found in the bottom of your oven and is used to catch drippings from broiling foods. This part includes the grate and bottom pan and is made of porcelain. The grate measures 15-1/2 inches wide by 13 inches deep and the pan is about 17 inches wide by 13 inches deep. No tools are required to replace this item, simp...Read morely pull out the lower drawer of your range, pull down the front of the drawer, slide the pan out and slide the new one into place. This is a genuine part sourced right from the manufacturer.
Read less

$13.92
In Stock

$16.05
In Stock

$32.64
In Stock
Halogen Lamp - 35 Watt
Part #WB08T10023
This halogen lamp bulb is a genuine OEM replacement part for your oven. If the light has burned out in your oven, replace it with this part. This is a 35 watt bulb. Replacing this bulb is fairly easy but will require pulling the oven out from the wall. Make sure to shut off power to the unit before beginning this repair.
Common Symptoms of models starting with 911476
How this model fails, and the parts that fix it.
Won’t turn on
Fixed by
these parts
these parts


Show All
No heat
Fixed by
these parts
these parts
Show All
Little to no heat when baking
Fixed by
these parts
these parts


Show All
Doesn’t shut off
Fixed by
these parts
these parts
Show All
Oven not heating evenly
Fixed by
these parts
these parts
Show All
Oven is too hot
Fixed by
these parts
these parts
Show All
Touchpad does not respond
Fixed by
these parts
these parts
Show All
Element will not heat
Fixed by
these parts
these parts

Show All
Will Not Start
Fixed by
these parts
these parts
Show All
Little to no heat when broiling
Fixed by
these parts
these parts
Show All
Watch our pros, then fix it yourself.



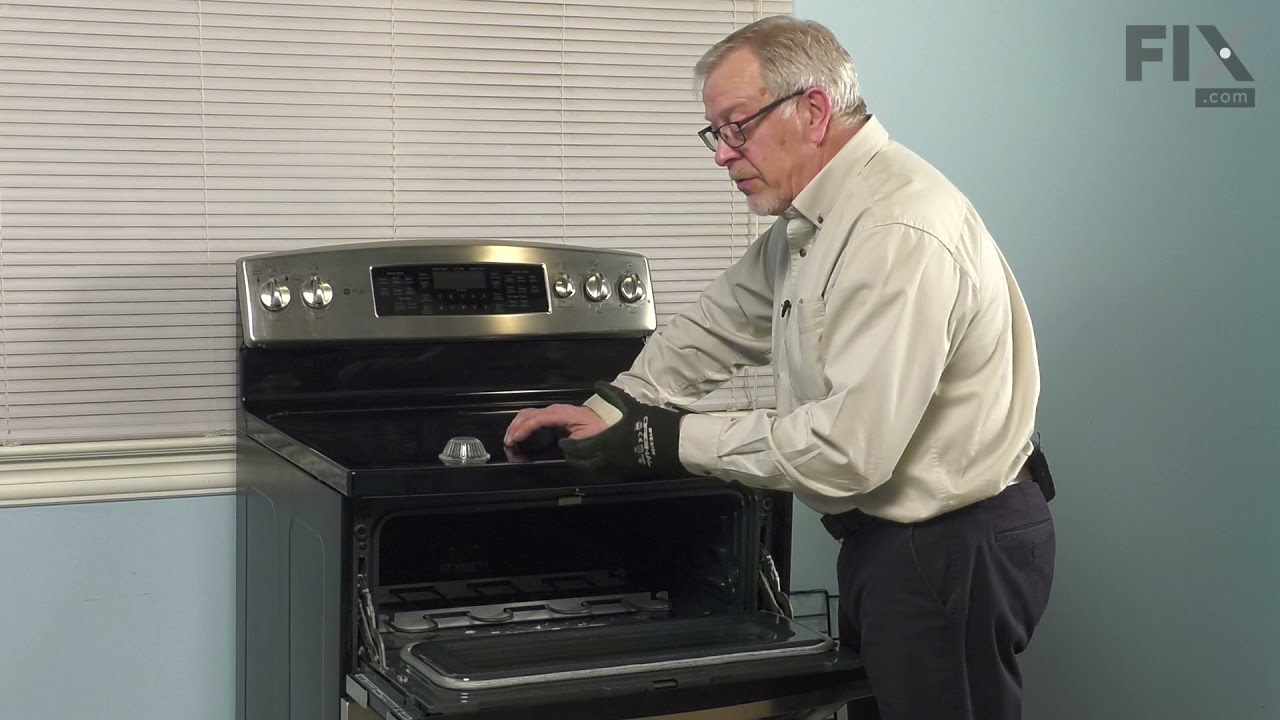
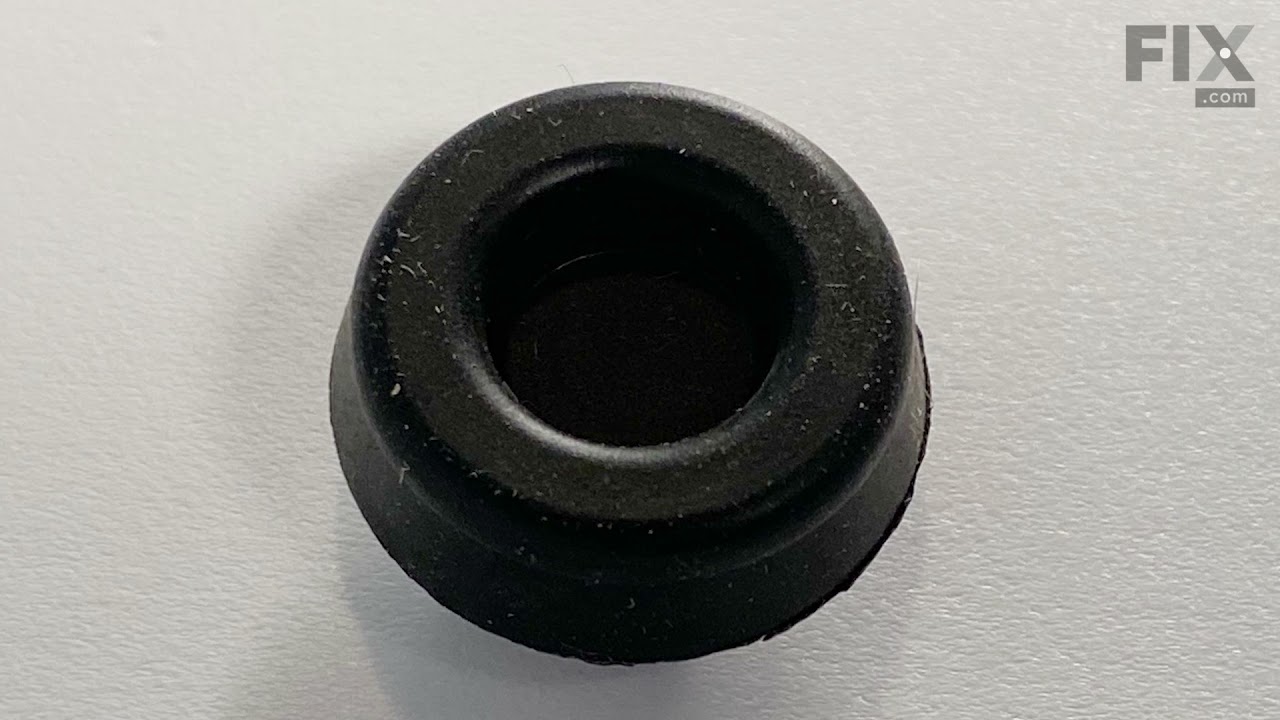
See how others fixed this model. Time, tools, difficulty, and steps that lead to victory!
View More