



 My Orders




911475 - Overview
Models starting with 911475
Click on the best match to narrow your results.
Enter a part description. DIY Heroes keep it simple, eg. "belt" or "pump".
Search filter:
Clear Filter
Your search term must have 3 or more characters.

$16.07
In Stock
Oven Bulb Lens Cover - Glass
Part #WB25T10002
This part is the replacement oven bulb lens cover. It is made of glass and is approximately 3 inches in diameter. The lens cover is rigid and protects the oven light bulb from being damaged. The main reason to replace the oven bulb lens cover is if it is cracked, damaged, or missing. Be sure that the lens cover is cool to the touch before...Read more you begin this repair. To remove the lens cover simply turn it counterclockwise until you can remove it. Replace it with a new cover and turn it clockwise to lock it into place. This is an OEM part sourced from the manufacturer, and it is sold individually.
Read less

$39.95
In Stock
Oven Light Housing
Part #WB08T10002
The light housing is also known as a lamp holder and is a part for the oven in your range. The function of this piece is to hold the bulb that will light up the inside of your oven. As per the manufacturer instructions, if your bulb has burnt out you must buy the bulb for this part locally. This light housing is roughly five inches high, ...Read morewith an outside diameter of roughly four inches by four inches. To install this part, you will need a Phillips screwdriver, a nut driver, and a pair of pliers.
Read less

$16.05
In Stock

$43.18
In Stock
Broiler Pan - Large
Part #WB48X10056
This large broiler pan is found in the bottom of your oven and is used to catch drippings from broiling foods. This part includes the grate and bottom pan and is made of porcelain. The grate measures 15-1/2 inches wide by 13 inches deep and the pan is about 17 inches wide by 13 inches deep. No tools are required to replace this item, simp...Read morely pull out the lower drawer of your range, pull down the front of the drawer, slide the pan out and slide the new one into place. This is a genuine part sourced right from the manufacturer.
Read less

$16.05
In Stock
Range Screw
Part #WB01T10008
This part is a replacement screw for your oven. It is made of black metal and is sold individually. This screw is approximately 1/4 inch in diameter and about 1/2 inch in length. It is designed to connect the different parts of your oven door. This part is an authentic OEM part sourced directly from the manufacturer.

$70.34
In Stock

$158.48
In Stock

$109.91
In Stock
Broil Element - 240V
Part #WB44T10051
This broil element is a genuine OEM replacement part designed to deliver high, direct heat from the top of the oven cavity for broiling and browning food. It operates at 240 volts and is mounted at the top of the oven interior. This element is engineered to replace units that no longer heat, heat unevenly, or show visible signs of damage ...Read moresuch as burn spots or breaks. It is compatible with a wide range of electric ranges and wall ovens and replaces several previous part numbers. Installation requires disconnecting the appliance from power and wearing protective gloves. Always verify compatibility with your specific model before purchasing.
Read less

$165.43
In Stock

$15.00
In Stock
WZ04X0408
Part #WZ4X416

$52.75
In Stock
Disc- Friction - 730 Matl
Part #03248300
This friction wheel, or disc, works in conjunction with a pulley system in your lawn equipment to propel your machine forward. It is a metal disc with a rubber ring around it, has an approximate inside diameter of 2.5 inches, and is commonly mounted onto the axle of your machine. When it is broken, you can visually identify cracks in or m...Read moreissing parts from the part, or excessive wear on the rubber ring. If you do not replace it, your equipment may struggle to move on slippery or uneven surfaces and lose traction. To remove the old friction wheel, start by turning off the engine and disconnecting the spark plug wire. Consult your user manual for instructions on accessing the wheel. You might need a wrench or socket to remove retaining bolts, screws, or clips. Keep in mind that the replacement part is sold individually since your machine may require more than one wheel, and they tend to wear out at the same time.
Read less

No Longer Available
BAKE ELEMENT Lower
Part #WB44T10032
Common Symptoms of models starting with 911475
How this model fails, and the parts that fix it.

Watch our pros, then fix it yourself.

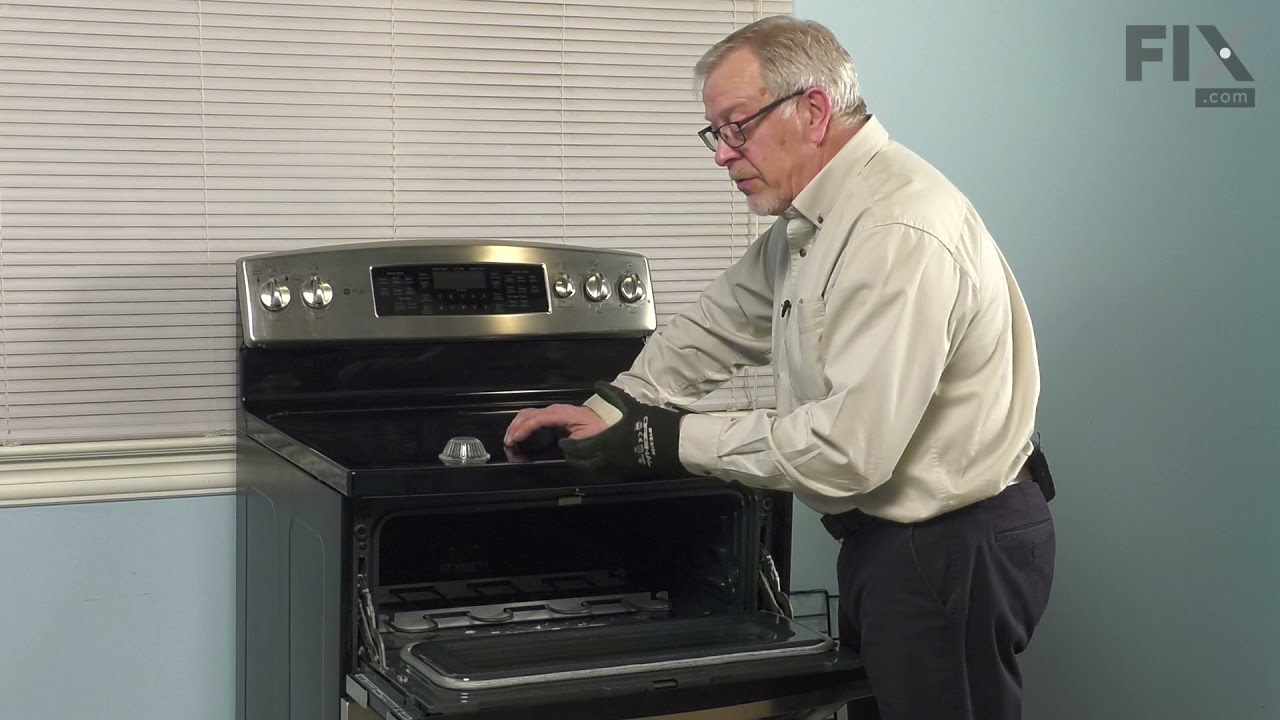
See how others fixed this model. Time, tools, difficulty, and steps that lead to victory!
View More