



 My Orders




91147084100 Kenmore Wall Oven - Overview
Diagrams for 91147084100
See every part. Know exactly what you need.

Enter a part description. DIY Heroes keep it simple, eg. "belt" or "pump".
Search filter:
Clear Filter
Your search term must have 3 or more characters.

$21.95
In Stock
Light Bulb - 40W
Part #40A15
This 40-Watt light bulb is sold individually.
It is specially designed to withstand extreme temperatures, so this bulb is compatible with a variety of appliance types including refrigerators, ranges, microwaves, and dryers. It features a frosted glass bulb with a standard metal socket base, which allows you to easily unscrew the burnt-out light and twist the new bulb into place.

$102.37
In Stock

$40.51
In Stock
Oven Sensor
Part #WB23T10015
The function of the oven sensor is to detect the temperature within the oven cavity. If you notice that the oven is too hot or too cold, or it is not heating evenly, you may need to replace the oven sensor. The oven sensor is typically located in the back of the oven so you will most likely need to pull your oven out to access it. Many of...Read more our customers have rated this repair as easy. You will need a Phillips screwdriver to complete this repair. Be sure to disconnect the power source and shut off the gas valve before doing this repair.
Read less

$16.07
In Stock
Oven Bulb Lens Cover - Glass
Part #WB25T10002
This part is the replacement oven bulb lens cover. It is made of glass and is approximately 3 inches in diameter. The lens cover is rigid and protects the oven light bulb from being damaged. The main reason to replace the oven bulb lens cover is if it is cracked, damaged, or missing. Be sure that the lens cover is cool to the touch before...Read more you begin this repair. To remove the lens cover simply turn it counterclockwise until you can remove it. Replace it with a new cover and turn it clockwise to lock it into place. This is an OEM part sourced from the manufacturer, and it is sold individually.
Read less

$39.95
In Stock
Oven Light Housing
Part #WB08T10002
The light housing is also known as a lamp holder and is a part for the oven in your range. The function of this piece is to hold the bulb that will light up the inside of your oven. As per the manufacturer instructions, if your bulb has burnt out you must buy the bulb for this part locally. This light housing is roughly five inches high, ...Read morewith an outside diameter of roughly four inches by four inches. To install this part, you will need a Phillips screwdriver, a nut driver, and a pair of pliers.
Read less

$16.05
In Stock

$43.18
In Stock
Broiler Pan - Large
Part #WB48X10056
This large broiler pan is found in the bottom of your oven and is used to catch drippings from broiling foods. This part includes the grate and bottom pan and is made of porcelain. The grate measures 15-1/2 inches wide by 13 inches deep and the pan is about 17 inches wide by 13 inches deep. No tools are required to replace this item, simp...Read morely pull out the lower drawer of your range, pull down the front of the drawer, slide the pan out and slide the new one into place. This is a genuine part sourced right from the manufacturer.
Read less

$94.60
In Stock

$16.05
In Stock
Range Screw
Part #WB01T10008
This part is a replacement screw for your oven. It is made of black metal and is sold individually. This screw is approximately 1/4 inch in diameter and about 1/2 inch in length. It is designed to connect the different parts of your oven door. This part is an authentic OEM part sourced directly from the manufacturer.

$15.00
In Stock

$30.53
In Stock

$158.48
In Stock
Manuals & Care Guides for 91147084100
Click to downloadCommon Symptoms of the 91147084100
How this model fails, and the parts that fix it.
Little to no heat when baking
Fixed by
these parts
these parts


Show All
Element will not heat
Fixed by
these parts
these parts

Show All
Oven not heating evenly
Fixed by
these parts
these parts
Show All
Little to no heat when broiling
Fixed by
these parts
these parts
Show All
Oven is too hot
Fixed by
these parts
these parts
Show All
Will Not Start
Fixed by
these parts
these parts
Show All
Watch our pros, then fix it yourself.
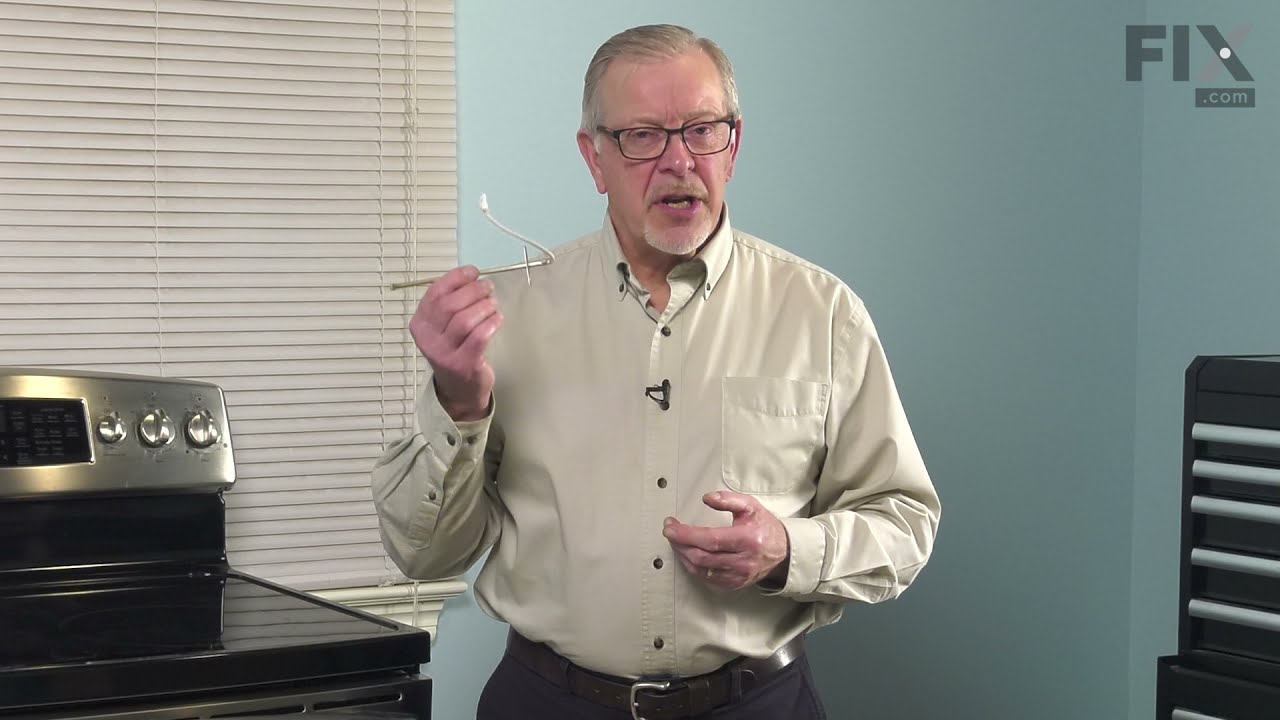

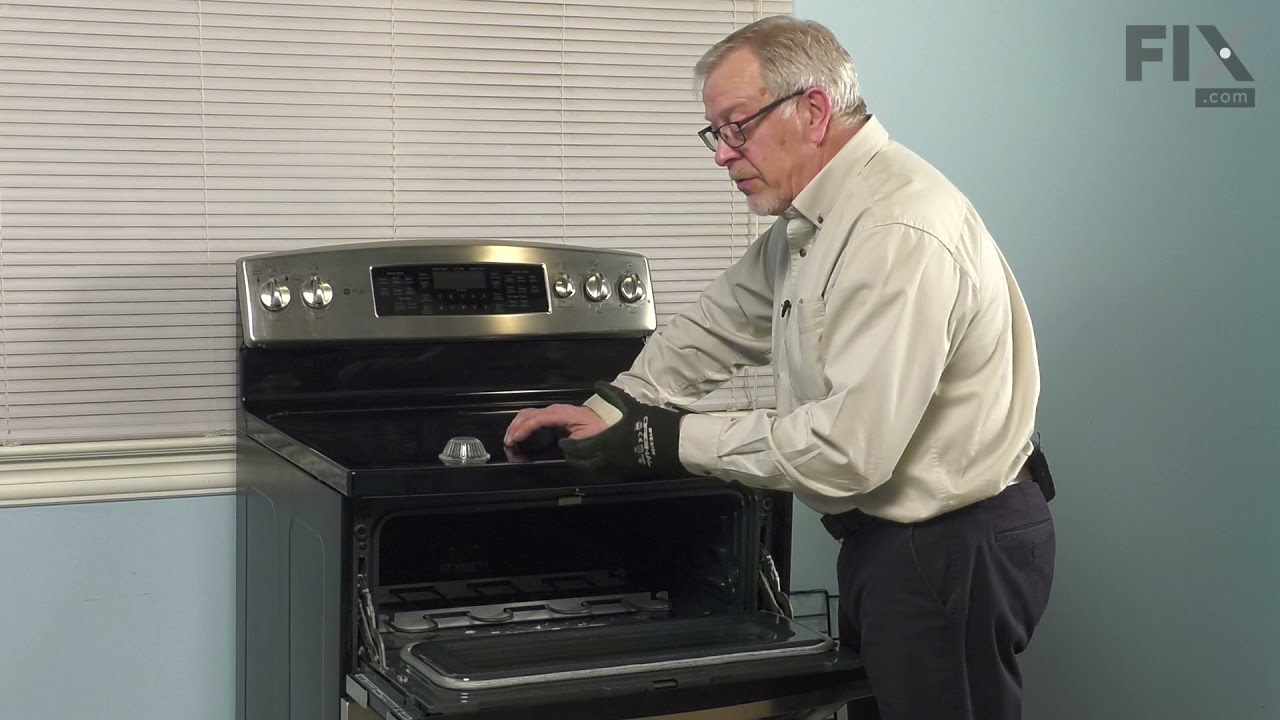
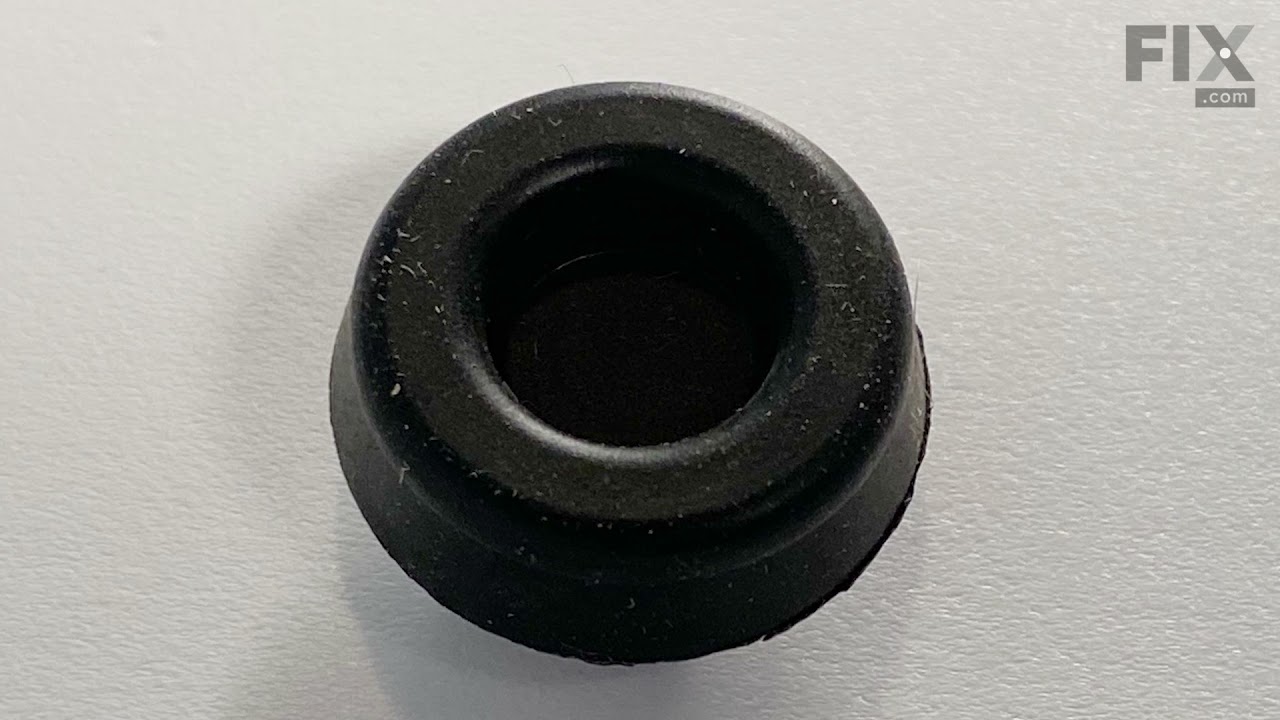
See how others fixed this model. Time, tools, difficulty, and steps that lead to victory!
View More