At the floor of your electric oven is the bake element. This partially open-style element comes with push-on terminals. The bake element will likely provide most of the heat for baking. Therefore, if the oven is not heating properly, or if food is burnt on top and undercooked below, your bake element may be at fault. If you can see that t...Read morehe element has been separated or blistered, you should replace the part immediately. If there is no visible damage, turn the oven on and check to see if the element heats evenly. If the element is not heating evenly, or if it is not heating at all, use a multi-meter to test for electrical continuity to see if the element needs replacing.
It is possible that your oven is cold because of a fault in the temperature sensor. The temperature sensor regulates oven temperature in modern ranges, like a thermostat. It is on the back wall near the broiler on the top wall. On a newer oven, there may be a fault code displayed. Faulty temperature sensors are often responsible for F3 an...Read mored F4 error messages on an electric range. Check your manual or the manufacturer website to find out the proper resistance of the temperature sensor. To check your sensor, unplug the oven and use a multi-meter to see if your sensor is at the correct resistance.
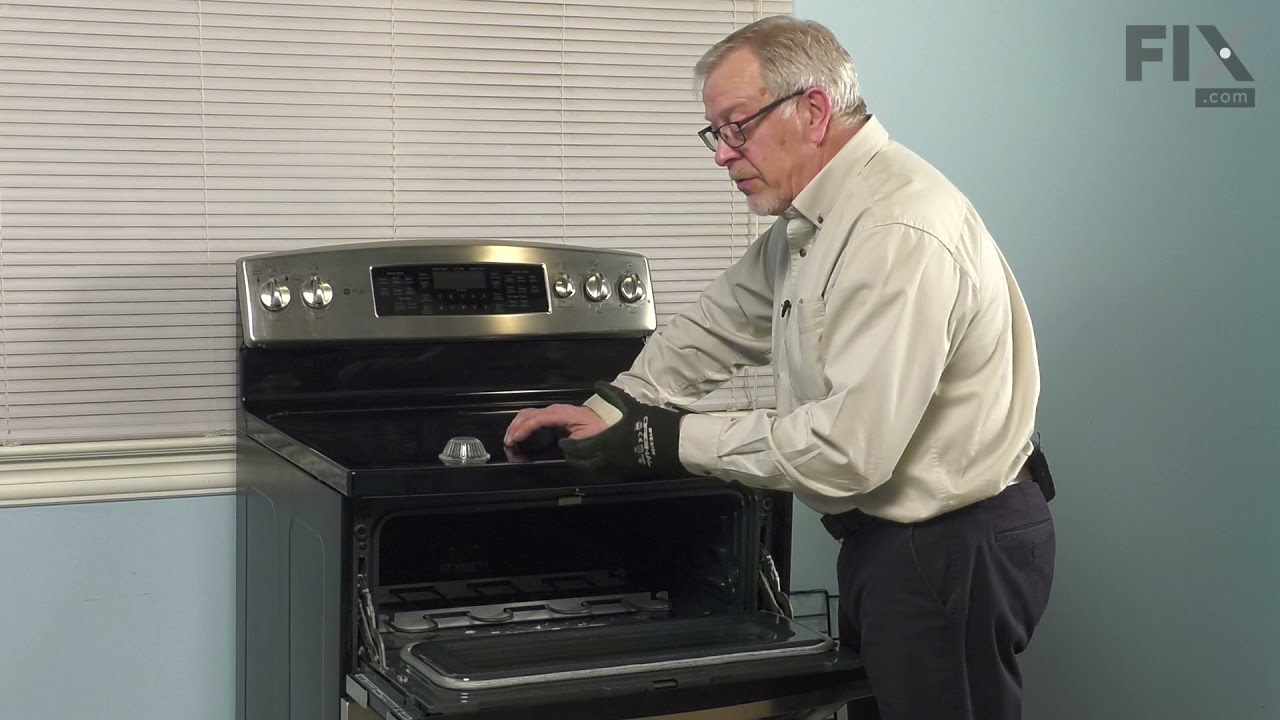
This part is the replacement oven bulb lens cover. It is made of glass and is approximately 3 inches in diameter. The lens cover is rigid and protects the oven light bulb from being damaged. The main reason to replace the oven bulb lens cover is if it is cracked, damaged, or missing. Be sure that the lens cover is cool to the touch before...Read more you begin this repair. To remove the lens cover simply turn it counterclockwise until you can remove it. Replace it with a new cover and turn it clockwise to lock it into place. This is an OEM part sourced from the manufacturer, and it is sold individually.
The light housing is also known as a lamp holder and is a part for the oven in your range. The function of this piece is to hold the bulb that will light up the inside of your oven. As per the manufacturer instructions, if your bulb has burnt out you must buy the bulb for this part locally. This light housing is roughly five inches high, ...Read morewith an outside diameter of roughly four inches by four inches. To install this part, you will need a Phillips screwdriver, a nut driver, and a pair of pliers.
This large broiler pan is found in the bottom of your oven and is used to catch drippings from broiling foods. This part includes the grate and bottom pan and is made of porcelain. The grate measures 15-1/2 inches wide by 13 inches deep and the pan is about 17 inches wide by 13 inches deep. No tools are required to replace this item, simp...Read morely pull out the lower drawer of your range, pull down the front of the drawer, slide the pan out and slide the new one into place. This is a genuine part sourced right from the manufacturer.
This infinite heat control switch is a genuine OEM component designed for electric ranges with 8-inch surface burners. Engineered to regulate power flow to the heating element, it enables precise temperature control for a wide range of cooking tasks. The switch features a push-to-turn mechanism for safe on/off operation and is rated for 2...Read more40 volts and 2,350 watts, with a current range of 8.9 to 11 amps. Its glass-encased heating element ensures durability and consistent performance. Compatible with various models from GE and affiliated brands, this part is essential for maintaining efficient burner functionality and energy use.
Ask our experts a question about this model and we'll get back to you as soon as possible!
We may have answered a similar question already! Search questions and answers left by others using simple keywords like "fit", "broken", "easy", or "quality" to find questions that match.
Search filter:
Clear Filter
Your search term must have 3 or more characters.
Sort by:
Prev
1
Next
Sorry, we couldn't find any existing answers that matched.Try using some different or simpler keywords, or submit your new question by using the "Ask a Question" button above!
Ed - For model number 91145565094
October 30, 2023
I need a broiler element for Ken more oven. The top element
Hi Ed, thank you for the question. The part you are looking for is the broil element, part number PS249274. If you need help placing an order, customer service is open 7 days a week!
See how others fixed this model. Time, tools, difficulty, and steps that lead to victory!View More
Search repair tips from other customers using simple keywords like "replace", "fit", "remove", "inspect". DIY doesn't mean you have to do it alone!
Search filter:
Clear Filter
Your search term must have 3 or more characters.
Bake element cracked on its own
626 of 637 peoplefound this instruction helpful.
Timothy from Cordova, TN
Really Easy
15 - 30 mins
Nutdriver
Flipped the breaker. Removed shelf, Find the right size nut socket, unscrew the two screws, pull the element out a little bit, disconnect the wires (on pretty tight), pull out element, clean out any mess in the oven, compare element with new one to make sure its the same size and such, connect wires to new element, replace screws, fl
... Read moreip breaker back, turn on for a few minutes to make sure it works. Piece of cake.
Read less
Was this helpful?
Thank you for voting!
Oven took 30 minutes to get to 380 degrees-no hotter
388 of 392 peoplefound this instruction helpful.
Sandra from Hayward, CA
Really Easy
Less than 15 mins
Screw drivers
First I searched this site and read about the repairs - which made me feel like my husband could do it with ease. Then he removed two screws inside the oven, removed the broken element (didn't know it was broken til removed) and replaced the new one - just like that! The real key was being able to read how it was for other people who ha
... Read mored already done it. That's the only reason I'm submitting my storey. Thanks
Read less
Was this helpful?
Thank you for voting!
Oven tempature was approximately 150 degrees to low
224 of 265 peoplefound this instruction helpful.
James from Austin, TX
Easy
1- 2 hours
Nutdriver, Screw drivers
This repair is EASY if you know how to use an ohm meter. If not, seek help for this step.
SYMPTOM: The oven (JKP27WOP3WG or JKP27WP3WG and many ovens like it ) was not getting hot enough. Verifying the cooking temperature with an typical oven thermometer, I was able to determine that the oven was cooking temperature was
... Read more about 150 degrees to low.
FAILURE POINTS: There are two logical failure points (1) The oven sensor ( WB21X5301 about $75), or the (2) the controller board (PS238233 about $252). In my case it was the controller board. When replaced the oven worked beautifully.
REPAIR: As with any repair, you MUST DISCONNECT POWER TO THE UNIT BEFORE SERVICING!!!
Pull oven from the wall: - Disconnect power by flipping the circuit breaker to the OFF position. - Remove the top flange / cowling from the top of the oven (it just pulls off) - Remove two screws under the top flange / cowling - The whole unit easily slides out, but it is highly recommended that you use two people to place the oven on the floor.
As a diagnostic between these two parts, if the oven sensors measure approximately 1.1K ohms of resistance at room temperature, then it is probably not the sensor. The oven sensor wires are connected to two white wires that run up to the controller board. You need to disconnect the oven sensor to make the measurement. You may either completely remove the oven sensor by cutting the wire (be sure to allow yourself enough slack so that they may be safely reconnected) where it connects to the white wires, OR, (preferred method) if leaving the oven sensor partially installed, - Remove the top sheet metal cover (10 screws) - Remove the service connect cover (2 screws - this is where the main Power cord comes into the unit) - Disconnect the white wires from the controller board (this connector which also includes other circuits is on the left side when looking at the controller board). - Remove two screws from oven sensor but just let in dangle down so that you can put the sensor in the ice water / boiling water.
Measure the resistance under the following conditions. Your ohm meter should read APPROXIMATELY... - 1.02K ohms in ice water - 1.09K ohms at room temperature - 1.36K ohms in boiling water. If you get approximately these readings, then it is NOT the oven sensor. If that checks out then re-install the sensor AND the connector.
If it is NOT the sensor, replace the controller board. - Take a moment to write down the color of the wire to the LETTERING (N, L, G, C / COM,,,) on the controller board. The connectors are in different locations on the new controller board so the wire color to the letter designation is significant. - Carefully remove the wires one at a time - VERY carefully remove the keypad ribbon cable from the right side of the controller board. -- The ribbon cable will disconnect by releasing some little pressure clips on the side of the connector. - Remove the controller board (4 screws) - Install new controller board (4 screws) - VERY carefully connect the keypad ribbon cable on the right side. -- Make sure that the connector is in the OPEN position first, then, -- Slide in the cable ensuring that all parts of the ribbon made it into the connector, then -- Press down on the connector locking tabs. - Reconnect each wire to the correctly lettering on the board. -- Again, the connectors MAY BE in a different order on the replacement controller board. Match color to letter. - Reconnect the (5 wire?) connector that includes the white oven sensor wires. - Make sure everything looks normal, (i.e. no wires are pinched, remove tools from top of oven area, etc.) - Re-install top cover. - Re-install service connect cover.
You can test the unit while it is out of the cabinet, - Make SURE that all sheet metal covers are in place. - Flip power breaker to "On". - Test that oven gets to the desired temp.



 My Orders