



 My Orders




911436 Kenmore Cooktop - Overview
Models starting with 911436
Click on the best match to narrow your results.
- 91143612100 Kenmore Cooktop
- 91143617100 Kenmore Cooktop
- 91143619100 Kenmore Cooktop
- 9114364590 Kenmore Cooktop
- 9114364591 Kenmore Cooktop
- 9114364990 Kenmore Cooktop
- 9114364991 Kenmore Cooktop
- 91143675890 Kenmore Cooktop
- 91143675991 Kenmore Cooktop
- 91143679890 Kenmore Cooktop
- 91143679991 Kenmore Cooktop
- 9114368211 Kenmore Cooktop
- 9114368214 Kenmore Cooktop
- 9114368291 Kenmore Cooktop
- 9114368292 Kenmore Cooktop
- 9114368413 Kenmore Cooktop
- 9114368490 Kenmore Cooktop
- 9114368493 Kenmore Cooktop
Enter a part description. DIY Heroes keep it simple, eg. "belt" or "pump".
Search filter:
Clear Filter
Your search term must have 3 or more characters.

$21.45
In Stock
Drip Bowl - 6 Inch
Part #WB32X107
The drip bowl on your range is designed to catch any spills that may occur when cooking. This drip bowl is chrome in color and is 6 inches in diameter. The chrome drip bowl is intended for use with rolled, terminal-style plug-in surface element units. The drip bowl is located beneath the surface element, so you will need to remove the ele...Read morement prior to swapping out the old drip bowl for a new one. Many of our customers have rated this repair as easy, and you will not require any tools to complete it. This part is sold individually.
Read less

$25.75
In Stock
Drip Bowl - 8 Inch
Part #WB32X106
Drip bowls are located under the heating elements and catch grease and spills that come from cooking on your stove top. If your drip bowl is damaged or rusted, it could allow grease to drip inside your range. This 8 inch chrome drip bowl fits most electric ranges. Before you replace your damaged drip bowl, make sure the element is turned ...Read moreoff and cool to the touch. Installation is easy, just remove the element, replace the current drip bowl, and reattach the element. Make sure the small hole on the bowl lines up with the element socket. Drip bowls are sold separately.
Read less

$53.20
In Stock
Range Infinite Heat Switch Kit
Part #WB21X36771
The infinite switch controls the stove top surface burner. This switch will work with most of the electrical range models with coil burner elements.

$123.58
In Stock
Dual Radiant Element - 9 Inch
Part #WB30T10099
This is a large dual haliant element with a limiter or sensor for glass cooktops and freestanding ranges. It is a 2500-watt part. The inner diameter measures 9 inches, while the outer diameter measures 10 inches. If there is no heat generated from your element, you may need to replace this part. You may also need to check your socket or i...Read morenfinite switch. It is located under the glass cooktop of your appliance. Be sure to unplug or cut the circuit breaker to your appliance before starting this repair. Before replacing this part, be sure your appliance is getting enough power. If it is receiving less than the required 220 volts of alternating current, the surface element will not work.
Read less

$74.79
In Stock
Surface Burner Terminal Block Kit
Part #WB17X210
This is a surface burner terminal block kit, also known as range surface element receptacle, for an oven, range, or stove. The kit comes with the terminal block, mounting clip, and wires. This surface burner terminal block kit connects the wiring harness to the surface elements. It is important to shut off the power to the appliance befor...Read moree starting this repair. You will need to remove all four elements, trim rings, and drip bowls to access the terminal block on your stovetop. This is an OEM replacement part that is sourced from the genuine manufacturer.
Read less

$16.05
In Stock

$133.95
In Stock
Large Haliant Burner with Limiter - 8"
Part #WB30T10045
This haliant burner element is a gneuine OEM replacement part for your stove. This element is 8 inches in diameter. The element lies underneath the stovetop, and will need to be replaced if it stops heating. To complete this repair you will need a 1/4 inch nut driver and a flat blade screwdriver. To access the element, open the oven door and unscrew the two screws under the lip of the cooktop.

$16.05
In Stock

$129.32
In Stock

$87.17
In Stock
Infinite Control Switch
Part #WB24X29364
This infinite control switch allows precise adjustment of heat levels for improved cooking accuracy. Smooth regulation enhances cooking performance and safety. Replacing a faulty switch restores dependable heat control.

$41.69
In Stock
Range Indicator Light
Part #WB25T10012

$51.61
On Order
Exact Part matches for your search term

No Longer Available
Bolt 3/8-16 x 1 1/2 Grade 8-01-19KE01 Only
This part number matches the current model number 911436
Part #911436
No Longer Available
Bolt 3/8-16 X 1 1/2 Grade 8-01-19
This part number matches the current model number 911436
Part #911436
Common Symptoms of models starting with 911436
How this model fails, and the parts that fix it.


Watch our pros, then fix it yourself.
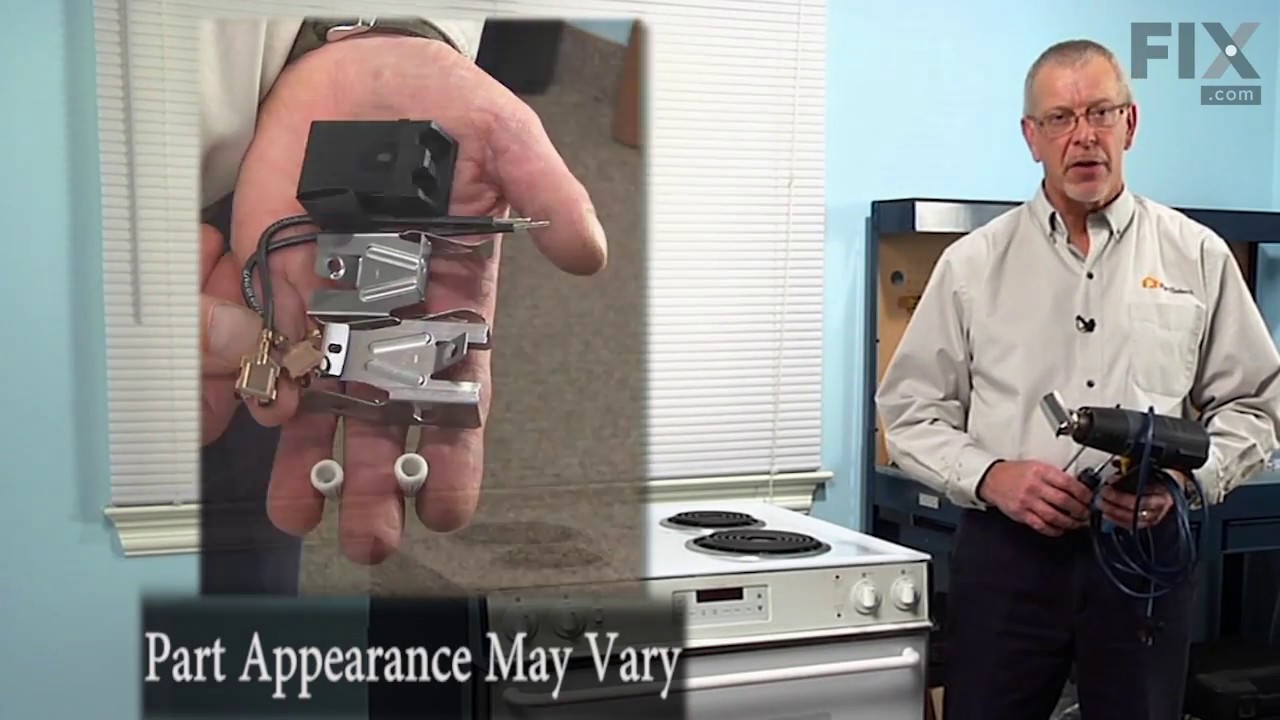
See how others fixed this model. Time, tools, difficulty, and steps that lead to victory!
View More