



 My Orders




91141779790 Kenmore Wall Oven - Overview
Diagrams for 91141779790
See every part. Know exactly what you need.


Enter a part description. DIY Heroes keep it simple, eg. "belt" or "pump".
Search filter:
Clear Filter
Your search term must have 3 or more characters.

$20.63
In Stock
Single Heating Element Support Clip
Part #WB2X9719
The metallic clip, or also known as a broil element support, is for a oven element on a range. This part holds the broil element in place on top of the oven. If your support clip is broken then this replacement should be the solution. The tools needed for this project are slip joint pliers. For safety precautions, make sure to unplug your...Read more range from the power source, or shut off the house circuit breaker before starting this project. Refer to the installation instructions for best results and accuracy.
Read less

$16.05
In Stock

$16.05
In Stock

$43.18
In Stock
Broiler Pan - Large
Part #WB48X10056
This large broiler pan is found in the bottom of your oven and is used to catch drippings from broiling foods. This part includes the grate and bottom pan and is made of porcelain. The grate measures 15-1/2 inches wide by 13 inches deep and the pan is about 17 inches wide by 13 inches deep. No tools are required to replace this item, simp...Read morely pull out the lower drawer of your range, pull down the front of the drawer, slide the pan out and slide the new one into place. This is a genuine part sourced right from the manufacturer.
Read less

$13.92
In Stock

$16.05
In Stock

$140.74
In Stock
Temperature Sensor Kit
Part #WB23X5340
This kit includes the sensor as well as the connectors. NOTE This sensor is 2" long.

$15.00
In Stock

$79.29
In Stock

No Longer Available
Door Hinge Kit - Right Side
Part #WB14T10005
This hinge kit is used on the right hand side of the oven door.

$97.43
In Stock
Door Hinge Kit - Left Side
Part #WB14T10006
This hinge kit is used on the left hand side of the oven door.

$30.53
In Stock
Common Symptoms of the 91141779790
How this model fails, and the parts that fix it.
Little to no heat when baking
Fixed by
these parts
these parts


Show All
Element will not heat
Fixed by
these parts
these parts

Show All
Oven not heating evenly
Fixed by
these parts
these parts
Show All
Door won’t close
Fixed by
these parts
these parts


Show All
Oven is too hot
Fixed by
these parts
these parts
Show All
Little to no heat when broiling
Fixed by
these parts
these parts

Show All
Watch our pros, then fix it yourself.
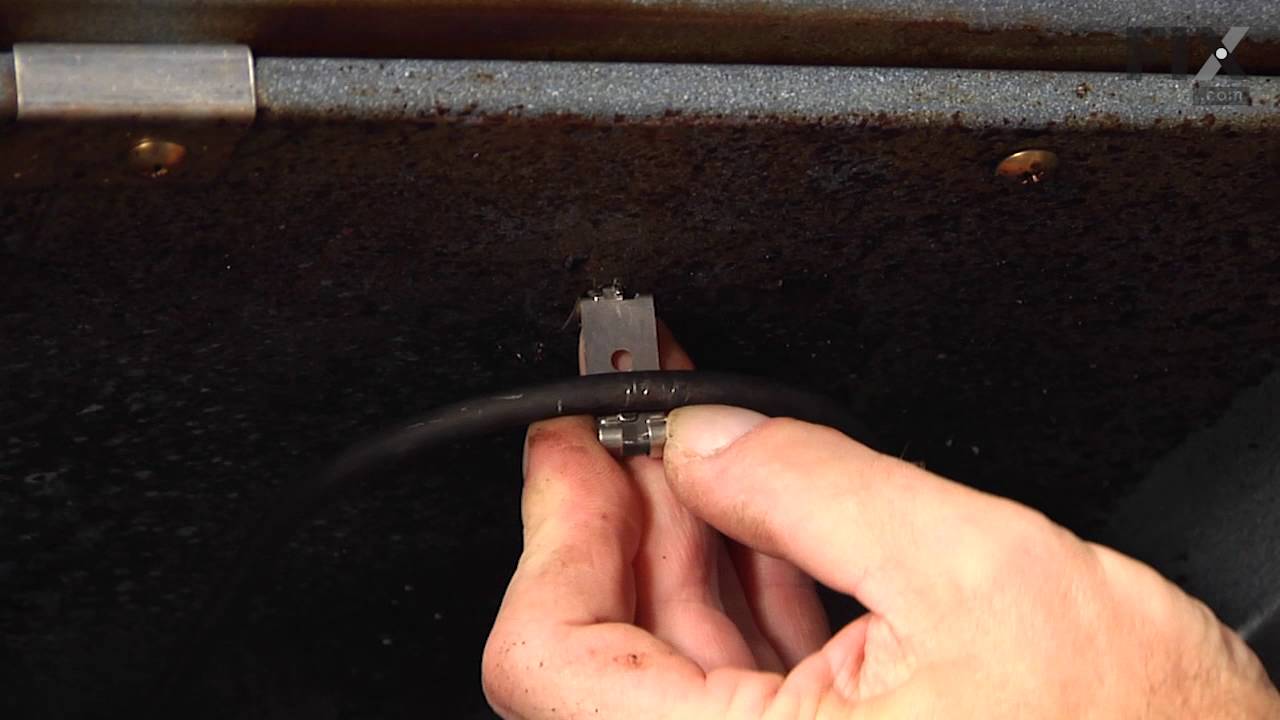
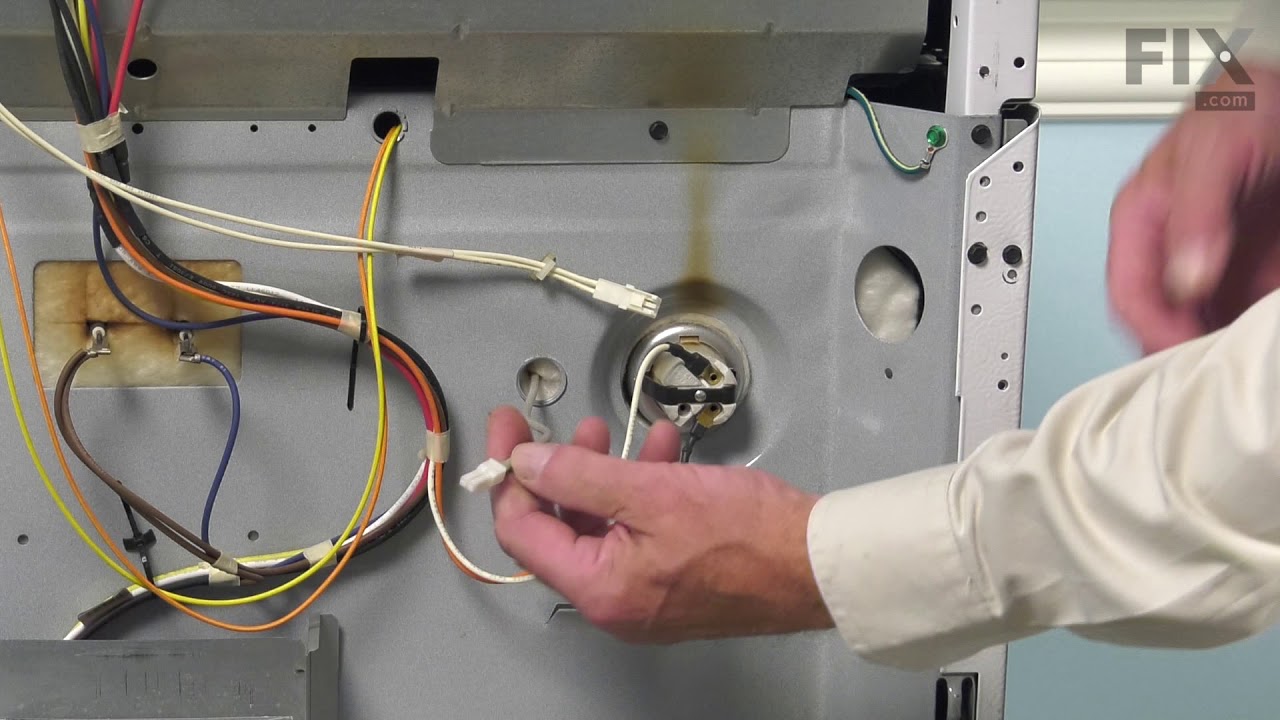
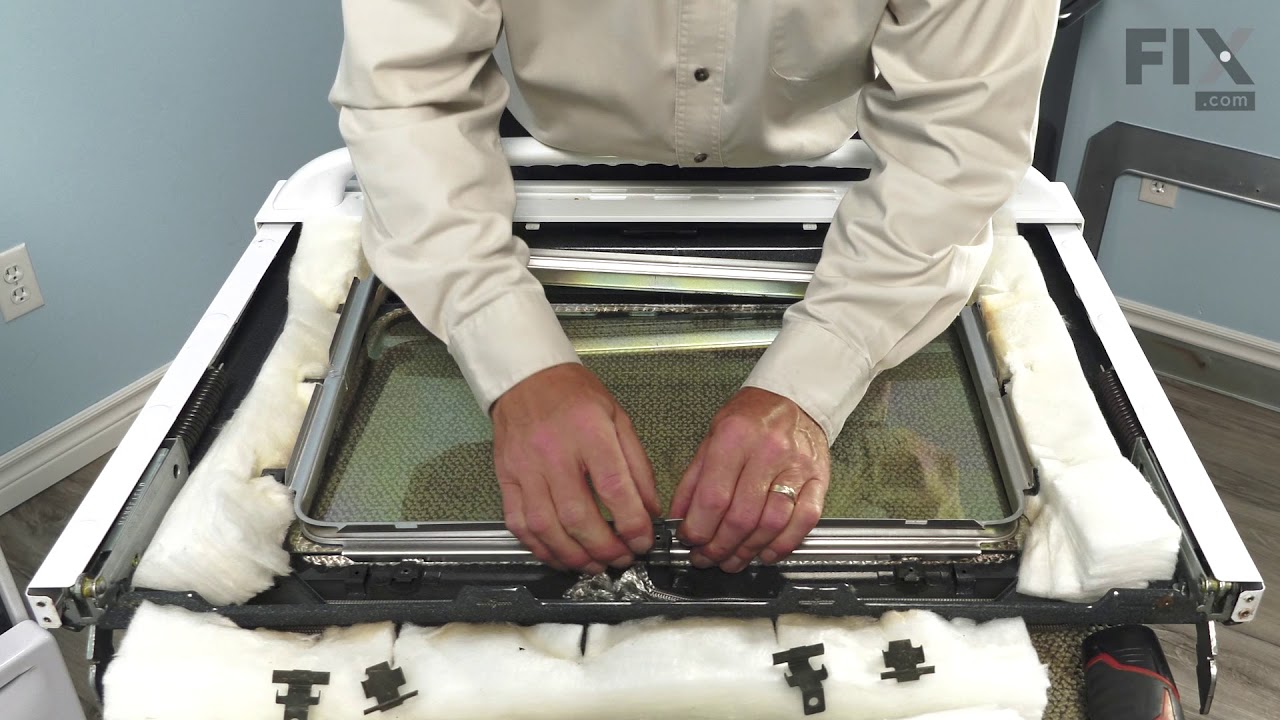
See how others fixed this model. Time, tools, difficulty, and steps that lead to victory!
View More
Search repair tips from other customers using simple keywords like "replace", "fit", "remove", "inspect". DIY doesn't mean you have to do it alone!
Search filter:
Clear Filter
Your search term must have 3 or more characters.
The right hinge on my built in wall oven Broke
22 of 25 people
found this instruction helpful.
I took the door off, removed the four phillips screws that held the wall oven in it's hole. All the 1/4" fasteners were on the face of the over but you have to pull the oven forward to remove the hinges.
Buying thes two hinges from G.E. would have cost $ 90.00 I paid $ 55.00 from Part Select and they arrived the NEXT DAY. I did not ... Read more do rush shipping.
Buying thes two hinges from G.E. would have cost $ 90.00 I paid $ 55.00 from Part Select and they arrived the NEXT DAY. I did not ... Read more do rush shipping.
Read less
Other Parts Used:


Was this helpful?
Thank you for voting!