



 My Orders




91141165791 Kenmore Wall Oven - Overview
Diagrams for 91141165791
See every part. Know exactly what you need.

Enter a part description. DIY Heroes keep it simple, eg. "belt" or "pump".
Search filter:
Clear Filter
Your search term must have 3 or more characters.

$21.95
In Stock
Light Bulb - 40W
Part #40A15
This 40-Watt light bulb is sold individually.
It is specially designed to withstand extreme temperatures, so this bulb is compatible with a variety of appliance types including refrigerators, ranges, microwaves, and dryers. It features a frosted glass bulb with a standard metal socket base, which allows you to easily unscrew the burnt-out light and twist the new bulb into place.

$73.86
In Stock
Oven Rack
Part #WB48T10095
The oven rack is sold individually. It is chrome in color and measures approximately 24 inches wide by 17-1/2 inches deep. The rack is used to hold cookware in the oven and slides back and forth for easy access. Racks can become rough and discolored over time and may need to be replaced, or perhaps you just need extra storage space in the...Read more oven! This repair is extremely simple and does not require any tools. Before you begin, ensure that the rack edges are straight and have not warped from shipment. Once the oven door is open, the stop end goes in first and it simply slides into place.
Read less

$16.05
In Stock

$118.45
In Stock

$15.00
In Stock

No Longer Available
Door Hinge Kit - Right Side
Part #WB14T10005
This hinge kit is used on the right hand side of the oven door.

$97.43
In Stock
Door Hinge Kit - Left Side
Part #WB14T10006
This hinge kit is used on the left hand side of the oven door.

$30.53
In Stock

$158.48
In Stock

$38.96
Special Order

No Longer Available

$158.94
In Stock
Door Lock and Switch Assembly
Part #WB49T10020
Secure the oven door during high-heat cleaning with a replacement lock motor and switch assembly. The motor moves the latch into the locked or unlocked position. A built-in switch reports the latch position to the oven control so the cleaning cycle can run safely. Replacement may be needed if the door will not lock, remains locked after t...Read morehe oven cools, or the cleaning cycle will not start. Check the latch arm and wiring for damage before service. Do not force the oven door open. Shut off electrical power, allow the oven to cool fully, and wear work gloves during installation.
Read less
Manuals & Care Guides for 91141165791
Click to downloadCommon Symptoms of the 91141165791
How this model fails, and the parts that fix it.
Door won’t close
Fixed by
these parts
these parts


Show All
Little to no heat when baking
Fixed by
these parts
these parts

Show All
Element will not heat
Fixed by
these parts
these parts
Show All
Little to no heat when broiling
Fixed by
these parts
these parts

Show All
Watch our pros, then fix it yourself.
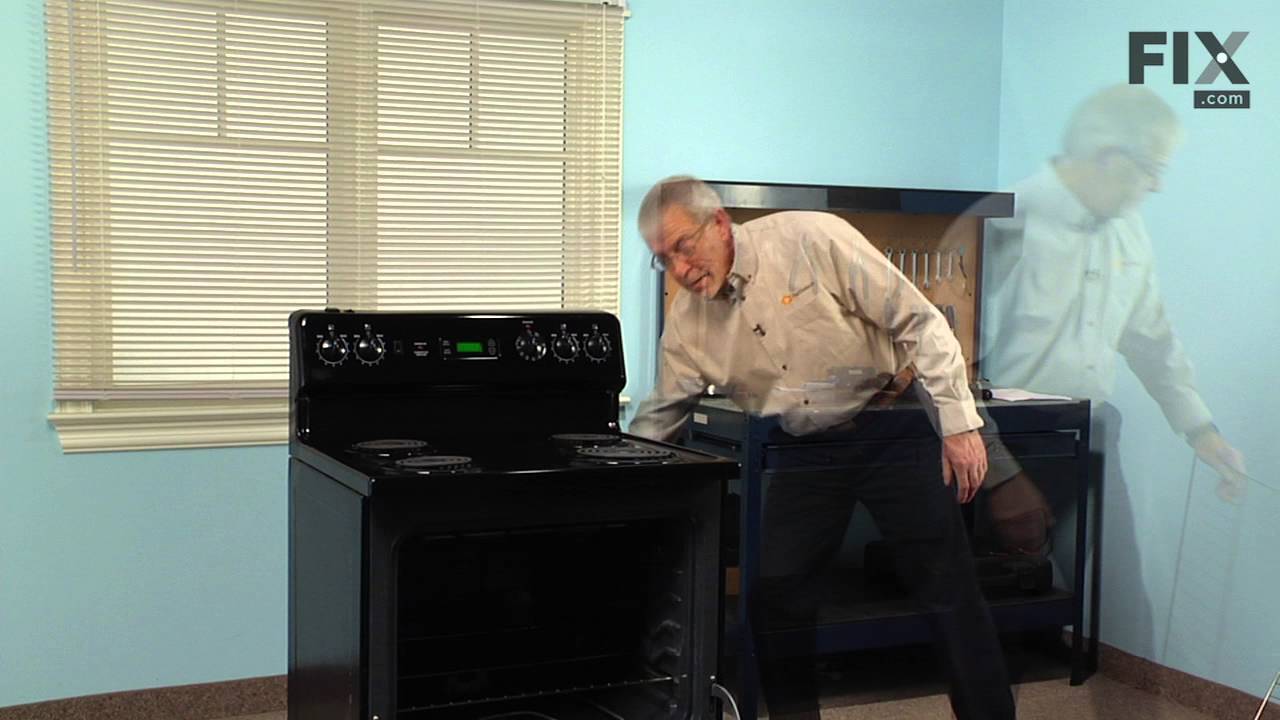
See how others fixed this model. Time, tools, difficulty, and steps that lead to victory!
View More
Search repair tips from other customers using simple keywords like "replace", "fit", "remove", "inspect". DIY doesn't mean you have to do it alone!
Search filter:
Clear Filter
Your search term must have 3 or more characters.
The right hinge on my built in wall oven Broke
22 of 25 people
found this instruction helpful.
I took the door off, removed the four phillips screws that held the wall oven in it's hole. All the 1/4" fasteners were on the face of the over but you have to pull the oven forward to remove the hinges.
Buying thes two hinges from G.E. would have cost $ 90.00 I paid $ 55.00 from Part Select and they arrived the NEXT DAY. I did not ... Read more do rush shipping.
Buying thes two hinges from G.E. would have cost $ 90.00 I paid $ 55.00 from Part Select and they arrived the NEXT DAY. I did not ... Read more do rush shipping.
Read less
Other Parts Used:


Was this helpful?
Thank you for voting!