EasyApplianceParts is now PartSelect! We've merged our sites to provide a better shopping experience for you.   Full Details

Find Parts

Parts Departments

Top Model Types

Top Brands

Repair Help

Expert Repair Videos

Keep typing for more specific results...

911366699891 Kenmore Range - Overview

Diagrams for 911366699891

See every part. Know exactly what you need.

Enter a part description. DIY Heroes keep it simple, eg. "belt" or "pump".

Search filter:
Clear Filter
Your search term must have 3 or more characters.
Oven Sensor – Part Number: WB21X5301
$147.53
In Stock
Oven Sensor
★★★★★
★★★★★
(10)
Part #WB21X5301
It is possible that your oven is cold because of a fault in the temperature sensor. The temperature sensor regulates oven temperature in modern ranges, like a thermostat. It is on the back wall near the broiler on the top wall. On a newer oven, there may be a fault code displayed. Faulty temperature sensors are often responsible for F3 and F4 error messages on an electric range. Check your manual or the manufacturer website to find out the proper resistance of the temperature sensor. To check your sensor, unplug the oven and use a multi-meter to see if your sensor is at the correct resistance.
Surface Burner Spark Electrode – Part Number: WB13K18
$58.07
In Stock
Surface Burner Spark Electrode
★★★★★
★★★★★
(2)
Part #WB13K18
This part helps your burner ignite and produce flame.
Hinge with Roller - Right Side – Part Number: WB14X104
$62.51
In Stock
Hinge with Roller - Right Side
★★★★★
★★★★★
(11)
Part #WB14X104
This is a hinge with roller for the oven door on your range. The roller allows you to open and close the door with ease and control. If your door is not opening easily, you may need to replace this part. To make this repair you will need a Phillips screwdriver and a pair of pliers. Take note that this model is only for the right-hand side of your unit, to replace the left-hand side, see the related parts section. We recommend replacing both hinges at the same time.
Hinge with Roller - Left Side – Part Number: WB14X103
$65.86
In Stock
Hinge with Roller - Left Side
★★★★★
★★★★★
(5)
Part #WB14X103
This is known as a hinge with roller and it is for the oven door of your range. The hinge with roller allows you to easily open and close your oven door without much effort. Take note that your appliance requires two hinges, one located on each side of the door. We recommend changing both at the same time. This model is made for the left side of your unit, if you are looking to purchase one for the right side see the related parts section below.
Ignitor Mounting Screw – Part Number: WB1X1293
$16.05
In Stock
Porcelain Burner Bowl - Medium/Large – Part Number: WB31K5092
$35.80
In Stock
Screw – Part Number: WB1M1
$13.92
In Stock
Screw
★★★★★
★★★★★
(1)
Part #WB1M1
Sold Individually.
Screw – Part Number: WB1X1130
$16.05
In Stock
Screw
★★★★★
★★★★★
(2)
Part #WB1X1130
Sold Individually.
Gas Valve Switch – Part Number: WB24T10071
$56.93
In Stock
Gas Valve Switch
★★★★★
★★★★★
(2)
Part #WB24T10071
This part sits on top of the valve. Once the knob is turned it will create a spark that will light the gas and start the burner.
Burner Spark Module - 120V 60Hz – Part Number: WB13K25
No Longer Available
Burner Spark Module - 120V 60Hz
★★★★★
★★★★★
(4)
Part #WB13K25
This part sends enough current to the igniter to create a spark to the bottom of the burner cap.
Screw – Part Number: WB1K5157
$15.00
In Stock
Screw
★★★★★
★★★★★
(1)
Part #WB1K5157
This screw is black in color and sold individually.
Rear Drawer Glide – Part Number: WB2X9146
No Longer Available
Rear Drawer Glide
Part #WB2X9146
Also called Rear Block.

Common Symptoms of the 911366699891

How this model fails, and the parts that fix it.

Watch our pros, then fix it yourself.
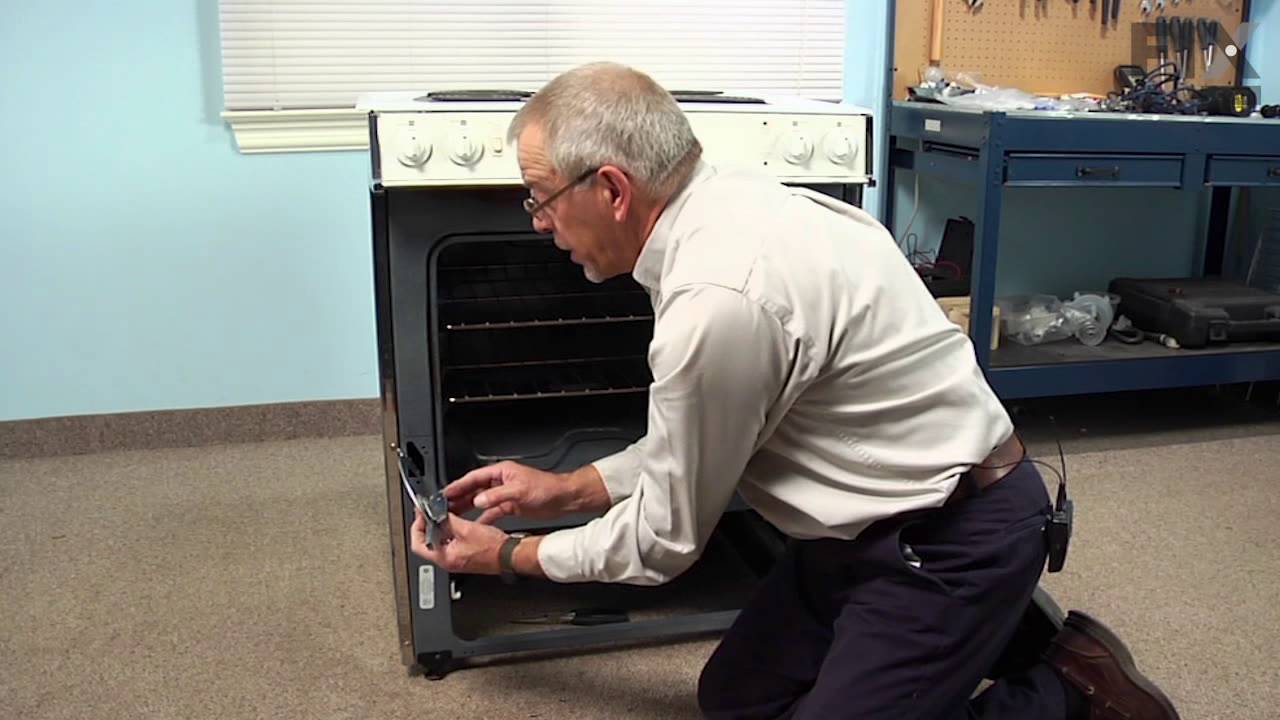
See how others fixed this model. Time, tools, difficulty, and steps that lead to victory! View More

Search repair tips from other customers using simple keywords like "replace", "fit", "remove", "inspect". DIY doesn't mean you have to do it alone!

Search filter:
Clear Filter
Your search term must have 3 or more characters.
Oven tempature was approximately 150 degrees to low
224 of 265 people found this instruction helpful.
  • James from Austin, TX
  • Easy
  • 1- 2 hours
  • Nutdriver, Screw drivers
This repair is EASY if you know how to use an ohm meter. If not, seek help for this step.

SYMPTOM:
The oven (JKP27WOP3WG or JKP27WP3WG and many ovens like it ) was not getting hot enough. Verifying the cooking temperature with an typical oven thermometer, I was able to determine that the oven was cooking temperature was about 150 degrees to low.

FAILURE POINTS:
There are two logical failure points (1) The oven sensor ( WB21X5301 about $75), or the (2) the controller board (PS238233 about $252). In my case it was the controller board. When replaced the oven worked beautifully.

REPAIR:
As with any repair, you MUST DISCONNECT POWER TO THE UNIT BEFORE SERVICING!!!

Pull oven from the wall:
- Disconnect power by flipping the circuit breaker to the OFF position.
- Remove the top flange / cowling from the top of the oven (it just pulls off)
- Remove two screws under the top flange / cowling
- The whole unit easily slides out, but it is highly recommended that you use two people to place the oven on the floor.

As a diagnostic between these two parts, if the oven sensors measure approximately 1.1K ohms of resistance at room temperature, then it is probably not the sensor. The oven sensor wires are connected to two white wires that run up to the controller board. You need to disconnect the oven sensor to make the measurement. You may either completely remove the oven sensor by cutting the wire (be sure to allow yourself enough slack so that they may be safely reconnected) where it connects to the white wires, OR, (preferred method) if leaving the oven sensor partially installed,
- Remove the top sheet metal cover (10 screws)
- Remove the service connect cover (2 screws - this is where the main Power cord comes into the unit)
- Disconnect the white wires from the controller board (this connector which also includes other circuits is on the left side when looking at the controller board).
- Remove two screws from oven sensor but just let in dangle down so that you can put the sensor in the ice water / boiling water.

Measure the resistance under the following conditions. Your ohm meter should read APPROXIMATELY...
- 1.02K ohms in ice water
- 1.09K ohms at room temperature
- 1.36K ohms in boiling water.
If you get approximately these readings, then it is NOT the oven sensor. If that checks out then re-install the sensor AND the connector.

If it is NOT the sensor, replace the controller board.
- Take a moment to write down the color of the wire to the LETTERING (N, L, G, C / COM,,,) on the controller board. The connectors are in different locations on the new controller board so the wire color to the letter designation is significant.
- Carefully remove the wires one at a time
- VERY carefully remove the keypad ribbon cable from the right side of the controller board.
-- The ribbon cable will disconnect by releasing some little pressure clips on the side of the connector.
- Remove the controller board (4 screws)
- Install new controller board (4 screws)
- VERY carefully connect the keypad ribbon cable on the right side.
-- Make sure that the connector is in the OPEN position first, then,
-- Slide in the cable ensuring that all parts of the ribbon made it into the connector, then
-- Press down on the connector locking tabs.
- Reconnect each wire to the correctly lettering on the board.
-- Again, the connectors MAY BE in a different order on the replacement controller board. Match color to letter.
- Reconnect the (5 wire?) connector that includes the white oven sensor wires.
- Make sure everything looks normal, (i.e. no wires are pinched, remove tools from top of oven area, etc.)
- Re-install top cover.
- Re-install service connect cover.

You can test the unit while it is out of the cabinet,
- Make SURE that all sheet metal covers are in place.
- Flip power breaker to "On".
- Test that oven gets to the desired temp.
Was this helpful?
Thank you for voting!
Top four burners on oven would not light without using match
66 of 81 people found this instruction helpful.
  • David from Logansport, IN
  • Really Easy
  • 15 - 30 mins
  • Nutdriver
Really simple..Opened the top of the oven and followed the four wires hooked to the igniters on the burners to the back of the oven. Unscrewed top section in back of oven. Found spark module screwed to uppper back of oven on right side. Used a nutdriver to take a few screws out of upper back of oven. Unscrewed spark module from oven. Ther e are six wires - four to the burners and two to the power supply....Wires are attached by connectors so didn't have to do anything but pull the connectors off the old spark module one at a time and push them onto the new spark module matching postion of each wire. Screwed spark module back onto back of oven. Screwed back section of oven back onto rear of oven, and that was it. Works perfectly. Saved more than $100 for service call and whatever elevated price they'd charge me for the spark module.
Was this helpful?
Thank you for voting!
The right side hinge assembly broke. Replaced both sides
43 of 45 people found this instruction helpful.
  • Frank from Pebble Beach, CA
  • Really Easy
  • 15 - 30 mins
  • Screw drivers
First I removed the door by lifting it off the hinge assemblies.

Then I removed the drawer to access the spring.

Removed the spring, noting which attachment hole was used.

Removed the hinge assembly with a Phillips screwdriver.

Replacef the unit.

Repeated for the other hinge assembly.

Note: it took longer to find the correct parts in the parts diagrams than it did to replace them.
Was this helpful?
Thank you for voting!