


 My Orders




8TL Whirlpool - Overview
Models starting with 8TL
Click on the best match to narrow your results.
- 8TLDR3822HQ0 Whirlpool Dryer
- 8TLSQ8533LT0 Whirlpool Washer (Residential)
- 8TLSQ8533LT1 Whirlpool Washer (Residential)
- 8TLSQ8543LT0 Whirlpool Washer (Residential)
- 8TLSQ9533LG0 Whirlpool Washer (Residential)
- 8TLSQ9533LG1 Whirlpool Washer (Residential)
- 8TLSQ9545LW0 Whirlpool Washer (Residential)
- 8TLSQ9545LW1 Whirlpool Washer (Residential)
- 8TLSR6132LT0 Whirlpool Washer (Residential)
- 8TLSR6132LT1 Whirlpool Washer (Residential)
- 8TLSR7432LT0 Whirlpool Washer (Residential)
- 8TLSR7432LT1 Whirlpool Washer (Residential)
Enter a part description. DIY Heroes keep it simple, eg. "belt" or "pump".
Search filter:
Clear Filter
Your search term must have 3 or more characters.

$6.40
In Stock
Agitator Directional Cogs
Part #80040
This kit is used for replacing the agitator directional cogs (Agitator Dogs, Agitator Repair Kit, Washer Agitator Dogs, Agitator Dog Ears). The agitator is what creates the thrusting motion in your washer to tumble your clothes during the washer cycle. Your agitator will rotate one way, and not the other. The agitator dogs are what preven...Read moret the agitator from rotating in both directions, while allowing it to rotate in one direction. Your agitator cogs may be malfunctioning if you can manually rotate the agitator in both directions. If broken they will need to be replaced. Cogs can be found by simply removing the softener dispenser and then removing the agitator cap. The are attached to the agitator. This replacement part features 4 agitator directional cogs. There are 4 cogs per package that are made up of high-quality plastic. This part comes in white/beige.
Read less

$21.45
In Stock
Direct Drive Motor Coupling
Part #285753A
This direct drive motor coupling (Direct Drive Washer Motor Coupling, Motor Coupling, Washer Motor Coupling, Coupling Kit) provides a cushioned connection between the transmission and the motor shaft. It attaches to the direct-drive transmission and the motor shaft. If this part is defective it will affect the agitator in your washer beca...Read moreuse of its direct connection with the motor. Your washer may not agitate, spin slowly, or not spin at all. The coupling must be replaced when there is no longer a consistent connection between the transmission and the motor shaft. The coupling can wear over time because of its location between two major parts of the dryer. It is subject to material fatigue over time from normal use, or breakage caused by frequent overloading. The part measures approximately 2 inches in diameter, and is constructed of plastic and metal. This model comes in black/white.
Read less

$21.45
In Stock
Agitator Repair Kit
Part #285811
This kit (Medium Cam Agitator Repair Kit, Washer Agitator Cam Repair Kit, Cam Agitator) is used to repair the agitator. These parts are located inside the agitator auger near the top. You will need to remove the softener dispenser first if your model is equipped with one. This part is driven by the output shaft of the transmission to mov...Read moree the clothes during a wash cycle. The agitator auger rotates one way but not the other, which forces the laundry down and out for a constant tumbling during the wash cycle. The agitator is subjected to a lot of force during the washer wash cycle. Constant and frequent use of the appliance can cause damage, especially during heavy loads. If you’re experiencing a noisy agitator, or an agitator that spins freely in both directions, then it may be in need of repairs. If your agitator is no longer agitating properly, your clothes will not tumble, and will not be washed properly. The agitator repair kit includes an agitator cam, 4 directional cogs, a bearing, thrust spacer, inner cap seal, and a washer. It is constructed of plastic and rubber, and comes in black/white.
Read less

$8.55
In Stock
Door Catch Kit
Part #279570
This part replaces your appliances latch (Door Latch Kit, Door Catch, Dryer Door Latch Kit). On your appliance you will find both a strike and a catch. The strike is mounted on the body of the dryer, while the catch is mounted on the dryer door. These two parts work together to keep your dryer door closed. The catch holds the door strike ...Read moreto keep the door closed during the drying cycle. If the door does not latch closed, you won’t be able to start a drying cycle. If this part is malfunctioning, you may not be able to open or close your door. In some instances, it may seem like your door is closing, but if it is not latching properly you won’t be able to start your drying cycle. You should replace this part as soon as it’s malfunctioning. Your dryer may run even though the latch is malfunctioning, but it is unsafe if the dryer continues to run while the door is open. This replacement part features 1 door latch kit which includes 2 strikes, 3 catches, and a set of instructions. This model is constructed of plastic and metal, and comes in white/silver.
Read less

$43.18
In Stock
Washer Direct Drive Water Pump
Part #WP3363394
The direct drive drain pump (Whirlpool Direct Drive Washer Pump, Drain Pump, Washer Drain Pump, Water Pump) removes water from the washer during the drain cycle without the use of a belt. The pump is supposed to drain the water from the washer; if the water isn’t draining or if there is a leak, you may have a problem with your pump. You ...Read moremust replace this part if there is a blockage or clog. Although the symptoms may point to a malfunctioning drain pump, there could actually be a problem with one of the connecting hoses. This pump connected directly to the motor, and comes in white plastic. This replacement part features 1 direct drive water pump with 2 ports for water to pass through: a large one and a smaller one.
Read less

$9.62
In Stock
Suspension Spring
Part #WP63907
The suspension spring supports the outer tub and keeps the tub steady during loads that could cause an unbalance. If this part breaks, is worn down or has stretched out and lost its spring, it could cause the load to be off-balance which can lead to excessive shaking, moving, noise, and leaks. For this repair, you will need a 1/4 nut driv...Read moreer, a putty knife, a flat blade screwdriver, and a pair of needle-nose pliers. Disconnect the power supply, fill hoses, and drain hose to give you safe and easy access (have a container nearby for water left in drain hose). This item is sold individually, which is important as you may need to repair multiple springs in your appliance, which carries three suspension springs. As an inexpensive part, we recommend purchasing several at a time, as they can be very useful to have on-hand.
Read less

$19.30
In Stock

$32.63
In Stock
Water Inlet Valve with Mounting Bracket
Part #285805
The water inlet valve on your washing machine is used to fill the tub with cold, warm, or hot water for the wash and rinse cycles. This part could have either a blue or green-colored valve body. There are two ports for water to enter and this valve is compatible with a half-inch ID hose. It has two 3/4-11x1/2 NHT hose threads. You may hav...Read moree a faulty valve if your washer is leaking, has no hot or cold water, will not stop filling with water, will not fill with water, fills and drains at the same time, or is noisy. To confirm that the valve is faulty, unplug the washer when the symptom occurs. If the washer continues to fill, then the inlet valve is defective.
Read less

$38.96
In Stock
Washer Clutch Assembly
Part #285785
A clutch assembly (Clutch, Washer Clutch) is found in your washing machine and is responsible for spinning the basket during the spin cycle. The clutch lining can wear over time. If the clutch lining is worn out, the clutch assembly will not rotate properly to release the brake. If you notice a burning smell, or the machine shaking and mo...Read moreving more than normal, this could indicate there is an issue with your clutch. If the washer spins when the washer basket is empty but not when it’s full, or if the assembly begins to turn blue, you may need to replace the clutch assembly. This assembly includes a brake cam driver, blue springs for large capacity washers, a black spring for compact washers, and the installation instructions. It’s constructed of plastic and metal, and comes in beige/silver.
Read less

$16.07
In Stock
Dryer Idler Pulley Assembly
Part #WP691366
This part provides the tension required for a multi-ribbed belt. It also helps the belt rotate the drum and attaches to the idler pulley wheel. If your dryer will not start or tumble, takes too long to dry, or is noisy during operation, you may need to replace the idler pulley assembly. Make sure to disconnect power before installing this...Read more part, and wear work gloves to protect your hands. While the dryer is disassembled for this repair, consider replacing the drive belt as well. You will need a putty knife, a Phillips screwdriver, and a 5/16 nut driver for this repair.
Read less

$11.77
In Stock
Roller Support Tri-Ring
Part #WPW10512946
If you notice that your dryer is noisy or will not tumble, you may need to replace the tri ring. This part is triangular, and is less than an inch in size. Tri rings can be found both on the idler pulley shaft, or on the rear drum roller shaft. In either case, you will need to remove the front panel of the dryer and the drum to access the...Read more part for repair. Once you have accessed the damaged tri ring, you will simply need to slip it off and replace it with the new one. This part is sold individually. Be sure to disconnect the power source from the dryer before you begin this repair.
Read less

$15.00
In Stock
Common Symptoms of models starting with 8TL
How this model fails, and the parts that fix it.
Will not agitate
Fixed by
these parts
these parts


Show All
Leaking
Fixed by
these parts
these parts


Show All
Noisy
Fixed by
these parts
these parts


Show All
Door won’t close
Fixed by
these parts
these parts


Show All
Spins slowly
Fixed by
these parts
these parts

Show All
Will not drain
Fixed by
these parts
these parts

Show All
Spinning Issues
Fixed by
these parts
these parts
Show All
Will Not Start
Fixed by
these parts
these parts

Show All
No hot or cold water
Fixed by
these parts
these parts

Show All
Shaking and Moving
Fixed by
these parts
these parts


Show All
Burning smell
Fixed by
these parts
these parts

Show All
Does not dispense fabric softener or detergent
Fixed by
these parts
these parts


Show All
Door Pops Open
Fixed by
these parts
these parts
Show All
Drum Not Spinning
Fixed by
these parts
these parts

Show All
Not Heating
Fixed by
these parts
these parts


Show All
Marks left on clothes
Fixed by
these parts
these parts
Show All
Water Filling Issues
Fixed by
these parts
these parts

Show All
Too hot
Fixed by
these parts
these parts
Show All
Leaks water
Fixed by
these parts
these parts
Show All
Won’t Start
Fixed by
these parts
these parts

Show All
Running With Door Open
Fixed by
these parts
these parts
Show All
Draining Issues
Fixed by
these parts
these parts
Show All
Lid or door won’t close
Fixed by
these parts
these parts

Show All
Cycle Not Advancing
Fixed by
these parts
these parts
Show All
Not cleaning dishes properly
Fixed by
these parts
these parts
Show All
Noisy and Marks Left on Clothes
Fixed by
these parts
these parts
Show All
Timer Not Working
Fixed by
these parts
these parts

Show All
Touchpad does not respond
Fixed by
these parts
these parts
Show All
Watch our pros, then fix it yourself.
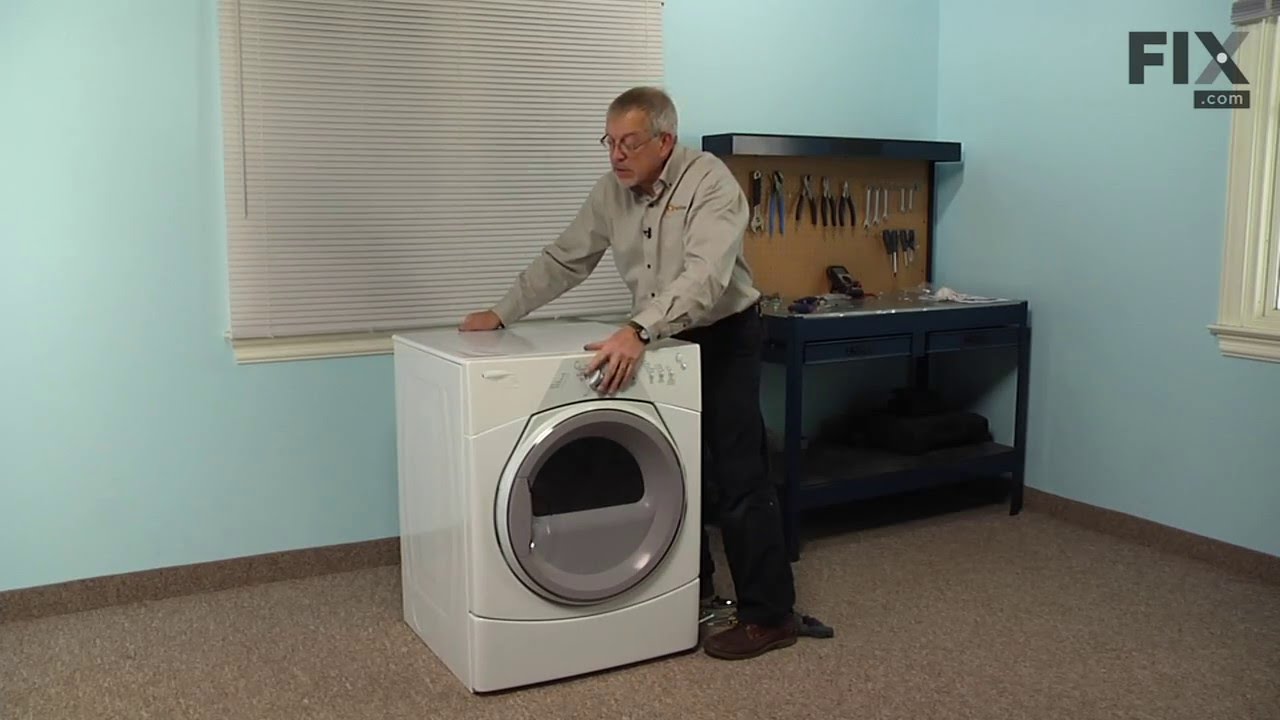
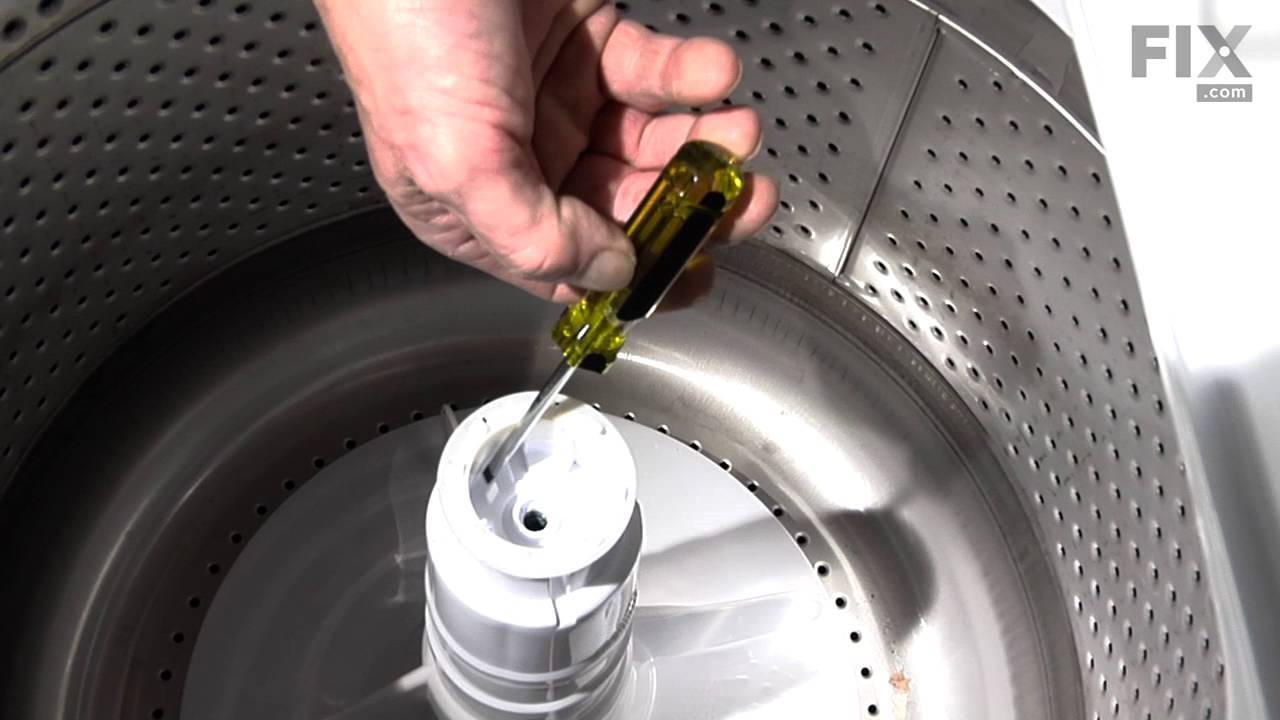

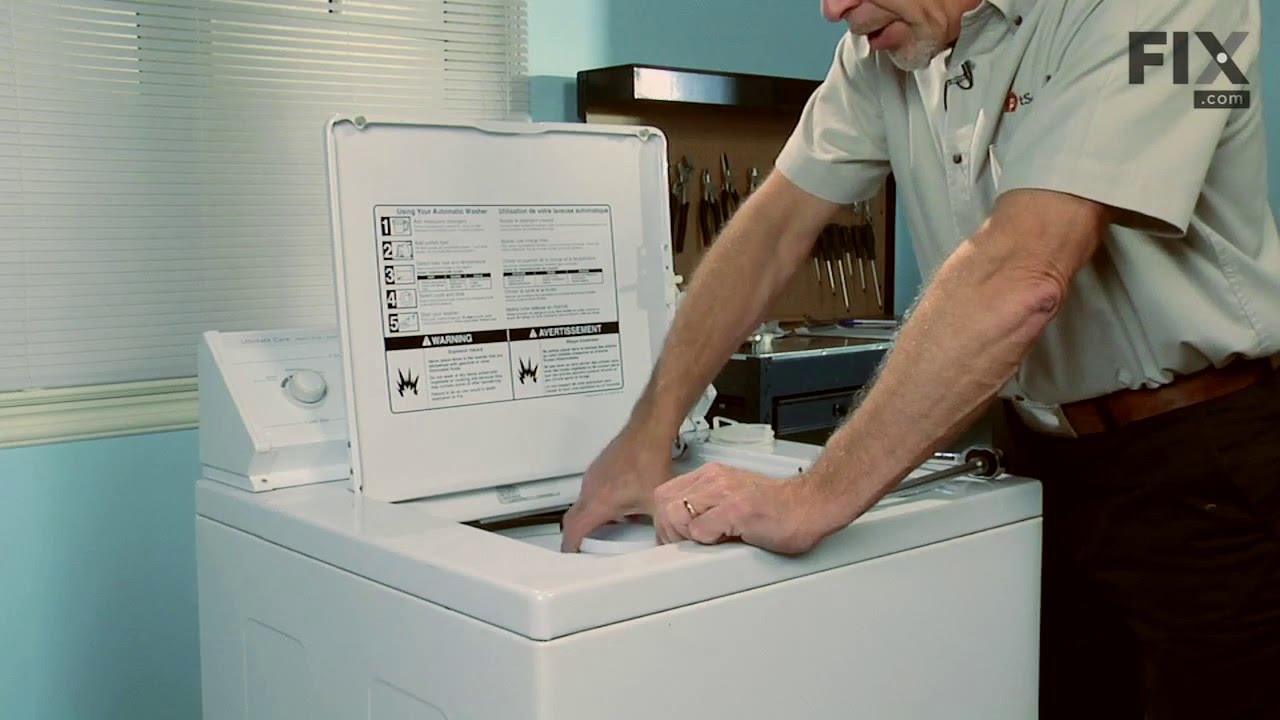
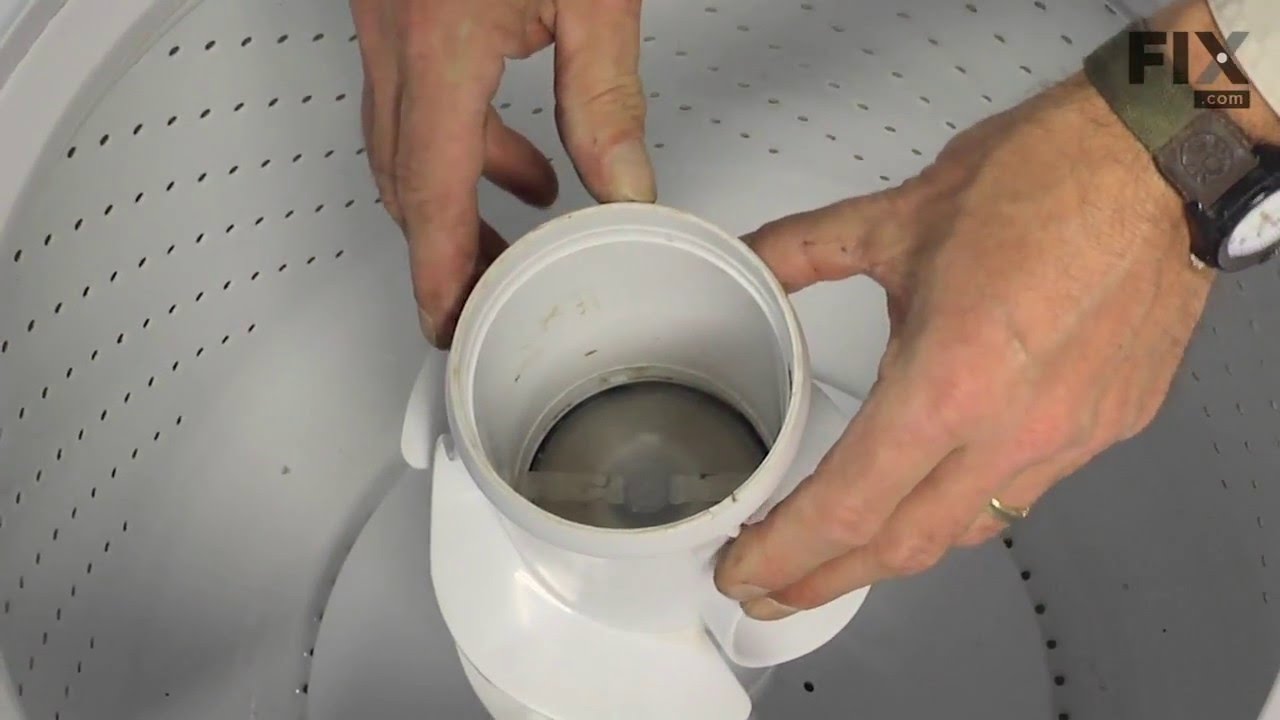
See how others fixed this model. Time, tools, difficulty, and steps that lead to victory!
View More
Search repair tips from other customers using simple keywords like "replace", "fit", "remove", "inspect". DIY doesn't mean you have to do it alone!
Search filter:
Clear Filter
Your search term must have 3 or more characters.
Replace Water Pump Coupling
843 of 916 people
found this instruction helpful.
Removed casing tip over washer disconnected water pump. Disconnected motor then replace coupling then reassemble motor then replaced water pump.
Other Parts Used:


Was this helpful?
Thank you for voting!