


 My Orders




899 - Overview
Models starting with 899
Click on the best match to narrow your results.
- 8990 Bissell Upright Vacuum (Cleanview Bagless Upright Vacuum)
- 8990 (5647) Braun Shaver Razor (() 360 Complete Shaver)
- 89906 Lawn Boy Lawn Tractor Accessories (Rear Bag Chute Kit)
- 8990C Samsung Canister Vacuum (Samsung Vacuum Cleaner Model 8990C Parts)
- 8990R Bissell Canister Vacuum (Bissell Vacuum Cleaner Model 8990R Parts)
- 8990W Samsung Canister Vacuum (Samsung Vacuum Cleaner Model 8990W Parts)
- 8991 (5647) Braun Shaver Razor (() 360 Complete Shaver)
- 89919 Lawn Boy Lawn Mower (Cruise Control Kit, Insight Series Lawnmowers)
- 8992-0 (L7500E) Briggs and Stratton Generator (7,500 Watt Generator)
- 89920 (MWESEC) LG Range (Oven-Range)
- 89920 LG Microwave (Lg Microwave 89920)
- 89929 (BKESEC) LG Range (Oven-Range)
- 89929 LG Microwave (LG Microwave Model 89929 Parts)
- 89930 LG Microwave (LG Microwave Model 89930 Parts)
- 8994-0 Briggs and Stratton Generator (Wheel Kit Generator)
- 8994-0-5W400 Briggs and Stratton Lawn Tractor Accessories (8994-0 - 5w400, Wheel Kit Dayton)
- 89941490 (W1ESEA) LG Range (Oven-Range)
- 89942490 (ALESEA) LG Range (Oven-Range)
- 89942490 LG Microwave (LG Microwave Model 89942490 Parts)
- 8995 (5646) Braun Shaver Razor (() 360 Complete Shaver)
- 8995-0 Briggs and Stratton Generator (Idle Control Kit L4000 Generator)
- 899542 T-Fal Coffee Maker (Evolutive)
- 89967-7A Frigidaire Freezer (CHEST FREEZER)
- 89977-7A Frigidaire Freezer (CHEST FREEZER)
- 899R (1996) Cub Cadet Lawn Mower (Cub Cadet Lawn Mower Model 899R/1996 Parts)
Enter a part description. DIY Heroes keep it simple, eg. "belt" or "pump".
Search filter:
Clear Filter
Your search term must have 3 or more characters.

$17.17
Special Order
Microwave Grease Filter
Part #5230W1A012B
This is a single grease filter manufactured for a microwave. The microwave grease filter filters the exhaust air and traps any grease flowing out of the appliance. It is important to keep the filter clean and intact by cleaning it regularly and replacing it when needed. A clogged air filter can cause your appliance to run inefficiently an...Read mored possibly alter the taste and smell of your food. This filter is approximately 7.5 inches wide and 5 inches deep. This part is sold separately. No tools are required for this repair, the filter simply slides in and out using the easy-pull tab on the filter.
Read less

$21.45
Special Order
Micro Switch
Part #3B73362F
This microwave door switch provides power to the various components in the microwave when the door is in a closed position, and interrupts power when the door is open. This door switch is approximately 1 1/2 inches long, and has 2 metal prongs called terminals that extend from its body. If your microwave will not turn or heat properly, th...Read moreere could be an issue with the door switch. You can check the switch for continuity using a multi-meter. With the actuator button depressed, you should see continuity between these terminals. If there is no continuity the switch will need to be replaced.
NOTE: Before you begin this repair, first make sure your microwave is unplugged, and that your capacitor is discharged. A capacitor stores large amounts of electricity even when your microwave is unplugged.
Read less

$12.85
In Stock
Light Bulb - 120V 30W
Part #6912W1Z004B
This is a light bulb and it is a part for your microwave. This bulb uses 30 watts, operates on 125 volts, and is an incandescent lamp. The function of this bulb is to illuminate the surface underneath and inside of your appliance while the door is open, and during a cooking cycle. You will need to replace this part if your door is open an...Read mored the light is not activated. We recommend that you unplug your microwave and leave it inactive for some time before making this repair. Proceed with caution as the capacitors in a microwave can hold dangerous electrical charges for long periods of time even when the appliance has been unplugged.
Read less

$63.72
In Stock
Refrigerator Light Bulb
Part #5304517886
This is an LED light for a variety of refrigerator models. This 3.8W LED light is used to shine and adequately light the contents of your refrigerator when you open its door. If your current light is significantly dimmer than normal, or simply not working anymore, it will need to be replaced. To replace this bulb, unplug your fridge momen...Read moretarily, and then simply unthread the old one and screw in the new one. This bulb is sold individually and does not come with any other parts.
Read less

$21.45
In Stock
Microwave Micro Switch
Part #6600W1K001C
This micro-switch is designed for use in your microwave. The function of this part is to monitor the door latch position and communicate to the electronic control board whether the latch is open or closed. If your microwave does not provide heat, or will not start properly, you may need to replace the micro-switch. This part is approximat...Read moreely 1 inch in length and 3/4-inch in width. It is made of black plastic with two metal prongs. This is an OEM part sourced directly from the manufacturer. This part is sold individually. Be sure to disconnect the microwave from the power source before you begin this repair.
Read less

$17.15
In Stock
Air Duct Bracket
Part #4810W1A151A
This bracket holds the metal or plastic flapper that closes off the exhaust duct when the fan is not running and opens when the fan turns on. If the exhaust fan on your microwave does not appear to be working, the problem may be with the damper assembly. If the damper does not open and close easily, check for any damage to the bracket, an...Read mored replace if it is damaged or faulty. This genuine OEM exhaust damper measures approximately 12 inches long by 5 inches wide.
Read less

$24.28
In Stock
Carburetor Overhaul Kit
Part #498260
This is a replacement carburetor overhaul kit for your small engine. The carburetor is essential to the overall performance of your engine, and the carb can get clogged up over time for a variety of reasons. When your carb becomes clogged, it is often a good idea to take it apart and replace the various parts inside by purchasing a carbur...Read moreetor kit. This is a 15-piece set and contains everything that you will need to do a total overhaul of your carburetor. You may want to purchase some carb cleaner as well, to ensure that the new pieces in the carb kit fit and adhere properly.
Read less

$11.77
On Order
Time Delay Fuse
Part #3B74133Q
The fuse-time delay may also be known as a line fuse or a microwave fuse, and it is a piece for your microwave. The function of this part is to shut off the microwave if there is a power surge, in order to protect your microwave from damage. You should consider having a service technician install this part as the high-voltage capacitors i...Read moren a microwave can contain a very harmful electrical charge, even when the microwave is unplugged and has been inactive for some time. The tools that would be needed to complete this installation include a Phillips screwdriver, an insulated screwdriver, and a pair of pliers.
Read less

$36.85
On Order
Motor Synchronous
Part #6549W1S011B
This AC synchronous motor is a genuine OEM replacement part specially made for microwaves. It operates on an alternating current, and it is responsible for rotating the turntable to ensure even heating of your food. The motor can fail due to physical damage or malfunctioning internal components such as the bearings. If your turntable is n...Read moreot rotating, you will need to replace the motor. You can find it underneath the microwave cavity, near the center. Disconnect the microwave from the power source and remove the cover. Turn the microwave over and remove the bottom panel to access the motor. Disconnect the motor from its mounting location, and then insert the new motor in its place. Ensure the new motor is securely attached before reassembling the appliance.
Read less

$6.40
In Stock

$6.40
In Stock
Gasket-air Cleaner
Part #795629
The Air Cleaner Gasket is used to provide a seal between the air cleaner base, and carburetor. It's a gray, composite material part, which is rated as "Easy" to install and will require a screw driver, pliers, socket set, and nut driver. It attaches between the base of the air cleaner assembly and carburetor. If broken, damaged or worn do...Read morewn it will allow dirt to enter the carburetor, causing performance issues. If this happens, replace it. Refer to your make, model and diagrams to check if this is the right part.
Read less

$66.77
In Stock
Glass Cooking Tray
Part #3390W1G006B
Introducing the Glass Cooking Tray from LG, designed to facilitate an evenly cooked meal every time. As a key component in your microwave, this tray actively rotates at the center, ensuring your food is heated uniformly. Manufactured with sturdy and heat-resistant glass, this 16-Inch Tray is compatible with select LG microwave models. Ins...Read moretallation is made straightforward with detailed guidance provided in the owner's manual. Please remember, it's important to verify that this tray is the correct fit for your exact model. Enjoy enhanced performance and functionality with this authentic LG Glass Cooking Tray.
Read less
Exact Part matches for your search term

No Longer Available
No Longer Available
$222.09
Special Order
Common Symptoms of models starting with 899
How this model fails, and the parts that fix it.
No heat
Fixed by
these parts
these parts


Show All
Won’t turn on
Fixed by
these parts
these parts

Show All
Tray won’t turn
Fixed by
these parts
these parts

Show All
Will Not Start
Fixed by
these parts
these parts


Show All
Doesn’t shut off
Fixed by
these parts
these parts
Show All
Door stuck closed
Fixed by
these parts
these parts

Show All
Cannot pull starter cord out or engine will not turn over
Fixed by
these parts
these parts


Show All
Engine will not idle
Fixed by
these parts
these parts
Show All
Noisy
Fixed by
these parts
these parts
Show All
Watch our pros, then fix it yourself.
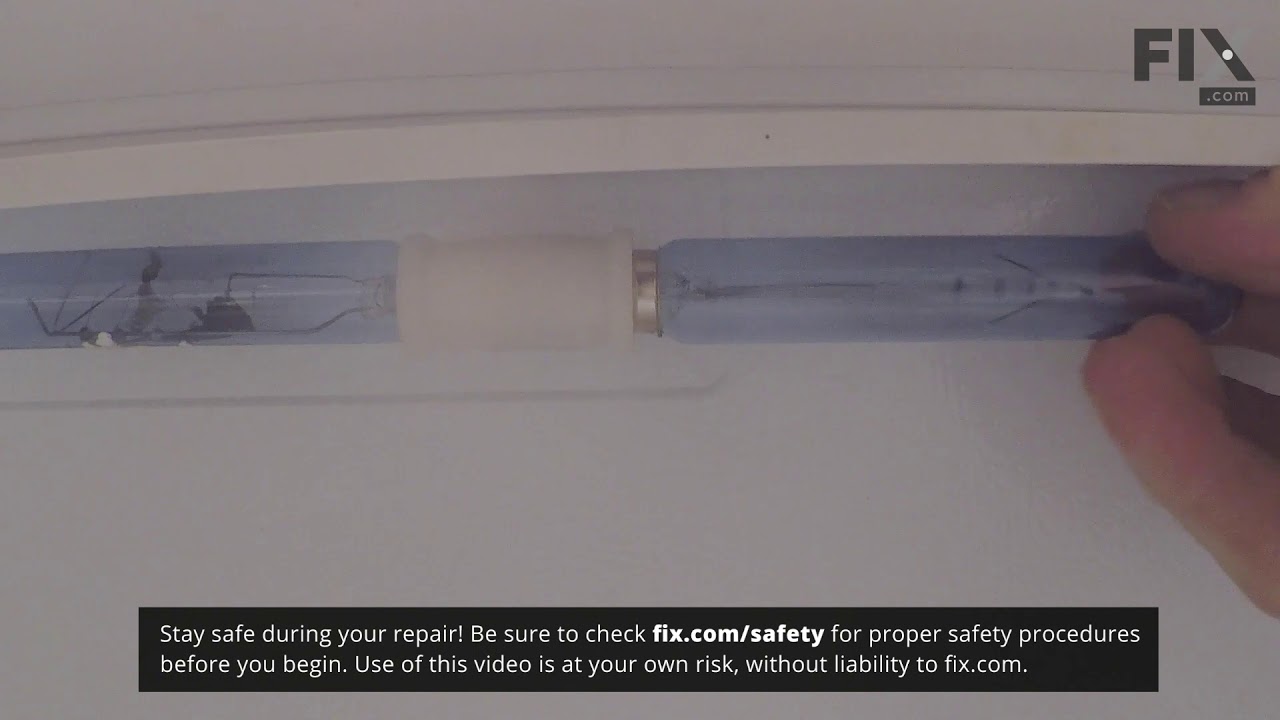
See how others fixed this model. Time, tools, difficulty, and steps that lead to victory!
View More