


 My Orders




8927 - Overview
Models starting with 8927
Click on the best match to narrow your results.
- 8927 (SER 873A) Milwaukee Utility Vacuum (Vacuum Cleaner)
- 8927-0 Briggs and Stratton Generator (5,000 Watt Generator)
- 8927-0-4W116 Briggs and Stratton Generator (8927-0 - 4w116, 5,000 Watt Dayton)
- 8927B (1999 & Before) Husqvarna Lawn Tractor (Tractor)
- 8927B Husqvarna Lawn Mower (Husqvarna Lawn Mower Model 8927B Parts)
Enter a part description. DIY Heroes keep it simple, eg. "belt" or "pump".
Search filter:
Clear Filter
Your search term must have 3 or more characters.

$11.85
In Stock
Lawn Mower Flange Wheel Bearing
Part #532009040
The OEM bearing, also known as the flange bearing, is silver, made of metal, and sold individually. It is used on riding mowers to secure the wheel in place and allow it to rotate freely on the shaft. Over time, the part may become worn and damaged, which you will notice if you experience a squealing or grinding sound from the wheel in qu...Read moreestion, or you notice the wheel is sloppy on the shaft.
You will need a hammer and punch to complete this repair, which most of our customers rated as easy. Make sure you tap the new bearing into place evenly inside the tire rim.
Read less

$6.72
In Stock
Lawn Mower Ring Clip
Part #812000029
The Ring Klip Number T5304-75, also known simply as a ring clip, is an OEM part designed to secure your mower wheel to its axle.
This part is black, made of metal, and around an inch in length. It is sold individually and may become damaged over time due to wear and fatigue.

$6.72
In Stock
Lawn Mower Washer
Part #532121749
This OEM washer, also known as a flat washer, has dimensions of 25/32 x 1-1/4. Silver in color and metal, the washer is sold individually. Although this part can have a range of applications depending on the equipment, its general function is to spread the load under a bolt. Ensure you consult your owners manual or check your model number...Read more to confirm this is the washer you need for your equipment.
This part will need to be replaced when your existing one is worn or damaged. It is an easy repair according to our customers, and does not require any special tools.
Read less

$6.72
In Stock
Lawn Mower Hairpin Clip
Part #532003146
This hairpin clip, also known as a cotter pin, is a genuine OEM sourced part used to secure rotating components together in various outdoor power equipment. It is made of steel and is approximately 1.5 inches long. The clip acts as a fastener to prevent the moving parts from loosening and falling off during usage. The clip is vulnerable t...Read moreo corrosion and general wear over time. However, it can also fail prematurely due to overloading and excessive stress. A damaged hairpin clip will result in misalignment of parts, accidental disassembly, increased friction and wear, and potential harm to the user. Remove the faulty pin and align the new one with the insertion points. Ensure that the pin is securely fitted in its appropriate slot and compress the ends to prevent it from dislodging.
Read less

$18.65
In Stock
Mandrel Ball Bearing
Part #532110485
Genuine Husqvarna replacement part, this item is sold individually. This bearing is installed on top of the shaft which is encased in the mandrel assembly. The mandrel assembly is bolted to the mower deck. The shaft of the mandrel assembly is what the blade on all of the riding mowers listed below is attached to.

$72.30
In Stock
Lawn Mower Mandrel Assembly
Part #532130794
This is a genuine replacement part sourced directly from the original manufacturer. This assembly consists of metal parts and it is sold individually. This is the part that houses shaft that mower blade attaches to, it is mounted to the deck of the mower by three (3) bolts (sold separately). Please note that the mounting holes on mandrel...Read more housing are not threaded. Bolts that are used to secure the mandrel to the deck are self tapping. When doing this repair you would need a set of wrenches. • First remove the blade from the mandrel shaft • Remove the three (3) screws that are holding mandrel to the Deck • Then, you will need to remove the nut that is attached to the mandrel shaft, which is located above the mandrel pulley. The complete mandrel assembly should come right out now. • Attach the new mandrel assembly back to the deck • Attach and secure pulleys, belts and blades
Read less

$6.72
In Stock
Lawn Mower Bearing
Part #532003366
This is a genuine OEM part made for Craftsman lawn tractors and mowers. Bearings are used to buffer moving parts from damage due to friction. They also stabilize directional movement. Bearings are high-wear parts and are changed regularly. This metal bearing is sold individually. Gauges, washers, rings, etc. sold separately.

$6.72
In Stock
Lawn Mower Push Nut
Part #532110452
The Push Nut is a black, metal nut, which can be installed with pliers and a hammer. It's used to secure parts in place in various locations on a variety of equipment. If damaged will not longer hold in place. Installation is rated as "Easy", but it will depend on the parts your are securing and the equipment you are using. Consult your m...Read moreake, model and diagrams to ensure this is the correct part. The part is sold individually.
Read less

$6.72
In Stock
Lawn Mower Washer
Part #532121748
This OEM-certified washer provides support, spacing, and reduces friction between parts in your lawn equipment, typically working alongside bolts or screws. This washer has a thickness of 16 gauge and dimensions of 25/32 x 1-5/8 inches. A damaged washer will look deformed or cracked, leading to parts becoming loose or not fitting properly...Read more in your machine. When you remove a broken washer from your machine, you will need pliers or a wrench to loosen the bolt or screw securing it. Once the fastener has been removed, you can pry the washer with a screwdriver. It is important to know that this washer is sold individually. Before adding this replacement part into your cart, check your instruction manual to determine the number of washers your machine needs.
Read less

$7.33
In Stock
Lawn Mower Hood Latch
Part #532109808
This is an original part from Husqvarna. The hood latch is constructed of flexible plastic, and is made for use with many riding lawn mowers. This component is fastened onto the lower bagger chute, latching it to the upper chute. The hood latch is sold individually. A pair of pliers and a screwdriver may be helpful for the removal and replacement.

$6.72
In Stock
Lawn Mower Spindle Cap
Part #532121232
It is an authentic replacement cap-spindle that is supplied by the original equipment manufacturer for use with Poulan, Ryobi and Husqvarna riding lawn mowers and garden tractors. It is an identical replacement for a missing or damaged cap that was originally installed on a new equipment. The cap is utilized to cover the spindle. Make sur...Read moree to check the appropriate diagrams of your model for the exact location and application of this hardware. This high-quality cap-spindle is made of durable plastic material and is sold individually.
Read less

$51.23
In Stock
Shield Defl Ector
Part #532130968
A genuine OEM sourced replacement deflector shield that is commonly utilized on Craftsman riding lawn mowers and tractors. It is mounted to the side of the deck direct the grass clippings. This part is made from strong durable plastic and it is sold individually. Please note the hardware to secure this deflector shield is sold separately.
Common Symptoms of models starting with 8927
How this model fails, and the parts that fix it.

Watch our pros, then fix it yourself.
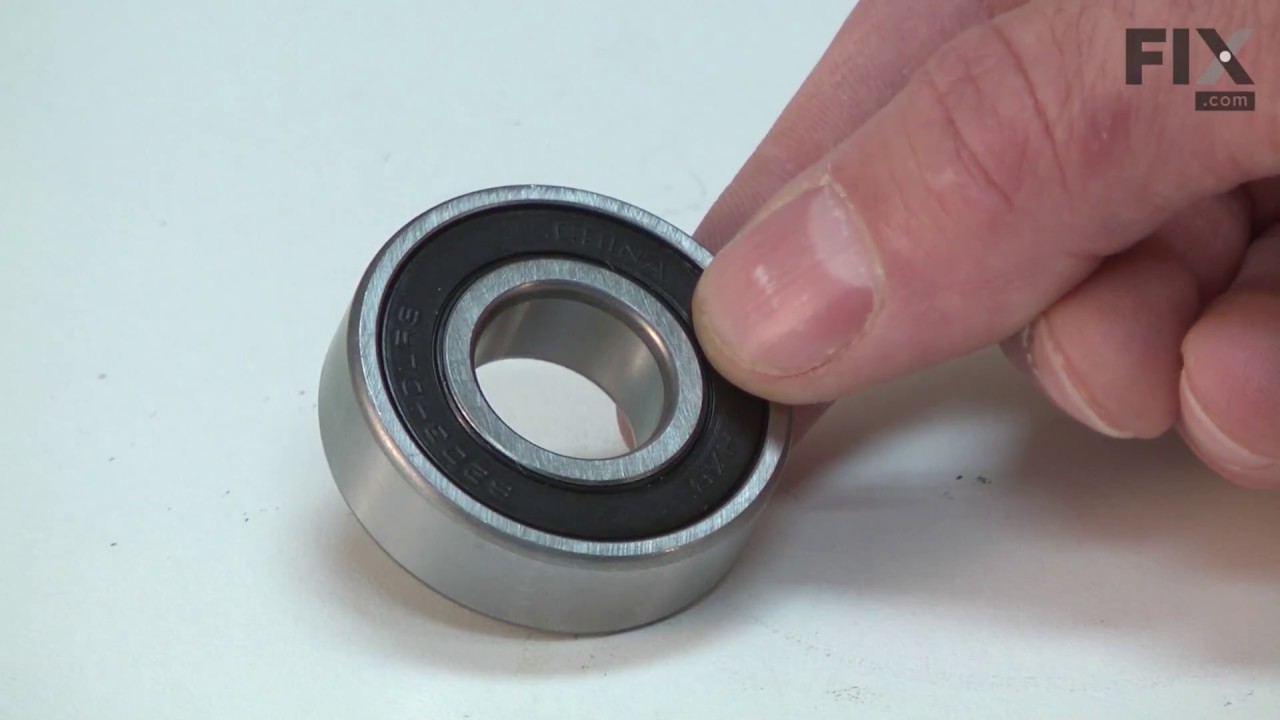
See how others fixed this model. Time, tools, difficulty, and steps that lead to victory!
View More