


 My Orders




8835 - Overview
Models starting with 8835
Click on the best match to narrow your results.
- 8835-0 Briggs and Stratton Generator (G1600, 1,400 Watt Portable Generator)
- 8835-0-G1600 Briggs and Stratton Generator (8835-0 - G1600, 1,400 Watt)
- 88353 Jenn-Air Cooktop (Electric)
- 88353-8 Jenn-Air Cooktop (Electric)
- 8835A Norge Dryer (GAS DRYER)
- 8835A (REV F) Norge Dryer (GAS DRYER)
- 8835A (REV D) Norge Dryer (GAS DRYER)
- 8835A (REV E) Norge Dryer (GAS DRYER)
- 8835A (REV A) Norge Dryer (GAS DRYER)
- 8835A (REV C) Norge Dryer (GAS DRYER)
- 8835A (REV B) Norge Dryer (GAS DRYER)
- 8835A REV A Norge Dryer (Norge Dryer Model 8835A REV A (8835AREVA) Parts)
- 8835A REV B Norge Dryer (Norge Dryer Model 8835A REV B (8835AREVB) Parts)
- 8835A REV C Norge Dryer (Norge Dryer Model 8835A REV C (8835AREVC) Parts)
- 8835A REV D Norge Dryer (Norge Dryer Model 8835A REV D (8835AREVD) Parts)
- 8835A REV E Norge Dryer (Norge Dryer Model 8835A REV E (8835AREVE) Parts)
- 8835A REV F Norge Dryer (Norge Dryer Model 8835A REV F (8835AREVF) Parts)
Enter a part description. DIY Heroes keep it simple, eg. "belt" or "pump".
Search filter:
Clear Filter
Your search term must have 3 or more characters.

$15.00
In Stock
Multi Rib Belt - 92-1/4"
Part #341241
This dryer drum belt (Whirlpool Dryer Belt, Drive Belt) has four ridges, three grooves and is 1/4" wide, and 92 1/4 inches in length. It comes in black and is made of rubber. The belt transfers the rotation of the motor to turn the drum. The belt attaches to the drum, idler pulley, and motor pulley.

$28.42
In Stock
M Series New Style Coil Kit
Part #279834
When the igniter reaches a high enough temperature, these coils (Coil Valve, Dryer Gas Valve Coil Kit, Dryer Valve Coil Kit, Gas Valve Solenoid) work together to open the gas valve and allow the gas to enter the burner. This is a safety mechanism to ensure that there are no unsafe buildups of gas inside your appliance. The coils are attac...Read morehed to the dryer gas valve. If the dryer does not heat or heats intermittently, the coil may not be opening the gas valve. Both coils must be operational for the valve to open. No continuity would indicate a defective coil, but they can be intermittent and fail when they get hot. Both coils should be replaced when one of them is broken. This part can break as a result of material fatigue from normal use. This part measures approximately 1 inch in diameter and 1 inch in height, and is constructed of plastic and metal. It comes in black/beige. This part features a 3-terminal boost/hold coil and a 2-terminal secondary coil
Read less

$6.40
In Stock
Dryer Retaining Ring
Part #WP9703438
This part is a retaining ring, sometimes called a retaining clip, that holds the drum support roller onto the shaft of a dryer. It is made entirely of metal and measures less than an inch in diameter. The retaining ring is a genuine OEM part sourced directly from the manufacturer. The ring may vary in appearance due to manufacturer substi...Read moretution, but the function is the same. You may need to replace this part if the dryer is noisy during tumbling, will not tumble, or takes too long to dry. Be sure to check drum support roller kit and shaft before ordering parts.
Read less

$28.42
In Stock
Range Grease Filter
Part #WP707929
The function of the grease filter is to trap grease into the filter from the exhaust air. The grease filter is intended to be used with certain downdraft cooktops and ranges. This grease filter is roughly fourteen inches long and almost twelve inches wide, and chrome in color. Removing your old grease filter and replacing it with a new on...Read moree is an easy job, users say it took them less than fifteen minutes to install. We recommend that when removing your current grease filter, you use work gloves to protect your hands and clean the entire area thoroughly before installing the new filter.
Read less

$70.35
In Stock
Lint Filter
Part #WP53-0918
This is an OEM lint filter for a dryer. This lint filter screen has two side guides on either of the screen. One measures 3/8 of an inch wide, while the other measures 5/8 of an inch wide. This part is white and is made of plastic. You may need to replace the filter if the plastic is broken or warped. Simply slide the lint filter out of t...Read morehe slot and slide the replacement filter in. The lint filter collects lint from drying clothes and prevents lint from building up in internal moving parts, specifically the heating coil. Neglecting to clean your lint filter is a fire hazard, be sure to clean it on a regular basis.
Read less

$35.80
In Stock
Dryer Radiant Flame Sensor
Part #WP338906
If your gas dryer is not heating up or igniting, then replacing the flame sensor, located in the burner assembly, could solve it. This part senses heat from the igniter to monitor if it is hot enough to ignite gas to light the burner. Once the igniter is hot enough it will open the valve and allow gas to flow. This is a safety mechanism t...Read moreo prevent dangerous levels of gas from building up. To repair, the main top of the dryer should be lifted, as well as the front panel to access the component. This flame sensor assembly is made of both plastic and metal.
Read less

$44.23
In Stock
High Limit Kit
Part #LA-1053
The high limit kit comes with three separate thermal fuses for dryers. One electric thermal fuse with a limit of 258, one gas high limit at 240, and one gas and electric high limit thermostat with a limit at 300. The thermal fuse kit shuts off the motor in the dryer when it begins to overheat. If the dryer will not heat, is overheated, sh...Read moreuts off too soon, or takes too long to dry then the thermal fuse might have exploded and need to be replaced. For replacement instructions refer to the diagram by manufacturer. For safety, unplug the dryer before installing the part.
Read less

$25.75
In Stock
Surface Burner Knob
Part #WPY700854
This surface burner control knob provides a simple and reliable way to adjust burner heat levels on your range, stove, or cooktop. Featuring a black finish with stainless/chrome trim and clearly marked heat settings from Off to Hi, it is designed to fit securely onto a D-shaped shaft for smooth and precise burner control. Replacing a crac...Read moreked, melted, loose, or worn knob can restore both the appearance and functionality of your appliance while ensuring accurate heat adjustment during cooking. Installation is quick and requires no tools—simply pull the old knob straight off the shaft and push the new knob securely into place. For best results, inspect the burner control shaft and surrounding knobs for signs of wear or damage and replace any worn components as needed to maintain consistent performance. Please note, this part is a replacement for the original and may not be compatible to your unit. Please check model compatibility as well as the shaft of the switch this knob will fit on. Because of the substitution this knob may not work with older units.
Read less

$25.75
In Stock
Dryer Door Catch Kit
Part #LA-1003
This door catch kit is designed for use in dryers. This is an authentic OEM replacement part. This catch assembly ensures the door of your appliance will close, and remain closed. It allows your appliance to both start and complete a full drying cycle. There are two pieces included in this kit, one catch, and one strike. You open and clos...Read moree the door on such a regular basis that this mechanism can wear out. It is a fairly common part to replace. You will need to remove the door of your dryer to install the replacement catch assembly.
Read less

$7.47
In Stock

$84.39
In Stock
Surface Unit Infinite Switch Kit
Part #700855K
This is a push-and-turn switch. This kit includes all necessary hardware to install the part. Switch comes with a D-shaped shaft.

$11.77
In Stock
Blower Wheel Clamp
Part #WP312967
This blower wheel clamp, used in a clothes dryer, is a clamp that holds the blower wheel to the motor shaft. This part helps hold the blower wheel in place to function easily and properly. If your clothes dryer has any of the following symptoms then replacing the clamp can be a solution: making loud noises, not producing enough heat or no...Read more heat at all, and/or clothes are taking too long to dry. Make sure to unplug thedryer from power source before installing this part and refer to the installation instructions provided by the manufacturer for further guidance.
Read less
Exact Part matches for your search term

No Longer Available

$85.16
In Stock
$6.40
Special Order
Common Symptoms of models starting with 8835
How this model fails, and the parts that fix it.
Noisy
Fixed by
these parts
these parts


Show All
Drum Not Spinning
Fixed by
these parts
these parts
Show All
Not Heating
Fixed by
these parts
these parts


Show All
Door won’t close
Fixed by
these parts
these parts

Show All
Element will not heat
Fixed by
these parts
these parts


Show All
Won’t Start
Fixed by
these parts
these parts

Show All
Too hot
Fixed by
these parts
these parts
Show All
Heat stays on after drum has stopped
Fixed by
these parts
these parts
Show All
Touchpad does not respond
Fixed by
these parts
these parts


Show All
Will Not Start
Fixed by
these parts
these parts

Show All
Door Pops Open
Fixed by
these parts
these parts
Show All
Door won’t close
Fixed by
these parts
these parts

Show All
Door latch failure
Fixed by
these parts
these parts

Show All
Will not agitate
Fixed by
these parts
these parts

Show All
Watch our pros, then fix it yourself.

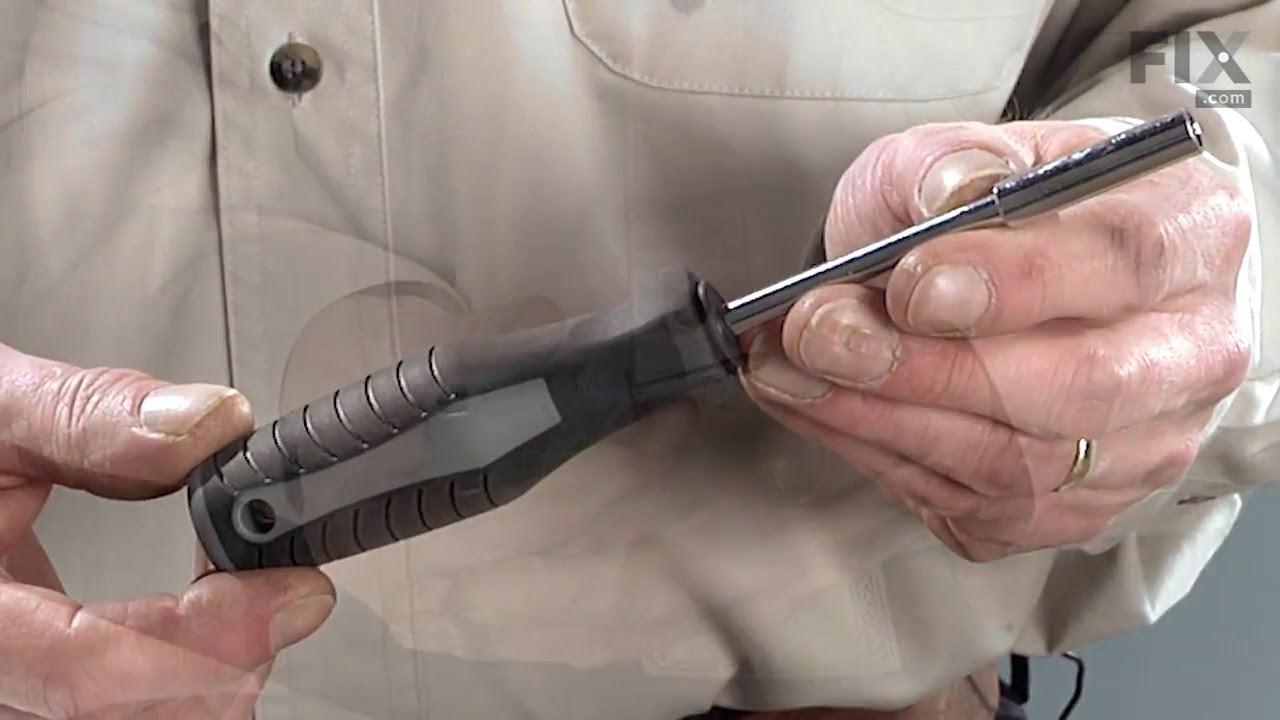
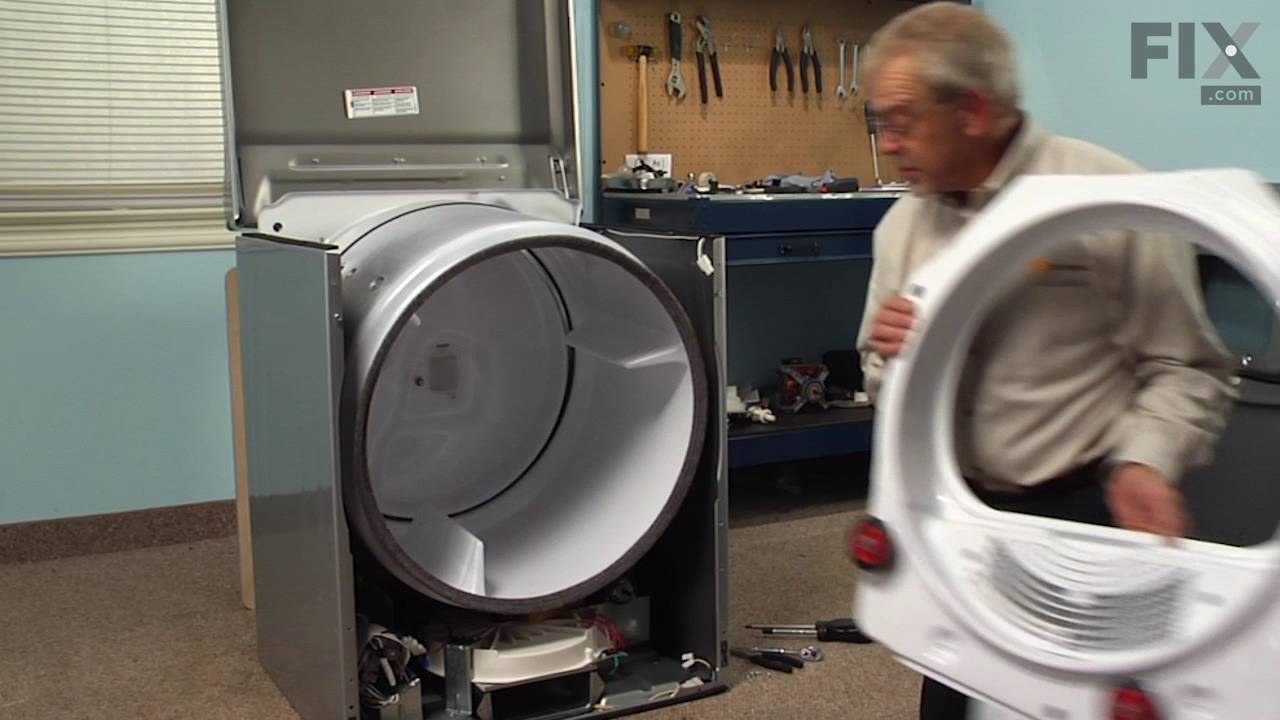
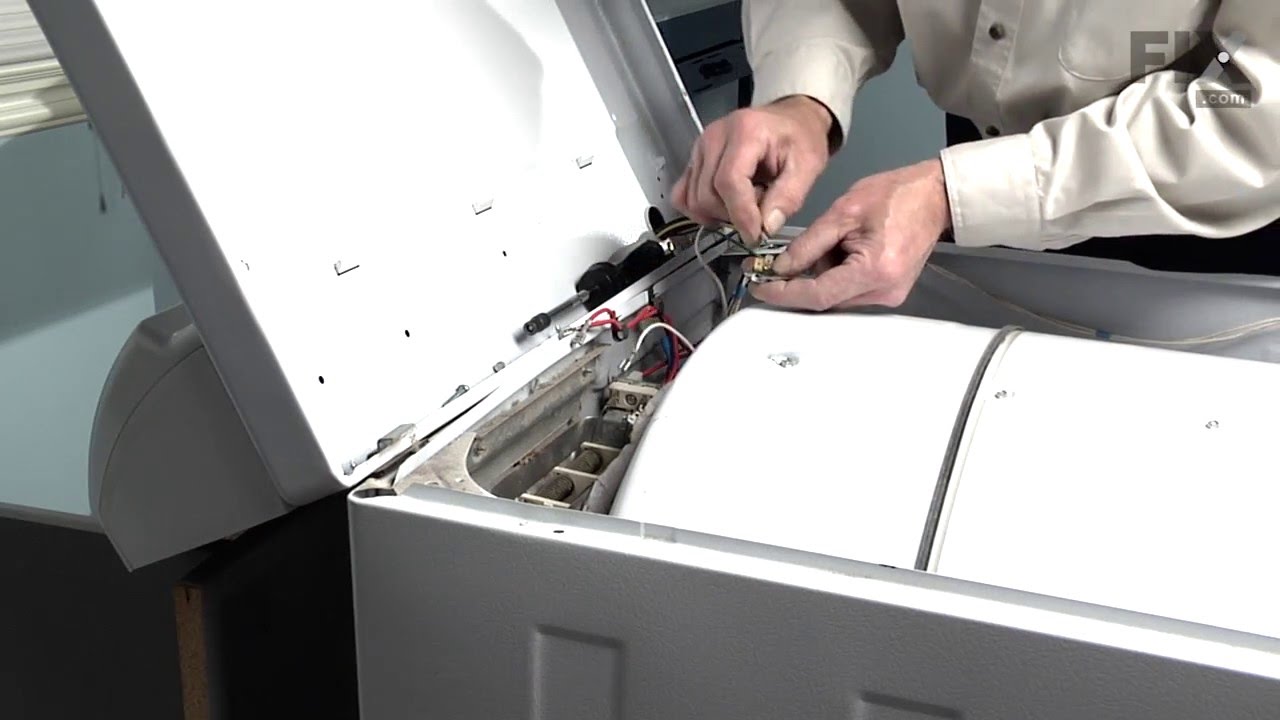
See how others fixed this model. Time, tools, difficulty, and steps that lead to victory!
View More