


 My Orders




8770RB Magic Chef Cooktop - Overview


Enter a part description. DIY Heroes keep it simple, eg. "belt" or "pump".
Search filter:
Clear Filter
Your search term must have 3 or more characters.

$7.47
In Stock

$78.26
In Stock
Surface Burner Switch - 240V
Part #W11120791
This surface burner switch, also known as an infinite switch, controls and regulates the heat output of the burners on a stovetop. The user simply adjusts the knob on the user interface panel, which in turn controls this switch. Made for various ranges, wall ovens and cooktops, this is a genuine OEM part that comes by itself, without any ...Read morehardware like screws or nuts. This burner switch is an electrical component that you also handle directly, so it can become faulty leading to problems like your stovetop not heating enough, overheating or staying at a fixed heat. This burner switch is a vital component for your stovetop and if it presents any of those issues, it needs to be replaced immediately. A screwdriver, set of pliers and wiring diagram will be needed for the replacement and installation process, and you will need to remove your appliance from the wall outlet first. Remove the knobs from the control panel and then gain access to the underneath portion of it with your screwdriver and disconnect the switch. Remove the wires from the burner switch with a set of pliers and disconnect the securing screws holding the switch in place. Now, you can install the new switch and reassemble the panel, being mindful of wiring each connector to the appropriate wire.
Read less

$137.75
In Stock
6 Inch Element with Limiter
Part #W10823704
This element can be used for the left front or right rear.

$9.62
In Stock

$142.32
In Stock
Surface Element
Part #W10823707
This Whirlpool surface element, known as ELMNT-SURF, is specifically designed for the smoothtop range. This 8" element comes with a built-in overheat limit switch, ensuring that it delivers heat safely and effectively to your cooking area. This genuine OEM part is compatible with specific models from Whirlpool, offering guaranteed compati...Read morebility and performance excellence. Please verify your model's specifications to ensure the element fits perfectly. Remember to disconnect the power to your range and wear work gloves during installation, to prioritize your safety. This crucial appliance part by Whirlpool is aimed at empowering your cooking adventures with reliable and efficient heat distribution.
Read less

$7.47
In Stock
Range Screw 632 X 5/16
Part #WP74004005
This screw is well under an inch long, and is made of metal.

No Longer Available
Radiant Surface Element - 9"
Part #WP74007133

$7.47
In Stock

No Longer Available
Indicator Light
Part #Y706125

$7.47
On Order
Zip Tie
Part #WPW10339879
A zip tie, also known as a cable tie or a wire tie, is a fastening device that holds wires or tubing together. If a machine has wires or tubing that are easily shifted, you need to hold them tightly together using a zip tie. It is a flexible, plastic strip that has serrated teeth and a locking mechanism. If the zip tie is damaged, it shou...Read moreld be replaced. Freely moving wires may rub against surfaces, causing them to break over time. Zip ties are single-use and may not be reused after they are removed from a machine. To release the locking mechanism, you will need to insert a small flat tool into the head of the zip tie, between the tongue and the serration, and depress the bar. You can then pull the teeth out of the mechanism to loosen the cable tie. This part is produced by the original equipment manufacturer and is sold individually.
Read less
$8.55
Special Order
PAD, GLASS SUPPORT (Qty 10) (Series 10)
Part #71001239

No Longer Available
KNOB Black
Part #71001037
Common Symptoms of the 8770RB
How this model fails, and the parts that fix it.
Element will not heat
Fixed by
these parts
these parts


Show All
Will Not Start
Fixed by
these parts
these parts
Show All
Oven is too hot
Fixed by
these parts
these parts
Show All
Watch our pros, then fix it yourself.
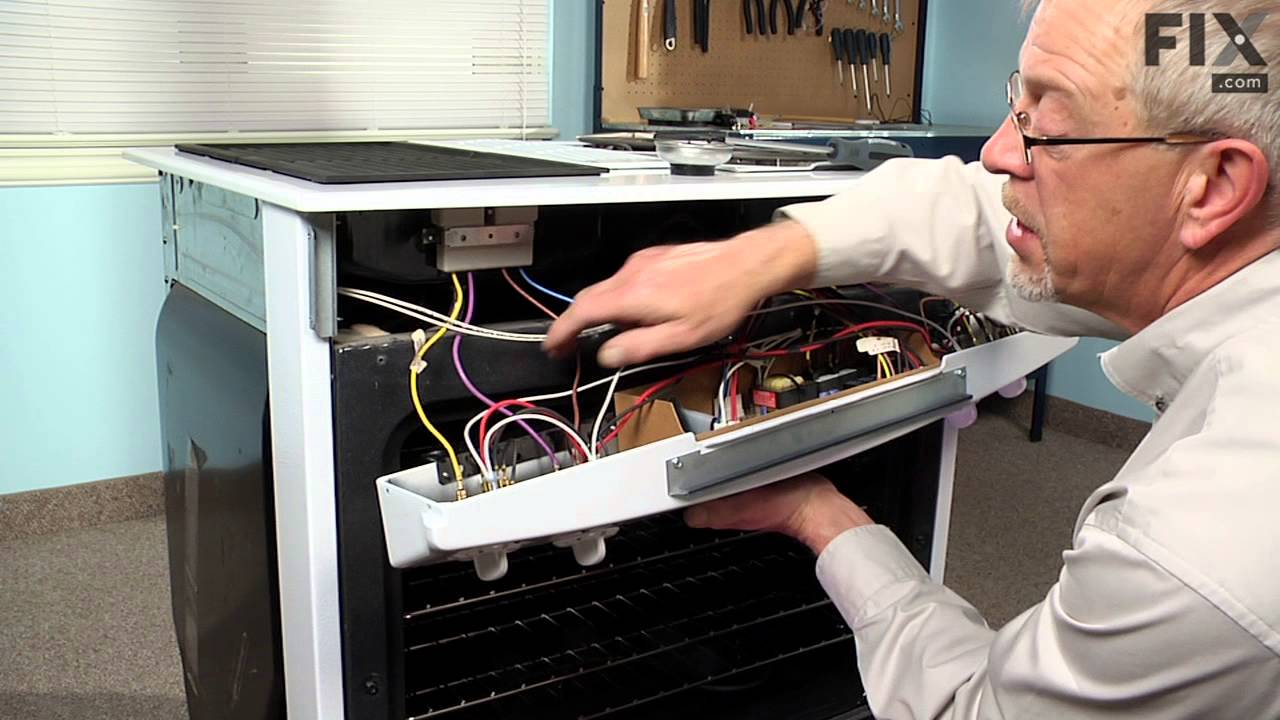
See how others fixed this model. Time, tools, difficulty, and steps that lead to victory!
View More