


 My Orders




862 - Overview
Models starting with 862
Click on the best match to narrow your results.
- 862 Weber Built-In Cooking (Genesis Side Burner)
- 862 (Type 1) Porter Cable Cordless Drill (3/8IN 12v CDLS DRILL)
- 862 (590-862-100) Cub Cadet Lawn Tractor Accessories (Mulch Kit)
- 862 (86-2) Abu Garcia Spinning Reels (Cardinal)
- 8620B Chapin Spreader (Chapin 8620b: 150-Pound Poly Hopper Auto-Stop Tow Behind Spreader)
- 8621 Char-Broil Grill
- 8624*0A Roper Refrigerator (Refrigerators*)
- 8624*1A Roper Refrigerator (Refrigerators*)
- 8624*1B Roper Refrigerator (Refrigerators*)
- 8624^0A Whirlpool Refrigerator
- 8624^1A Whirlpool Refrigerator
- 8624^1B Whirlpool Refrigerator
- 8624R (S/N B320100101-B320199999) Troy-Bilt Lawn Mower (3.5HP-20" Push Mulching Mower)
- 8624R35HP (B320100101-B320199999) Troy-Bilt Lawn Mower (8624r 3.5hp - 20 Push Walk-Behind Mower (S/N B320100101-B320199999))
- 8624W0A Roper Refrigerator (Top freezer)
- 8624W1A Roper Refrigerator (Top freezer)
- 8624W1B Roper Refrigerator (Top freezer)
- 86259-0A Frigidaire Freezer (FREEZER)
- 8627 Charmglow Grill (BBQ)
- 8628R (S/N B420100101-B420299999) Troy-Bilt Lawn Mower (4HP-20" Push Mulching Mower)
- 8628R (S/N 340130300101-340130399999) Troy-Bilt Lawn Mower (4HP-20" Push Mulching Mower)
- 8628R (S/N 340130200101-340130299999) Troy-Bilt Lawn Mower (4HP-20" Push Mulching Mower)
- 8628R4HP (B420100101-B420299999) Troy-Bilt Lawn Mower (Push Walk-Behind Mower 8628r 4hp-20 Push (S/N B420100101-B420299999))
- 8628R4HP (340130300101-340130399999) Troy-Bilt Lawn Mower (8628r 4hp-20 Push Walk-Behind Mower (S/N 340130300101-340130399999))
- 8628R4HP (340130200101-340130299999) Troy-Bilt Lawn Mower (Push Mower (S/N 340130200101-340130299999))
- 8628RS (S/N B430300101-B430399999) Troy-Bilt Lawn Mower (4HP-20" Push Mulching Mower)
- 8628RS (S/N B430100101-B430299999) Troy-Bilt Lawn Mower (4HP-20" Push Mulching Mower)
- 8628RS4HP (B430100101-B430299999) Troy-Bilt Lawn Mower (8628rs 4hp-20 Push Walk-Behind Mower (S/N B430100101-B430299999))
- 8628RS4HP (B430300101-B430399999) Troy-Bilt Lawn Mower (8628rs 4hp-20 Push Walk-Behind Mower (S/N B430300101-B430399999))
- 862C-1 Maytag Range (Maytag Range/Stove/Oven Model 862C-1 (862C1, 862C 1) Parts)
- 862GTX (86-2) Abu Garcia Spinning Reels (Cardinal)
- 862H-1 Maytag Range (Maytag Range/Stove/Oven Model 862H-1 (862H1, 862H 1) Parts)
- 862S-1 Maytag Range (Maytag Range/Stove/Oven Model 862S-1 (862S1, 862S 1) Parts)
- 862V-1 Maytag Range (Maytag Range/Stove/Oven Model 862V-1 (862V1, 862V 1) Parts)
- 862W-1 Maytag Range (Maytag Range/Stove/Oven Model 862W-1 (862W1, 862W 1) Parts)
Enter a part description. DIY Heroes keep it simple, eg. "belt" or "pump".
Search filter:
Clear Filter
Your search term must have 3 or more characters.

$10.95
In Stock
Chrome Drip Bowl - 8 inch
Part #WPW10196405
This manufacturer-certified drip bowl is also known as a drip pan, and it is designed for use with cooktops and ranges. It sits below 8-inch burner elements and catches drips and spills from the cookware on the burner. The diameter of the drip bowl is approximately 10 inches. This replacement might appear slightly different, but it will f...Read moreit your appliance.
You will need no tools to complete this repair. Simply remove the burner element, remove the old bowl, line up the hole on the new bowl with the terminal block and drop it into place. Make sure the bowl is flat before reinstalling the element. While you have the element out you should inspect the terminals for corrosion, damage, or discolouration. If you notice any of those things you should also replace the element and terminal block. You will need to replace your drip bowl if it is lost, damaged, or can no longer be cleaned. This replacement part is sold individually. To extend the life of your new drip bowl we recommend you clean it regularly with soap and water. We recommend only using the recommended drip bowl for your appliance; generic versions will not fit properly which could affect the performance of your elements and cause long-term damage.
Read less

$50.56
On Order
Flat Style Oven Igniter Kit
Part #12400035
The flat style oven igniter kit is used in gas ovens and ranges. It is what provides the heat needed to open the gas valve, and it ignites fuel for the burner assembly. This part can be used for both bake and broil elements, and it can replace both short and long igniters. However, it cannot replace round style oven igniters. If your igni...Read moreter glows for 90 seconds or more without igniting the burner, this means it is too weak to open the valve. The element in your igniter may have shorted it and it might not glow at all, or it might only glow orange or red. It needs to glow white hot; if it cannot get hot enough the gas will not be released from the safety valve and it will be impossible to light the burner in your oven. This kit includes the igniter, ceramic wire nuts, an insulation pad, a metal bracket, a variety of plug ends, and an instruction sheet. The body length is 3 3/4 inches, and the element inside is approximately 1 1/2 inches. This replacement part has an amperage range of 3.3 to 3.6. The element inside this igniter is extremely fragile, do not touch it. Before you start repairing your oven or range, make sure you have unplugged it and shut off the gas supply.
Read less

$34.74
In Stock
Defrost Timer
Part #W10822278
The Defrost Timer (Defrost control) acts like a clock by switching on the defrost heater circuit after a predetermined amount of compressor run time. This allows the defrost circuit to clear the evaporator of ice or frost to maintain proper airflow. If this part is not working, it can lead to temperature increases in your refrigerator. If...Read more the compressor circuit fails, no cooling will take place; if the defrost circuit isn't activated, ice will quickly build up on the evaporator coils and reduce airflow and efficiency. If the timer doesn't advance or if the contacts have no continuity, the timer will need to be replaced. This part is located inside of the control housing on most models, and is approximately 3 inches long and 2.5 inches wide. This part is constructed of plastic and metal, and comes in white. It features 1 defrost timer, along with all necessary mounting hardware and installation instructions
Read less

$19.30
In Stock
Surface Burner Receptacle Kit
Part #12001676
The tools you will need to replace the surface burner receptacle kit on your range include a Phillips screw driver, and a pair of wire strippers. Before doing this repair, make sure to disconnect your appliance from the power supply and wear work gloves to protect your hands. The surface burner receptacle kit comes with a plastic block, h...Read moreigh temperature wire nuts, a metal bracket, and wires. This part functions as the connection between the wire harness and the surface element in your range.
Read less

$33.69
In Stock
Surface Burner - 8 Inch - 2600W
Part #WP660533
The surface burner or element on your range provides the heat that you cook with. If your element will not heat, you may need to replace the surface burner. This surface burner is 8 inches in diameter and 2600 watts. The burner element is made of metal and has two prongs that connect it to the range. The manufacturer recommends you replac...Read moree the burner receptacle at the same time that you replace the surface burner. Many of our customers have rated this repair as very easy. To complete the repair simply lift the old burner up and out, and replace it with the new one. Be sure to disconnect power to the range before beginning this repair.
Read less

$28.42
In Stock
Standard Y-Frame Range Surface Burner
Part #WP660532
The standard y-frame surface burner provides heat to your range. If you notice that your element will not heat, you may need to replace your surface burner. This product is 6 inches in diameter, and 1500W. The manufacturer suggests replacing the receptacle at the same time that you replace the surface burner. Many of our customers have ra...Read moreted this repair as very easy, and you will not need any tools. To complete the repair, simply lift out the old burner and replace it with the new one. Check that the burners are turned off before you begin this repair.
Read less

$56.05
In Stock
Run Capacitor
Part #5304464438
The run capacitor helps the compressor kick on and off while maintaining a constant temperature in your fridge and freezer. You may need to replace your run capacitor if your refrigerator or freezer section will not start, if they are too warm, or if your refrigerator has become too noisy. Replacing the run capacitor is a relatively easy ...Read moreproject. For this repair you will only need a 1/4 inch nut driver and needle nose pliers. Remember to disconnect the power and water supply line to the unit before you begin this repair. For full step by step instructions, simply click on the video below.
Read less

$27.36
In Stock
Water Tube Kit
Part #W10823511
This is the replacement water tube kit for your refrigerator. This tubing is made of plastic, is 1/4 inch in diameter, and comes with 2 inserts. This tube may be longer than the original tube, and may need to be cut. This water tube transports water to the ice and water dispensers. If your refrigerator is leaking, or if the ice and water ...Read moredispensers are not dispensing properly, you may need to replace this tube. This part is sold individually and is an OEM part sourced directly from the manufacturer.
Read less

$49.50
In Stock
2 Piece Broiler Pan
Part #4396923
This broiler pan and roasting rack set is designed to help reduce mess while cooking by allowing grease to drain away from food. Its durable porcelain-coated construction stands up to high temperatures and makes cleanup simple. With approximate dimensions of 16 3/4 inches long, 12 3/4 inches wide, and 1 3/4 inches high, it offers a convenient size for everyday broiling and roasting.

$11.77
On Order
Refrigerator Compression Nut
Part #WP627018
The compression nut is used as a connection between the water supply line and other components in your refrigerator such as your ice maker and your water dispenser. Tools required for this repair include a pair of pliers and a socket set. Before installing this part you should take all perishable foods out of your refrigerator and store t...Read morehem somewhere cool, unplug the refrigerator from the power source, and shut off the water supply. This repair may require you to wear work gloves to protect your hands, and is considered an easy do-it-yourself fix.
Read less

No Longer Available
Oven Rack
Part #71003346
This oven rack is sold individually. The functionality of the oven rack is to provide a reliable cooking surface for cookware inside your oven. This specific oven rack is roughly eighteen inches wide and seventeen inches deep. You will find from the image provided that this oven rack is silver in color. Users have ranked this installation...Read more process as easy, and that it will take you less than fifteen minutes to complete. In order to install your oven rack make sure that your range has been turned off and cooled down. No tools are required to install this oven rack.
Read less

$7.47
Special Order
Exact Part matches for your search term

No Longer Available
No Longer Available
Common Symptoms of models starting with 862
How this model fails, and the parts that fix it.
Element will not heat
Fixed by
these parts
these parts


Show All
Gas igniter glows, but will not light
Fixed by
these parts
these parts

Show All
Will Not Start
Fixed by
these parts
these parts


Show All
Fridge too warm
Fixed by
these parts
these parts

Show All
Little to no heat when baking
Fixed by
these parts
these parts
Show All
Leaking
Fixed by
these parts
these parts


Show All
Freezer section too warm
Fixed by
these parts
these parts
Show All
Freezer not defrosting
Fixed by
these parts
these parts
Show All
Fridge and Freezer are too warm
Fixed by
these parts
these parts
Show All
Too warm
Fixed by
these parts
these parts
Show All
Won’t start
Fixed by
these parts
these parts
Show All
Fridge runs too long
Fixed by
these parts
these parts
Show All
Oven not heating evenly
Fixed by
these parts
these parts
Show All
Ice maker not making ice
Fixed by
these parts
these parts
Show All
Noisy
Fixed by
these parts
these parts
Show All
Gas smell
Fixed by
these parts
these parts
Show All
Little to no heat when broiling
Fixed by
these parts
these parts
Show All
Frost buildup
Fixed by
these parts
these parts
Show All
Freezer too cold
Fixed by
these parts
these parts
Show All
Fridge too cold
Fixed by
these parts
these parts
Show All
Not dispensing water
Fixed by
these parts
these parts
Show All
Doesn’t stop running
Fixed by
these parts
these parts
Show All
Clicking sound
Fixed by
these parts
these parts
Show All
Watch our pros, then fix it yourself.
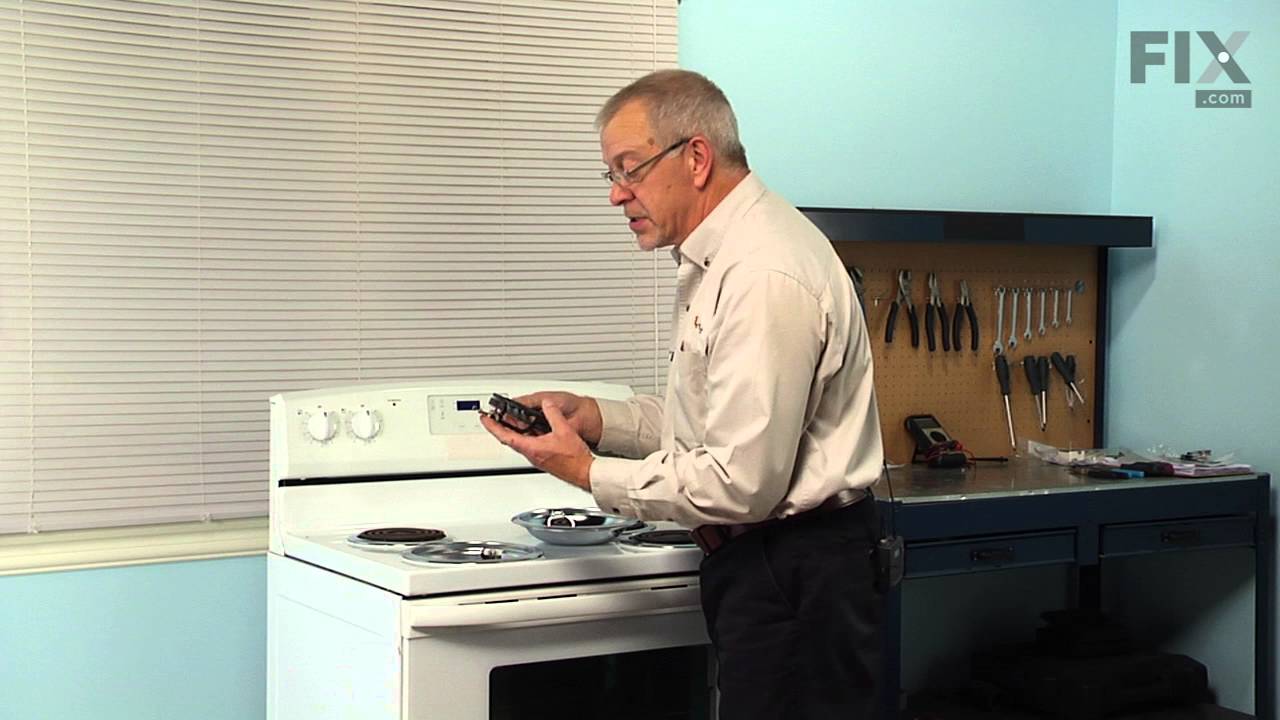
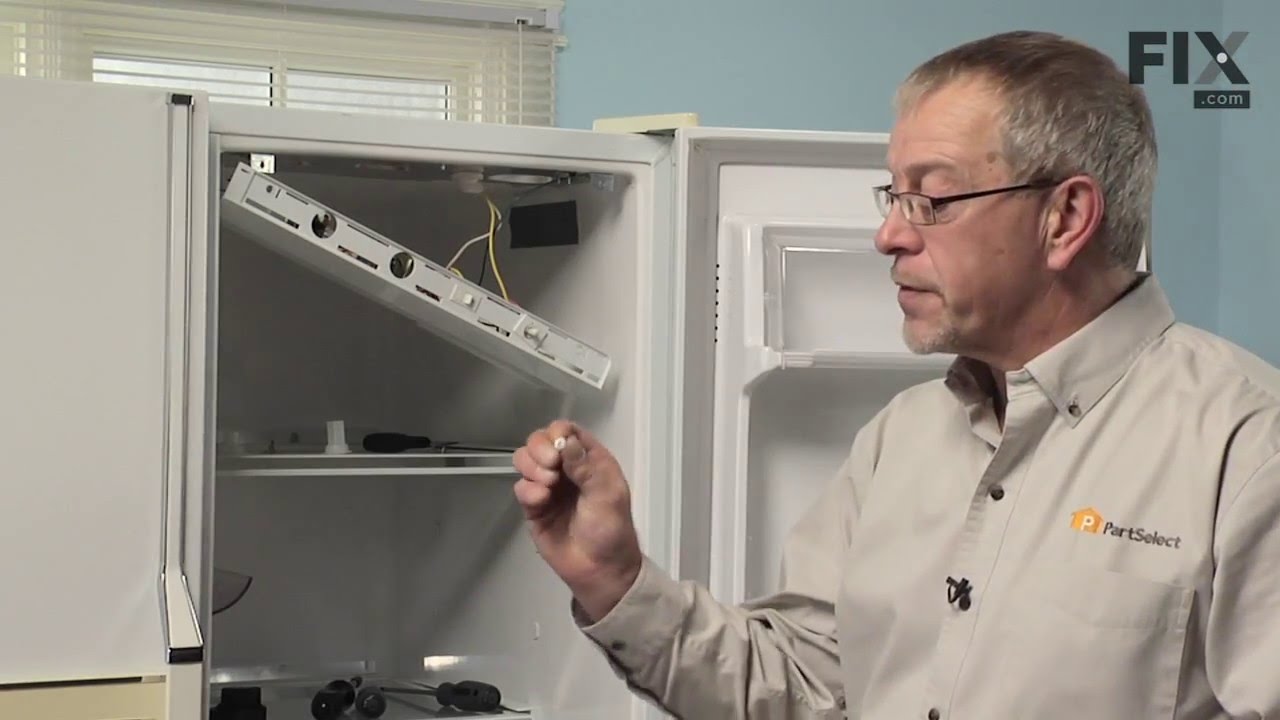
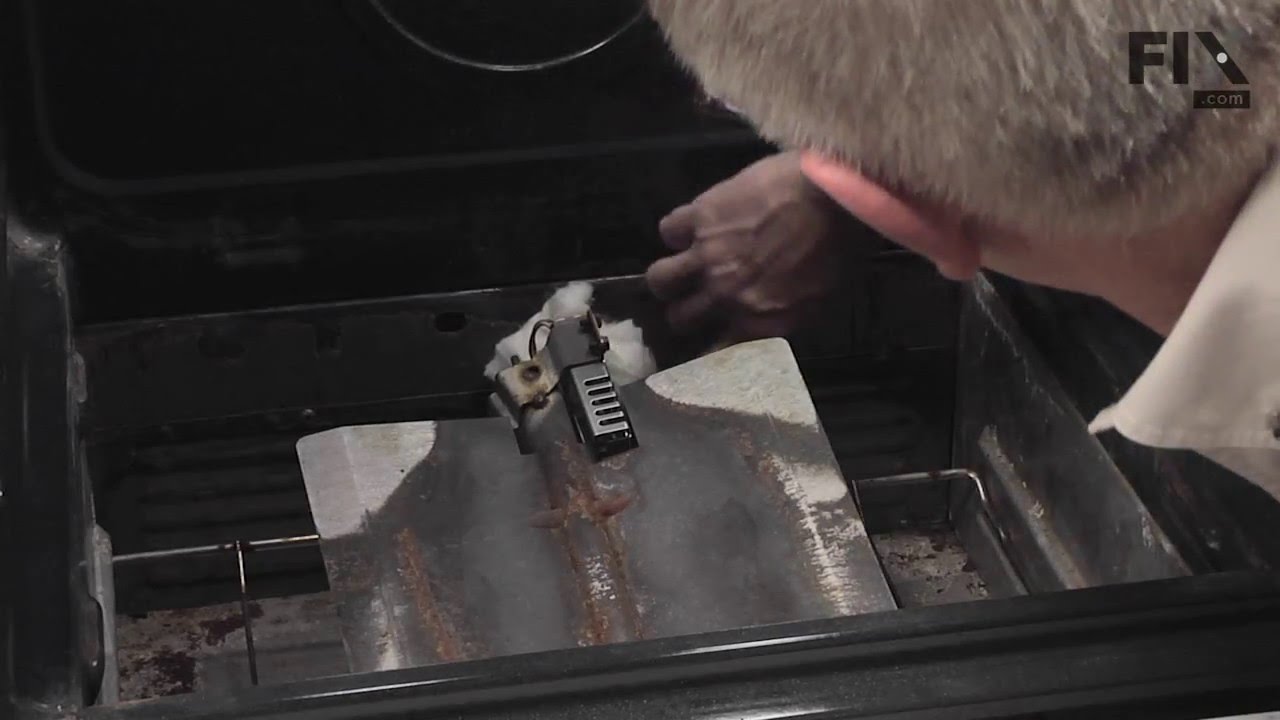
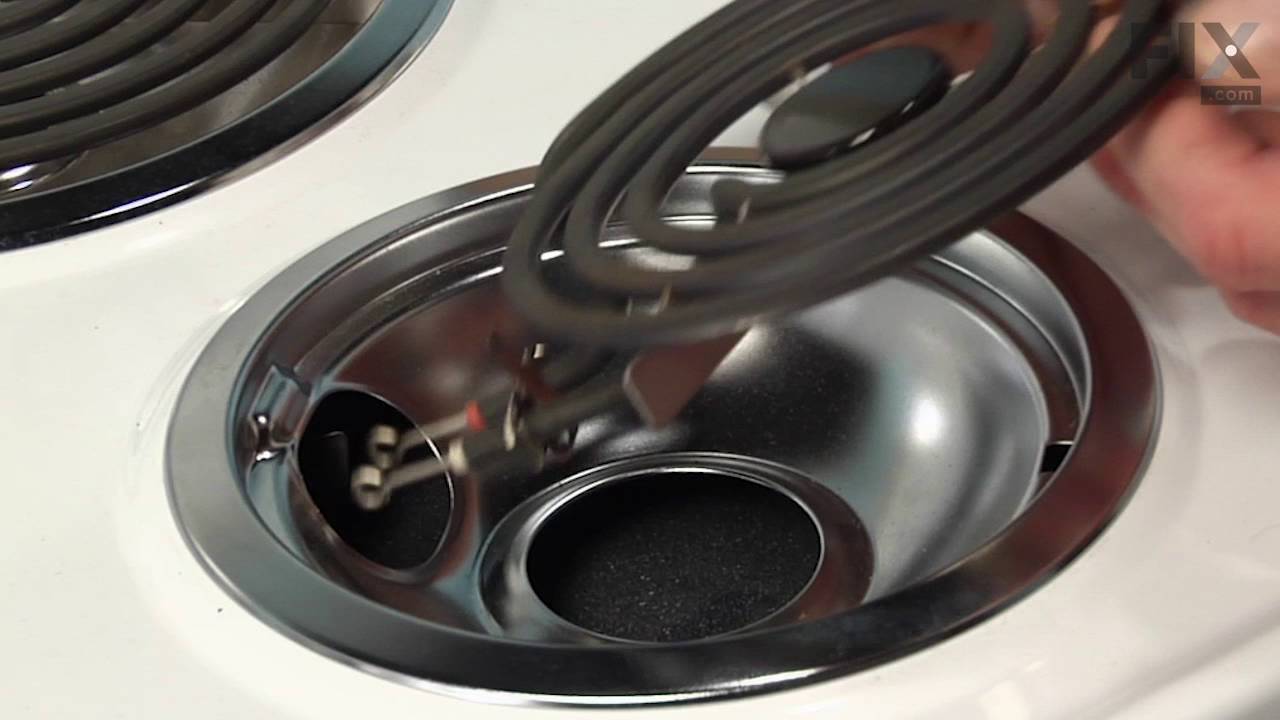
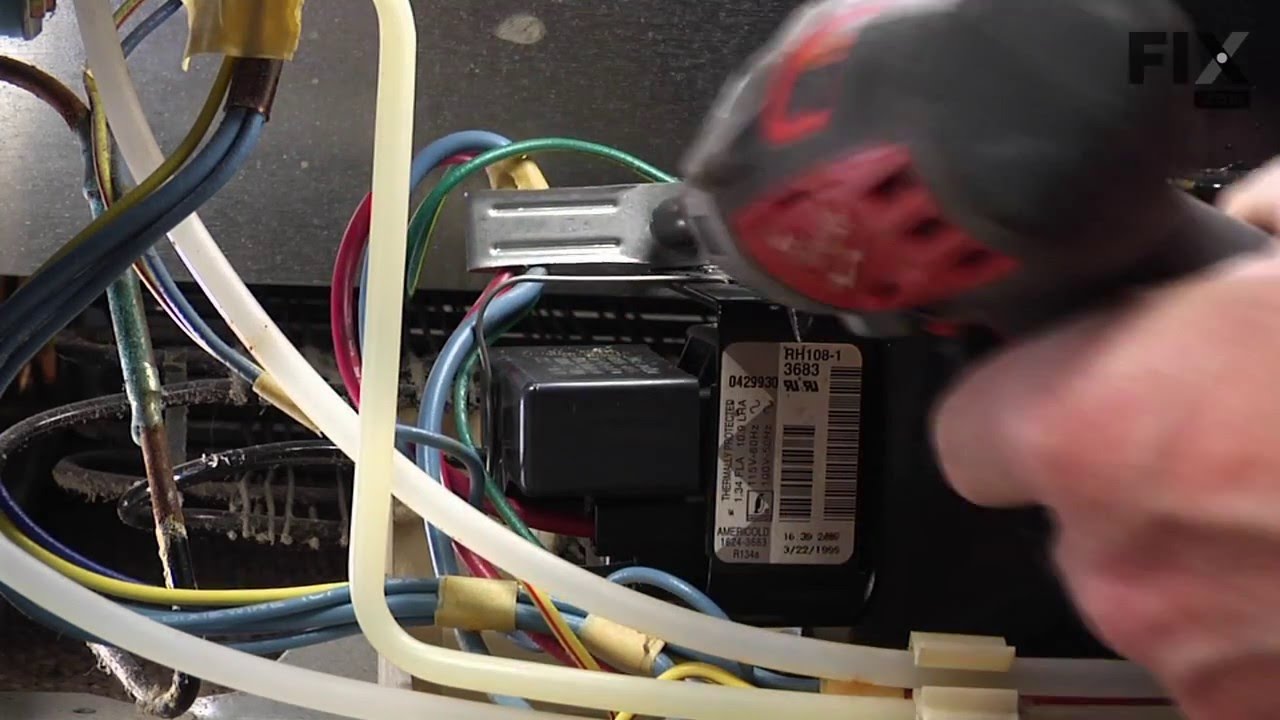
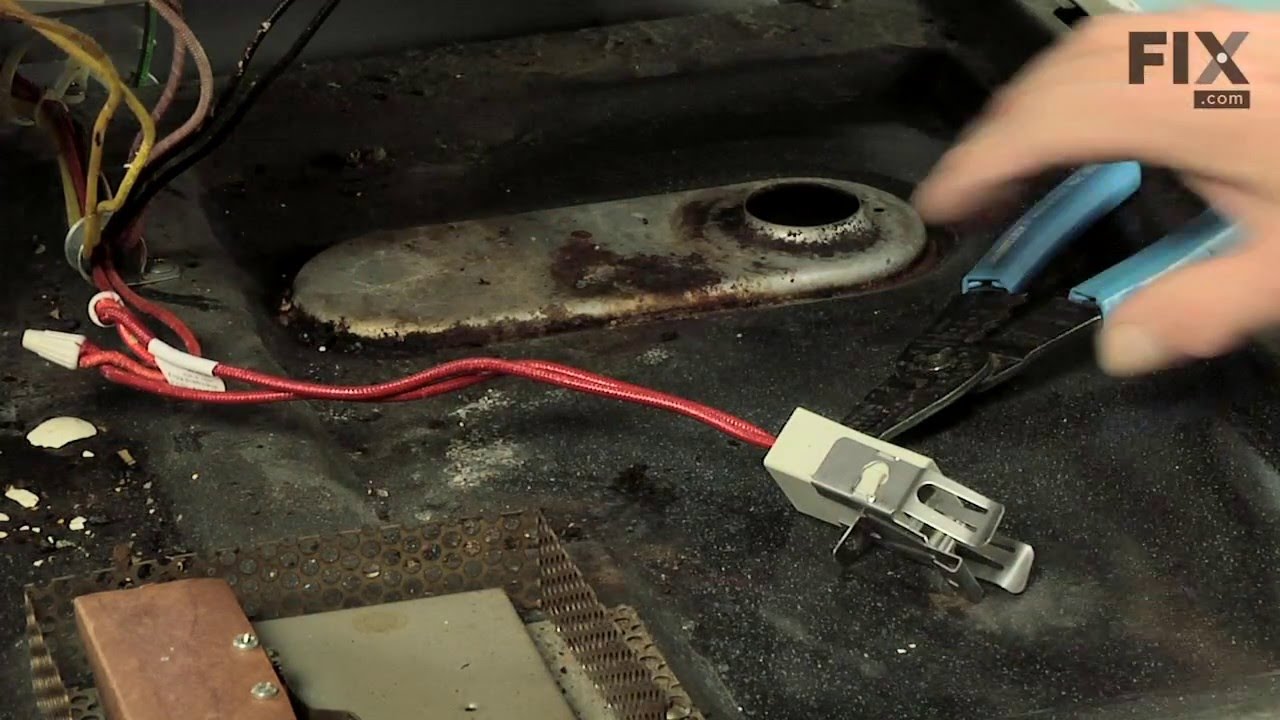

See how others fixed this model. Time, tools, difficulty, and steps that lead to victory!
View More