


 My Orders




853 - Overview
Models starting with 853
Click on the best match to narrow your results.
- 853 (Type 1) Porter Cable Cordless Drill (Cordless Driver / Drill)
- 853 (Type 2) Porter Cable Cordless Drill (Cordless Driver / Drill)
- 853 (590-853-150) Cub Cadet Lawn Tractor Accessories (48 Inch Induction Air Mcs Kit Att2)
- 853 (86-2) Abu Garcia Spinning Reels (Cardinal)
- 8530040 Whirlpool Dryer (Residential)
- 8530090 Whirlpool Washer (AUTOMATIC WASHER)
- 8531 Bissell Hand Vacuum (Hand Vacuum)
- 8531 Charmglow Grill (BBQ)
- 85311 (1969) Toro Lawn Tractor Accessories (Clevis Hitch)
- 85311 (1970) Toro Lawn Tractor Accessories (Clevis Hitch)
- 85311 (1971) Toro Lawn Tractor Accessories (Clevis Hitch)
- 85312 Bissell Hand Vacuum (Hand Vacuum)
- 85320 ( IR4002 Series 2 ) Snapper Tiller (85320 - Ir4002b 16.5 Inch 4 Hp Intermediate Rear Tine Tiller Series 2)
- 85329 ( IR400 Series 1 ) Snapper Tiller (85329 - Ir4001 16.5 Inch 4 Hp Intermediate Rear Tine Tiller Series 1)
- 853544 T-Fal Miscellaneous (Prep Line 200)
- 8536 Char-Broil Grill
- 853642 T-Fal Miscellaneous (Prep Line 350)
- 853644 T-Fal Miscellaneous (Prep Line 350)
- 853676 T-Fal Miscellaneous (Prep Line)
- 8536975A (2009-2012) Char-Broil Grill Accessories (2009-2012 Commercial Series Grill Refresher Kit)
- 85371 (P1117201W W) Amana Refrigerator
- 85371-P1117201W Amana Refrigerator (REFRIGERATOR)
- 85371W-P1117201WW Amana Refrigerator (TOP MOUNT FREE-O-FROST REFRIGERATOR/FREEZER)
- 85375 (P1117206W E) Amana Refrigerator
- 85375-P1117206WE Amana Refrigerator (TOP-MOUNT REFRIGERATOR/FREEZER)
- 85378 (P1117202W L) Amana Refrigerator
- 85378-P1117202W Amana Refrigerator (REFRIGERATOR)
- 85378L-P1117202WL Amana Refrigerator (TOP MOUNT FREE-O-FROST REFRIGERATOR/FREEZER)
- 8538 Char-Broil Grill
- 85381 (P1117203W W) Amana Refrigerator
- 85381-P1117203W Amana Refrigerator (REFRIGERATOR)
- 85381W-P1117203WW Amana Refrigerator (TOP MOUNT FREE-O-FROST REFRIGERATOR/FREEZER)
- 85385 (P1117205W E) Amana Refrigerator
- 85385-P1117205WE Amana Refrigerator (TOP-MOUNT REFRIGERATOR/FREEZER)
- 85388 (P1117204W L) Amana Refrigerator
- 85388-P1117204W Amana Refrigerator (REFRIGERATOR)
- 85388L-P1117204WL Amana Refrigerator (TOP MOUNT FREE-O-FROST REFRIGERATOR/FREEZER)
- 8539A Norge Dryer (GAS DRYER)
- 853GTX (86-2) Abu Garcia Spinning Reels (Cardinal)
Enter a part description. DIY Heroes keep it simple, eg. "belt" or "pump".
Search filter:
Clear Filter
Your search term must have 3 or more characters.

$17.15
In Stock
Dryer Thermal Fuse
Part #WP3392519
The Dryer Thermal Fuse (Thermal Cutoff, Temperature Fuse) is a 2 by ½ inch, white, plastic safety mechanism that stops the flow of electricity to the motor circuit when a dryer overheats. If the fuse is missing or broken, your dryer will not start. A thermal fuse fails when the exhaust temperature exceeds the fuse rating, that is when th...Read moree temperature rises above the temperature that the fuse is designed to handle. This can occur when a heating element is shorted, a regulating thermostat or thermister fails, or with a partially restricted exhaust vent. The fuse attaches to the blower wheel housing. It must be replaced when there is no longer continuity between the terminals. This is a one-time fuse, meaning it cannot be re-set. The replacement part features two 3/16 inch terminals.
Read less

$15.00
In Stock
Multi Rib Belt - 92-1/4"
Part #341241
This dryer drum belt (Whirlpool Dryer Belt, Drive Belt) has four ridges, three grooves and is 1/4" wide, and 92 1/4 inches in length. It comes in black and is made of rubber. The belt transfers the rotation of the motor to turn the drum. The belt attaches to the drum, idler pulley, and motor pulley.

$58.42
In Stock
Heating Element - 240V 5400W
Part #279838
The heating element (Flat Can Heating Element 5400W, Heating Element, Whirlpool Dryer Heating Element, Dryer Heating Element) provides heat to the dryer. It is metal and measures 10.5 inches long, 7.5 inches wide, 2 inches deep. The element attaches to the heater housing. This part can break as a result of wear and tear. This can be mater...Read moreial fatigue or prolonged high temperature exposure. If broken your clothes may not dry because of a lack of heat. It must be replaced when there is no longer continuity between the terminals. First check the thermal fuse on the blower housing before deciding to replace the heating element.
Read less

$26.82
In Stock
Dryer Cycling Thermostat
Part #WP3387134
This thermostat (Dryer Operating Thermostat, Dryer Cycling Thermostat, Cycling Thermostat, Dryer Thermostat) is used to maintain a temperature of 155 degrees in the dryer drum. The internal bias heater also allows this thermostat to provide a low heat temperature of approximately 140 degrees when the low temperature setting is selected. T...Read morehe part measures 2 by 1.5 inches, comes in black/silver and is constructed of plastic and metal. The thermostat attaches to the blower wheel housing.
Read less

$47.40
In Stock
Thermal Cut-Off Kit
Part #279816
The thermal cut-off (Dryer Thermal Cut-Off Fuse Kit, Dryer Thermal Cut-Off Kit) prevents the dryer from overheating when the dryer high limit thermostat fails in a closed circuit condition. This part fails when the heater housing does not have adequate airflow through it; this is normally caused by restriction in the exhaust vent, plugged...Read more lint screen, or broken blower wheel. If this part fails, the dryer may not produce any heat. This kit includes one high-limit thermostat with a limit of 250 degrees Fahrenheit, and one thermal cut-off fuse (309 degrees), jumper wires, and new female spade terminals. Both components are mounted on the heater housing, and measure approximately 2 inches long and 1.5 inches wide each. This kit comes in silver and is constructed of metal.
Read less

$28.42
In Stock
M Series New Style Coil Kit
Part #279834
When the igniter reaches a high enough temperature, these coils (Coil Valve, Dryer Gas Valve Coil Kit, Dryer Valve Coil Kit, Gas Valve Solenoid) work together to open the gas valve and allow the gas to enter the burner. This is a safety mechanism to ensure that there are no unsafe buildups of gas inside your appliance. The coils are attac...Read morehed to the dryer gas valve. If the dryer does not heat or heats intermittently, the coil may not be opening the gas valve. Both coils must be operational for the valve to open. No continuity would indicate a defective coil, but they can be intermittent and fail when they get hot. Both coils should be replaced when one of them is broken. This part can break as a result of material fatigue from normal use. This part measures approximately 1 inch in diameter and 1 inch in height, and is constructed of plastic and metal. It comes in black/beige. This part features a 3-terminal boost/hold coil and a 2-terminal secondary coil
Read less

$35.80
In Stock
Maintenance Kit
Part #4392065
The drum support roller kit (Dryer Repair Kit) allows the dryer to tumble properly by supporting the drum cylinder. The idler pulley provides the tension required for a multi-ribbed belt. The belt attaches to the drum, idler pulley, and motor pulley. If your dryer is damaged, it may be making loud, squeaking, and/or squealing noises while...Read more the drum is turning. This is from normal wear and tear. The drum may eventually stop turning all together. This is a sign the part should be replaced. This is one complete maintenance kit. The kit includes the drum belt, drum support rollers, one idler pulley, four tri-rings, and one clip. The parts are constructed of plastic, metal, and rubber, and come in black/white/silver.
Read less

$8.55
In Stock
Door Catch Kit
Part #279570
This part replaces your appliances latch (Door Latch Kit, Door Catch, Dryer Door Latch Kit). On your appliance you will find both a strike and a catch. The strike is mounted on the body of the dryer, while the catch is mounted on the dryer door. These two parts work together to keep your dryer door closed. The catch holds the door strike ...Read moreto keep the door closed during the drying cycle. If the door does not latch closed, you won’t be able to start a drying cycle. If this part is malfunctioning, you may not be able to open or close your door. In some instances, it may seem like your door is closing, but if it is not latching properly you won’t be able to start your drying cycle. You should replace this part as soon as it’s malfunctioning. Your dryer may run even though the latch is malfunctioning, but it is unsafe if the dryer continues to run while the door is open. This replacement part features 1 door latch kit which includes 2 strikes, 3 catches, and a set of instructions. This model is constructed of plastic and metal, and comes in white/silver.
Read less

$19.54
In Stock
Light Bulb - 40W
Part #8009
This an authentic OEM 40-Watt replacement light bulb, used in a number of household appliances. It is specially designed to withstand extreme temperatures, which is why these replacement bulbs are most often used to light the inside of refrigerators and ranges. It features a standard socket base, which means you simply unscrew the burnt-o...Read moreut bulb and screw in the replacement. Depending on the appliance you may require a screwdriver or nut driver to access the light bulb. We recommend you wear work gloves while handling this replacement part. It is constructed of glass and metal and is sold individually. Depending on the appliance and location of the bulb within it, you may want to consider disconnecting power and using a flashlight for easier access to unscrewing and re-screwing in your bulb during this repair.
Read less

$43.18
In Stock
Washer Direct Drive Water Pump
Part #WP3363394
The direct drive drain pump (Whirlpool Direct Drive Washer Pump, Drain Pump, Washer Drain Pump, Water Pump) removes water from the washer during the drain cycle without the use of a belt. The pump is supposed to drain the water from the washer; if the water isn’t draining or if there is a leak, you may have a problem with your pump. You ...Read moremust replace this part if there is a blockage or clog. Although the symptoms may point to a malfunctioning drain pump, there could actually be a problem with one of the connecting hoses. This pump connected directly to the motor, and comes in white plastic. This replacement part features 1 direct drive water pump with 2 ports for water to pass through: a large one and a smaller one.
Read less

$95.17
In Stock
Replacement Ice Maker
Part #D7824706Q
This ice maker (Ice Maker Assembly, Refrigerator Ice Maker) produces ice cubes that are ejected into the storage bucket. It is located in the freezer section of your appliance, mounted on the freezer wall. The ice maker can break from normal wear and accidental damage. If this happens, your refrigerator may no longer make ice cubes, or ma...Read morey not make enough cubes, and the part should be replaced. This model measures approximately 11 inches long and 5 inches wide. It’s constructed of plastic and metal, and comes in black/white/silver. This assembly includes the ice mold and the control device.
Read less

$9.62
In Stock
Suspension Spring
Part #WP63907
The suspension spring supports the outer tub and keeps the tub steady during loads that could cause an unbalance. If this part breaks, is worn down or has stretched out and lost its spring, it could cause the load to be off-balance which can lead to excessive shaking, moving, noise, and leaks. For this repair, you will need a 1/4 nut driv...Read moreer, a putty knife, a flat blade screwdriver, and a pair of needle-nose pliers. Disconnect the power supply, fill hoses, and drain hose to give you safe and easy access (have a container nearby for water left in drain hose). This item is sold individually, which is important as you may need to repair multiple springs in your appliance, which carries three suspension springs. As an inexpensive part, we recommend purchasing several at a time, as they can be very useful to have on-hand.
Read less
Exact Part matches for your search term

No Longer Available

$8.60
Special Order
$22.33
Special Order
Common Symptoms of models starting with 853
How this model fails, and the parts that fix it.
Noisy
Fixed by
these parts
these parts


Show All
Leaking
Fixed by
these parts
these parts


Show All
Not Heating
Fixed by
these parts
these parts


Show All
Drum Not Spinning
Fixed by
these parts
these parts

Show All
Door won’t close
Fixed by
these parts
these parts


Show All
Will not drain
Fixed by
these parts
these parts


Show All
Ice maker not making ice
Fixed by
these parts
these parts


Show All
Will not agitate
Fixed by
these parts
these parts

Show All
Too hot
Fixed by
these parts
these parts

Show All
Light not working
Fixed by
these parts
these parts

Show All
Will Not Start
Fixed by
these parts
these parts


Show All
Fridge too warm
Fixed by
these parts
these parts

Show All
Won’t Start
Fixed by
these parts
these parts

Show All
Spins slowly
Fixed by
these parts
these parts

Show All
No hot or cold water
Fixed by
these parts
these parts
Show All
Freezer section too warm
Fixed by
these parts
these parts
Show All
Shaking and Moving
Fixed by
these parts
these parts


Show All
Spinning Issues
Fixed by
these parts
these parts
Show All
Marks left on clothes
Fixed by
these parts
these parts


Show All
Fridge and Freezer are too warm
Fixed by
these parts
these parts
Show All
Ice maker won’t dispense ice
Fixed by
these parts
these parts

Show All
Door Pops Open
Fixed by
these parts
these parts
Show All
Burning smell
Fixed by
these parts
these parts


Show All
Heat stays on after drum has stopped
Fixed by
these parts
these parts
Show All
Freezer not defrosting
Fixed by
these parts
these parts
Show All
Fridge runs too long
Fixed by
these parts
these parts
Show All
Water Filling Issues
Fixed by
these parts
these parts
Show All
Clicking sound
Fixed by
these parts
these parts
Show All
Touchpad does not respond
Fixed by
these parts
these parts
Show All
Too warm
Fixed by
these parts
these parts
Show All
Leaks water
Fixed by
these parts
these parts
Show All
Ice maker dispenses too much ice
Fixed by
these parts
these parts

Show All
Does not dispense fabric softener or detergent
Fixed by
these parts
these parts

Show All
Lid or door won’t close
Fixed by
these parts
these parts

Show All
Timer Not Working
Fixed by
these parts
these parts
Show All
Draining Issues
Fixed by
these parts
these parts
Show All
Ice maker dispenses too little ice
Fixed by
these parts
these parts
Show All
Running With Door Open
Fixed by
these parts
these parts

Show All
Fridge too cold
Fixed by
these parts
these parts
Show All
Door latch failure
Fixed by
these parts
these parts


Show All
Won’t start
Fixed by
these parts
these parts
Show All
Frost buildup
Fixed by
these parts
these parts
Show All
Door Sweating
Fixed by
these parts
these parts

Show All
Freezer too cold
Fixed by
these parts
these parts
Show All
Cycle Not Advancing
Fixed by
these parts
these parts
Show All
Not draining
Fixed by
these parts
these parts
Show All
Door won’t open or close
Fixed by
these parts
these parts

Show All
Watch our pros, then fix it yourself.
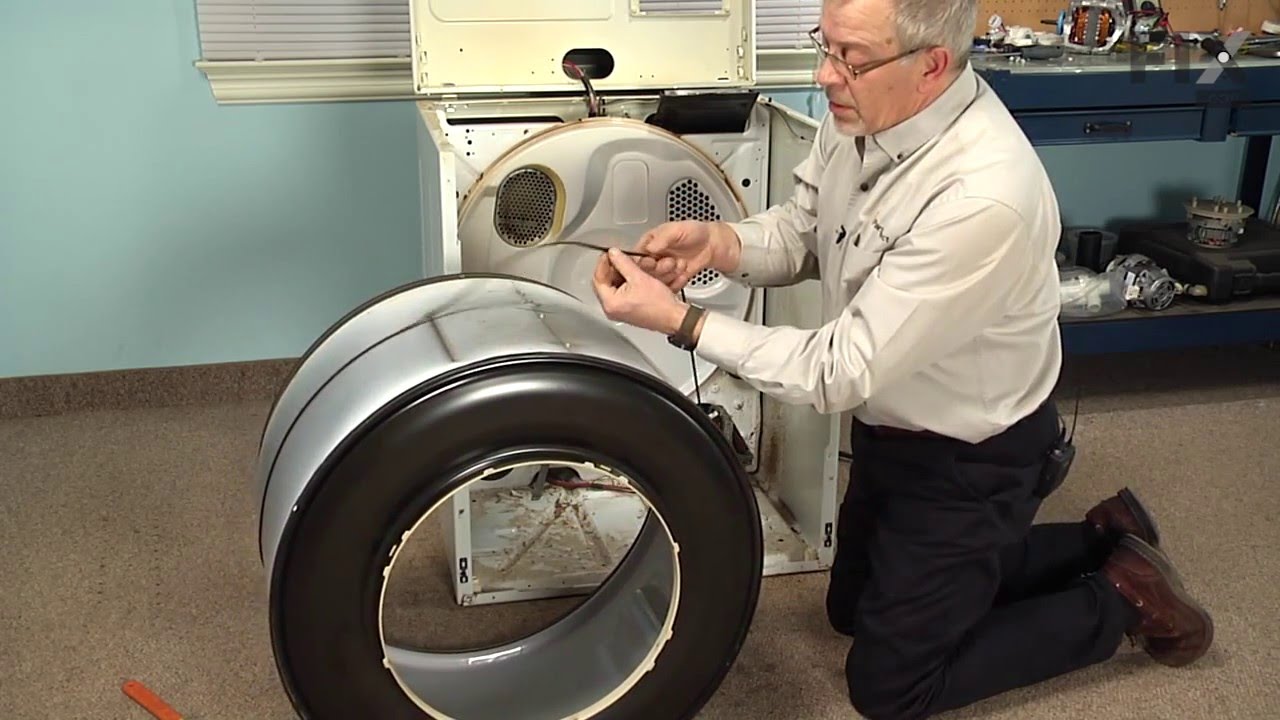

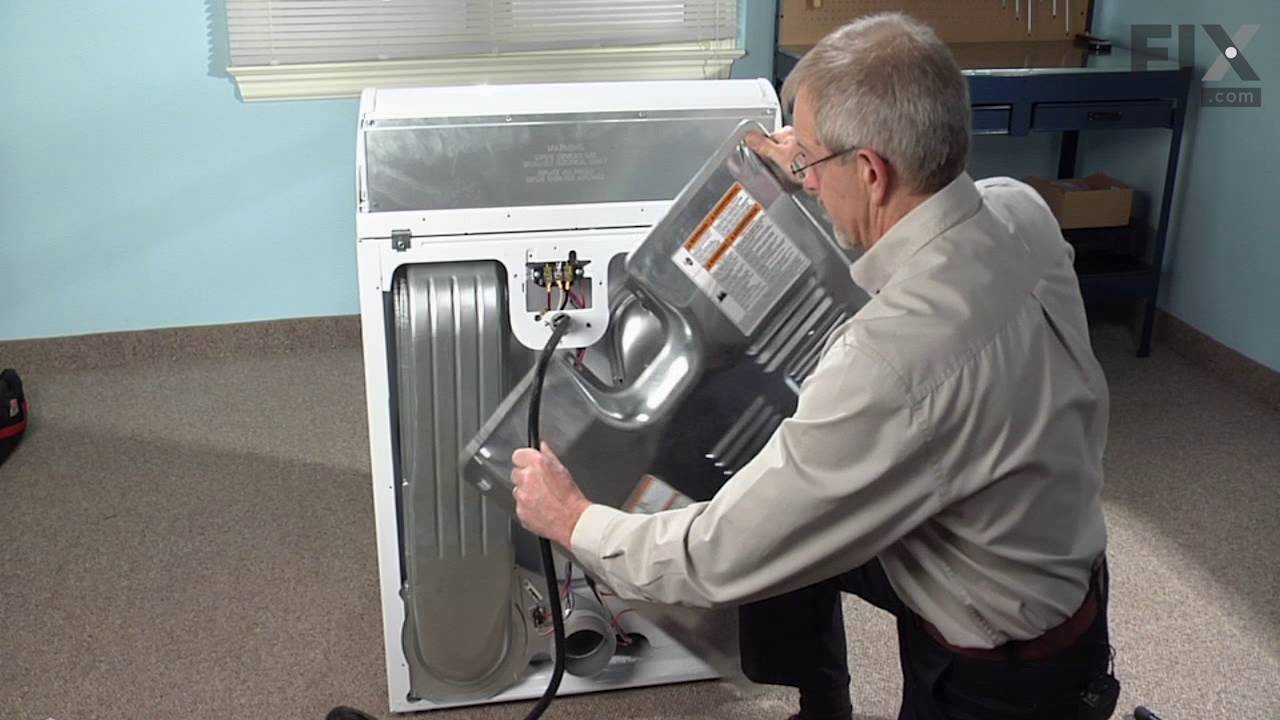
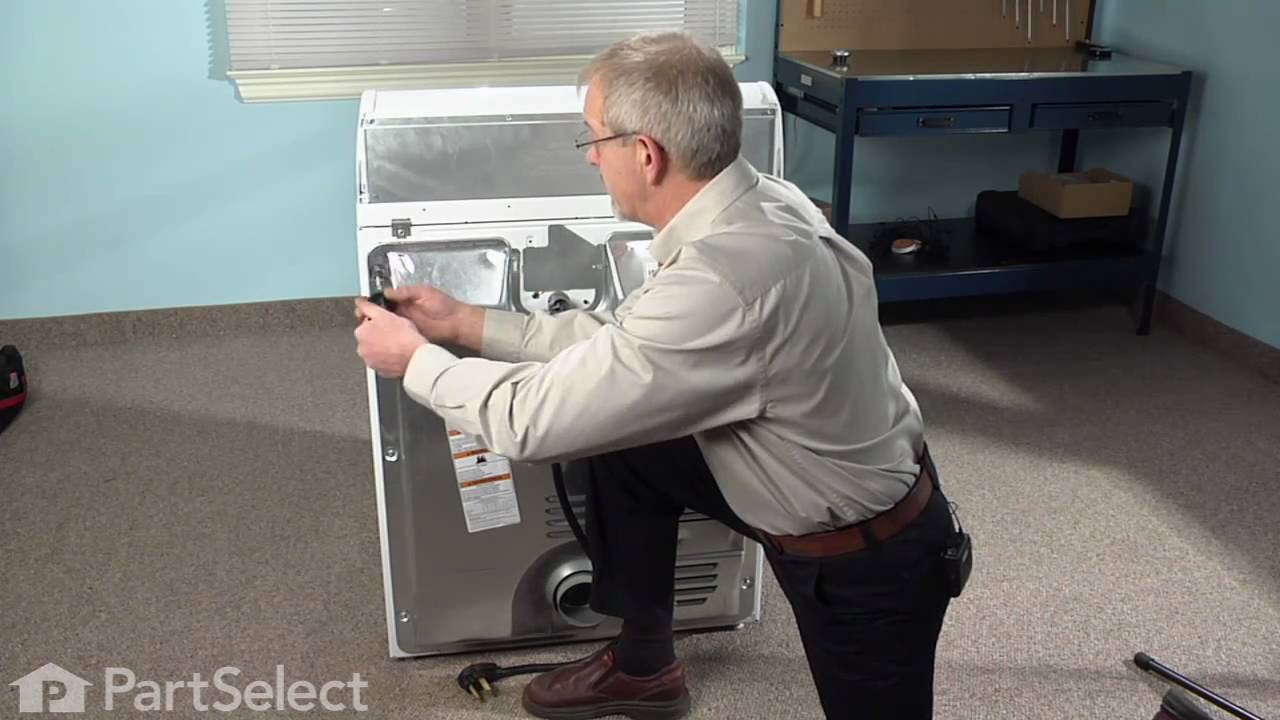
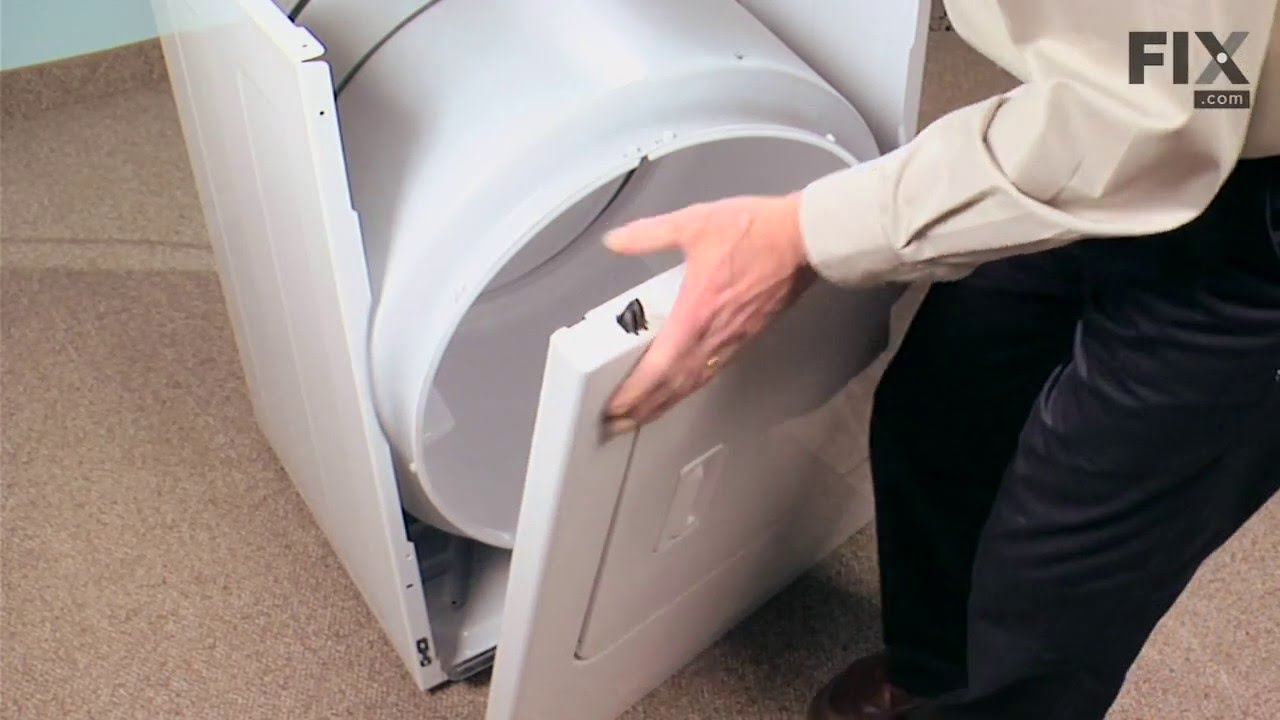
See how others fixed this model. Time, tools, difficulty, and steps that lead to victory!
View More
Search repair tips from other customers using simple keywords like "replace", "fit", "remove", "inspect". DIY doesn't mean you have to do it alone!
Search filter:
Clear Filter
Your search term must have 3 or more characters.
Dryer tub belt broke
1369 of 1491 people
found this instruction helpful.
Removed the two screws that attatch the lent channel to the top of the dryer, then lifted the top of the dryer by pushing in on the two locking tabs located at the front , left and right , corners of the dryer top with a small flat head screw driver. The top of the dryer will fold back out of the way. At this point I removed the two 1/4 i
... Read more
nch screws that are located on the inside of the dryer front left and right corners that hold the front panel/door to the two side panels. Now I was able to lift the front panel up and set it to the side. The bottom of the front panel that contains the dryer door that I just removed was held on the bottom by two clips that slide into slots on the front panel and did not require any removal to disconnect the bottom of the front panel, just pull up on the front panel. Since the tub was held in place by floating on a seal at the back of the dryer and a seal on the front panel , which I just removed the tub is now free floating except for the two alignment roller wheels at the bottom of the tub. It is easier if you lay the dryer on its back at this point with front of the tub pointing up. I pulled the tub out and cleaned the years of built up lent and removed all the pieces of the old , destroyed, belt. Note, the belt tentioner is located at the front of the motor which on the bottom right hand side. If your belt is broke like mine the tensioner may/will fall to the back of the dryer when you tilt it back, but do not worry. Once the dryer was cleaned up I put the tub back in place , still on its back and made sure the two alignment rollers were in place and rolled freely when the tub was turned by hand. Another note, my original belt tensioner did not have a rolling wheel that the belt rode on , but was a semi-circle smooth surface that the belt remained in constant friction with when the dyer was running, so I made sure the replacement tensioner I ordered with my new belt did have a rolling wheel that the belt would ride on, which I believe will reduce wear and extend the belt life. The new belt came with a diagram of the belt and tensioner routing which was helpful. Note: do not take the tensioner wheel off/apart when trying to route the belt. Follow the instructions routing diagram. The tensioner is held in palce by inserting the bottom back half into the slot in the bottom floor of the dryer making sure it is aligned with the belt pully on the shaft of the dryer motor. The dryer is still on its back side. Now, it was easier for me to route the belt around the center of the tub, following the marks from the original belt, and hold in in place in a few spots with masking tape and then route it thru the tensioner and onto the front pully of the motor. Make sure you have the grooves of the belt against the tub and the grooves are aligned with the pully on the motor. Now you can remove the masking tape that was holding the belt around the tub and spin the tub by hand watching the belt making sure it is not in a bind and is traveling around the motor pully , tensioner and tub freely. Make sure the tub is still sealed on the back side wall. As you turn the tub by hand you can adjust the belt by hand so that is following the original marks around the tub left by the orignal belt. Also double check the two alingment rollers and make sure they are spinning and on track. Now put the front panel with the door on by sliding it onto the two clips that are one the bottom at each side and put the two screws in that hold the front panel to the two side panels. Now stand the dryer back up and spin the tub by hand again making sure it has a good seal on the back side and on the front panel. Pull the top back down and put the two screws in that hold the lent channle to the top. I am not sure when the belt started failing on my dryer, but was amazed at how quiet it runs now. Guess I was use to the extra noise made by a dryer that was about to die. This was a cheap and easy repair and glad I did it myself.
Read less
Other Parts Used:


Was this helpful?
Thank you for voting!