


 My Orders




8504428390 Kenmore Microwave - Overview
Diagrams for 8504428390
See every part. Know exactly what you need.


Enter a part description. DIY Heroes keep it simple, eg. "belt" or "pump".
Search filter:
Clear Filter
Your search term must have 3 or more characters.

$19.54
In Stock
Light Bulb - 40W
Part #8009
This an authentic OEM 40-Watt replacement light bulb, used in a number of household appliances. It is specially designed to withstand extreme temperatures, which is why these replacement bulbs are most often used to light the inside of refrigerators and ranges. It features a standard socket base, which means you simply unscrew the burnt-o...Read moreut bulb and screw in the replacement. Depending on the appliance you may require a screwdriver or nut driver to access the light bulb. We recommend you wear work gloves while handling this replacement part. It is constructed of glass and metal and is sold individually. Depending on the appliance and location of the bulb within it, you may want to consider disconnecting power and using a flashlight for easier access to unscrewing and re-screwing in your bulb during this repair.
Read less

$49.50
In Stock
2 Piece Broiler Pan
Part #4396923
This broiler pan and roasting rack set is designed to help reduce mess while cooking by allowing grease to drain away from food. Its durable porcelain-coated construction stands up to high temperatures and makes cleanup simple. With approximate dimensions of 16 3/4 inches long, 12 3/4 inches wide, and 1 3/4 inches high, it offers a convenient size for everyday broiling and roasting.

$25.78
In Stock
Micro Switch
Part #6600W1K001D
This microwave door interlock switch responds to the door latch, helping prevent cooking operation while the door is open. Its small actuator changes the electrical contact when the door opens or closes. A worn or damaged switch may prevent the microwave from starting even when the door is fully shut. Replacing a faulty switch helps resto...Read morere proper door detection within the safety interlock system. Internal microwave components can retain a dangerous electrical charge after unplugging, so disconnecting power alone does not make them safe to handle. This is an OEM part sourced directly from the manufacturer.
Read less

$22.52
In Stock
Affresh Dishwasher Cleaner Tablets - 6
Part #W10549851
Affresh dishwasher Cleaner is specially formulated to help remove limescale and mineral build-up that can be unsightly and could affect your dishwasher's performance. Each tablet is designed to clean inside your machine while your detergent cleans your dishes.

No Longer Available

No Longer Available
SWTCH-LITE
Part #WP8189867
No Longer Available
SPRNG-DOOR
Part #WP4173267

No Longer Available
Collar
Part #10158

No Longer Available
Stopper
Part #10523

No Longer Available
Operating instructions
Part #12296
No Longer Available
SCREW
Part #90196
No Longer Available
DISCONTINUED
Part #31210
Common Symptoms of the 8504428390
How this model fails, and the parts that fix it.
No heat
Fixed by
these parts
these parts

Show All
Won’t turn on
Fixed by
these parts
these parts
Show All
Doesn’t shut off
Fixed by
these parts
these parts
Show All
Not cleaning dishes properly
Fixed by
these parts
these parts

Show All
Little to no heat when baking
Fixed by
these parts
these parts

Show All
Element will not heat
Fixed by
these parts
these parts
Show All
Watch our pros, then fix it yourself.
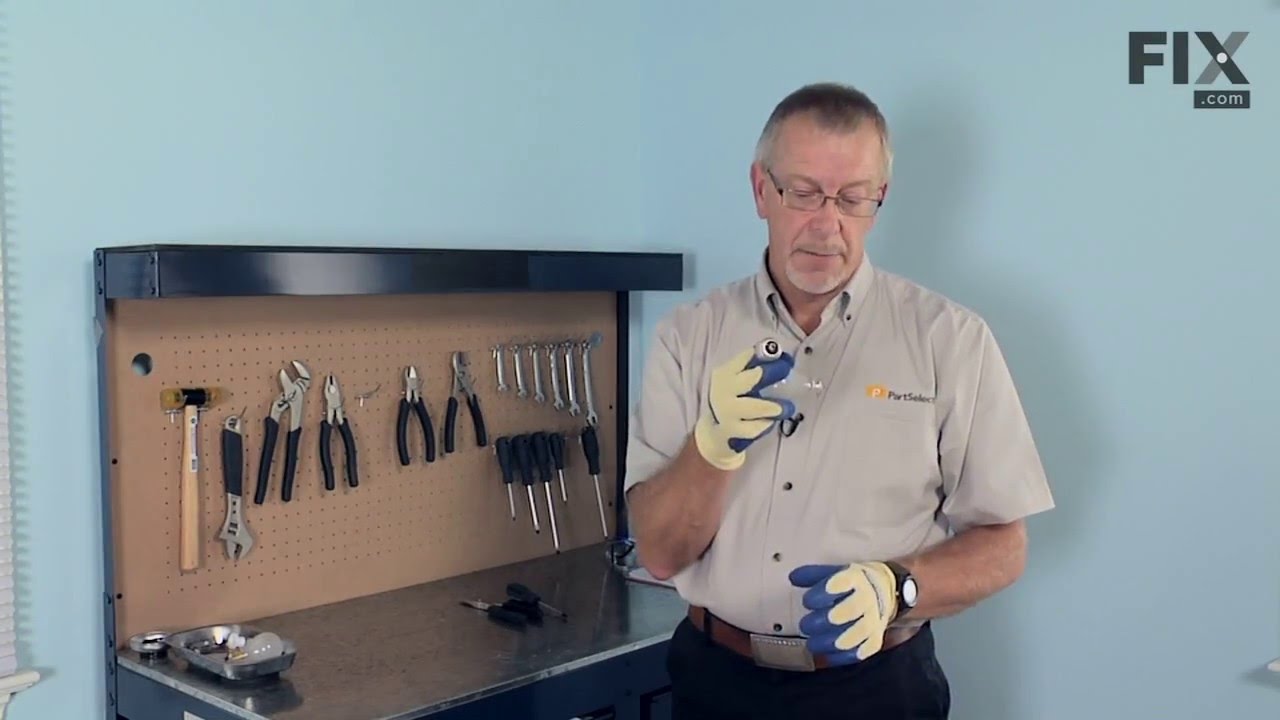
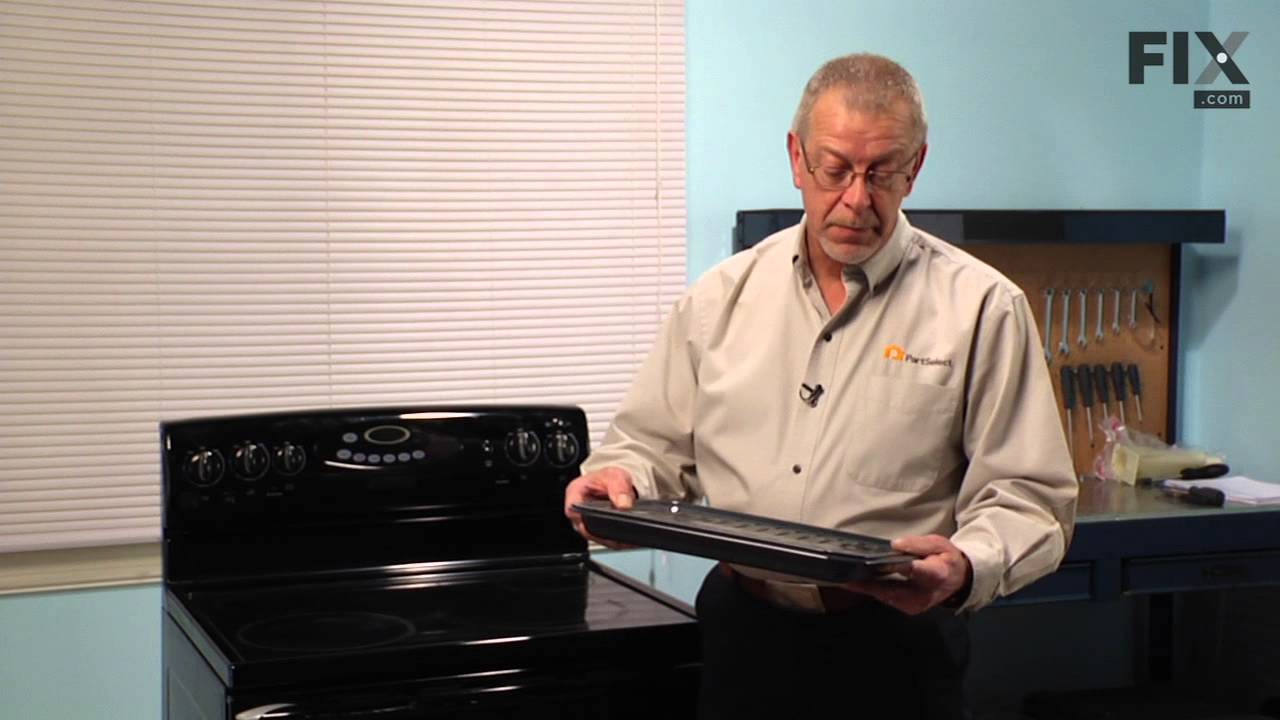
See how others fixed this model. Time, tools, difficulty, and steps that lead to victory!
View More