EasyApplianceParts is now PartSelect! We've merged our sites to provide a better shopping experience for you.   Full Details
✖

Find Parts

Parts Departments

Top Model Types

Top Brands

Repair Help

Expert Repair Videos

Keep typing for more specific results...

8361RV Magic Chef Cooktop - Overview

Diagrams for 8361RV

See every part. Know exactly what you need.

Enter a part description. DIY Heroes keep it simple, eg. "belt" or "pump".

Search filter:
Clear Filter
Your search term must have 3 or more characters.
Top Burner Igniter – Part Number: 74004053
$29.47
In Stock
Top Burner Igniter
★★★★★
★★★★★
(22)
Part #74004053
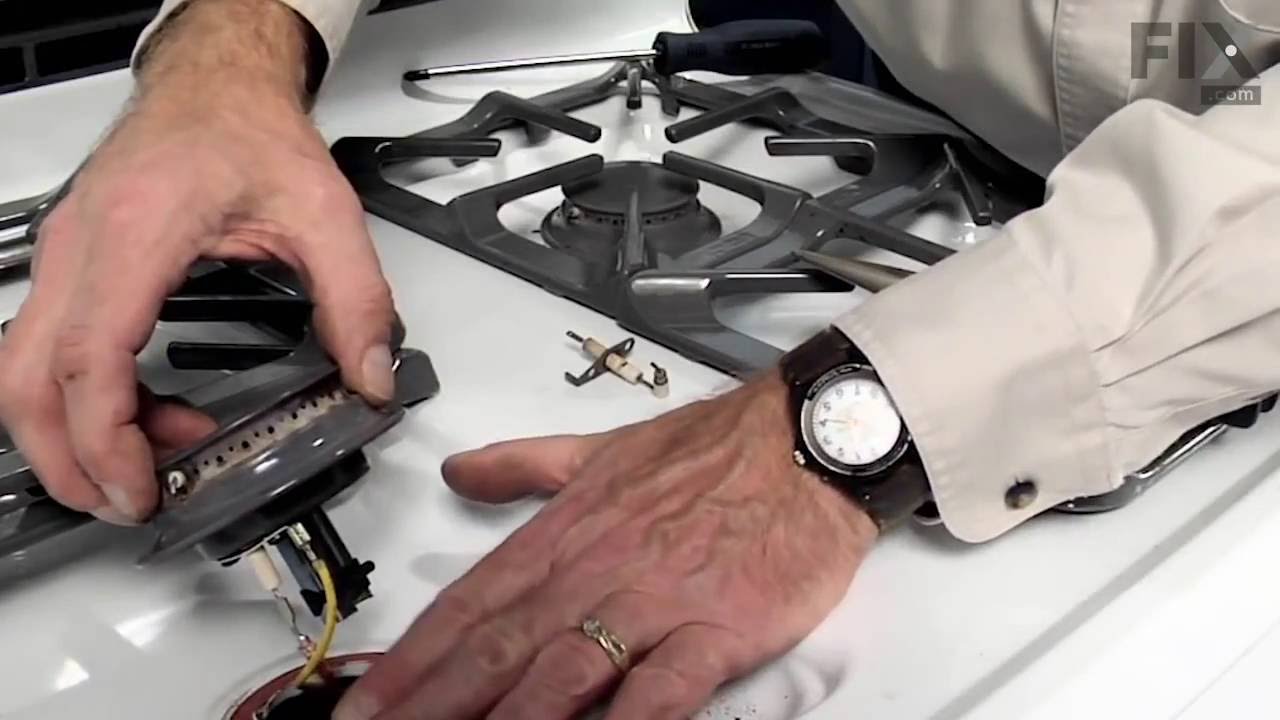
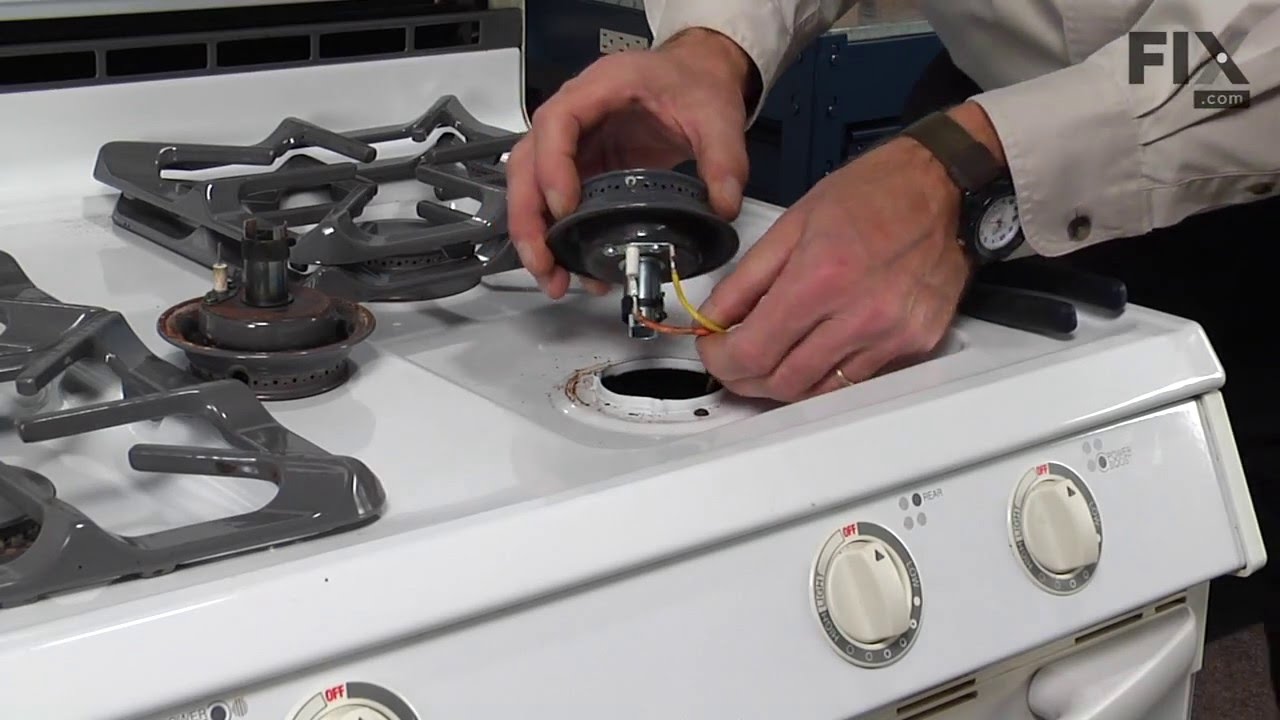
This is a surface burner igniter, also known as a top burner ignitor and stove top spark electrode. It is used to generate the spark that lights the surface burner. If your stove will not start, element does not heat, or gas igniter glows but does not light, replacing the igniter can solve these issues. For this installation, you will need a Phillips screwdriver and needle nose pliers. First place the grate on top of the burner, then lift the burner and disconnect the wires. Next remove the two Phillips screws from the bottom of burner, pull igniter out of the burner and wiggle in the new one. Refer to the installation instructions provided by the manufacturer for more instructions.
Sealed Burner Cap with Electrode – Part Number: WP3412D024-26
$59.47
On Order
Sealed Burner Cap with Electrode
★★★★★
★★★★★
(8)
Part #WP3412D024-26
This burner cap assembly is sold with the spark electrode igniter and has a 7-inch outer diameter. This manufacturer-approved surface burner is for gas ranges. The surface burner supplies the heat to a cooking area on the cooktop. You may need to replace your burner cap if the gas igniter glows but will ignite the flame, the range will not start, or if you can smell gas. Because a faulty burner cap could lead to a house fire, it is recommended that you replace this part as soon as you realize it is faulty. Remember to unplug the range, turn off the gas, and let the unit cool down before starting this installation. Note: this part has been redesigned and no longer requires a gasket, and is sold individually.
Spark Module - Surface Burners – Part Number: 12001596
$75.13
In Stock
Spark Module - Surface Burners
★★★★★
★★★★★
(11)
Part #12001596
This part may differ in appearance, but functions same as original part. : This part sends enough current to the igniter to create a spark to the bottom of the burner cap.
Burner Knob – Part Number: WP7733P043-60
No Longer Available
Burner Knob
★★★★★
★★★★★
(1)
Part #WP7733P043-60
This burner knob is a little over two inches in diameter. It is a white knob and it is made of plastic. There is dark gray lettering on this knob denoting the off, warm, simmer, and high positions. Also, this knob has a red indicator line, and a red rectangle denoting the lite position.
Range Frame Screw – Part Number: WP7101P126-60
$7.47
Special Order
Range Frame Screw
★★★★★
★★★★★
(1)
Part #WP7101P126-60
Sold Individually.
Stand Mixer Screw – Part Number: WP4159193
$8.55
In Stock
Stand Mixer Screw
★★★★★
★★★★★
(1)
Part #WP4159193
This screw is sold individually.
Range Top Burner Knob – Part Number: WP74001385
No Longer Available
Range Top Burner Knob
★★★★★
★★★★★
(1)
Part #WP74001385
This top burner knob is two inches in diameter. It is primarily a white knob with dark gray lettering denoting the off, low, lite, and high positions. This knob also has a red indicator line as well as decorative red 'flames' to denote the temperature level.
Drip Bowl – Part Number: WP3424F005-81
No Longer Available
Drip Bowl
Part #WP3424F005-81
Igniter Wire – Part Number: WP5111A360-60
No Longer Available
Igniter Wire
Part #WP5111A360-60
This igniter wire is twenty-eight inches long.
Seal Tape – Part Number: 12400041
No Longer Available
Seal Tape
Part #12400041
This piece of adhesive seal tape is eighty-nine inches long. It is made of black rubber and has a white backing that peels off easily. This seal tape is designed to fit around the drip pans of your appliance.
Range Burner Switch – Part Number: WP7403P367-60
$76.17
Special Order
Range Burner Switch
Part #WP7403P367-60
Order quantity required.
Burner Spark Ignition Switch – Part Number: WP7403P190-60
$65.73
In Stock
Burner Spark Ignition Switch
Part #WP7403P190-60
Sold individually.

Common Symptoms of the 8361RV

How this model fails, and the parts that fix it.

Watch our pros, then fix it yourself.
See how others fixed this model. Time, tools, difficulty, and steps that lead to victory! View More

Search repair tips from other customers using simple keywords like "replace", "fit", "remove", "inspect". DIY doesn't mean you have to do it alone!

Search filter:
Clear Filter
Your search term must have 3 or more characters.
A burner wouldn't spark strongly enough to light the gas.
168 of 188 people found this instruction helpful.
  • Matthew from Brookfield, MA
  • Really Easy
  • Less than 15 mins
  • Pliers
Replacement of these burners is very easy. You just twist the burner counterclockwise a quarter turn and pull it out. (You may need a big wrench if the range is very old.) Once out, just pull the two wires off and push them onto the new burner. Crimp them on with pliers if they're loose -- mine were. Twist the burner back on.
If the gasket under the burner has disintegrated, don't worry about it. They don't offer replacements for them because they're not necessary as a safety feature. They were designed to keep overspills from running under the cooktop, but the ridge around the hole is likely higher than you'd ever need.
Was this helpful?
Thank you for voting!
gas burner ignitor failure
142 of 162 people found this instruction helpful.
  • roy from East Providence, RI
  • Easy
  • 15 - 30 mins
  • Screw drivers
Lift out sealed burner assembly rear of stove first while careully sliding to rear to disengage ignitor probes.Remove philips head screws from bottom sheet metal housing to expose bottom of burners Remove gas tube assembly screws and move tube away carefully.Unplug wires from ignitor.Remove screws for ignitor .Remove ignitor, I noticed t hat rust and dirt had built up around burner to pan connection.I used my oil filter wrench to turn slightly the burner to remove it from the pan to clean.Reassembled in reverse order.
Was this helpful?
Thank you for voting!
No spark at top burners, first one then eventually all 4.
35 of 41 people found this instruction helpful.
  • jonathan from Bryson City, NC
  • Really Easy
  • 15 - 30 mins
  • Screw drivers
Most of the repair time was spent researching the problem online, locating the spark module inside the range, and selecting the part online. Installation was easy. Key troubleshooting info for me was, if there is no clicking, the spark unit is probably worn-out. I traced the ignition wires from the burners down to the spark module, locate d inside a 2x3" metal housing next to the bottom drawer. I removed 2 screws and out it came. The replacement unit pictured on the PartSelect site was not identical to the original but had the same number of contacts. I ordered the part and it arrived a few days later. The old connectors slipped easily onto the new pins, and I screwed the new unit into the range using the new metal housing. All 4 burners now spark up quickly, and we saved at least $100 on a service call. It was well worth the time and effort -- thanks!
Was this helpful?
Thank you for voting!