


 My Orders




8335 - Overview
Models starting with 8335
Click on the best match to narrow your results.
Enter a part description. DIY Heroes keep it simple, eg. "belt" or "pump".
Search filter:
Clear Filter
Your search term must have 3 or more characters.

$207.55
In Stock
Ice Maker
Part #WR30X10093
This 10 by 5 inch ice maker (Electromechanical Icemaker Kit, Ice Maker Assembly) produces ice. This particular model will produce seven crescent shaped cubes every cycle. It is constructed of plastic and metal, and comes in black/white. This kit includes a set of installation instructions, a 4-pin round plug-in connector, 6 post plug-in c...Read moreonnectors, tube and fill cup. The ideal temperature of a freezer is zero degrees Fahrenheit. If the temperature in your freezer is at an appropriate level yet ice is still not being made, it could be an issue with the water inlet valve or your ice maker assembly. If you determine it is the ice maker, this is the replacement you need. The ice maker can break from normal wear and accidental damage. Ice makers will need to be replaced every 3-10 years depending on the frequency of usage and water quality. This model is mounted on the freezer wall.
Read less

$56.05
In Stock
Run Capacitor
Part #5304464438
The run capacitor helps the compressor kick on and off while maintaining a constant temperature in your fridge and freezer. You may need to replace your run capacitor if your refrigerator or freezer section will not start, if they are too warm, or if your refrigerator has become too noisy. Replacing the run capacitor is a relatively easy ...Read moreproject. For this repair you will only need a 1/4 inch nut driver and needle nose pliers. Remember to disconnect the power and water supply line to the unit before you begin this repair. For full step by step instructions, simply click on the video below.
Read less

$63.72
In Stock
Refrigerator Light Bulb
Part #5304517886
This is an LED light for a variety of refrigerator models. This 3.8W LED light is used to shine and adequately light the contents of your refrigerator when you open its door. If your current light is significantly dimmer than normal, or simply not working anymore, it will need to be replaced. To replace this bulb, unplug your fridge momen...Read moretarily, and then simply unthread the old one and screw in the new one. This bulb is sold individually and does not come with any other parts.
Read less

$70.35
In Stock
Gasket Retainer Clip Kit - 24 Pieces
Part #5303922007
This gasket retainer clip kit is for freezers. There are 24 pieces in this kit. The clips are what secure the gasket and liner to the freezer lid. The clips are white in color and made of plastic. If you notice frost build up in your freezer or that is it is not maintaining its temperature, this might be because the retainer clips have br...Read moreoken, and this has caused the gasket to become loose. This is a genuine OEM part that is obtained right from the manufacturer, ensuring a quality repair.
Read less

$19.68
In Stock

$79.15
In Stock
Hinge Kit
Part #297321900
This freezer door hinge assembly supports the door and allows it to open and close smoothly while helping maintain a proper seal. It provides the stability needed to keep cold air inside and food stored at the right temperature. Designed to match the original fit and function, it’s a dependable replacement for restoring smooth movement and a secure door closure.

No Longer Available
Interior Drain Plug
Part #216502600
This is a plastic OEM drain plug that is attached to the drain system of your appliance and is compatible with several different makes and models of refrigerators, freezers, and air conditioners. This drain plug is used to prevent water from leaking out of the incorrect drain system within the appliance and is normally removed for cleanin...Read moreg and maintenance. If you notice water leaking inside of your appliance, the plug may be improperly positioned or may need replacing. To replace, simply pull off the damaged plug and insert the new plug in its place.
Read less

$39.82
In Stock
Filter - Drier
Part #5303305677
A filter-drier in a refrigerator has two essential functions. The first is to absorb system contaminants, such as water, which can create acids. The second is to provide physical filtration. This means trapping moisture, small metal chips, and dirt found in the refrigerant gas. If your refrigerator motor is constantly running, but the ref...Read morerigerator is not getting cold, the issue could be due to a damaged or faulty filter-drier. Faulty filter-driers are sometimes the cause for abnormal freezer compartment temperatures and partially frosted evaporators. This filter-drier is approximately 11 inches long. Remember to disconnect the power from your refrigerator before beginning this repair.
Read less

No Longer Available
Icemaker Switch
Part #WR29X5171

No Longer Available
Icemaker Motor Gear
Part #WR29X5153

$24.07
In Stock
Water Line - 1/4"
Part #WR17X1948
This water line 1/4, also known as a ice maker fill tube, is used in freezers and refrigerators. The tube directs the water into the ice maker cup during the cycle in which it fills the cup. The water line height is 0.6 inch and it weighs 0.1 lbs. As a safety precaution, unplug your appliance from the power source before installing this p...Read moreart. Remember to safely store food when it is removed from fridge or freezer. Refer to the installation instructions provided by the manufacturer for further guidance and accuracy.
Read less

No Longer Available
Relay
Part #5303007173
Exact Part matches for your search term

No Longer Available

$174.89
In Stock
Add-On Icemaker Assembly
This part number matches the current model number 8335
Part #IM6D
This is a complete add-on icemaker kit that is used on GE models manufactured from 1987 to present. This kit includes the water inlet valve, fill tube, ice bin, and all required hardware and tubing.
No Longer Available
Common Symptoms of models starting with 8335
How this model fails, and the parts that fix it.
Ice maker not making ice
Fixed by
these parts
these parts


Show All
Will Not Start
Fixed by
these parts
these parts

Show All
Fridge too warm
Fixed by
these parts
these parts

Show All
Ice maker won’t dispense ice
Fixed by
these parts
these parts
Show All
Leaking
Fixed by
these parts
these parts

Show All
Freezer section too warm
Fixed by
these parts
these parts
Show All
Won’t start
Fixed by
these parts
these parts
Show All
Too warm
Fixed by
these parts
these parts
Show All
Fridge and Freezer are too warm
Fixed by
these parts
these parts
Show All
Frost buildup
Fixed by
these parts
these parts

Show All
Noisy
Fixed by
these parts
these parts
Show All
Fridge runs too long
Fixed by
these parts
these parts
Show All
Ice maker dispenses too little ice
Fixed by
these parts
these parts
Show All
Ice maker dispenses too much ice
Fixed by
these parts
these parts
Show All
Doesn’t stop running
Fixed by
these parts
these parts
Show All
Clicking sound
Fixed by
these parts
these parts
Show All
Watch our pros, then fix it yourself.

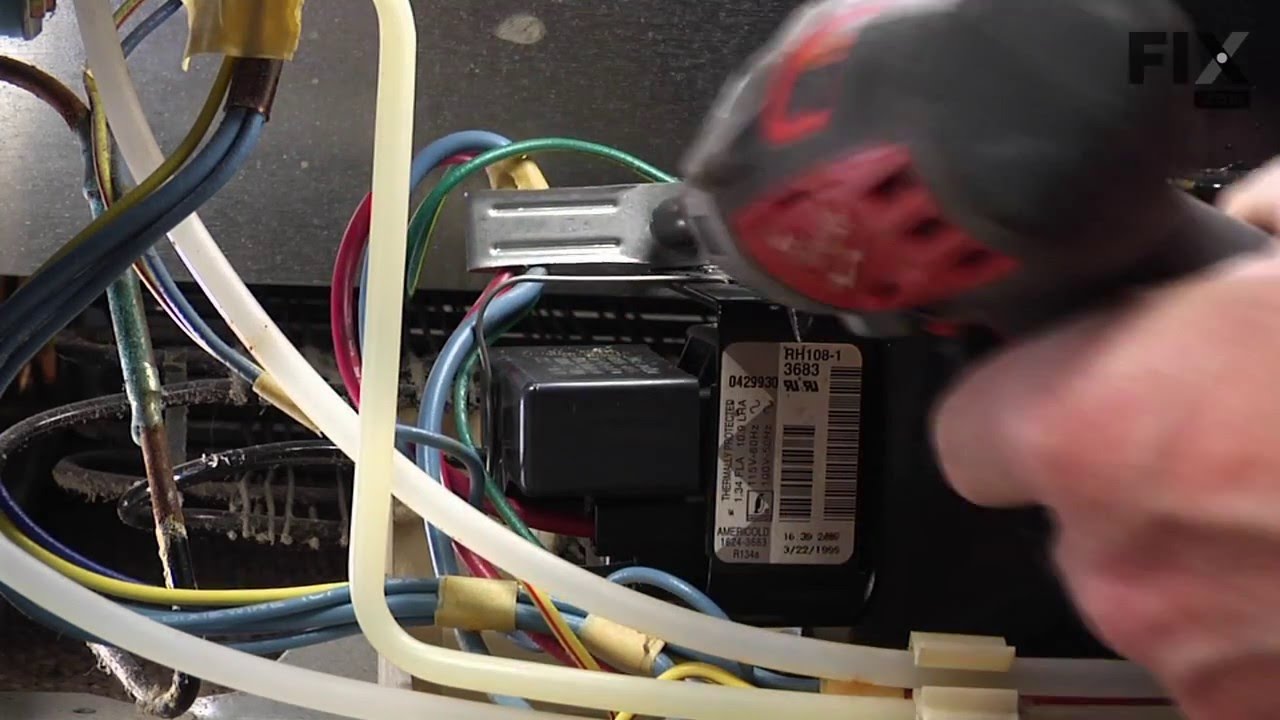
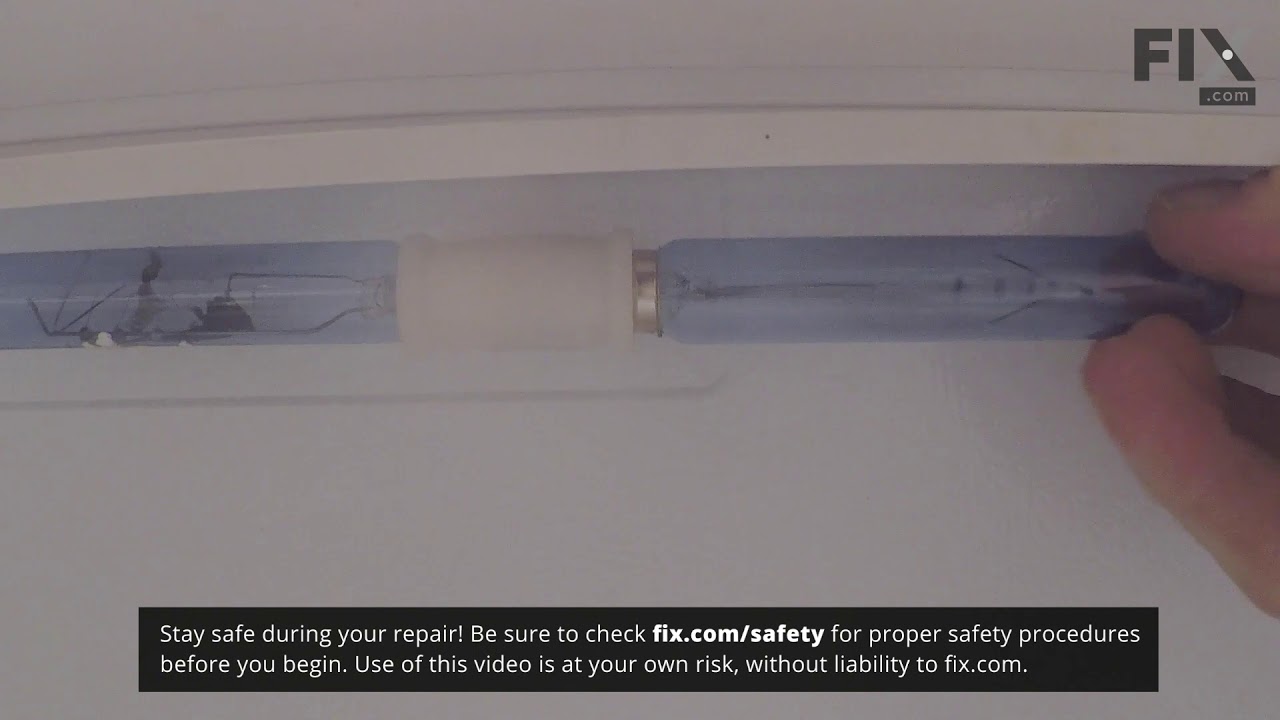
See how others fixed this model. Time, tools, difficulty, and steps that lead to victory!
View More