


 My Orders




8198 - Overview
Models starting with 8198
Click on the best match to narrow your results.
- 819803 Kenmore Dryer (Kenmore Dryer Model 819.803 (819803, 819 803) Parts)
- 819804 Kenmore Dryer (Kenmore Dryer Model 819.804 (819804, 819 804) Parts)
- 81982 (ABWESEU) LG Dryer (Dryer)
- 81982 LG Dryer (LG Dryer Model 81982 Parts)
- 81983 (ASTESEU) LG Dryer (Dryer)
- 81983 LG Dryer (LG Dryer Model 81983 Parts)
- 8198549 KitchenAid Ice Maker (COMPACT ICE MAKER)
- 8198922 KitchenAid Ice Maker (FREE STANDING ICE MAKER)
Enter a part description. DIY Heroes keep it simple, eg. "belt" or "pump".
Search filter:
Clear Filter
Your search term must have 3 or more characters.

$138.79
In Stock
4 PACK ROLLER ASSEMBLY
Part #4581EL2002L
This part is sold individually. The drum support roller is found in your dryer. It is used to hold the drum in place in the cabinet while letting the drum rotate on the support rollers. It is recommended that you replace both rollers at once. You may notice that this part needs to be replaced if you are experiencing a squeaking noise, whi...Read morech could be due to the bearing going bad. The bearing could be severely damaged if you hear a very loud thumping noise, much like you would when you are drying a pair of shoes.
Read less

$19.30
In Stock
Thermal Fuse
Part #6931EL3003D
This thermal fuse acts as a high-limit thermostat, and shuts off the heating element when the dryer overheats by cutting off power to the dryer. If the thermal fuse has blown, the dryer will not start. These fuses cannot be reset, so if yours has blown, you will need to replace it. A common reason for the thermal fuse to blow on a dryer i...Read mores if the exhaust vent on your dryer is restricted or blocked. Hot air will be confined in the dryer and the fuse will trip and stop the electricity from flowing to the gas valve or heating element.
Read less

$7.47
In Stock

$103.35
In Stock
Dryer Thermistor
Part #6323EL2001B
This dryer thermistor temperature sensor helps monitor and regulate the temperature inside a dryer. This part includes the wire harness. If your dryer overheats, does not produce enough heat, or takes too long to dry, then the thermistor might be defective or damaged. This can cause a fault code and could begin either prolonging or shorte...Read morening drying time. As a safety precaution, make sure to unplug the dryer from the power source before beginning this installation, and wear gloves to protect your hands. Refer to the installation instructions provided by the manufacturer for further guidance.
Read less

$27.36
In Stock
Affresh Ice Machine Cleaner
Part #W11179302
This nickel-safe, unscented ice machine cleaner measures 16 fluid ounces and is used to remove mineral build-up and hard water and is compatible with several makes and models of freestanding ice machines. To use properly, turn off your ice machine and remove the existing ice left in your ice machine. Next, drain the water from your ice ma...Read morechine. Empty the entirety of this cleaner into the empty water pan and activate the cleaning cycle, and once the cycle is complete and you drain the pan again, the cleaning is complete!
Read less

$51.61
In Stock
Blower Thermostat
Part #6931EL3002M
The thermostat is a part for your dryer, and it is roughly 1 inch long by roughly 1.5 inches wide. The purpose of the thermostat is to measure the temperature of the air inside your dryer drum. As the air is being measured, it will turn the heat on or off in order to maintain a stable temperature within the drum. The most common reason yo...Read moreu would need to replace your thermostat is if your dryer is not receiving enough heat, or any heat at all.The tools you will need to complete this repair include a Phillips screwdriver, and a flat-head screwdriver.
Read less

$27.36
In Stock
Water Tube Kit
Part #W10823511
This is the replacement water tube kit for your refrigerator. This tubing is made of plastic, is 1/4 inch in diameter, and comes with 2 inserts. This tube may be longer than the original tube, and may need to be cut. This water tube transports water to the ice and water dispensers. If your refrigerator is leaking, or if the ice and water ...Read moredispensers are not dispensing properly, you may need to replace this tube. This part is sold individually and is an OEM part sourced directly from the manufacturer.
Read less

$77.22
In Stock
Lint Filter
Part #ADQ73373201
This lint filter assembly for your dryer catches lint and debris from your clothes. You can find it near the door. It helps keep the air flowing properly and stops lint from blocking the exhaust ducts. If it is broken or clogged, your clothes will take more time to dry, and there is a risk your dryer could overheat, leading to a fire. Thi...Read mores is a genuine replacement part from the original manufacturer and is sold individually.
Read less

$73.04
In Stock
Thermistor
Part #WPW10503764
This is a bin thermostat made for standalone ice makers to activate the ice maker shut-off when bin is full. It senses how much ice is in the bin to determine if it should produce more ice or activate shut-off. The bin thermostat may need to be replaced if bin is overfilled, underfilled, or not producing ice. Thermistor can be tested with...Read more an ohm meter. This part is made of plastic and metal, and is white in color. This is an authentic part sourced from the original manufacturer.
Read less

$44.23
In Stock
Door Light Switch
Part #WP2149705
The purpose of the light switch in your refrigerator is to automatically turn on the light when the door is opened. If the light does not come on automatically when you open the door, the contacts inside the light switch may be burned out, meaning it is time to replace the switch. This package contains both the new light switch and a smal...Read morel plastic spacer. To complete this repair, you will need to remove the control panel section of your refrigerator. The only tools you will require for this repair are a 1/4-inch nut driver and maybe a small flat blade screwdriver. Be sure to disconnect the power source from the refrigerator before completing this repair.
Read less

$163.15
In Stock
Complete Ice Cutter Grid Assembly
Part #WP2313637
If your freestanding ice maker is not producing ice properly, the ice cutter grid assembly may need replacing. The cutter grid is located within the main unit of the ice maker and contains thin, heated wires that slice the ice into cubes that are then deposited in the ice bin. If the cutter grid is broken, ice can back up within the ice m...Read moreaker. This part is sold as a complete assembly and is used with freestanding ice makers. Be sure to wear work gloves to protect your hands when completing this repair. This is an OEM part that sources directly from the manufacturer.
Read less

$49.50
In Stock
Ice Cutting Grid Wire
Part #4387020
There is approximately 10' of wire. Note: 2 kits are needed to replace both directions.
Exact Part matches for your search term

No Longer Available
No Longer Available
Common Symptoms of models starting with 8198
How this model fails, and the parts that fix it.
Noisy
Fixed by
these parts
these parts


Show All
Not Heating
Fixed by
these parts
these parts


Show All
Leaking
Fixed by
these parts
these parts


Show All
Light not working
Fixed by
these parts
these parts

Show All
Fridge too warm
Fixed by
these parts
these parts
Show All
Won’t Start
Fixed by
these parts
these parts

Show All
Door won’t close
Fixed by
these parts
these parts


Show All
Ice maker not making ice
Fixed by
these parts
these parts
Show All
Drum Not Spinning
Fixed by
these parts
these parts
Show All
Freezer section too warm
Fixed by
these parts
these parts
Show All
Fridge and Freezer are too warm
Fixed by
these parts
these parts
Show All
Not dispensing water
Fixed by
these parts
these parts
Show All
Watch our pros, then fix it yourself.
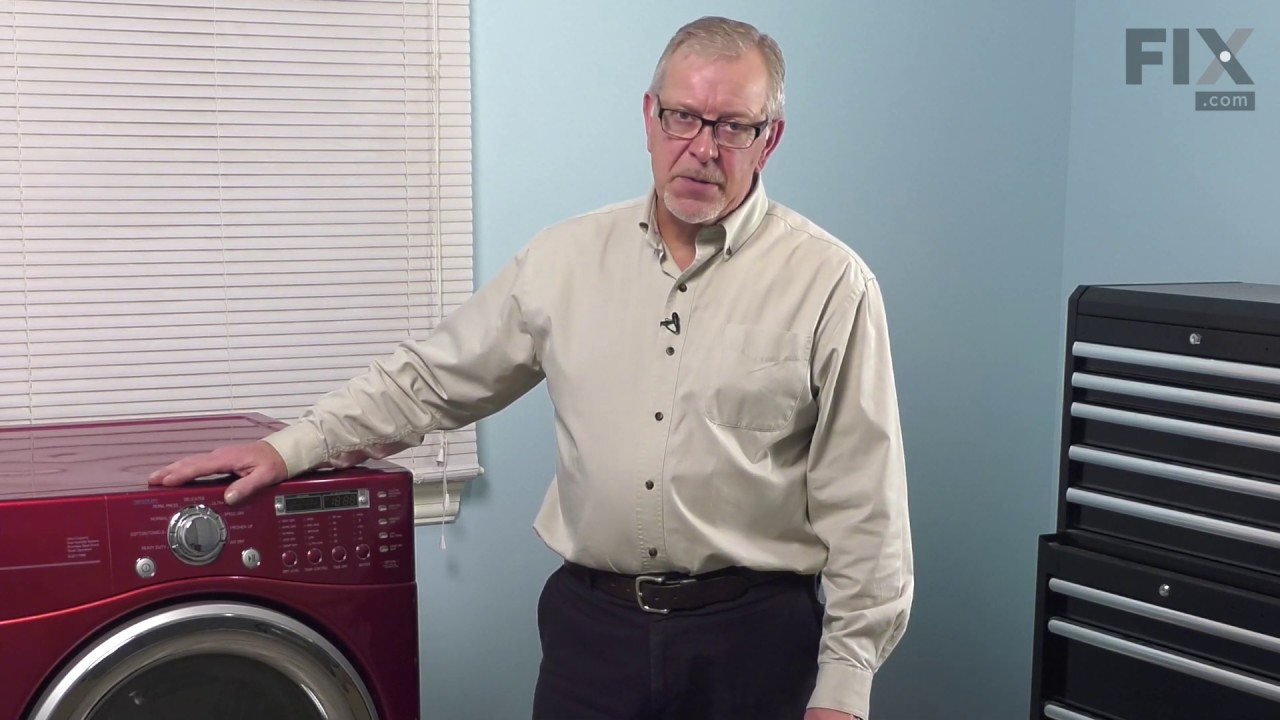
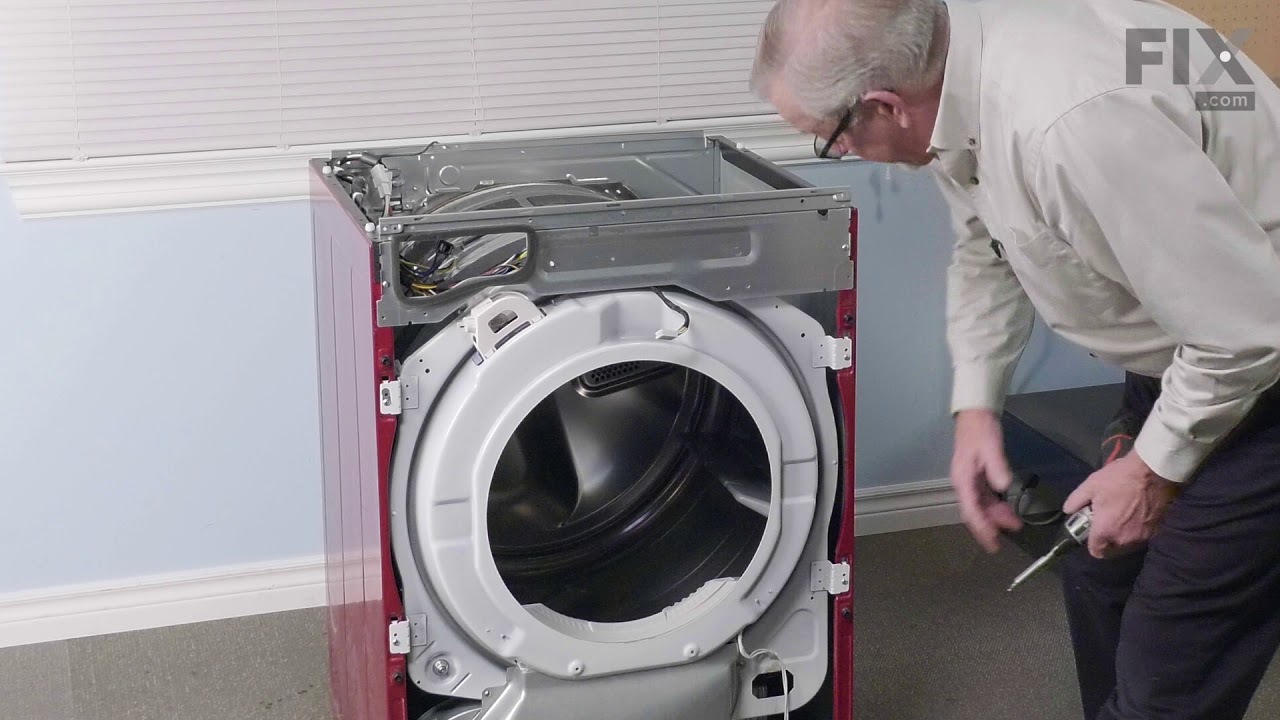
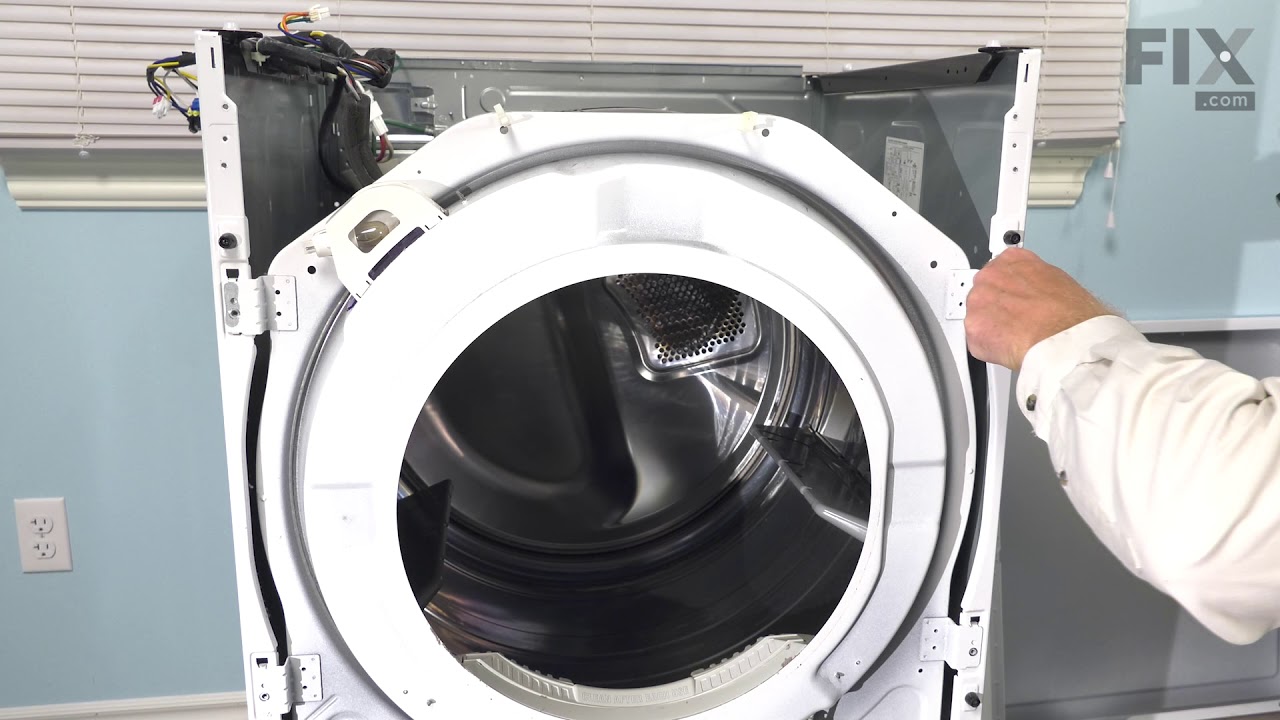

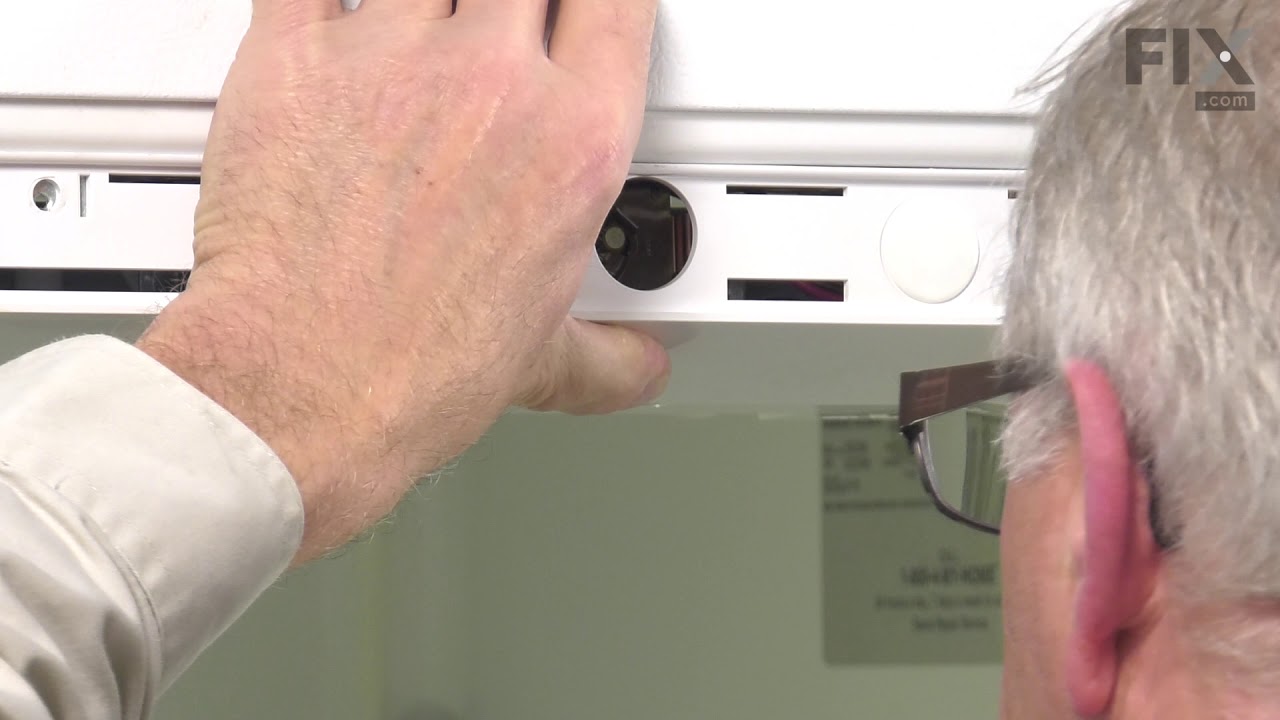
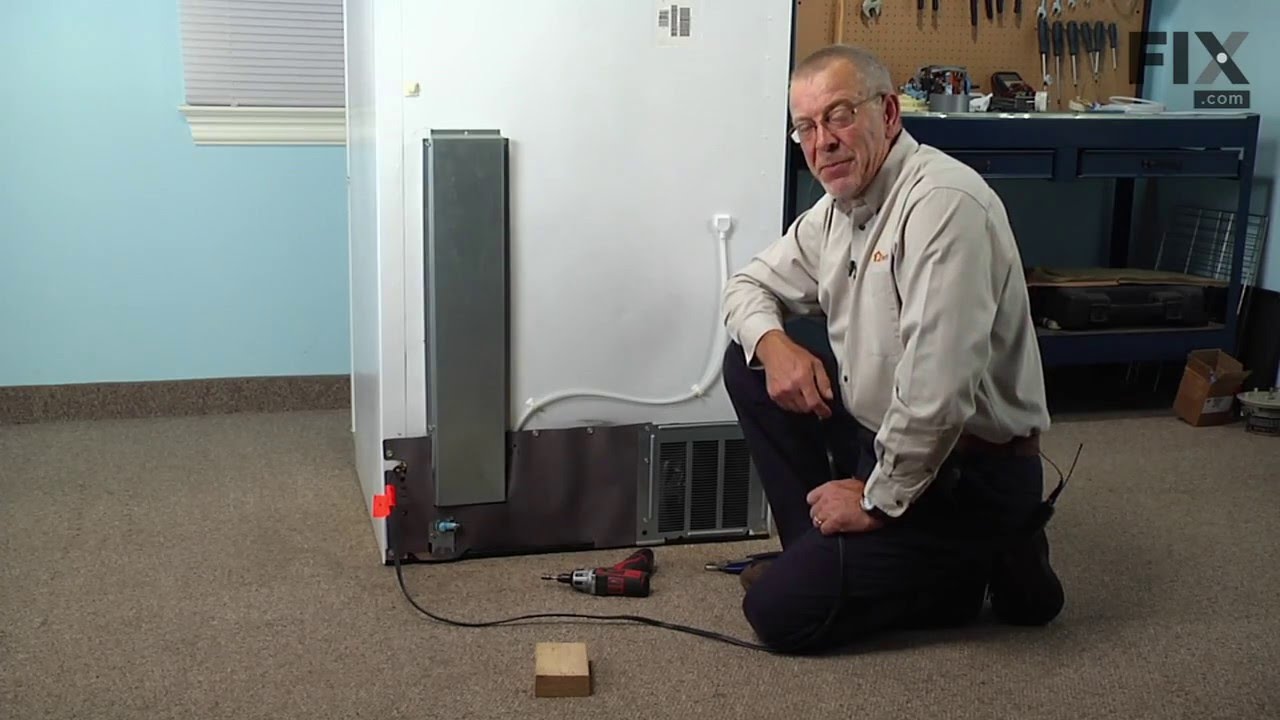
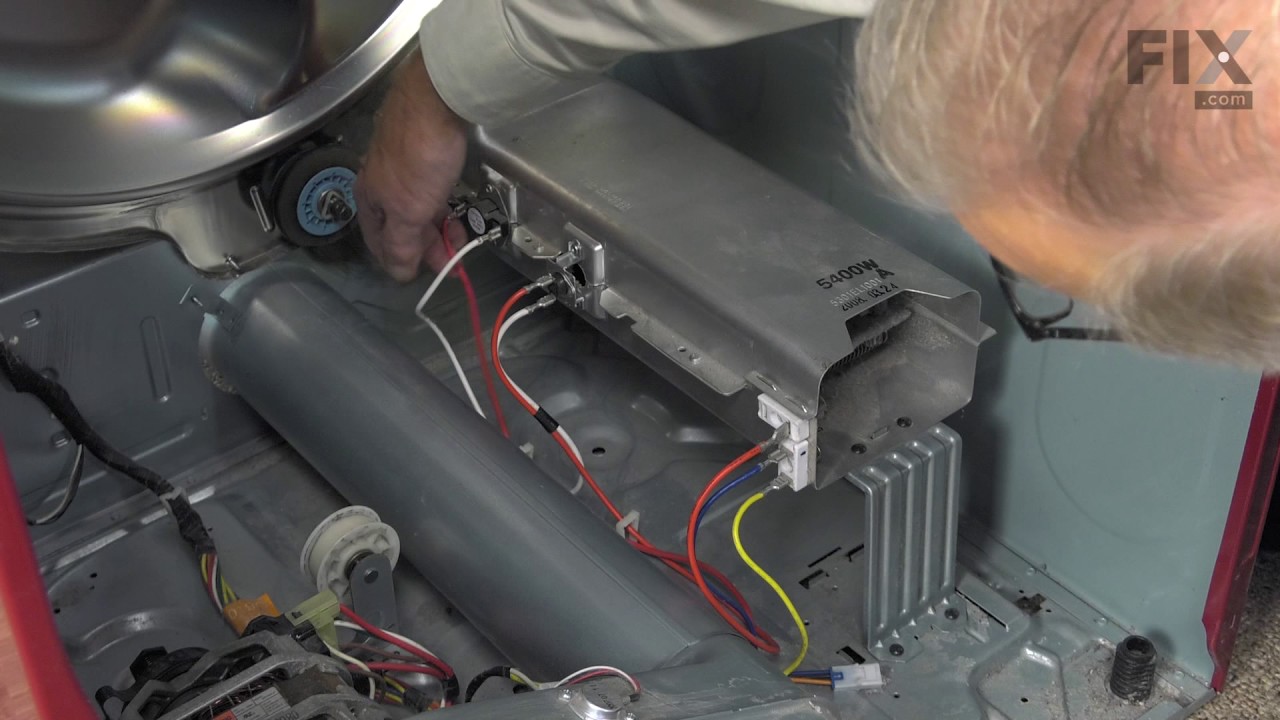
See how others fixed this model. Time, tools, difficulty, and steps that lead to victory!
View More