


 My Orders




8159 - Overview
Models starting with 8159
Click on the best match to narrow your results.
Enter a part description. DIY Heroes keep it simple, eg. "belt" or "pump".
Search filter:
Clear Filter
Your search term must have 3 or more characters.

$23.60
In Stock
Light Bulb - 40W 130V
Part #WB36X10003
This light bulb is a 40 watt, 130-volt clear appliance light bulb that is manufactured to fit microwaves with small-base light bulb sockets. The light bulb illuminates the inside of the microwave while the microwave is running. You may need to replace this part if the existing one is burnt-out or broken. If the existing light bulb is brok...Read moreen, disconnect power to the microwave and remove the bulb base with a pair of needle nose pliers. This is a common wear item, so it is recommended to order a spare. These light bulbs are sold individually.
Read less

$138.79
In Stock
4 PACK ROLLER ASSEMBLY
Part #4581EL2002L
This part is sold individually. The drum support roller is found in your dryer. It is used to hold the drum in place in the cabinet while letting the drum rotate on the support rollers. It is recommended that you replace both rollers at once. You may notice that this part needs to be replaced if you are experiencing a squeaking noise, whi...Read morech could be due to the bearing going bad. The bearing could be severely damaged if you hear a very loud thumping noise, much like you would when you are drying a pair of shoes.
Read less

$56.05
In Stock
Run Capacitor
Part #5304464438
The run capacitor helps the compressor kick on and off while maintaining a constant temperature in your fridge and freezer. You may need to replace your run capacitor if your refrigerator or freezer section will not start, if they are too warm, or if your refrigerator has become too noisy. Replacing the run capacitor is a relatively easy ...Read moreproject. For this repair you will only need a 1/4 inch nut driver and needle nose pliers. Remember to disconnect the power and water supply line to the unit before you begin this repair. For full step by step instructions, simply click on the video below.
Read less

$21.45
In Stock
Moisture Sensor
Part #6500EL3001A
The sensor controls the temperature in your dryer and will turn off once your clothes have reached the desired dryness level. If you notice that your dryer is not giving off enough heat to dry the clothes or is taking too long to dry, this may indicate that a repair to the senor is required. To access this part, you will need to remove th...Read moree front bulk head. To remove this, you will need to remove the screws securing the top. Uninstall the screws that support the control panel and lift. Remove screws holding the support bracket in place so you can detach this piece. Detach the wire harness and remove the wire, then set the bracket aside. You will now open the dryer door and release it by taking out the bottom two screws. Disconnect the wire harness and moisture sensor wire harness, remove screws from front bulk head, and remove screws that secure the duct housing. You should be able to completely remove the bulk head. You will find the sensor underneath the lint filter grill, which will also need to be removed.
Read less

$35.80
On Order
Dryer Drum Belt
Part #4400EL2001F
The belt wraps the length of the dryer drum, secured by a tension pulley and then loops around the motor pulley. If you find that the drum is not turning properly or at all while your dryer is in succession, it might be due to the belt being broken.

$103.35
In Stock
Dryer Thermistor
Part #6323EL2001B
This dryer thermistor temperature sensor helps monitor and regulate the temperature inside a dryer. This part includes the wire harness. If your dryer overheats, does not produce enough heat, or takes too long to dry, then the thermistor might be defective or damaged. This can cause a fault code and could begin either prolonging or shorte...Read morening drying time. As a safety precaution, make sure to unplug the dryer from the power source before beginning this installation, and wear gloves to protect your hands. Refer to the installation instructions provided by the manufacturer for further guidance.
Read less

$51.61
In Stock
Blower Thermostat
Part #6931EL3002M
The thermostat is a part for your dryer, and it is roughly 1 inch long by roughly 1.5 inches wide. The purpose of the thermostat is to measure the temperature of the air inside your dryer drum. As the air is being measured, it will turn the heat on or off in order to maintain a stable temperature within the drum. The most common reason yo...Read moreu would need to replace your thermostat is if your dryer is not receiving enough heat, or any heat at all.The tools you will need to complete this repair include a Phillips screwdriver, and a flat-head screwdriver.
Read less

$45.29
In Stock
Felt Seal
Part #4036EL3001A
This genuine OEM felt gasket provides a cushioned seal between the inner tub of your electric dryer and the rear panel. It prevents your clothes from getting snagged and helps in heat retention. You will find it around the circumference of the drum. The most typical reason for replacing the felt seal is when it becomes worn. It is importa...Read morent to note that this rear seal is sold separately from the front seal and the adhesive needed to install it.
Read less

$47.40
In Stock
Safety Switch Assembly
Part #EBF61496102
Don't let your fresh fruits and veggies go to waste! The GE Crisper Drawer is here to help. Also known as a PAN ASM, this nifty drawer can expertly manage humidity levels, providing the ideal storage environment for your fruits and vegetables. That means they stay crunchy, ripe, and delicious for longer. But why is it so important? Simp...Read morele. It's the key to keeping your food at the highest quality for as long as possible. This function, specifically designed for refrigerators, is an essential part of maintaining top-notch food storage standards. Before you install the Crisper Drawer, take a quick peek at your refrigerator's owner's manual for step-by-step instructions?it's easier than you may think. Remember, this part is crafted by GE - a brand renowned for its commitment to exceptional performance. Trust us, your refrigerator (and your fresh produce) will thank you. So, let's get your fridge back to working like a champ with this indispensable Crisper Drawer!
Read less

$30.53
In Stock
Pulley Idle
Part #4560EL3001A
This genuine LG product is an Idle Pulley meticulously designed for LG electric dryers. It plays a crucial role in maintaining the correct tension on the drive belt, enabling it to spin the drum effectively. Safety should always come first, hence, ensure the power is off before beginning the installation process. Brace the hands with work...Read more gloves to safeguard against possible injuries. This product features an idler pulley wheel with a bearing. Make sure to confirm this Idle Pulley is correct for your specific model before placing an order due to potential small variations in size and shape.
Read less

$15.00
In Stock
Clamp
Part #4861FR3068A

$9.62
In Stock
Dryer Leg
Part #4778EL3001B
This plastic adjustable dryer leg is used to support the weight and adjust the height of your dryer to keep it level. To install the leg, tip the dryer back and screw it into the bottom of your dryer unit. Please note that this dryer leg is sold individually.
Exact Part matches for your search term

No Longer Available
No Longer Available
$6.40
Special Order
Common Symptoms of models starting with 8159
How this model fails, and the parts that fix it.
Noisy
Fixed by
these parts
these parts


Show All
Will Not Start
Fixed by
these parts
these parts


Show All
Fridge too warm
Fixed by
these parts
these parts
Show All
Freezer section too warm
Fixed by
these parts
these parts
Show All
Not Heating
Fixed by
these parts
these parts


Show All
Won’t start
Fixed by
these parts
these parts
Show All
Too warm
Fixed by
these parts
these parts
Show All
Drum Not Spinning
Fixed by
these parts
these parts

Show All
Fridge and Freezer are too warm
Fixed by
these parts
these parts
Show All
Frost buildup
Fixed by
these parts
these parts


Show All
Door won’t close
Fixed by
these parts
these parts


Show All
Won’t Start
Fixed by
these parts
these parts

Show All
Marks left on clothes
Fixed by
these parts
these parts

Show All
Fridge runs too long
Fixed by
these parts
these parts
Show All
Leaking
Fixed by
these parts
these parts

Show All
Doesn’t stop running
Fixed by
these parts
these parts
Show All
Clicking sound
Fixed by
these parts
these parts
Show All
Timer Not Working
Fixed by
these parts
these parts
Show All
Watch our pros, then fix it yourself.
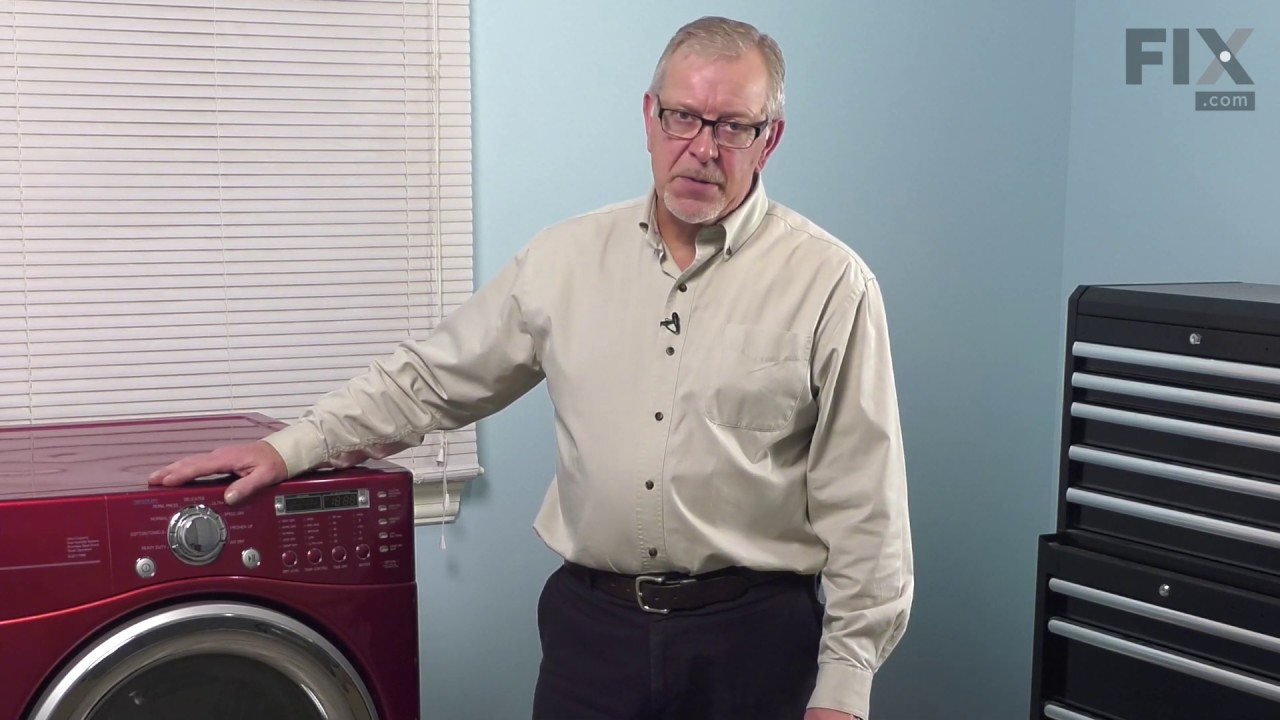
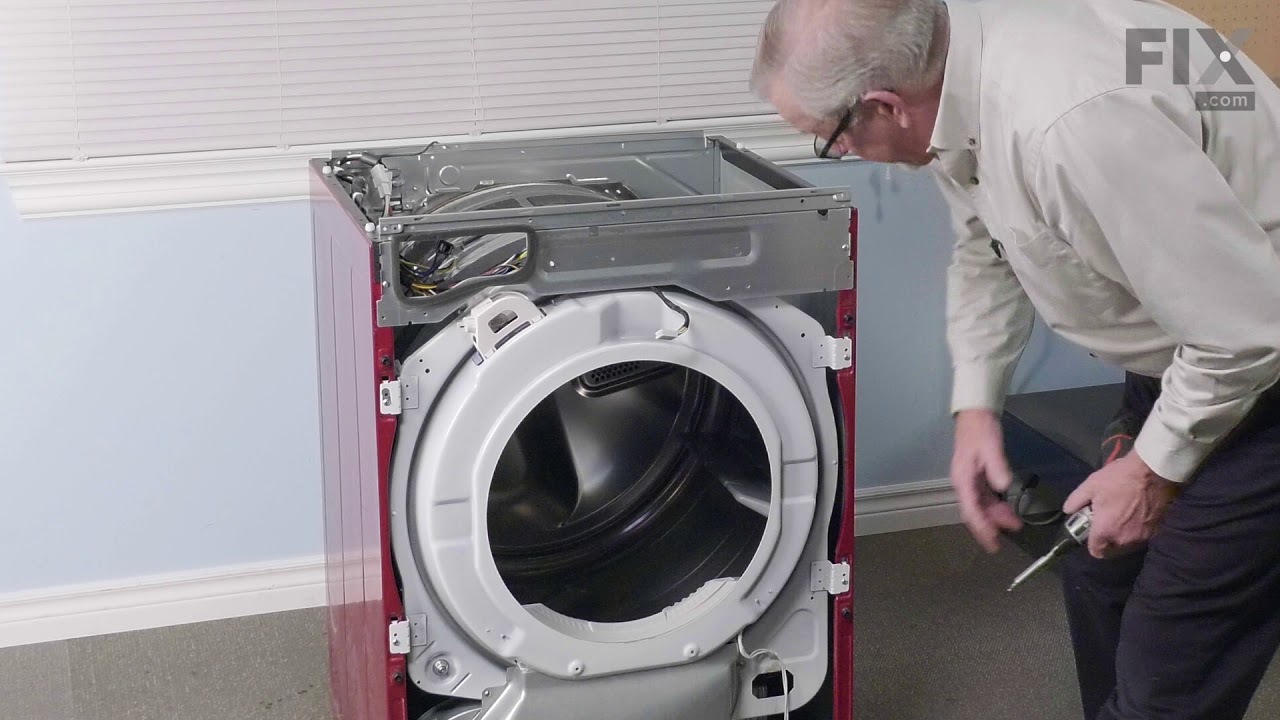
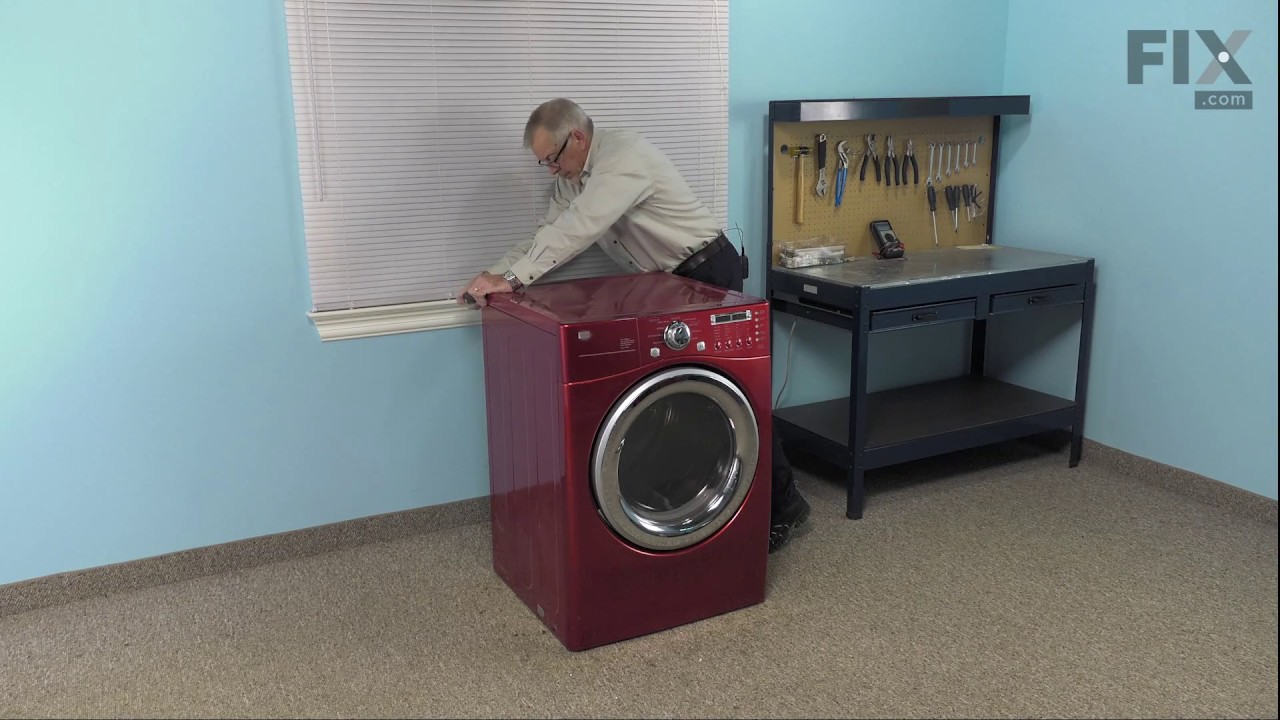
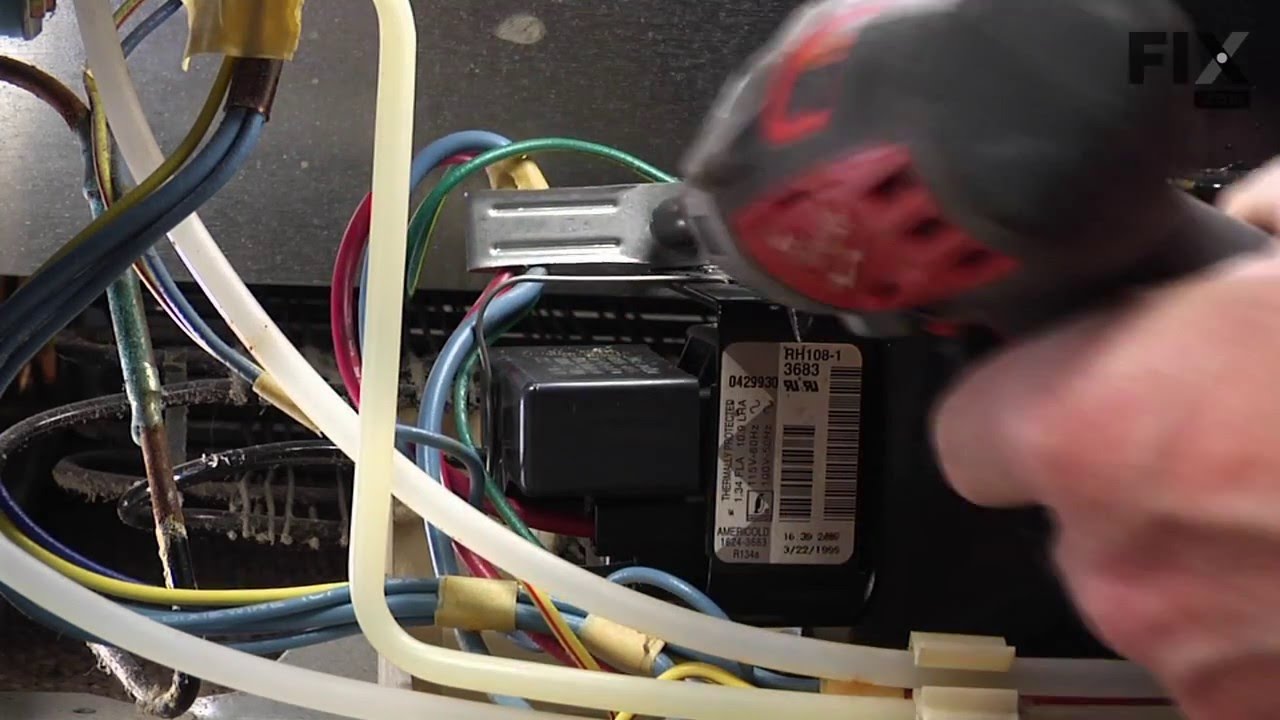
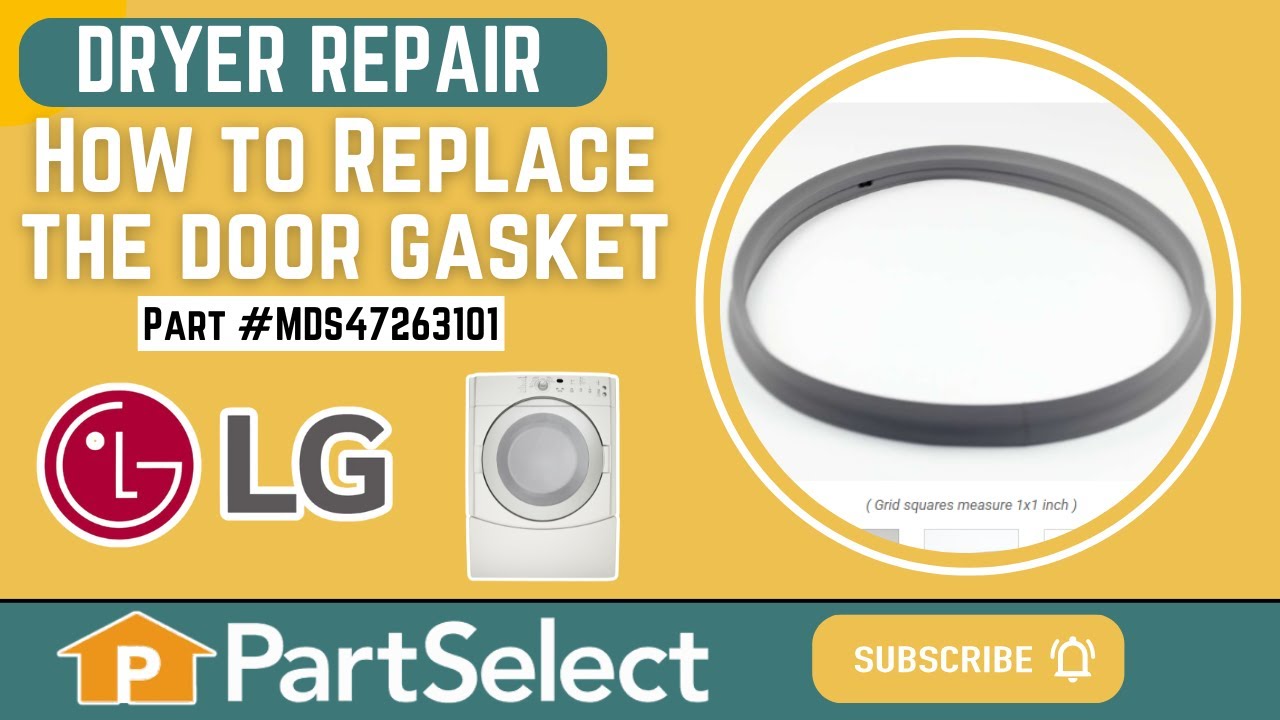

See how others fixed this model. Time, tools, difficulty, and steps that lead to victory!
View More