


 My Orders




8131 - Overview
Models starting with 8131
Click on the best match to narrow your results.
- 81310 General Electric Freezer
- 81311-0115-XX Briggs and Stratton Engine (Horizontal Engine)
- 81312-0116-XX Briggs and Stratton Engine (Horizontal Engine)
- 81312-0240-XX Briggs and Stratton Engine (Horizontal Engine)
- 81313-0117-XX Briggs and Stratton Engine (Horizontal Engine)
- 81316-0118-XX Briggs and Stratton Engine (Horizontal Engine)
Enter a part description. DIY Heroes keep it simple, eg. "belt" or "pump".
Search filter:
Clear Filter
Your search term must have 3 or more characters.

No Longer Available
Compressor Start Relay
Part #216008900

$6.40
On Order
Grommet
Part #692187
This grommet is an OEM part that is a 45-degree elbow for the crankcase breather tube of your mower engine. That is why it is also known as a 45-degree breather tube.
The part is made of rubber and is black in color. You must purchase this part individually. Your grommet may require replacing if you notice dark smoke coming out of the e...Read morexhaust. This is a telltale sign that your grommet has become cracked and damaged. Other symptoms are a reduction in the mower performance, or a backfiring engine. According to our customers, this is an easy repair.
It requires no tools. Simply attach the grommet to the breather tube from the crankcase to the carburetor.
Read less

No Longer Available
Interior Drain Plug
Part #216502600
This is a plastic OEM drain plug that is attached to the drain system of your appliance and is compatible with several different makes and models of refrigerators, freezers, and air conditioners. This drain plug is used to prevent water from leaking out of the incorrect drain system within the appliance and is normally removed for cleanin...Read moreg and maintenance. If you notice water leaking inside of your appliance, the plug may be improperly positioned or may need replacing. To replace, simply pull off the damaged plug and insert the new plug in its place.
Read less

$7.47
In Stock
Seal-oil
Part #299819S
This OEM Oil Seal is an individually sold rubber part which is attached around the axis shaft on the crankcase housing to provide a proper seal. A broken seal will lead to a leak, and the part should be replaced. Installation is rated as "Medium" difficulty by customers, and will require a screwdriver, wrenchset and seal puller. Refer to ...Read moreyour make, model and diagrams to ensure you've chosen the correct part. This model comes in black and grey.
Read less

$6.40
In Stock
Gasket-intake
Part #27355S
This is an authentic manufacturer sourced replacement part designed for use with a variety of lawn and garden equipment. This carburetor intake gasket which provides an air tight seal for the carburetor. Over time gaskets tend to deteriorate and would need to be replaced. It is made out of compound material and it is sold individually. You would need a screwdriver to replace this item.

$16.54
In Stock
Line-fuel
Part #791745
This fuel line is compatible with several different makes and models of small engine equipment and is sold as an individual part. Equipped with the securing clamp, this rubber fuel line is used to transfer fuel from the fuel tank to the carburetor, and over time and due to exposure of gas, this fuel line can become brittle and crack, requ...Read moreiring a replacement. If you find your equipment is performing worse, check the fuel line for any visible signs of damage. To replace the fuel line, you will need to disconnect the spark plug and drain the fuel from your equipment, before simply removing the old line and installing the new one and reassembling the rest of the motor.
Read less

No Longer Available
Lid Gasket
Part #216481101

$6.40
In Stock
Gasket-breather
Part #27549S
The Breather Gasket is OEM and used to provide an airtight seal for the breather assembly. It is a gray part, attached between the breather cap and engine. Installation is rated "Easy" and will require a wrench set and socket set. If broken, damaged, or worn due to fatigue, there may be oil leaking from it, and the engine may be running r...Read moreough from an unwanted vacuum sucking in air. If this happens, replace the part. Refer to your make, model and diagrams to ensure this is the correct part for you.
Read less

$23.01
In Stock
Compressor Mounting Grommet
Part #216498900

$6.40
In Stock
Engine Spark Plug Boot
Part #66538S
This spark plug boot is a genuine OEM Briggs & Stratton replacement designed to fit securely over the spark plug, protecting the connection from moisture, dirt, and debris. Its durable, elbow-style design helps ensure reliable ignition and easy installation, making it an ideal replacement when a cracked, loose, or worn boot causes hard starting, misfires, or inconsistent engine performance.

$6.40
In Stock
Filter-pre Cleaner
Part #271466
This is an OEM approved replacement part designed for gas trimmers/brush cutters. Its purpose is to filter out dust and debris from the air that goes into the unit. Over time it will get dirty and clogged restricting the airflow eventually requiring replacement. Please note this high quality foam air cleaner element is sold individually.

$6.40
In Stock
Clamp-hose
Part #791850
This is a genuine manufacturer-sourced part which is designed for use on lawn and garden equipment. It is an identical replacement for a missing or a damaged clamp that is used to secure the hose. Keep in mind this high-quality product is made of durable metal and is sold individually. Please make sure to check the appropriate diagrams for your model for the correct location and application of this hardware.
Exact Part matches for your search term

$51.61
In Stock
High Limit Thermostat - L290-40
This part number matches the current model number 8131
Part #279054
With this three-wire high limit/safety thermostat a dryer's heating element will cut out if the internal temperature reaches 290 degrees Fahrenheit. The element will kick back in when the temperature drops to 250 degrees Fahrenheit.

No Longer Available
No Longer Available
Common Symptoms of models starting with 8131
How this model fails, and the parts that fix it.
Will Not Start
Fixed by
these parts
these parts

Show All
Frost buildup
Fixed by
these parts
these parts

Show All
Freezer section too warm
Fixed by
these parts
these parts
Show All
Won’t start
Fixed by
these parts
these parts
Show All
Watch our pros, then fix it yourself.
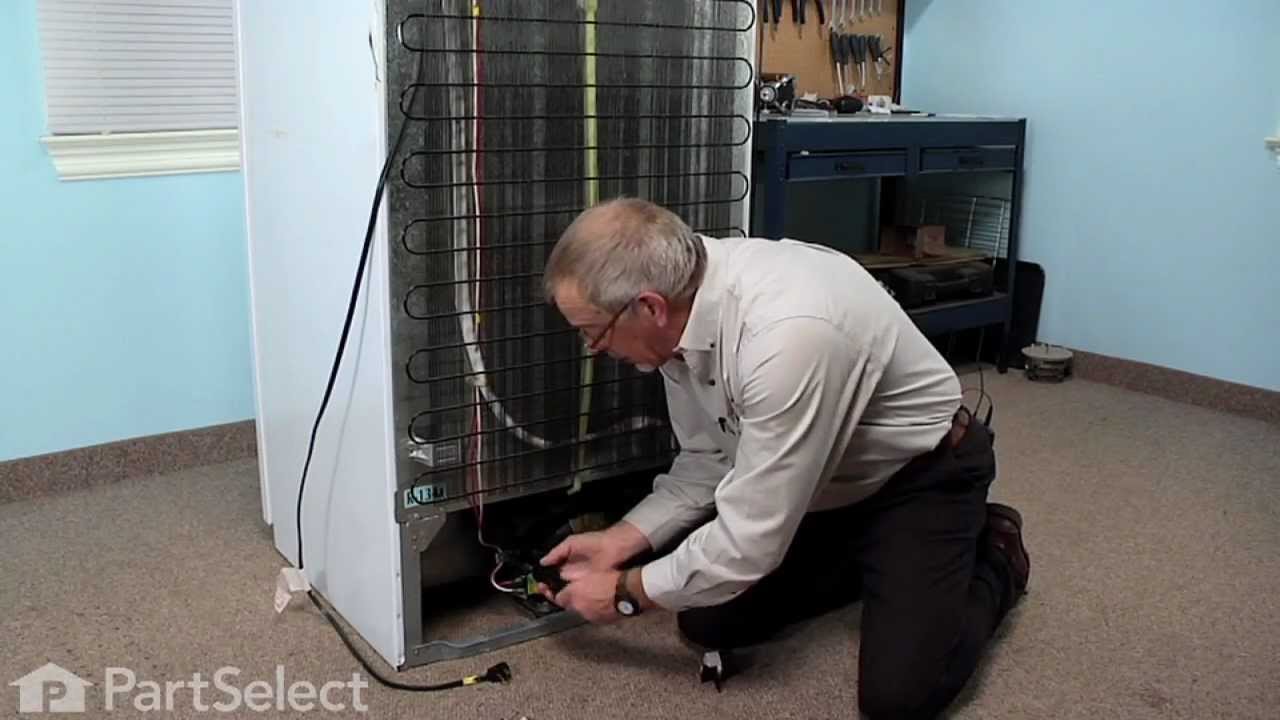
See how others fixed this model. Time, tools, difficulty, and steps that lead to victory!
View More