


 My Orders




8087 - Overview
Models starting with 8087
Click on the best match to narrow your results.
Enter a part description. DIY Heroes keep it simple, eg. "belt" or "pump".
Search filter:
Clear Filter
Your search term must have 3 or more characters.

$56.05
In Stock
Run Capacitor
Part #5304464438
The run capacitor helps the compressor kick on and off while maintaining a constant temperature in your fridge and freezer. You may need to replace your run capacitor if your refrigerator or freezer section will not start, if they are too warm, or if your refrigerator has become too noisy. Replacing the run capacitor is a relatively easy ...Read moreproject. For this repair you will only need a 1/4 inch nut driver and needle nose pliers. Remember to disconnect the power and water supply line to the unit before you begin this repair. For full step by step instructions, simply click on the video below.
Read less

$70.35
In Stock
Gasket Retainer Clip Kit - 24 Pieces
Part #5303922007
This gasket retainer clip kit is for freezers. There are 24 pieces in this kit. The clips are what secure the gasket and liner to the freezer lid. The clips are white in color and made of plastic. If you notice frost build up in your freezer or that is it is not maintaining its temperature, this might be because the retainer clips have br...Read moreoken, and this has caused the gasket to become loose. This is a genuine OEM part that is obtained right from the manufacturer, ensuring a quality repair.
Read less

No Longer Available

$59.34
Special Order

$6.40
In Stock
Lawn Mower Cotter Pin
Part #703312
This cotter pin is an OEM part that is 1.25 inches long, gold in color, and sold individually. Made of metal, it can have a range of applications on a variety of lawn and garden equipment. Generally, you will need to replace this part if it becomes broken due to age and wear, or if you need to remove it for making other repairs.
This is...Read more an easy repair that only requires a pair of pliers to carry out. You need to bend one end around the shaft or bolt and bend the other around the back end of the bolt to complete the repair.
Read less

No Longer Available

$16.54
In Stock
Line-fuel
Part #791745
This fuel line is compatible with several different makes and models of small engine equipment and is sold as an individual part. Equipped with the securing clamp, this rubber fuel line is used to transfer fuel from the fuel tank to the carburetor, and over time and due to exposure of gas, this fuel line can become brittle and crack, requ...Read moreiring a replacement. If you find your equipment is performing worse, check the fuel line for any visible signs of damage. To replace the fuel line, you will need to disconnect the spark plug and drain the fuel from your equipment, before simply removing the old line and installing the new one and reassembling the rest of the motor.
Read less

No Longer Available
Recessed Handle
Part #297034202

$6.40
In Stock
Screw, Self Tapping
Part #7091075SM
It is a genuine item that is supplied by the original equipment manufacturer for use in walk-behind mowers made by Murray, Briggs & Stratton, Snapper, and Simplicity. The self tapping screw attaches to the front wheel drive rear baffle. A flat head screwdriver will be necessary during the installation of this part. Over time this part may...Read more become stripped and will need to be replaced. Keep in mind this part is made of metal and is sold individually.
Read less

No Longer Available
HUBCAP
Part #7011022YP
This OEM hub cap keeps debris out of the hub and axle of your lawn mower. It is black in color, sold individually, and made of plastic. Over time, your hub cap may get removed or damaged due to fatigue and wear. If you notice it is missing or damaged, you will need to replace the hub cab.
This is an easy repair that just requires the us...Read moree of a flat blade screwedriver for removal, and a rubber mallet for installing the new one inside the wheel hub.
Read less

$8.19
In Stock
Lawn Mower Nut
Part #703409
This hex nut is a fastener made from steel and is used to secure the end of a bolt in various lawn and garden equipment and machinery. It is a genuine OEM replacement part that comes in a standard size of 5/16 of an inch with 18 threads per inch. The hex nut has a hexagonal shape, which gives it greater grip and makes it easy to tighten u...Read moresing a wrench or a set of pliers. The nut also has a flange on one end, which locks the nut in place, prevents damage to the area where it is installed, and allows the load to be evenly distributed. It is important to replace your hex nut if it is loose, cracked, or corroded. If you have not yet removed the old hex nut from your equipment you will need a socket wrench to remove it. After that, you can easily install the new nut by threading it onto a bolt or screw and then tightening it with a wrench or pliers until it is tightly secured.
Read less

$6.40
In Stock
Clamp-hose
Part #791850
This is a genuine manufacturer-sourced part which is designed for use on lawn and garden equipment. It is an identical replacement for a missing or a damaged clamp that is used to secure the hose. Keep in mind this high-quality product is made of durable metal and is sold individually. Please make sure to check the appropriate diagrams for your model for the correct location and application of this hardware.
Exact Part matches for your search term
$331.80
Special Order
Common Symptoms of models starting with 8087
How this model fails, and the parts that fix it.
Will Not Start
Fixed by
these parts
these parts

Show All
Fridge too warm
Fixed by
these parts
these parts
Show All
Freezer section too warm
Fixed by
these parts
these parts
Show All
Won’t start
Fixed by
these parts
these parts

Show All
Too warm
Fixed by
these parts
these parts
Show All
Fridge and Freezer are too warm
Fixed by
these parts
these parts
Show All
Frost buildup
Fixed by
these parts
these parts

Show All
Noisy
Fixed by
these parts
these parts
Show All
Fridge runs too long
Fixed by
these parts
these parts
Show All
Doesn’t stop running
Fixed by
these parts
these parts
Show All
Clicking sound
Fixed by
these parts
these parts
Show All
Watch our pros, then fix it yourself.
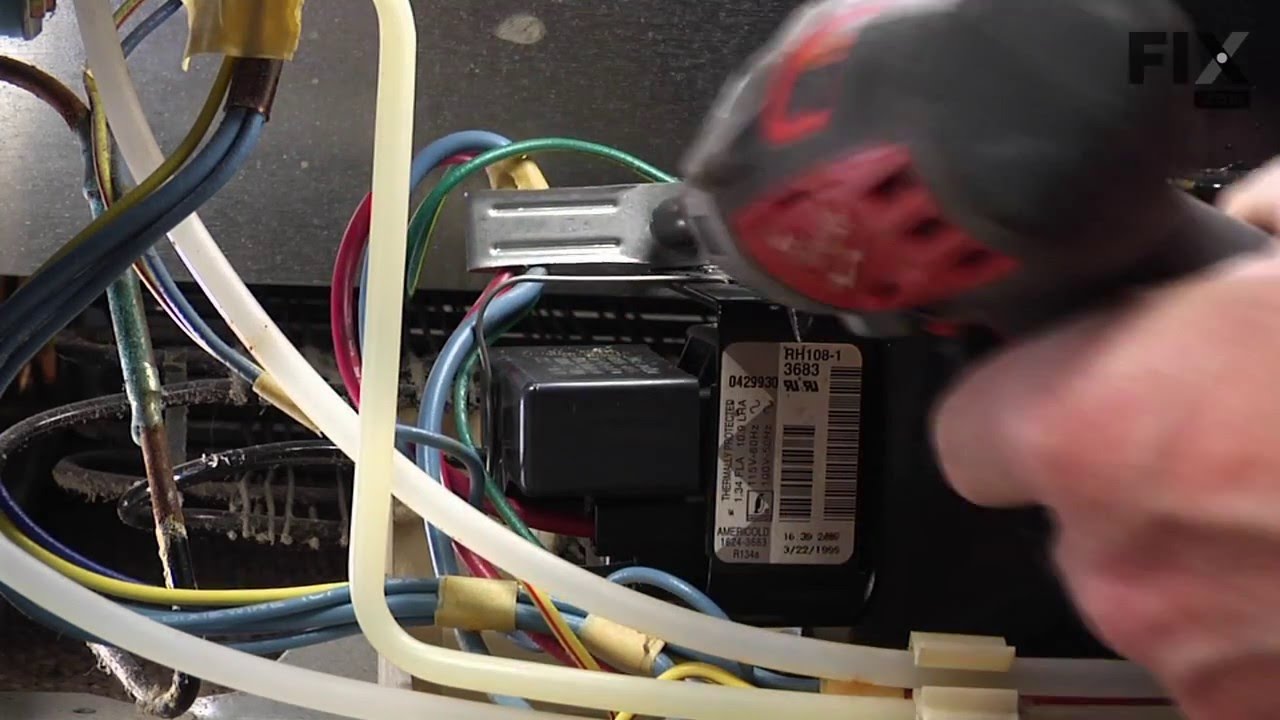
See how others fixed this model. Time, tools, difficulty, and steps that lead to victory!
View More