


 My Orders




8086 - Overview
Models starting with 8086
Click on the best match to narrow your results.
- 80860 General Electric Freezer
- 80862 ( E331315BVE Series 15 ) Snapper Lawn Mower (80862 - E331315bve 33 Inch 13 Hp Rear Engine Rider (Euro) Series 15)
- 80863 LG Microwave (LG Microwave Model 80863 Parts)
- 80864 LG Range (Oven-Range)
- 80864 (AB7ESEA) LG Range (Oven-Range)
- 80869 LG Range (Oven-Range)
- 80869 (AB2ESEA) LG Range (Oven-Range)
Enter a part description. DIY Heroes keep it simple, eg. "belt" or "pump".
Search filter:
Clear Filter
Your search term must have 3 or more characters.

$56.05
In Stock
Run Capacitor
Part #5304464438
The run capacitor helps the compressor kick on and off while maintaining a constant temperature in your fridge and freezer. You may need to replace your run capacitor if your refrigerator or freezer section will not start, if they are too warm, or if your refrigerator has become too noisy. Replacing the run capacitor is a relatively easy ...Read moreproject. For this repair you will only need a 1/4 inch nut driver and needle nose pliers. Remember to disconnect the power and water supply line to the unit before you begin this repair. For full step by step instructions, simply click on the video below.
Read less

$21.45
Special Order
Micro Switch
Part #3B73362F
This microwave door switch provides power to the various components in the microwave when the door is in a closed position, and interrupts power when the door is open. This door switch is approximately 1 1/2 inches long, and has 2 metal prongs called terminals that extend from its body. If your microwave will not turn or heat properly, th...Read moreere could be an issue with the door switch. You can check the switch for continuity using a multi-meter. With the actuator button depressed, you should see continuity between these terminals. If there is no continuity the switch will need to be replaced.
NOTE: Before you begin this repair, first make sure your microwave is unplugged, and that your capacitor is discharged. A capacitor stores large amounts of electricity even when your microwave is unplugged.
Read less

$33.69
In Stock
Charcoal Filter
Part #5230W1A003A
This is an authentic LG charcoal filter for your microwave, sourced directly from the manufacturer. It is designed to remove odors from the air that circulate through your microwave vent. It measures approximately 11 inches in length, and 2.5 inches in width.

$17.15
In Stock
Air Duct Bracket
Part #4810W1A151A
This bracket holds the metal or plastic flapper that closes off the exhaust duct when the fan is not running and opens when the fan turns on. If the exhaust fan on your microwave does not appear to be working, the problem may be with the damper assembly. If the damper does not open and close easily, check for any damage to the bracket, an...Read mored replace if it is damaged or faulty. This genuine OEM exhaust damper measures approximately 12 inches long by 5 inches wide.
Read less

$11.77
On Order
Time Delay Fuse
Part #3B74133Q
The fuse-time delay may also be known as a line fuse or a microwave fuse, and it is a piece for your microwave. The function of this part is to shut off the microwave if there is a power surge, in order to protect your microwave from damage. You should consider having a service technician install this part as the high-voltage capacitors i...Read moren a microwave can contain a very harmful electrical charge, even when the microwave is unplugged and has been inactive for some time. The tools that would be needed to complete this installation include a Phillips screwdriver, an insulated screwdriver, and a pair of pliers.
Read less

$21.45
In Stock
Halogen Lamp
Part #6912A40002E
This is a halogen lamp, or light bulb, for a microwave. The microwave light should illuminate the inside of the microwave while the door is open and while the appliance is running. If the light bulb does not illuminate, you may need to replace it. This part is sold individually. It is a common wear part and does not have a standard light ...Read morebulb base, so consider ordering a spare. This part is made of clear glass. If the glass on the existing light bulb is broken, you may need to use a pair of needle nose pliers to remove it. Be sure to handle the broken part with work gloves and disconnect power to the appliance before changing the bulb.
Read less

No Longer Available
Microwave Surface Light Lens
Part #3550W2L001A
This light bulb lens cover is made of high quality clear plastic, and fits over the bulb inside the microwave. This part has been redesigned with 3 mounting holes to improve quality. Please note that screws are not provided.

No Longer Available
Compressor Start Relay
Part #216008900

$6.40
In Stock

No Longer Available
Interior Drain Plug
Part #216502600
This is a plastic OEM drain plug that is attached to the drain system of your appliance and is compatible with several different makes and models of refrigerators, freezers, and air conditioners. This drain plug is used to prevent water from leaking out of the incorrect drain system within the appliance and is normally removed for cleanin...Read moreg and maintenance. If you notice water leaking inside of your appliance, the plug may be improperly positioned or may need replacing. To replace, simply pull off the damaged plug and insert the new plug in its place.
Read less

$43.18
In Stock
Microwave Motor Ac Synchronous
Part #6549W1S013H
If the turntable on your microwave does not rotate, or you can hear a grinding noise, the problem may be with the motor. The motor is typically located below the floor of the oven, and is accessed through the bottom. The motor is normally held in place with a retaining screw and will have two wires attached to it as well. If the motor is ...Read moremaking a grinding noise it will need to be replaced. If the motor does not turn, you can check for voltage or continuity with a multi-meter. Make sure the power is disconnected from your microwave before beginning this repair.
Read less

$13.92
Special Order
Exact Part matches for your search term

$413.93
Special Order
No Longer Available
$6.40
Special Order
Common Symptoms of models starting with 8086
How this model fails, and the parts that fix it.
Will Not Start
Fixed by
these parts
these parts


Show All
Won’t turn on
Fixed by
these parts
these parts


Show All
No heat
Fixed by
these parts
these parts

Show All
Fridge too warm
Fixed by
these parts
these parts
Show All
Freezer section too warm
Fixed by
these parts
these parts
Show All
Won’t start
Fixed by
these parts
these parts

Show All
Too warm
Fixed by
these parts
these parts
Show All
Fridge and Freezer are too warm
Fixed by
these parts
these parts
Show All
Tray won’t turn
Fixed by
these parts
these parts

Show All
Door not closing properly
Fixed by
these parts
these parts


Show All
Doesn’t shut off
Fixed by
these parts
these parts
Show All
Noisy
Fixed by
these parts
these parts
Show All
Fridge runs too long
Fixed by
these parts
these parts
Show All
Doesn’t stop running
Fixed by
these parts
these parts
Show All
Clicking sound
Fixed by
these parts
these parts
Show All
Watch our pros, then fix it yourself.
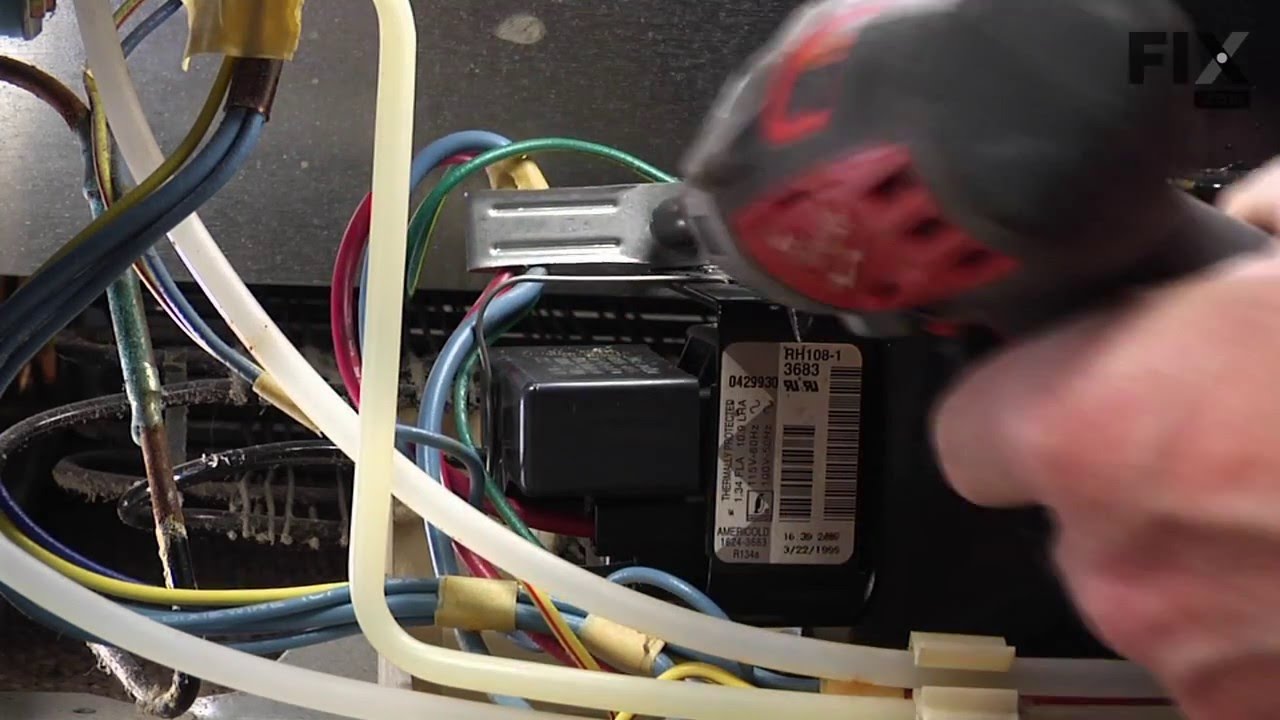
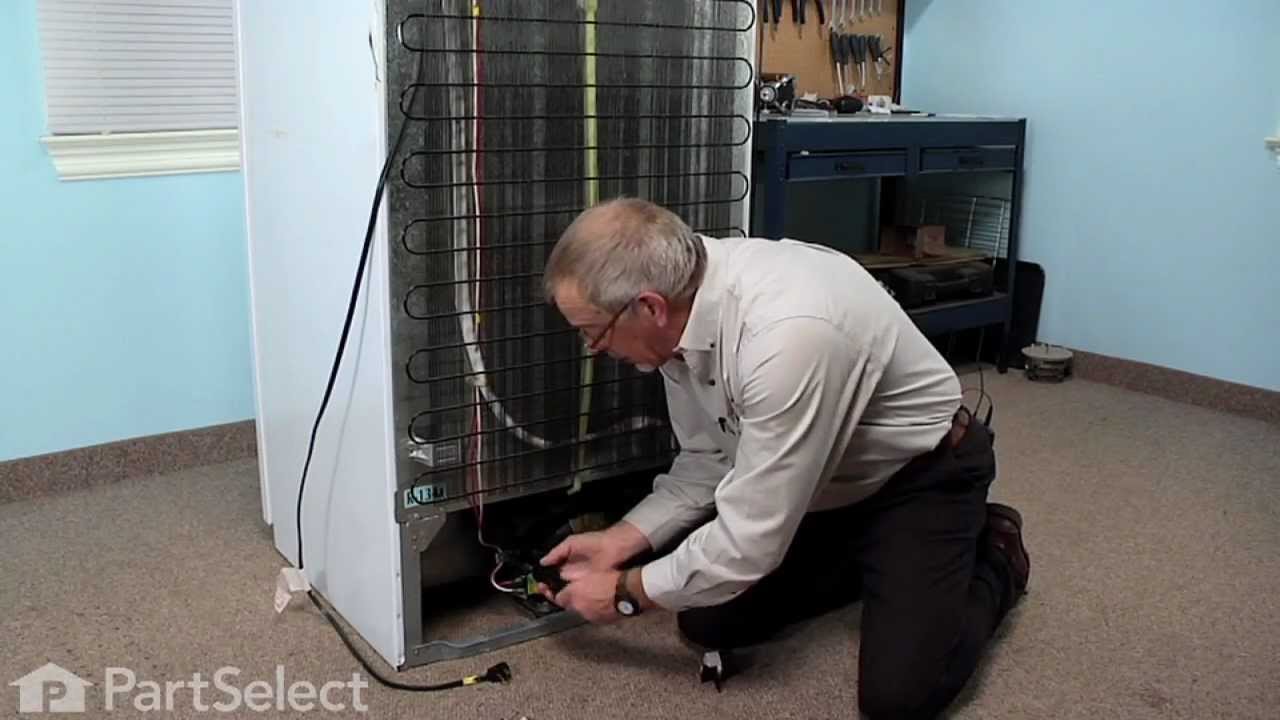
See how others fixed this model. Time, tools, difficulty, and steps that lead to victory!
View More
Search repair tips from other customers using simple keywords like "replace", "fit", "remove", "inspect". DIY doesn't mean you have to do it alone!
Search filter:
Clear Filter
Your search term must have 3 or more characters.
buttom of refrigerator not cold
23 of 29 people
found this instruction helpful.
unplug it, pulled compressor start relay,which i thing it was the problem, but i replace bolt, very easy.
Other Parts Used:
Was this helpful?
Thank you for voting!