


 My Orders




8084 - Overview
Models starting with 8084
Click on the best match to narrow your results.
Enter a part description. DIY Heroes keep it simple, eg. "belt" or "pump".
Search filter:
Clear Filter
Your search term must have 3 or more characters.

$56.05
In Stock
Run Capacitor
Part #5304464438
The run capacitor helps the compressor kick on and off while maintaining a constant temperature in your fridge and freezer. You may need to replace your run capacitor if your refrigerator or freezer section will not start, if they are too warm, or if your refrigerator has become too noisy. Replacing the run capacitor is a relatively easy ...Read moreproject. For this repair you will only need a 1/4 inch nut driver and needle nose pliers. Remember to disconnect the power and water supply line to the unit before you begin this repair. For full step by step instructions, simply click on the video below.
Read less

$70.35
In Stock
Gasket Retainer Clip Kit - 24 Pieces
Part #5303922007
This gasket retainer clip kit is for freezers. There are 24 pieces in this kit. The clips are what secure the gasket and liner to the freezer lid. The clips are white in color and made of plastic. If you notice frost build up in your freezer or that is it is not maintaining its temperature, this might be because the retainer clips have br...Read moreoken, and this has caused the gasket to become loose. This is a genuine OEM part that is obtained right from the manufacturer, ensuring a quality repair.
Read less

$26.35
In Stock

No Longer Available

No Longer Available
Float
Part #5303306080
If the bucket is full indicator on your dehumidifier is on, but the bucket is empty, or your dehumidifier is overflowing, you may have a problem with the float. This device is located near the bucket and moves up as the water level in the bucket rises. The float will trip the water level switch when the bucket is full. This is a safety de...Read morevice to prevent the unit from overflowing. When the switch is tripped, power to the compressor and fan motor circuits is disrupted until the bucket is emptied. Make sure that the float assembly can move or pivot freely so that it can trigger the level switch when the bucket is full. If the assembly is warped or damaged it should be replaced.
Read less

No Longer Available
Compressor Start Relay
Part #216008900

No Longer Available
Interior Drain Plug
Part #216502600
This is a plastic OEM drain plug that is attached to the drain system of your appliance and is compatible with several different makes and models of refrigerators, freezers, and air conditioners. This drain plug is used to prevent water from leaking out of the incorrect drain system within the appliance and is normally removed for cleanin...Read moreg and maintenance. If you notice water leaking inside of your appliance, the plug may be improperly positioned or may need replacing. To replace, simply pull off the damaged plug and insert the new plug in its place.
Read less

$39.82
In Stock
Filter - Drier
Part #5303305677
A filter-drier in a refrigerator has two essential functions. The first is to absorb system contaminants, such as water, which can create acids. The second is to provide physical filtration. This means trapping moisture, small metal chips, and dirt found in the refrigerant gas. If your refrigerator motor is constantly running, but the ref...Read morerigerator is not getting cold, the issue could be due to a damaged or faulty filter-drier. Faulty filter-driers are sometimes the cause for abnormal freezer compartment temperatures and partially frosted evaporators. This filter-drier is approximately 11 inches long. Remember to disconnect the power from your refrigerator before beginning this repair.
Read less

No Longer Available
Drain Plug
Part #297013600
This OEM drain plug in your freezer is a small white circular part located at the bottom. Its purpose is to seal the front hole of the cabinet, which is used to drain water during defrosting. If you notice water leaking or pooling at the bottom, your drain plug may be deformed or broken. Failure to replace the broken plug can result in wa...Read moreter accumulation, ice buildup, and the growth of bacteria or mold. To remove the existing drain plug from your appliance, no tools are needed. You can simply pull it out of its slot. Please keep in mind that this plug is sold individually.
Read less

No Longer Available
Humidistat Control
Part #5303296823
This is a humidistat control for a dehumidifier. The humidistat on your dehumidifier responds to the humidity in the air to determine if the appliance should continue to dehumidify or shut off, based on the desired humidity level. This control needs to be replaced if the dehumidifier wont shut off when the desired humidity level is reache...Read mored. This part is approximately 3.5 inches long and 1.5 inches wide. The part will be easy to replace, simply remove the front cover, remove the humidistat from the bracket, and remove the two push-on wire connectors. Reverse this process to reinstall the control. Be sure to disconnect power to the dehumidifier before completing this repair.
Read less

$59.34
Special Order

No Longer Available
Gasket
Part #216481001
This genuine Frigidaire Freezer Door Gasket is a perfect fit for your appliance, ensuring a solid seal to keep your freezer's internal temperature consistent and energy usage efficient. It's function is to create a barrier, preventing warm air from changing the internal conditions of your freezer, thus ensuring your food stays well-preser...Read moreved. To install this product, it is recommended to prepare it by smoothing out any folds or creases by either soaking it in warm water or gently warming with a hair dryer at low heat. This preparation will result in optimized performance post-installation. Please ensure this is the accurate model for your appliance before purchasing. This Freezer Door Gasket is a standout Frigidaire part, dependable and designed for longevity to provide you with a worry-free, functioning freezer, and to keep your items as fresh as the day they were stored.
Read less
Exact Part matches for your search term

No Longer Available
No Longer Available
Common Symptoms of models starting with 8084
How this model fails, and the parts that fix it.
Will Not Start
Fixed by
these parts
these parts


Show All
Fridge too warm
Fixed by
these parts
these parts

Show All
Freezer section too warm
Fixed by
these parts
these parts
Show All
Won’t start
Fixed by
these parts
these parts

Show All
Too warm
Fixed by
these parts
these parts
Show All
Fridge and Freezer are too warm
Fixed by
these parts
these parts
Show All
Frost buildup
Fixed by
these parts
these parts


Show All
Noisy
Fixed by
these parts
these parts
Show All
Fridge runs too long
Fixed by
these parts
these parts
Show All
Doesn’t stop running
Fixed by
these parts
these parts
Show All
Clicking sound
Fixed by
these parts
these parts
Show All
Watch our pros, then fix it yourself.
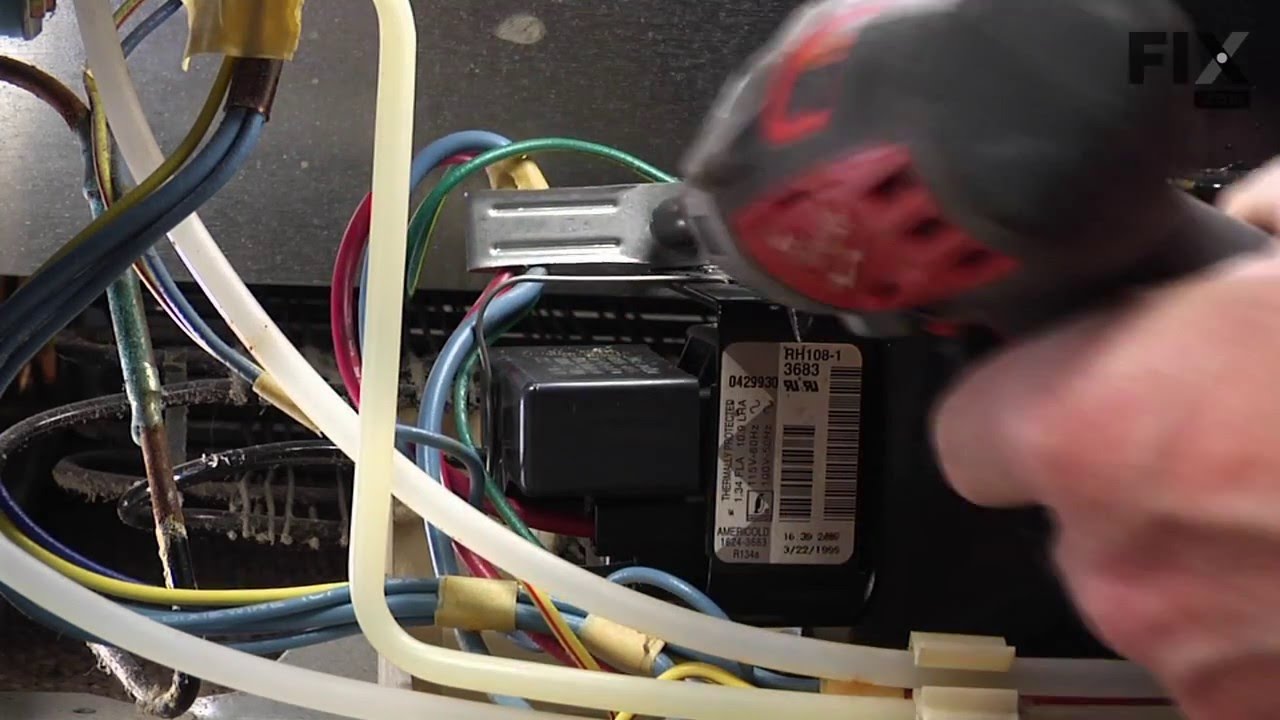
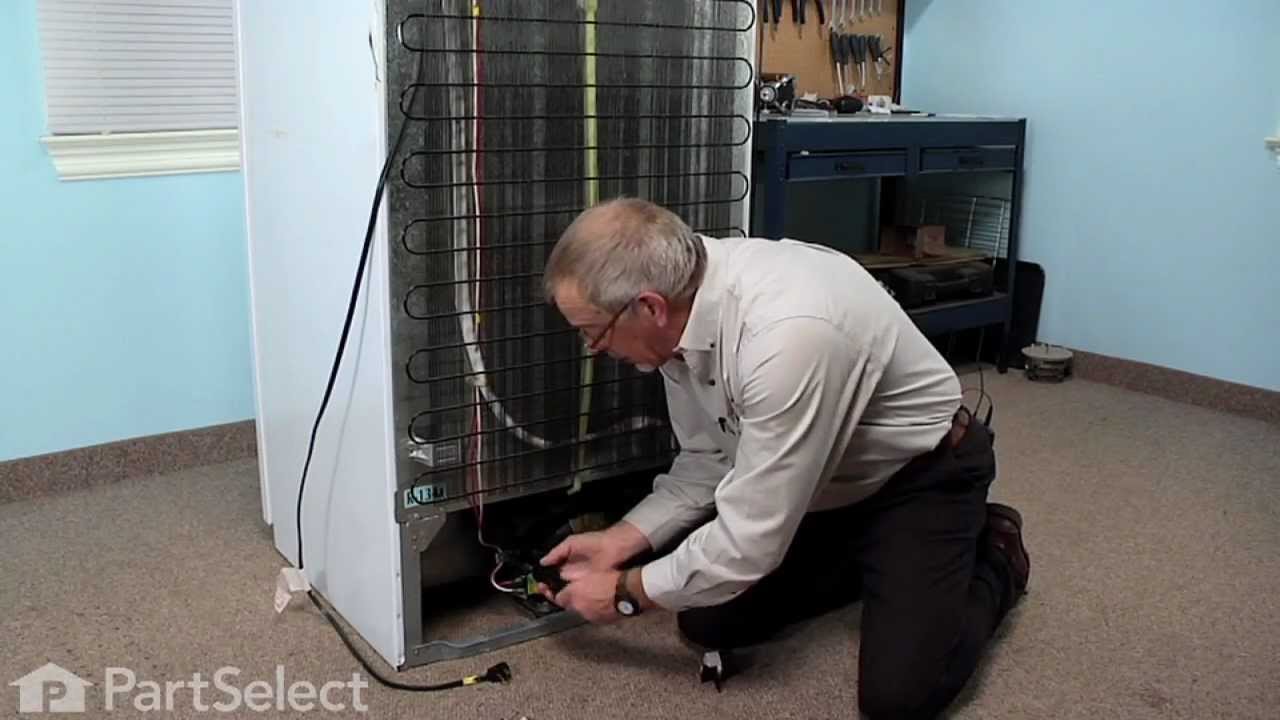
See how others fixed this model. Time, tools, difficulty, and steps that lead to victory!
View More
Search repair tips from other customers using simple keywords like "replace", "fit", "remove", "inspect". DIY doesn't mean you have to do it alone!
Search filter:
Clear Filter
Your search term must have 3 or more characters.
buttom of refrigerator not cold
23 of 29 people
found this instruction helpful.
unplug it, pulled compressor start relay,which i thing it was the problem, but i replace bolt, very easy.
Other Parts Used:
Was this helpful?
Thank you for voting!